Silver turns into a personal souvenir in Kuta. You’ll learn how Balinese silversmiths work with silver, then create your own jewelry in a Kuta workshop using 5–7 grams of silver. It’s hands-on, creative, and timed nicely for a busy Bali itinerary.
What I really like is the step-by-step guidance while you move through different work stations to finish an actual wearable piece. You’re not just watching—you’re shaping, smoothing, and polishing with help from an English-speaking local instructor and the craftsmen.
One thing to consider: the class is short (about 2 hours), and the silver amount is set (with silver addition listed as not included), so if you want extra material or more than one item, costs could rise.
In This Review
- Key Things I’d Pay Attention To
- Kuta Silver Workshop: What You’ll Make (and Why It Matters)
- Getting There in Kuta: Meeting Point, Pickup, and How the Session Runs
- From Fresh Silver to Finished Jewelry: The Work Station Flow
- Design Help: Making Your Ring Look Like You Imagined
- Sanding and Polishing: The Included Finish That Changes Everything
- Price and Value: Is $18.09 a Good Deal?
- What It Feels Like On the Ground: Atmosphere and Pace
- Who Should Book This Kuta Class (and Who Might Skip It)
- Simple Tips to Get the Best Result
- Should You Book This Kuta Silver Jewelry Making Class?
- FAQ
- How long is the Bali silver jewelry making class in Kuta?
- Where does the class start in Kuta?
- Is pickup available?
- What jewelry can I make in the class?
- How much silver do I use?
- What’s included in the price?
- Is silver addition included?
- What is the cancellation policy?
Key Things I’d Pay Attention To
- You can choose what to make: earrings, a ring, or a pendant in the same workshop format
- You work with a defined silver amount: 5–7 grams is part of the plan
- Guidance is built into the stations: you don’t stay stuck at one step the whole time
- Sanding and polishing are included: that finish is part of what makes the jewelry look finished
- The class is private for your group: only your group participates
Kuta Silver Workshop: What You’ll Make (and Why It Matters)
This is a true make-it-yourself class, not a demo. In roughly 2 hours, you’ll transform fresh silver into a real souvenir you can wear or gift. The workshop is designed around making one main item—either a pair of earrings, a ring, or a pendant—so your time goes to turning your idea into a finished piece.
The silver amount matters because it shapes what’s realistic for your design. With 5–7 grams of silver in the class structure, the goal isn’t to overwhelm you with options. Instead, you get a focused experience where you can see progress quickly and end with something you feel proud to take home.
There’s also a learning side that won’t feel like a lecture. You’ll learn about the history of silver jewelry making in Kuta and how the craft has evolved over time. Even if you’re mainly there for the making, that context helps the finished jewelry feel more meaningful than just a quick purchase.
You can also read our reviews of more tours and experiences in Kuta.



Getting There in Kuta: Meeting Point, Pickup, and How the Session Runs
The class starts at Family Silver Class Legian on Jl. Campuhan II, Seminyak, Kec. Kuta, Kabupaten Badung, Bali 80361, Indonesia. You’ll end back at the meeting point after the workshop.
Pickup is offered, which is a big deal in Kuta because traffic and short distances can still eat time. If you’re staying nearby, pickup can make this class feel like a smooth block on your schedule instead of a mini logistics project.
It’s also set up as a private tour/activity where only your group participates. That’s a quieter, less chaotic setup than the bigger group workshops where you’re waiting for attention. If you want to actually talk through your design while someone is guiding you, this format works in your favor.
You’ll receive a mobile ticket, so you’re not fumbling with printed papers in the heat. And if you prefer public transport, it’s described as near public transportation, which is handy for flexible travelers.
From Fresh Silver to Finished Jewelry: The Work Station Flow
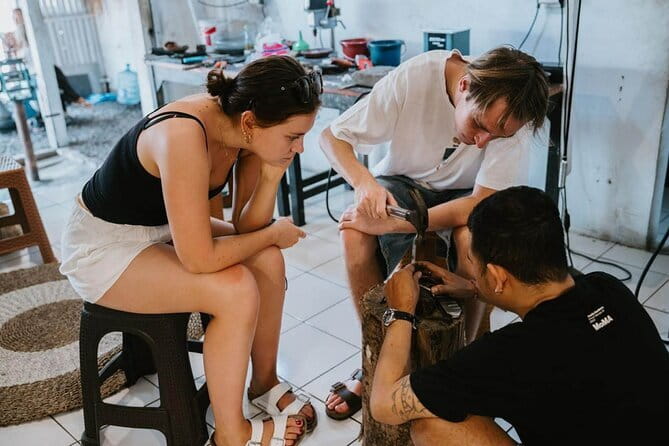
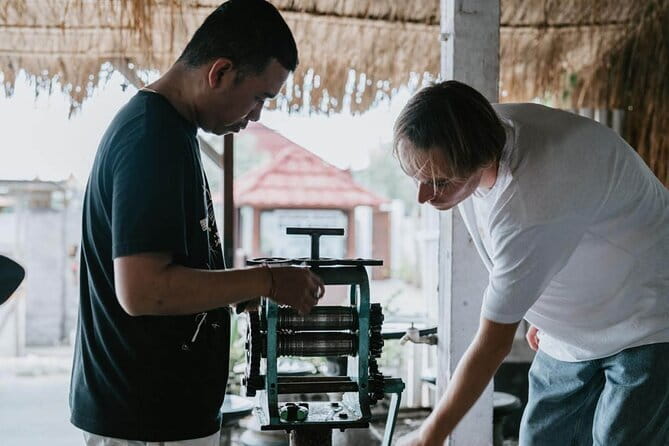
The class moves through multiple hands-on stations during the session. In other words, you don’t just sit at one table and do one tiny step. You’ll work your way through the core stages needed to turn silver into jewelry—guided throughout.
The workshop rhythm is pretty practical:
- you start with your chosen jewelry type (ring, earrings, or pendant)
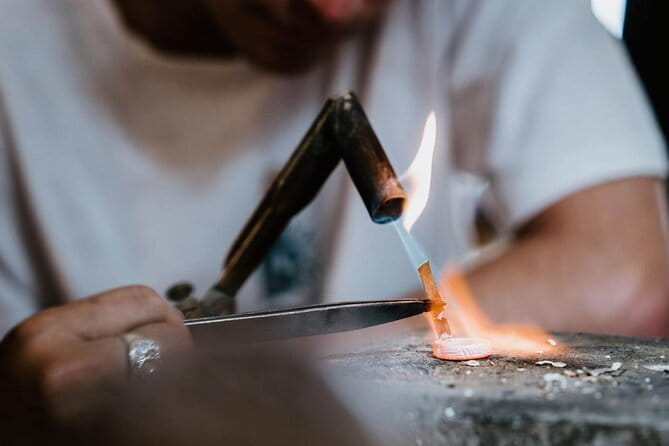
- you work with the silver using the craftsmen’s step-by-step method
- you spend time shaping, refining, and then finishing so it looks clean and polished
What stands out here is how focused the instruction feels. People highlight the fact that they were guided every step of the way, and that the instructors paid attention to details as the jewelry took shape. If you’re nervous about doing something technical, this is the kind of workshop where the process is broken into manageable steps.
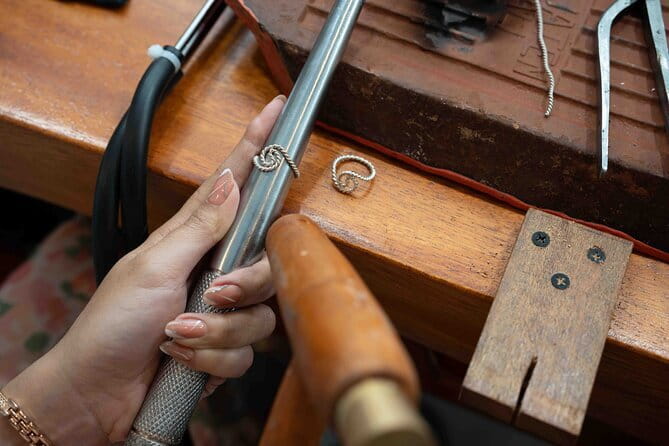
Another smart point: you’ll have time to see your item change. By the end, you’re not leaving with a half-finished craft. You walk away with a new shiny ring or matching jewelry piece that you made during the workshop—something you can actually show off the next day.
Design Help: Making Your Ring Look Like You Imagined
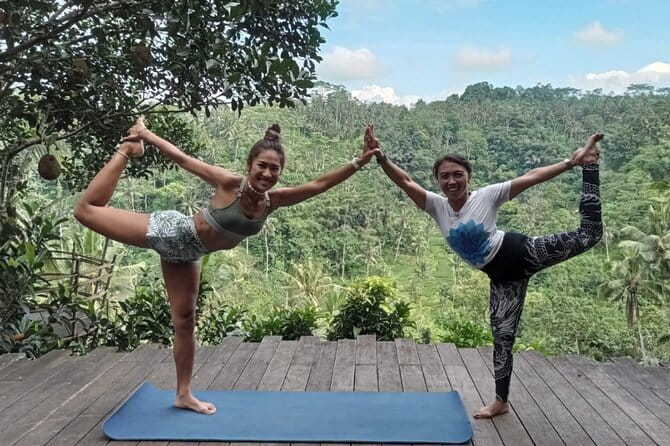
You get more than generic instruction here. The workshop includes guidance that helps you shape what you want to make, even if you’re not a jewelry expert.
One of the best parts is the “customization” side: people talk about how the team helped bring their ring design to life, matching the result more closely to what they pictured. That matters because jewelry-making can feel intimidating when you’re staring at the silver and wondering what’s possible.
Here’s how you can get the most out of that design help:
- come ready to explain what style you want for your ring or pendant
- be clear about your end goal (simple vs. more detailed shape)
- ask questions as you go, especially when you reach the refinement and finish steps
Because you’re working inside a time-boxed workshop, decisions early on help you avoid rushing later. The craftspeople can steer you toward a design that fits the class flow and the silver amount, so your final piece looks intentional instead of hurried.
Sanding and Polishing: The Included Finish That Changes Everything
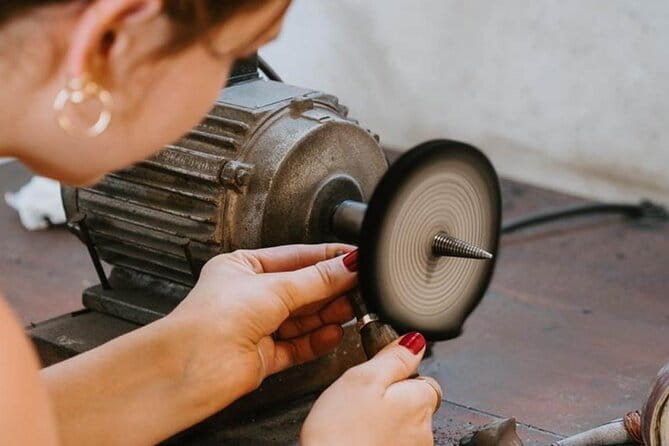
“Sanding and polishing” is listed as included, and that’s not a throwaway detail. Finishing is what turns handmade from rough into wearable.
Sanding helps smooth out tool marks and refines edges. Polishing takes that smoothing and gives the silver its bright, clean shine. In a class where you’re creating your own ring or pendant, that finishing time is where the piece starts to look like jewelry instead of a craft project.
This is also where your care and attention can show. Even with instruction, you’ll likely be doing hands-on work at the finish stage. If you pay close attention here, your end result will look sharper when you take photos at the end—or when you wear it out for dinner the same evening.
If you’re hoping to leave with something that feels complete, don’t treat sanding and polishing as optional. It’s part of what the class is built to deliver.






Price and Value: Is $18.09 a Good Deal?
At $18.09 per person, the price is surprisingly accessible for a hands-on silver jewelry class. The value comes from what’s included: an English local instructor plus sanding and polishing. You’re also using a defined amount of silver (5–7 grams), which is usually where craft classes get expensive.
The tradeoff is in what’s not included. Silver addition and addition of learning classes are listed as not included. That matters if you’re the type who wants to make extra items, upgrade your design with more metal, or take more lessons beyond the main workshop.
So I’d think of the $18.09 as paying for:
- instructor-guided making time
- the core silver-processing and finishing steps
- a take-home piece you personally made during the session
If you plan to stick with one main item—ring, earrings, or pendant—this price feels fair. If you think you’ll want multiple pieces or more material, you should budget extra in case silver addition is needed.
What It Feels Like On the Ground: Atmosphere and Pace
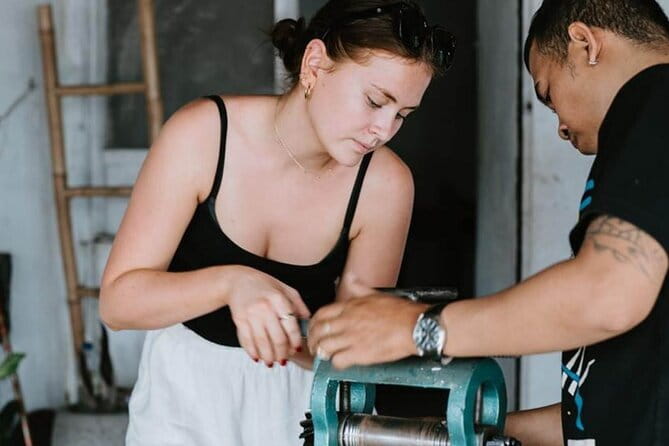
This workshop is designed to feel fun and creative, and the structure supports that. People mention it’s relaxing and that customer service is kind, with extra help when they wanted their designs fulfilled as imagined.
The pace is also a real plus. At about 2 hours, you get enough time to actually make progress through multiple stations, but you still have the rest of your day for beaches, temples, or just sitting in a café with your new shiny souvenir.
Also, because it’s private for your group, the pace can feel less rushed. There’s less waiting around for the next person to finish one step. If you prefer a calmer class setting, this private format helps.
One small consideration: if you’re deeply focused on artistic complexity or you want lots of extra detailing, a short workshop won’t give you an endless workspace to experiment. That’s not a fault of the class—it’s simply how a 2-hour structure works. The best results come from clear design goals within the time frame.
Who Should Book This Kuta Class (and Who Might Skip It)
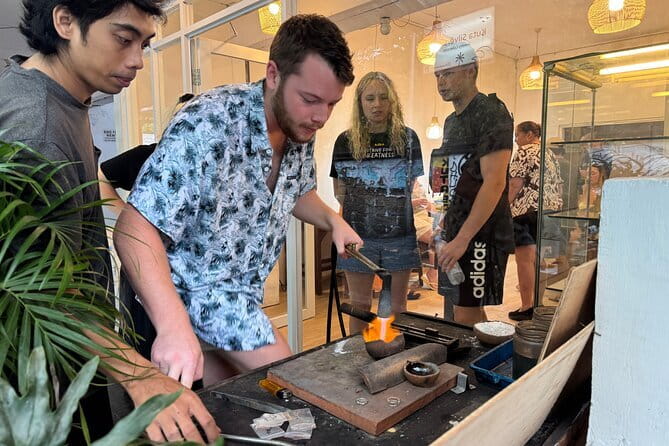
This is a strong choice if you want a hands-on Bali activity that ends with something you can wear. It’s ideal for:
- couples or friends who want a shared activity with a personal payoff
- anyone who likes crafts but doesn’t want a long course
- visitors who want a creative break from beach hopping and temple sightseeing
It’s also a good fit if you appreciate guided instruction. The workshop is built around professional craftsmen leading you through the process, with an English local instructor so you’re not guessing what to do next.
You might consider a different option if you:
- are hoping to make multiple separate pieces (silver addition isn’t included)
- want a super long session to explore many design variations
- prefer a purely passive cultural experience (this one is hands-on, every step)
Simple Tips to Get the Best Result
You’ll get the most out of this class with a little planning. Here are practical things I’d do before you go:
- Decide whether you want a ring, earrings, or a pendant before you arrive, so you start fast.
- Think about the style you want to end up with. Share it early so the craftsmen can guide you within the workshop flow.
- Wear clothes you’re okay getting a bit silver-dust messy (craft workshops can get slightly messy even with care).
- Ask questions at the finish stage. That’s where sanding and polishing make or break how clean your final piece looks.
Should You Book This Kuta Silver Jewelry Making Class?
If you want a creative Bali experience that’s practical, guided, and ends with a take-home souvenir, I think this class is a great booking. The $18.09 price makes it easy to try, and the included instructor support plus sanding and polishing are exactly what you want for a polished end result.
Book it if you like hands-on work and you’re excited to make one meaningful piece—ring, earrings, or pendant—without turning it into a time-consuming project. Skip it if you’re planning on making multiple items or customizing beyond the class’s defined silver amount, since silver addition isn’t included.
FAQ
How long is the Bali silver jewelry making class in Kuta?
The class runs for about 2 hours.
Where does the class start in Kuta?
It starts at Family Silver Class Legian, Jl. Campuhan II, Seminyak, Kec. Kuta, Kabupaten Badung, Bali 80361, Indonesia.
Is pickup available?
Yes, pickup is offered.
What jewelry can I make in the class?
You can make a pair of earrings, a ring, or a pendant.
How much silver do I use?
The workshop uses 5–7 grams of silver.
What’s included in the price?
An English local instructor is included, along with sanding and polishing.
Is silver addition included?
No. Silver addition is listed as not included.
What is the cancellation policy?
You can cancel for a full refund if you cancel up to 24 hours in advance of the experience start time.