Melt silver, make it yours. This hands-on class in Celuk Village lets you turn raw metal into real jewelry, guided by local silversmiths like Sugita and his team.
I especially like the full process you get to do yourself, from shaping to polishing, and the patient coaching that keeps beginners from feeling lost. A big thing to consider: you’re limited to 7 grams included, so plans that require more silver can cost extra on the spot.
After you arrive, you settle into a working workshop and start from scratch with the tools right there in front of you. The experience is fun and practical, and it ends with a wearable piece you made (not a souvenir that looks similar to everyone else’s). The only real drawback I’d flag is the trade-off between creativity and cost once you go over the included silver weight.
In This Review
- Quick hits
- Celuk Village: Where Bali’s silver work actually happens
- Finding Celuk Bali Silver Class by Jalan Raya Celuk and the Barong statue
- What you do in class: from melted silver to a finished ring (or more)
- You’ll likely choose from common jewelry types
- The vibe: supervised, but you’re not stuck doing nothing
- 7 grams of silver included: how the weight limit affects your design
- Practical design advice before you go
- Your instructor matters: why the workshop feels personal
- Tools, guidance, and the final shine on your piece
- What you can expect at the end of class
- Extras: buying more silver and adding gemstones onsite
- Value: is $25 fair for a hands-on silver workshop?
- Who should book this class, and who should skip it
- Should you book Celuk Bali Silver Class
- FAQ
- Where is Celuk Bali Silver Class located?
- How much silver is included in the class?
- What if I use less than 7 grams?
- Can I make different types of jewelry?
- What happens if my piece needs more than 7 grams?
- Are gemstones included?
- Is the class suitable for kids and is it taught in English?
Quick hits
- Up to 7 grams of pure silver to work with in class, with extra grams charged onsite
- Hands-on steps that go beyond watching, including melting and finishing
- Personal, patient instruction (names you’ll hear: Sugita, Wayan, Putu, Tuedy)
- Pick your design direction using examples, then shape it into your own piece
- Optional add-ons: you can purchase more silver and gemstones onsite
Celuk Village: Where Bali’s silver work actually happens
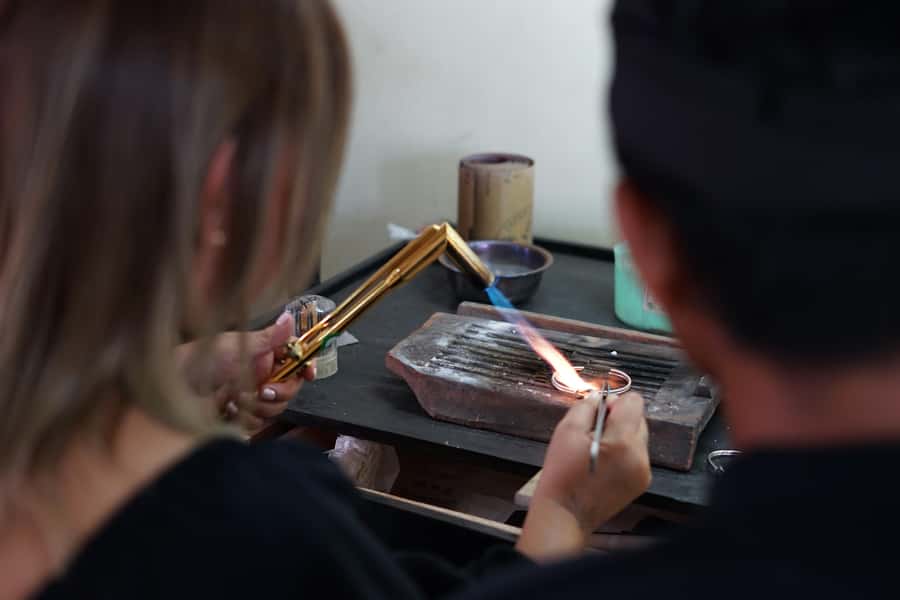
If you want a Bali souvenir that feels personal, Celuk Village is a smart choice. It’s one of those places where metalwork isn’t a side hobby for a store window. It’s the point. That matters here, because your class isn’t just a craft demo. You’re making jewelry in the same kind of workshop environment that produces the pieces you see sold across Bali.
This is the kind of activity that gives you a story with details. You’ll be able to tell people you shaped the metal, saw it go from melted silver to a ring or bracelet form, then polished it until it looked like something worth wearing the next day.
And since the class is run in English, you don’t have to rely on gestures or hope the basics translate. The instruction is hands-on, and that’s where this experience earns its high rating.
You can also read our reviews of more tours and experiences in Celuk.

Finding Celuk Bali Silver Class by Jalan Raya Celuk and the Barong statue
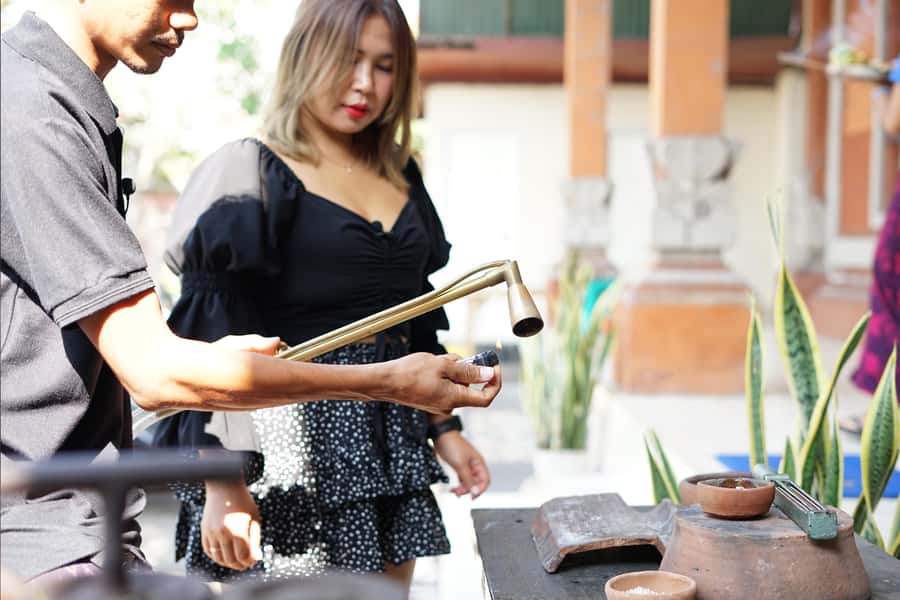
You meet at the Celuk Bali Silver Class workshop on Jalan Raya Celuk in Celuk Village. The location is near Sedana Yoga Silver, about 400 meters from the Barong statue (east of it). If you’re driving, there’s on-site parking, which is a relief in areas where parking can be a little chaotic.
One practical tip: go slightly early and take a moment to orient yourself around the Barong statue reference. Even when the directions are good, workshop areas can feel same-y once you’re on the road. A quick walk and a visual check saves time later.
The nice part is that the activity ends back at the meeting point, so you’re not left figuring out how to get back after you finish.
What you do in class: from melted silver to a finished ring (or more)
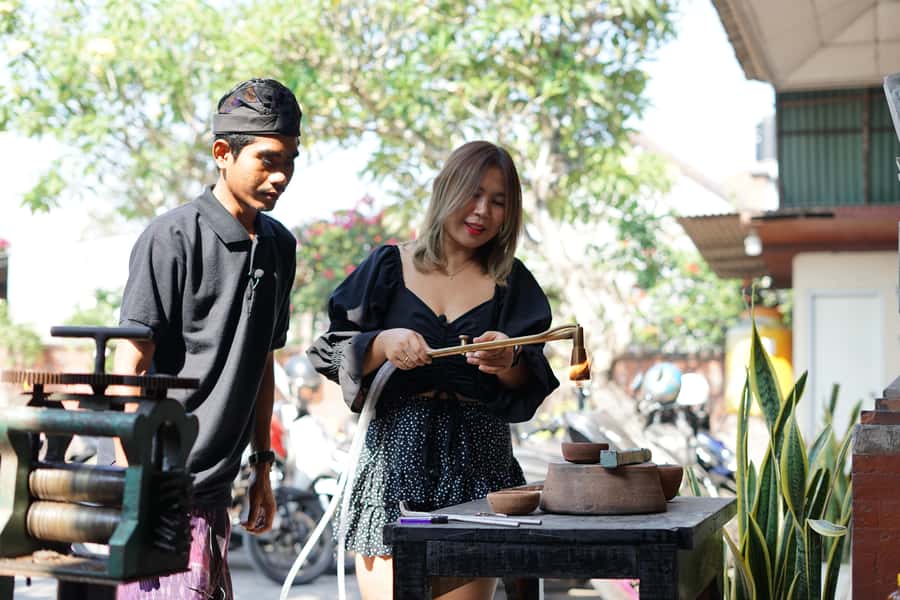
This class is built around a simple promise: you learn the steps and you get to make your own piece. You’ll start at the workshop, then you’ll be introduced to the tools and materials before you begin.
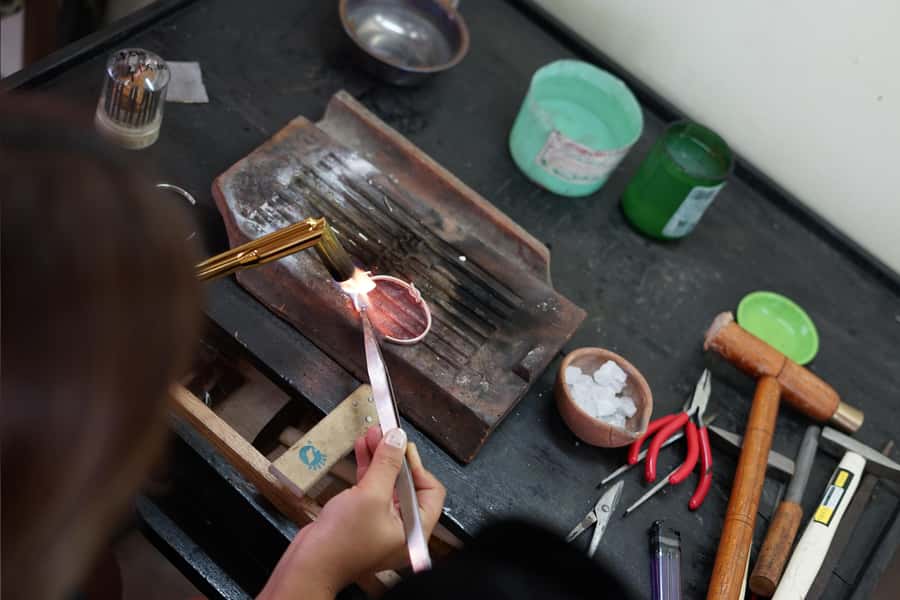
From there, you move through the process step by step, with a local silversmith guiding you. The biggest “wow” moments are tied to the real work: you’ll see the silver melted down and then shaped. It’s not just a craft project; it’s metalworking, done with care.
You’ll likely choose from common jewelry types
Your class focuses on silver jewelry forms like:
- rings
- earrings
- bracelets
- necklaces
- or another piece based on what you can make with the time and silver you’re given
The workshop setups seem designed so you can participate in each stage. In the reviews, that’s one of the most repeated points: guides explain what’s happening, then you get to do the work instead of just taking photos in between.
The vibe: supervised, but you’re not stuck doing nothing
A consistent theme is that you work with guidance, yet you also get room to make decisions. People mention being able to participate independently at different stages, not just sit and watch.
If you’ve ever done a craft class where most of the outcome is created by someone else, you’ll appreciate this approach. It tends to lead to jewelry you genuinely recognize as yours.

7 grams of silver included: how the weight limit affects your design
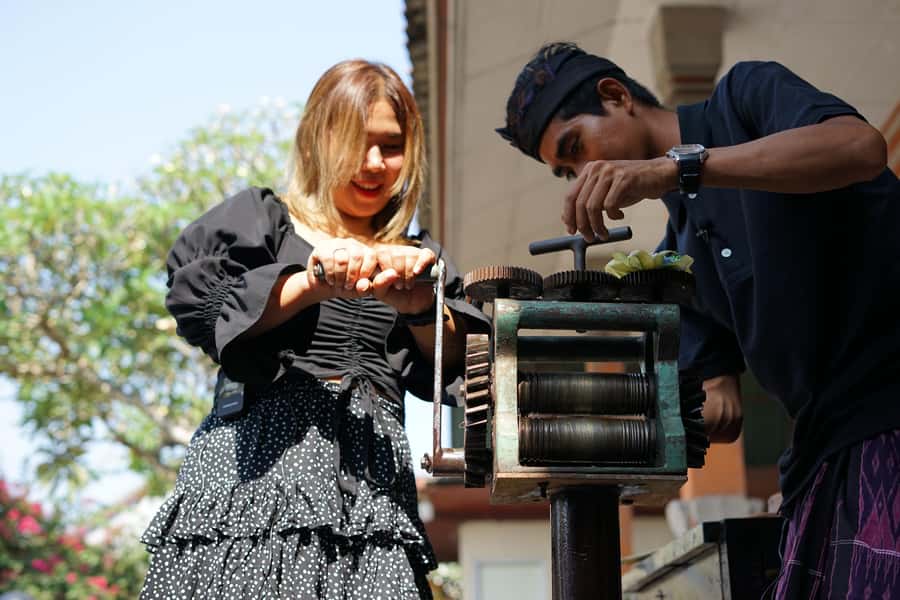
Price and value here come down to how silver is handled.
You get 3 to 7 grams of high-quality silver during your class, and the experience is structured around that amount. If your finished piece ends up using less than 7 grams, the usage is still accounted for as 7 grams. That means the class price isn’t secretly penalizing you for making a smaller item. You get the lesson and the experience based on the class allotment.
The part to plan around is the upper limit. If your jewelry ends up requiring more than 7 grams, you’ll pay an additional fee of IDR 35,000 per gram onsite. That can add up if you’re trying to design something bold, chunky, or very detailed.
Practical design advice before you go
Here’s how to keep your design aligned with the included silver:
- Choose one hero piece (like a ring) rather than trying to build a large, multi-part structure.
- If you want something detailed, expect that fine detail may affect how you use metal.
- If you’re unsure, go with a design you can visualize in your hand, not just on a screen.
If you want gemstones: they’re not included in the class price, but you can purchase them onsite.
Your instructor matters: why the workshop feels personal
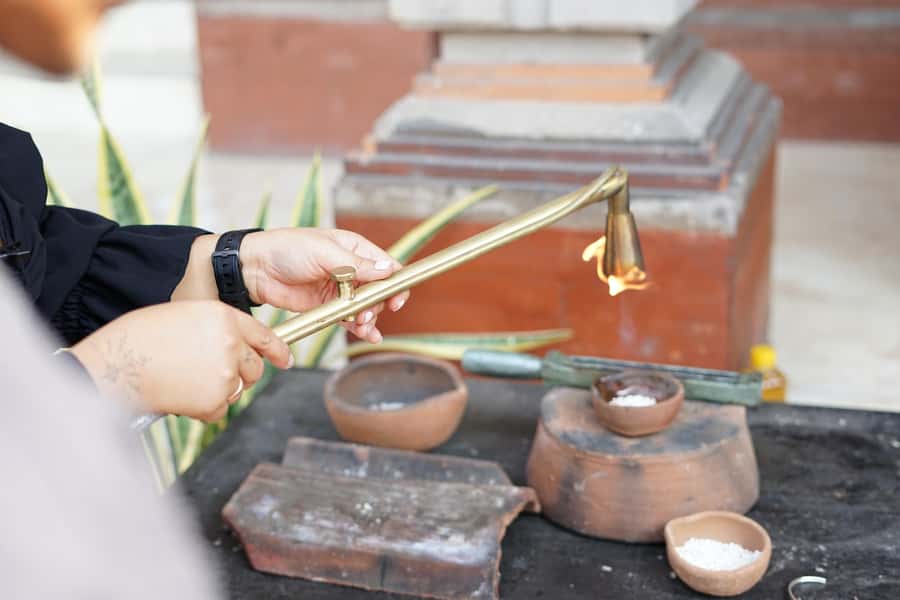
The class is run by local silversmiths, and the teaching style is a big part of why this experience scores so high.
Names that show up in the feedback include Sugita, Wayan, Putu, and Tuedy. Each gets described as patient and careful, with a focus on quality. Even when someone wanted a design that felt tricky, the instructor support reportedly helped turn it into something workable.
One detail I like is that instructors appear willing to adjust to your comfort level. Reviews mention that guides will let you try the steps you want, and handle the steps you’re not comfortable doing. That creates a balance: you still feel the craft, but you’re not stuck wrestling with metal tools while feeling stressed.
Also, the atmosphere gets described as friendly and relaxed. People talk about little moments like humor from the team and even extra kindness like polishing other silver items you arrived wearing. That’s not required by the class description, but it’s the kind of “small service” that makes the workshop feel like a family business rather than a factory line.
Tools, guidance, and the final shine on your piece
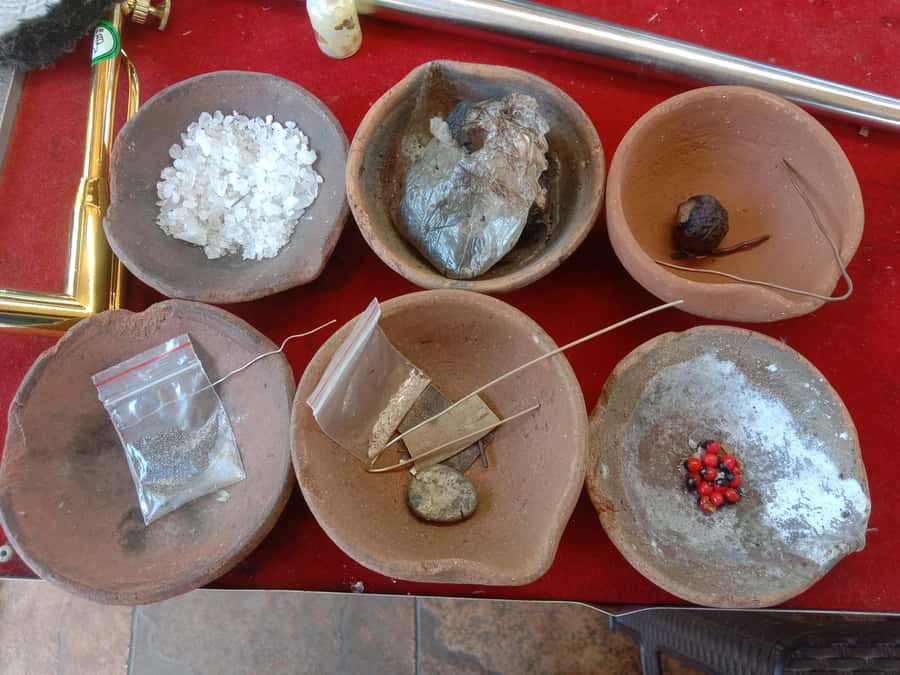
Near the end, you take home your completed piece. That’s the key difference between this and many craft classes: you’re not leaving with a kit or a half-finished item that needs more work later.
The process typically includes finishing steps like shaping adjustments and polishing. In the feedback, people mention polishing the final result and being proud of the smooth look. Some even had instructors polish silver they were already wearing, which suggests the team understands how people actually wear jewelry after buying it.
What you can expect at the end of class
- You finish your selected jewelry design (within the silver allotment)
- You take it home as a real wearable souvenir
- You leave with a new understanding of silverworking steps you can talk through later
That’s also why this is a strong “rainy day” or “low-key evening” option. You’re indoors, focused, and not dependent on weather or outdoor sightseeing.
Extras: buying more silver and adding gemstones onsite
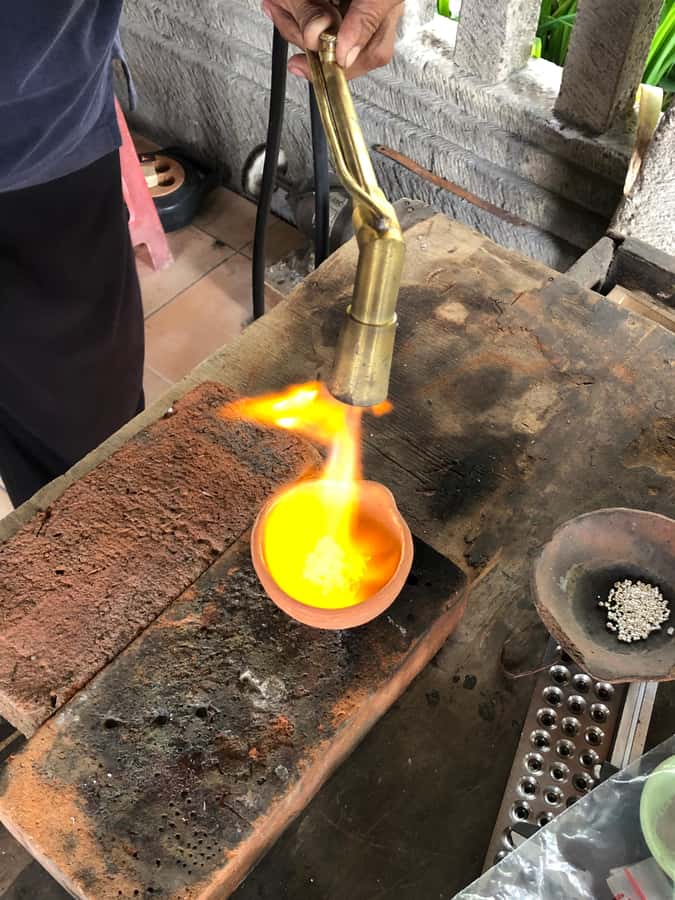
The class includes the essential silver and tools. If you want to complete or upgrade your idea, you have two main onsite options.
First, you can purchase additional silver. That’s the route if you need more than 7 grams for your design. Since the extra cost is charged per gram, this is a good place to decide thoughtfully. If you’re happy with a smaller version, keep it simple. If you feel strongly about adding metal, do it deliberately.
Second, gemstones are available for purchase onsite. Gemstones are not included, so if you’re imagining a ring with stones, treat it as an add-on cost.
There’s also a shop inside, where you can browse other rings, pendants, necklaces, bracelets, and earrings. That can help you find design inspiration if you’re flexible on style.
Value: is $25 fair for a hands-on silver workshop?
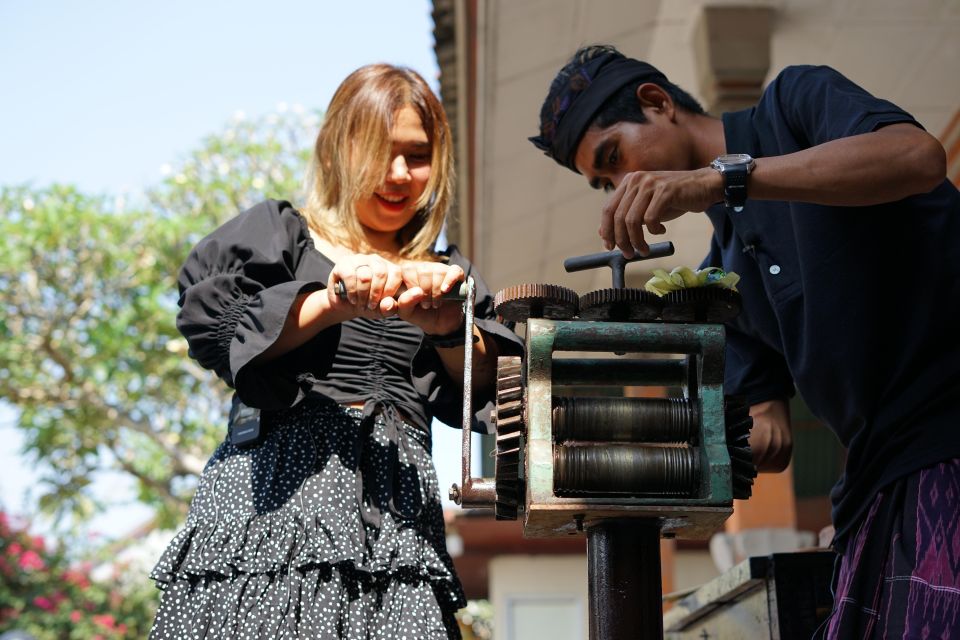
At $25 per person, this class is unusually good value for what you get. You’re not just learning theory. You’re being guided through real steps, using real silver, and taking home the finished product.
A quick reality check on value:
- The included silver (up to 7 grams) is a big cost driver in any jewelry activity.
- You’re paying for instruction from silversmiths plus workshop time and tools.
- You’re leaving with something you can wear immediately, not just a craft item.
The main value risk is planning beyond the silver allotment. If you need extra grams, the onsite IDR 35,000 per gram fee is the one thing that can shift the experience from “great deal” to “more expensive than you expected.”
If you plan your design to fit within 7 grams, you’re likely to feel like you got your money’s worth. And based on the feedback, many people do walk away proud, with jewelry they clearly treat as a real keepsake.
Who should book this class, and who should skip it
This workshop is a strong match if you:
- like hands-on activities where you make something real
- want an authentic Bali craft experience rather than a passive tour
- enjoy working slowly and methodically with a guide nearby
- want a souvenir you can explain with details (melting, shaping, polishing)
It’s also great for couples and friends. Multiple people mention making rings and sharing the experience at the same time.
Two “watch-outs” based on the provided info:
- It’s not suitable for children under 7.
- It’s designed for participants with an interest in learning and exploring new experiences. If you just want a quick photo stop, you may find it slower and more focused than you expected.
Language-wise, the class is listed with English.
Should you book Celuk Bali Silver Class
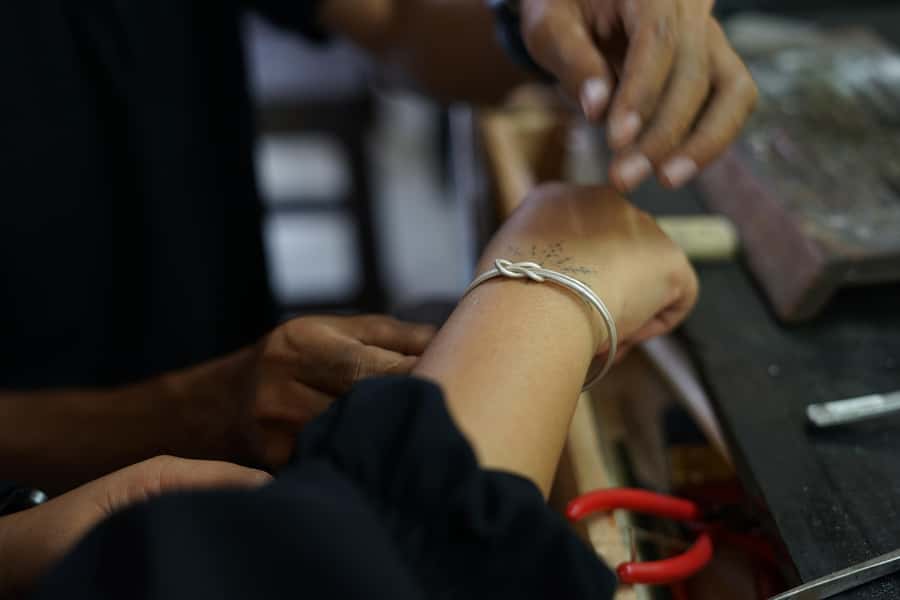
Yes, I’d book it if you want a Bali souvenir that doesn’t feel generic. The mix of hands-on making, patient instruction, and the fact that you take home a finished piece is exactly what turns this into a “one-of-a-kind memory” type of activity.
Here’s my simple decision rule:
- Book if you’re excited to make one main piece (like a ring) within the 7-gram allotment.
- Consider carefully if you’re already imagining a heavy, gemstone-heavy, very metal-intensive design that will likely exceed 7 grams.
If you’re looking for something different from temples and traffic, and you want to leave with jewelry that truly looks like your taste, this workshop is one of the most practical ways to do it in Bali.
FAQ
Where is Celuk Bali Silver Class located?
It’s on Jalan Raya Celuk in Celuk Village, near Sedana Yoga Silver. The workshop is about 400 meters from the Barong statue, east of it.
How much silver is included in the class?
You receive 3 to 7 grams of high-quality silver to use during the class.
What if I use less than 7 grams?
If your silver jewelry is less than 7 grams, the usage is still accounted for as 7 grams.
Can I make different types of jewelry?
Yes. The class supports making pieces such as rings, earrings, bracelets, or necklaces, depending on what you want to create.
What happens if my piece needs more than 7 grams?
If your jewelry uses over 7 grams, you’ll be charged an additional fee of IDR 35,000 per gram onsite.
Are gemstones included?
No. Gemstones are available for purchase onsite, but they are not included.
Is the class suitable for kids and is it taught in English?
Children under 7 years are not suitable, and the class is taught in English.