Making jewelry in Bali feels way more real than buying one. This class turns you into the silversmith for about 3 hours, starting from melted silver and ending with a finished piece you can wear or gift. It’s also a rare kind of souvenir: you control the motif, the shape, and the final polish.
What I like most is that you get real hands-on pure silver work, not just decorating something pre-made. The second win is the step-by-step guidance, with instructors helping you as you hammer, cut, stamp, solder, and finish your design.
One consideration: if you’re the type who wants extra explanation, the language mix (English and Indonesian) can sometimes slow the pace, so come ready with questions and a simple idea for what you want.
In This Review
- Key things to know before you go
- Kuta Silversmith: A Real Hands-On Jewelry Class in 3 Hours
- What You’ll Make With the Included 7 Grams of Pure Silver
- The Step-by-Step Silversmithing Process You Actually Do
- 1) Melt and pour pure silver into a mold
- 2) Hammer the metal into the right shape
- 3) Cut, design, and stamp motifs
- 4) Assemble and solder with fire
- 5) Sand and polish to finish
- Materials and Upgrades: Extra Silver, Gemstones, 24K Gold Plating
- Additional silver (extra cost)
- Gemstones (extra cost)
- 24K gold plating (extra cost)
- Meet the Instructors and the Small-Group Setup
- Finding Kuta Silversmith: Easy Meeting Point in Kuta
- Price and Value: Is $33 Really Worth It?
- Who Should Take This Class (and Who Might Skip It)
- Perfect for
- Consider skipping if
- Practical Tips for a Smooth Session
- Should You Book This Kuta Bali Jewelry Making Class?
- FAQ
- FAQ
- What is the duration of the Kuta Bali Jewelry Making Class?
- How much pure silver is included in the price?
- What types of jewelry can I make?
- Do I need prior experience in jewelry making?
- Does the class include equipment and instruction?
- Are snacks and water included?
- Can I buy extra silver or gemstones during the class?
- Is 24K gold plating available?
- How many people are in the group?
- What is the cancellation policy and can I pay later?
Key things to know before you go
- 7 grams of genuine pure silver included so you’re not starting with scraps
- You make the design choice (ring, pendant, bracelet, or earrings) and shape it yourself
- Small group up to 8 people, so hands-on help is actually possible
- You follow the full process, including melting, pouring, hammering, soldering, and polishing
- Extras are optional, like gemstones or real 24K gold plating for an added fee
- Instructors teach in English and Indonesian, including help from craftsmen like Freddie, Sam, and Nick
Kuta Silversmith: A Real Hands-On Jewelry Class in 3 Hours
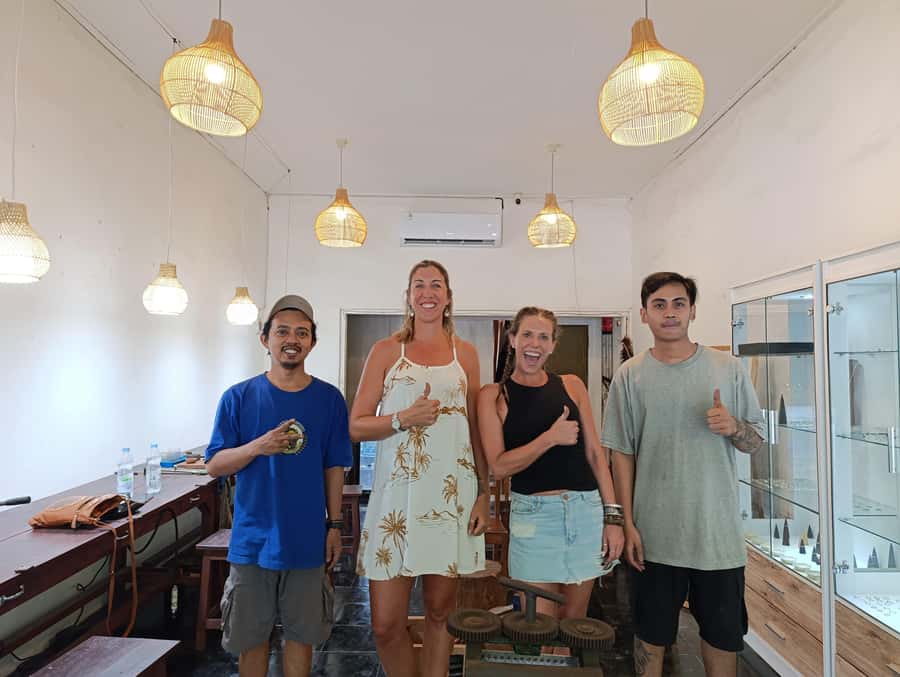
This is a Kuta workshop built around making jewelry the old-school way. You’re not watching a demo while everyone else does the work. You’re doing the work—molding, shaping, assembling, and finishing—under instructor guidance.
The big value here is control. You pick what you want to create (ring, pendant, bracelet, or earrings), and then you choose motifs from sample designs or you bring your own concept. That matters because a finished piece you made with your own hands carries a different kind of meaning than any store-bought item.
And yes, it’s fun. You’ll leave with something that looks like it belongs on a necklace chain or your finger, not something that feels like a craft project from vacation school.
You can also read our reviews of more tours and experiences in Kuta.



What You’ll Make With the Included 7 Grams of Pure Silver
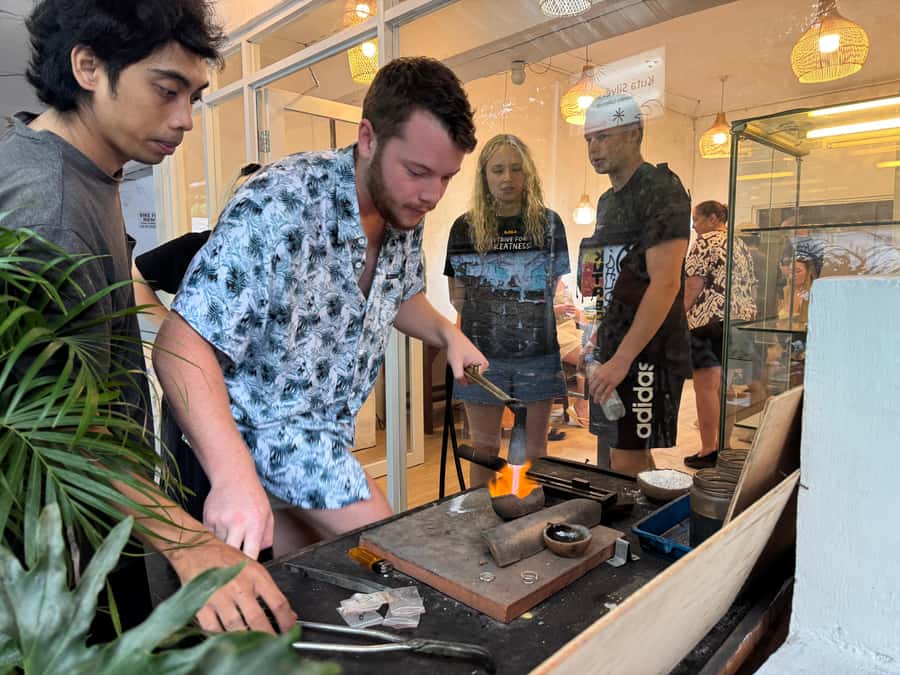
The class includes 7 grams of genuine pure silver. That’s the heart of the experience because it sets expectations for what you can realistically take home. Your final design will be based on the silver you’re working with, plus whatever add-ons you choose.
You can make:
- a ring
- a pendant
- a bracelet
- earrings
Most people choose a piece that fits their trip story: a Bali-themed motif, something personal for a gift, or matching items for a couple or friends. The workshop offers sample designs, but you can also create your own.
If you want to go bigger or make something more detailed, you can buy additional materials. Just note that extra silver and gemstones cost extra (details below), so your budget can shift quickly if you upgrade your design.
The Step-by-Step Silversmithing Process You Actually Do
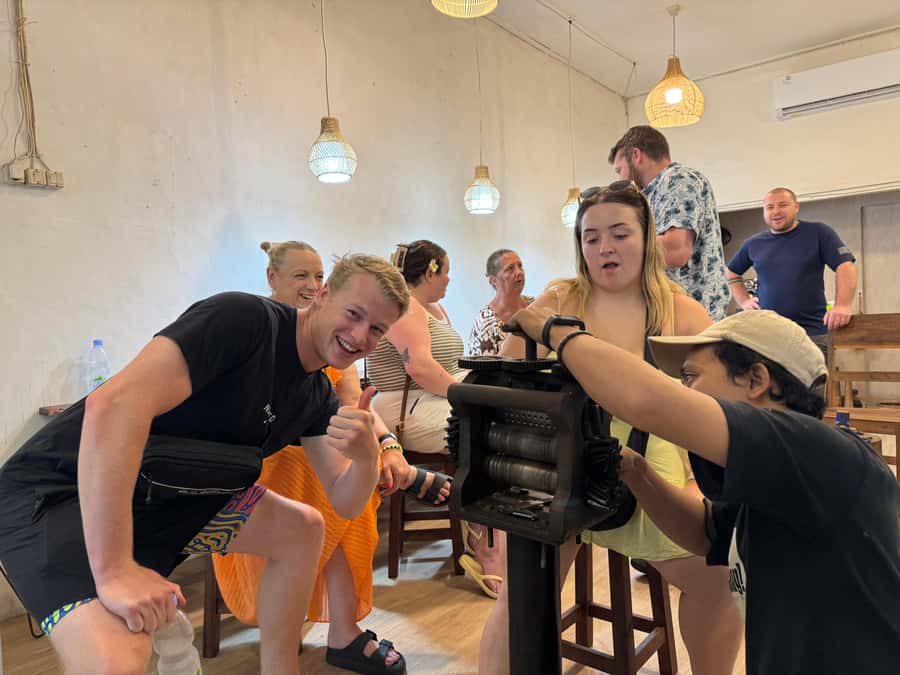
You’ll go through the full jewelry-making workflow, from metal to shine. Expect a guided sequence with you doing each part.
Here’s what happens during the class:
1) Melt and pour pure silver into a mold
You start by melting pure silver and pouring it into a steel mold. This is the first moment when it stops being theoretical. Silver becomes liquid, then becomes a solid base you’ll shape.
Practical tip: this is the part where it helps to be attentive. Watching once is not enough; you want to understand what your instructor wants you to do so you get a clean starting piece.
2) Hammer the metal into the right shape
Next comes hammering. You shape the metal to the width and length based on what you’re aiming to make. This step controls comfort and appearance—especially for rings and bracelets.






3) Cut, design, and stamp motifs
Then you cut or create designs, including stampings. This is where the motif choices matter. If you love patterns, symbols, or a specific theme from your time in Bali, this is your chance to translate it into metal.
4) Assemble and solder with fire
You’ll assemble the jewelry and solder it. This step feels a bit like the craft version of “building the final form,” where pieces become one.
5) Sand and polish to finish
Finally, there’s sanding and polishing until you get that wearable shine. This last phase is where the result becomes satisfying to hold and show off.
Why this sequence is so valuable: you learn how the metal behaves at each stage. Even if you never make another piece, you leave understanding what “quality” looks like in the real process, not just in the finished photo.
Materials and Upgrades: Extra Silver, Gemstones, 24K Gold Plating
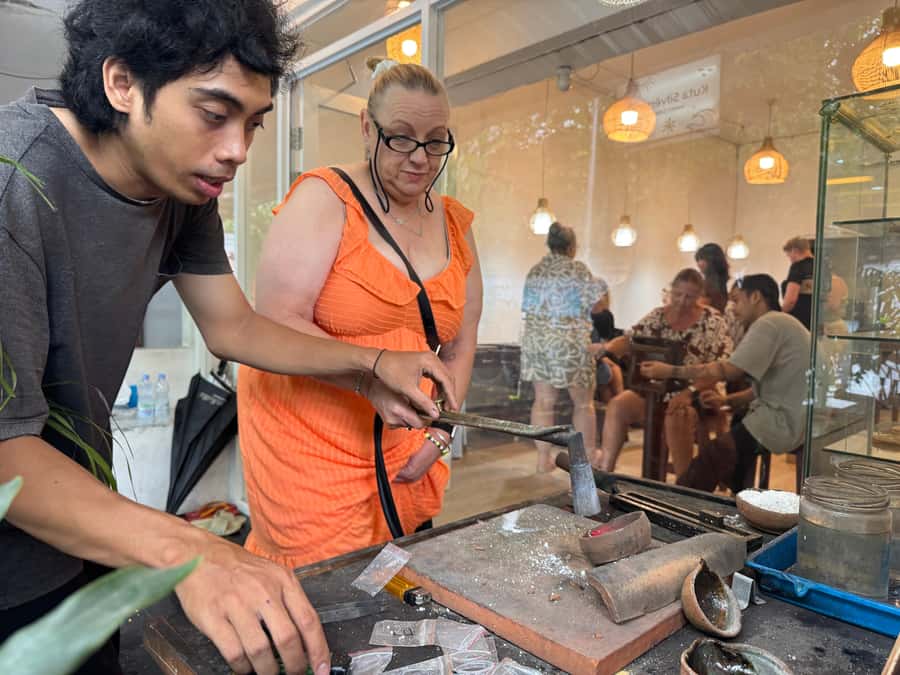
The included 7 grams of pure silver covers your core piece. If you want more size, more detail, or a more dramatic look, the workshop offers extras.
Additional silver (extra cost)
You can purchase more silver. Your info includes two stated per-gram rates, 35k IDR per gram and 60k IDR per gram. Because of the difference, it’s smart to ask the instructor which rate applies to the upgrade you want before you commit.
Gemstones (extra cost)
Gemstones are available for an additional fee, with pricing listed between 50k and 250k IDR depending on what you choose.
24K gold plating (extra cost)
If you want a real 24K gold-plated look, it costs 250k IDR for each piece coated with 24K gold.
My practical advice: decide your upgrade plan early. If you’re still undecided near the end, it’s easy to run out of time (and focus) before the piece is finished. Pick your motif first, then decide whether you want sparkle and where.
Meet the Instructors and the Small-Group Setup
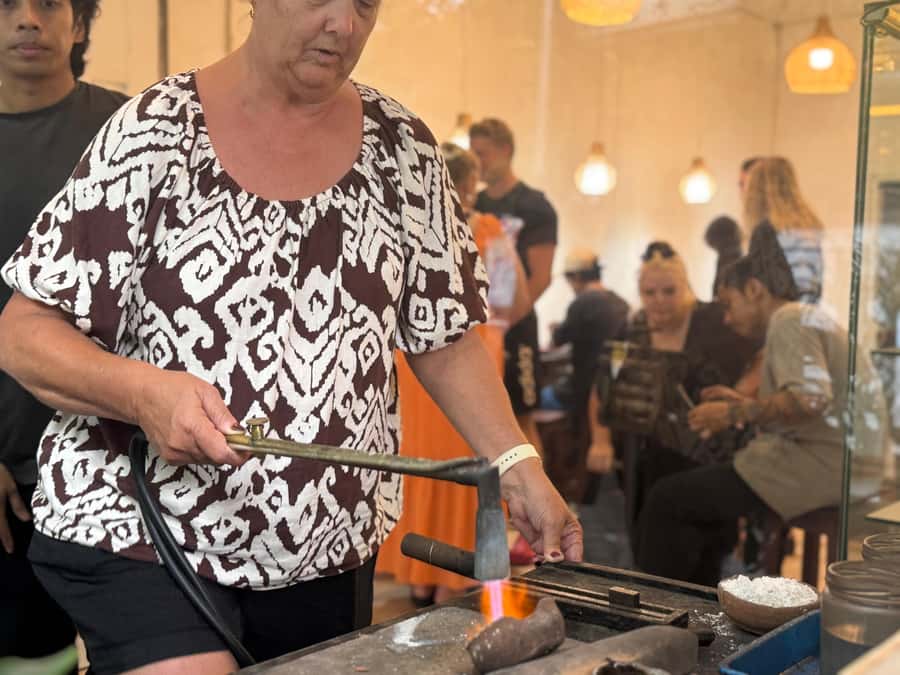
This class runs as a small group limited to 8 participants, which makes a huge difference. When you’re working with tools and metal, you need quick help. A crowd would turn this into a waiting game.
Languages are English and Indonesian, and the instructors guide you step by step. In the stories I’ve heard from previous students, craftsmen like Freddie, and instructors identified as Sam and Nick, were praised for being patient and helpful during the process.
You should also expect the team to adjust to different skill levels. You don’t need jewelry-making experience to start. That said, if you can bring a clear idea (even a simple one), you’ll get more confidence as you go.
Finding Kuta Silversmith: Easy Meeting Point in Kuta
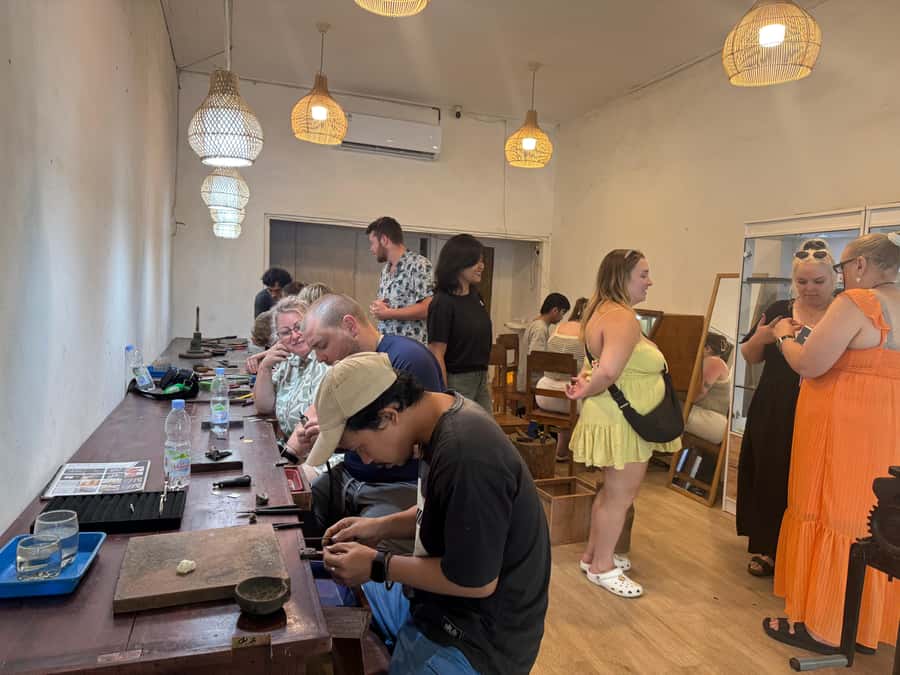
The meeting point is in Kuta, around lots of similar class-style businesses. Look for the workshop called Kuta Silversmith, next to a cellphone store and a surfing shop.
If you’re arriving on foot or by ride-hailing, give yourself a few extra minutes. Workshop entrances can look similar from the street, and a quick confirmation saves stress.
Price and Value: Is $33 Really Worth It?
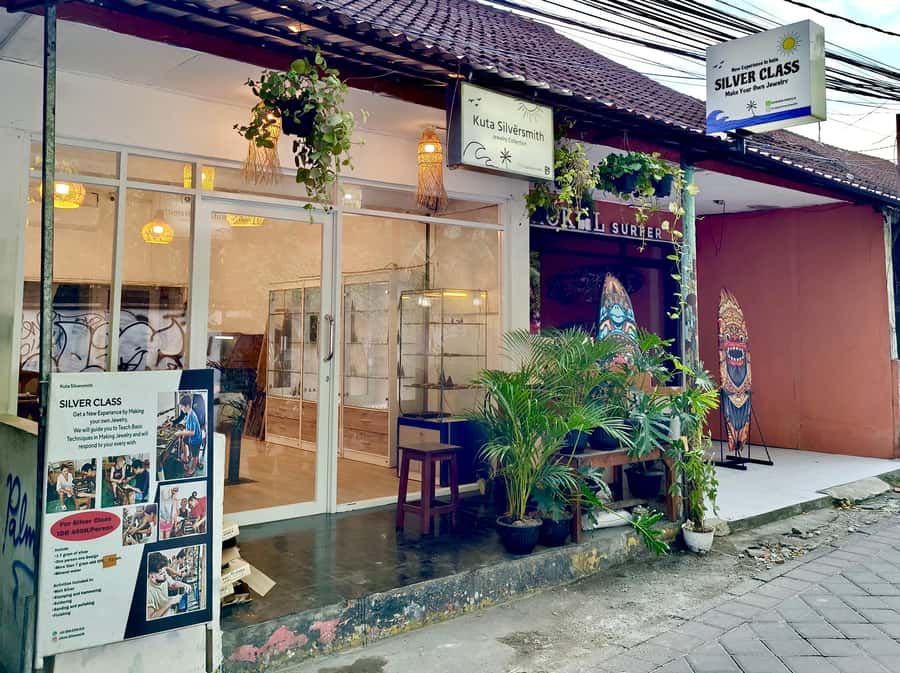
At $33 per person, the headline value is the inclusion of 7 grams of genuine pure silver. That alone is why this class often feels fair compared to the cost of buying finished silver souvenirs.
In addition to the silver, you get:
- all equipment for the class
- snacks and mineral water
- Wi-Fi
- professional instruction in English/Indonesian
What isn’t included is the reason you should budget with intention. If you add extra silver, gemstones, or 24K gold plating, the final cost can rise above the base price.
Here’s how I’d think about value:
- If you want a one-of-a-kind keepsake you helped create, this is strong value.
- If you just want a cheap trinket, a factory-style souvenir shop may be faster.
- If you like the idea of gifts, the included silver piece gives you something meaningful you can’t easily replicate.
Who Should Take This Class (and Who Might Skip It)
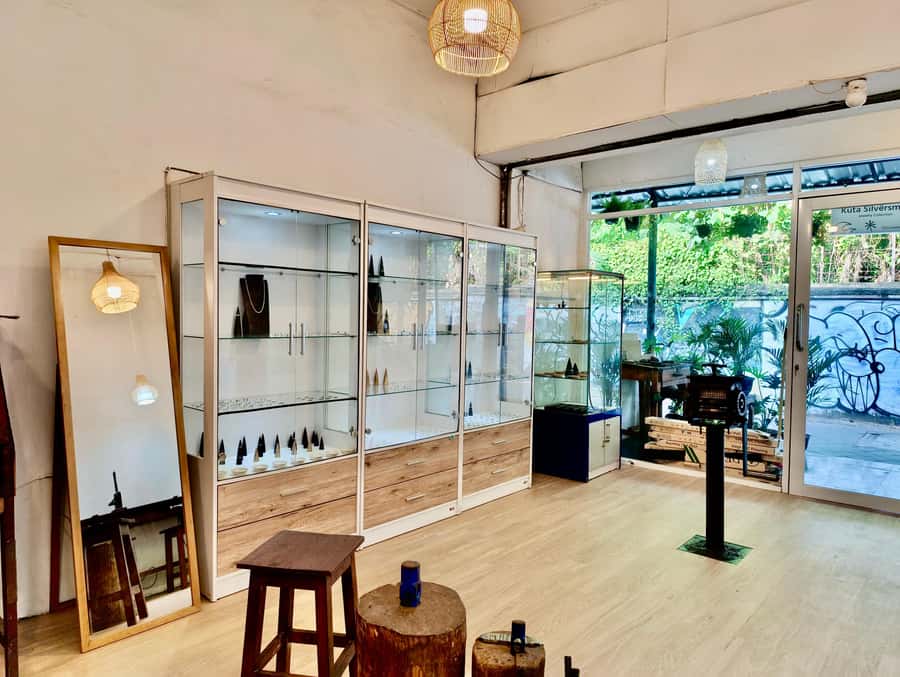
Perfect for
- Beginners who want to try a real craft step by step
- Couples who want matching rings or a shared pendant idea
- Families looking for an activity that creates a tangible memory
- Gift shoppers who want to bring something personal home
Consider skipping if
You only want passive sightseeing and hate hands-on tasks. This class involves active making, and you’ll want to be comfortable learning by doing.
Practical Tips for a Smooth Session
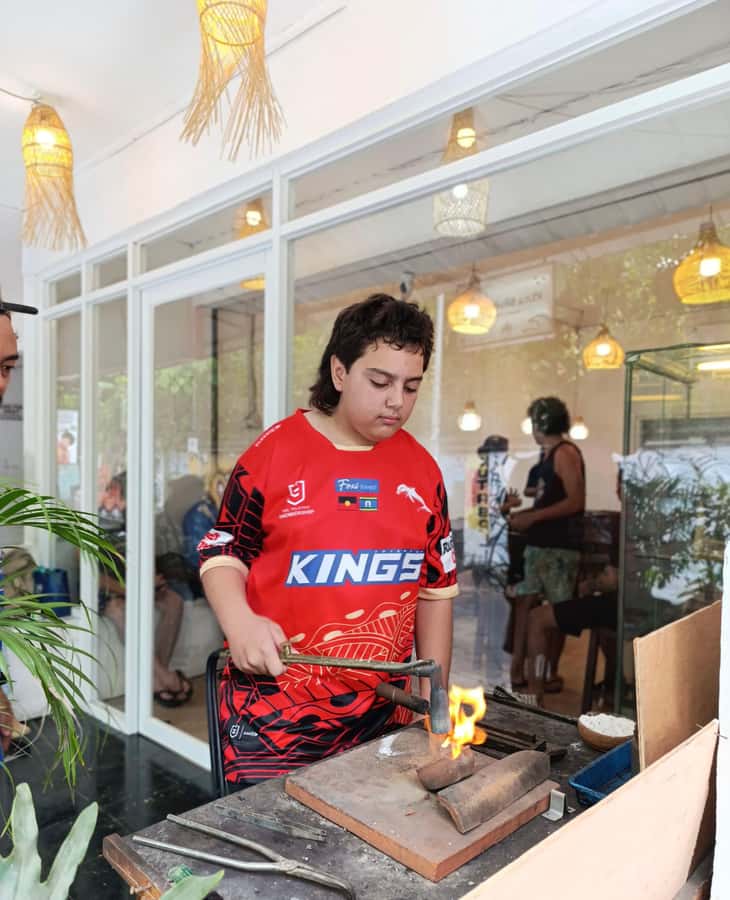
You don’t need prior experience. Still, a little preparation makes the day better.
- Wear comfortable clothing that you don’t mind getting a bit messy
- Come with a basic concept: ring vs. pendant vs. earrings, plus a motif idea
- If you want upgrades, decide in time so you don’t feel rushed later
- Keep your expectations realistic: your included silver is the core budget, and the look depends on what you choose
Also, because it’s a small group, don’t be afraid to ask for help when you get stuck. The whole point is getting guidance while you build your piece.
Should You Book This Kuta Bali Jewelry Making Class?
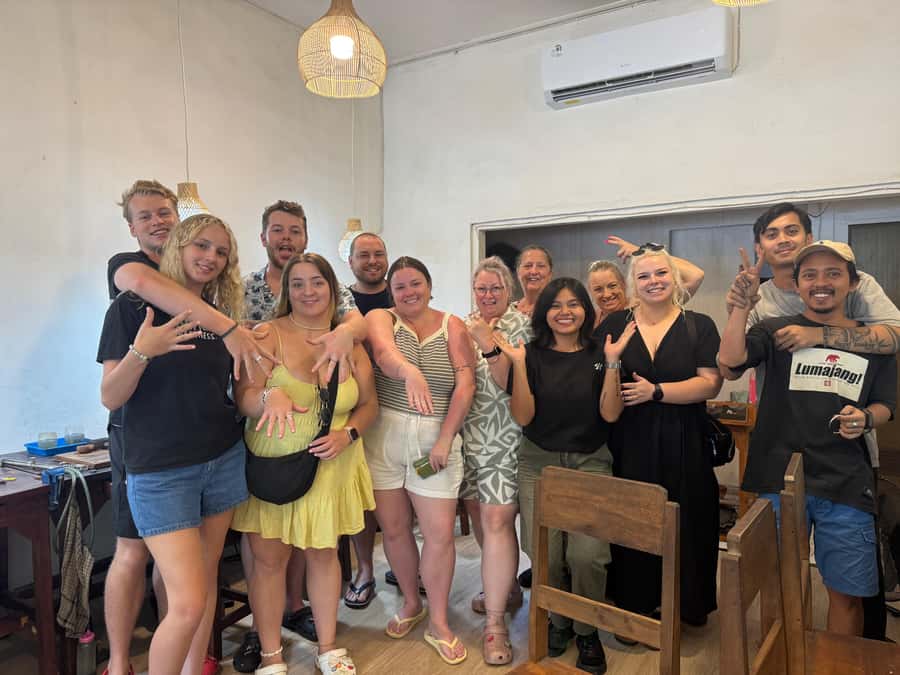
If you want a Bali souvenir that feels personal, I’d book this. The combination of hands-on craft, a full process from melting to polishing, and 7 grams of genuine pure silver included makes it one of the more meaningful things you can do in Kuta.
Choose it especially if you’re traveling with someone you want to share the memory with, or if you like the idea of giving a gift that came from your own effort. The only reason to hesitate is if you need lots of detailed explanation and think the English/Indonesian mix could frustrate you. If that’s you, go in with questions ready and keep your design idea simple.
FAQ
FAQ
What is the duration of the Kuta Bali Jewelry Making Class?
The class lasts 3 hours.
How much pure silver is included in the price?
The price includes 7 grams of genuine pure silver.
What types of jewelry can I make?
You can make a ring, pendant, bracelet, or earrings.
Do I need prior experience in jewelry making?
No. The workshop is suitable for beginners, and no prior experience is required.
Does the class include equipment and instruction?
Yes. All equipment is provided, and you get professional instruction.
Are snacks and water included?
Yes. Snacks and mineral water are included.
Can I buy extra silver or gemstones during the class?
Yes. Extra silver is available for an additional fee, and gemstones can be purchased for 50k to 250k IDR. Note that the information provided lists two per-gram rates for extra silver, so it’s smart to ask which applies.
Is 24K gold plating available?
Yes. Real 24K gold plating is available for an added fee of 250k IDR per piece.
How many people are in the group?
It’s a small group limited to 8 participants.
What is the cancellation policy and can I pay later?
You can cancel up to 24 hours in advance for a full refund. You can also reserve now & pay later.