Volcano sunrise starts with dark steps. This 2 days/1 night Mt. Rinjani trekking route from Senaru to the Setampol Crater Rim is built around one big payoff: morning crater-rim views you can only get by earning them on foot.
Two things I especially like. First, the hike walks you through dense tropical forest on Lombok, so the day isn’t just “climb, climb, climb.” Second, the crater rim is your photo moment, with sunrise views toward the 3 Gilis and Mount Agung in Bali, plus the drama of Segara Anak’s active volcanic scenery in the morning light.
One consideration: this is not a casual trek. The route involves steep, rocky going (and for some people, the pace is the difference between making sunrise or missing it), so you’ll want to be honest about your fitness and climbing comfort.
In This Review
- Key Things That Make This Rinjani Trek Worth Your Time
- How the 2 Days on Mount Rinjani Really Feel
- Senaru to Setampol: Timing That Changes Your Results
- Day 1: Into Lombok’s Tropical Forest, Then Up the Stony Climb
- Camping on the Crater Rim: Why “1 Night” Matters
- Sunrise Views: 3 Gilis, Mt. Agung, and the Drama of Segara Anak
- Day 2: The Descent Back to Senaru (Expect Concentration)
- What’s Included (And What You Should Confirm)
- Gear and Fitness: Your Real Checklist for Setampol
- Getting Picked Up: How to Plan for Early Starts
- Safety Reality: Rain or Shine and Airport-Style Security
- Price and Value: Is This a Good Deal?
- Should You Book the Mt. Rinjani 2D1N to Setampol From Senaru?
- FAQ
- What time do I meet the crew in Senaru?
- Where does this trek start and where do you end?
- Is this trip private or shared?
- What’s the main target: Setampol Crater Rim or the whole summit?
- What language is the guide?
- What should I bring for the trek?
- Is the trek canceled if it rains?
Key Things That Make This Rinjani Trek Worth Your Time
- Senaru start with a real briefing: you meet the crew around 07:00–07:20 in Senaru (or the night before if you’re staying nearby).
- Dense tropical forest hiking: you’re not only exposed to open volcanic terrain; you spend meaningful time in Lombok jungle.
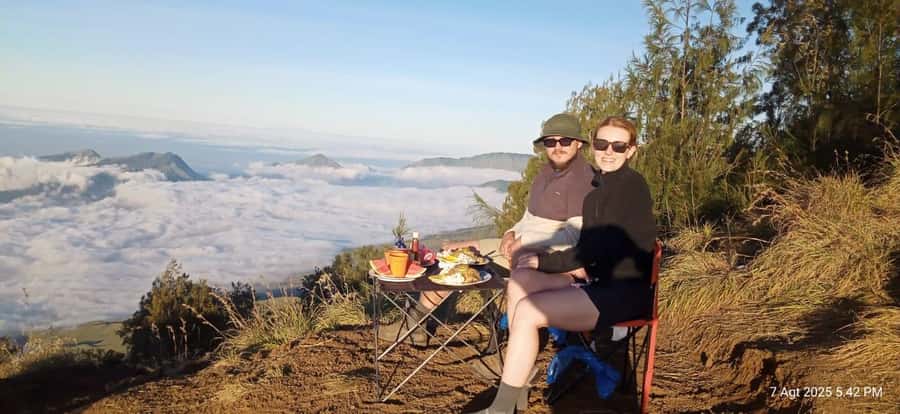
- Camping on Setampol Crater Rim for sunrise: the plan is timed so you can realistically watch the morning from the rim.
- Big visual hits in one morning: views tied to the 3 Gilis, Mt. Agung, and the Segara Anak basin.
- Guide support matters: one well-rated experience highlights a guide (Ranjit) who handled safety and kept trekkers fed and warm while waiting for sunrise.
- Expect steep, stony trail conditions: at least one traveler found the trek extremely demanding, so pacing is not optional.
How the 2 Days on Mount Rinjani Really Feel
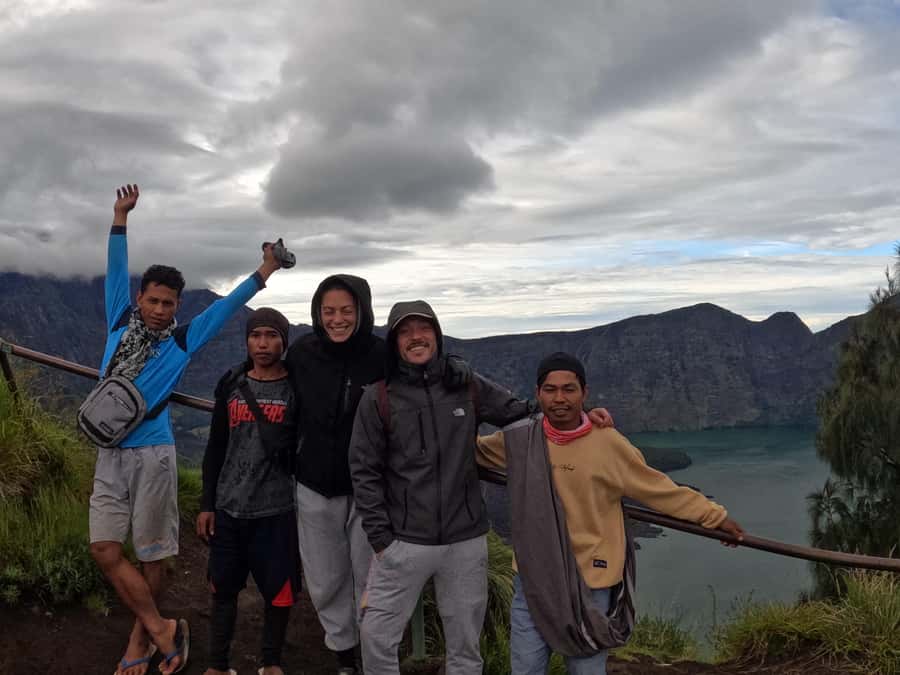
This is a one-route, two-day rhythm: you trek up to the Setampol crater rim, spend the night at the rim area, then head back down to Senaru. The “2 days” part mostly means one long climb day plus a sunrise-and-descent morning. If you’re short on time but still want the famous Rinjani feeling, this style of itinerary can be a strong fit.
The climb starts from Senaru, and the goal is the Setampol crater rim. From there, the views turn into something you can’t fake. You’re not just looking at a volcano; you’re looking outward toward the Gilis and Bali’s Mt. Agung, while also seeing the Segara Anak landscape below.
You should also expect a long day even when the route “only” spans one main hiking push. The reason is simple: altitude plus steep sections plus night-time walking (in many Rinjani itineraries like this) makes every kilometer feel slower than it looks on a map.
You can also read our reviews of more tours and experiences in Senggigi.
Senaru to Setampol: Timing That Changes Your Results
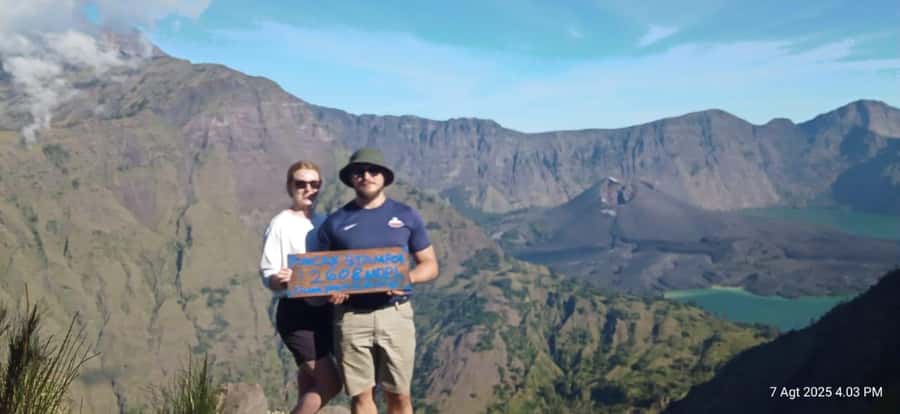
The schedule is built around a practical sunrise strategy. The information you’ll receive points to a start around 07:00–07:20 heading toward Setampol. If you keep that pace and the route conditions cooperate, you’ll be in position to camp on/near the crater rim and watch sunrise from there.
This timing is important for two reasons:
- Your body needs time to adapt to the altitude and steepness.
- Your camera needs light—and sunrise views depend on being at the rim before the show begins.
If you’re coming from elsewhere on Lombok, pickup times can be very early. The provided pickup guidance lists starting around 04:00 from Kute Lombok, around 05:00 for Senggigi/Mataram (double-check your confirmation because the time is listed in the info), and 05:30 from Bangsal. If you’re not in Senaru, ask the operator to confirm your exact pickup time in writing.
Day 1: Into Lombok’s Tropical Forest, Then Up the Stony Climb
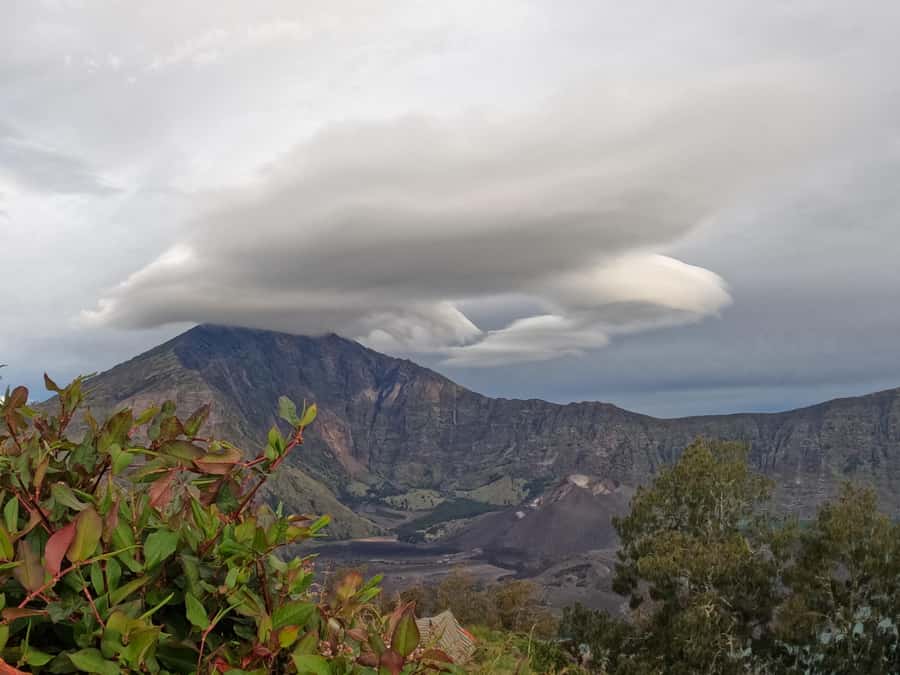
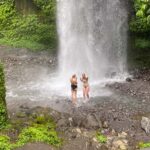
Day 1 is where the trail personality changes. You’ll walk through dense tropical forest first, which is a welcome break from only dealing with volcanic rock. The shade and plant life make the early part more bearable—plus it helps you settle into the rhythm of trekking.
As you gain height, the trail shifts toward stony and steep uphill sections. This is where you’ll feel your fitness: the path can be uneven, and you’ll want sure-footed steps. One negative experience from a past trek described climbing that felt like extreme uphill through jungle, over stones and rocks, with a lot of dust and fatigue. That’s a good reality check: conditions can be intense, even if the route is only two days total.
What keeps this from being purely brutal is the payoff. The plan is to reach the Setampol crater rim where you can capture your moment with photos. On a clear morning this kind of rim view is exactly what you came for.
Camping on the Crater Rim: Why “1 Night” Matters
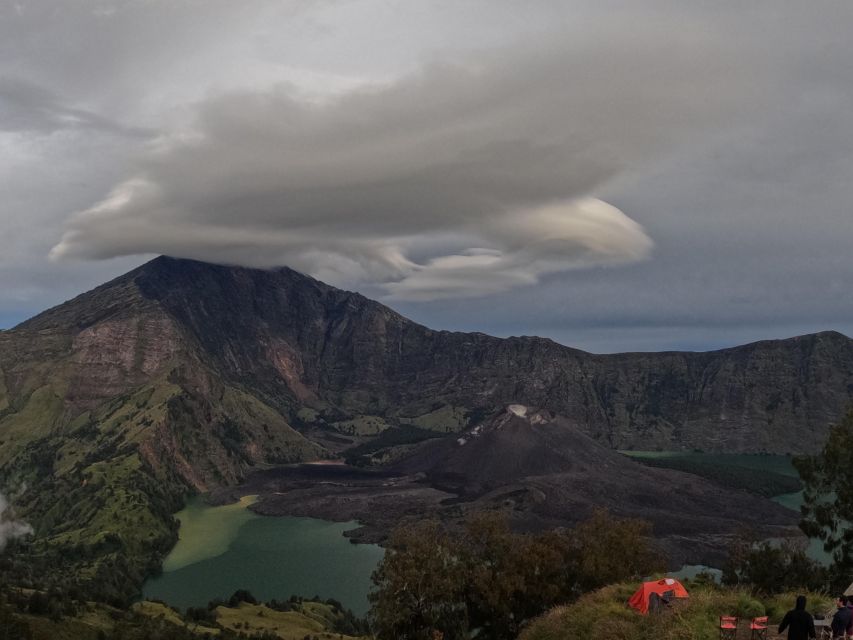
One night on or near the Setampol crater rim is not a throwaway detail. It’s the core reason this itinerary works for sunrise views.
When you camp at the rim, you trade comfort for position. Instead of rushing back down right after a high point, you stay close to where the best light happens. That also means you’ll have time to adjust layers, prep for colder air, and wait without panicking over minutes.
A highlight from a top-rated experience includes real, practical warmth at the top while waiting for sunrise. In that example, the guide (Ranjit) made sure the trekker stayed safe, was fed and watered, and was warm while waiting for the first light. You should still assume conditions can be chilly and windy—bring layers and plan for waiting.
Sunrise Views: 3 Gilis, Mt. Agung, and the Drama of Segara Anak
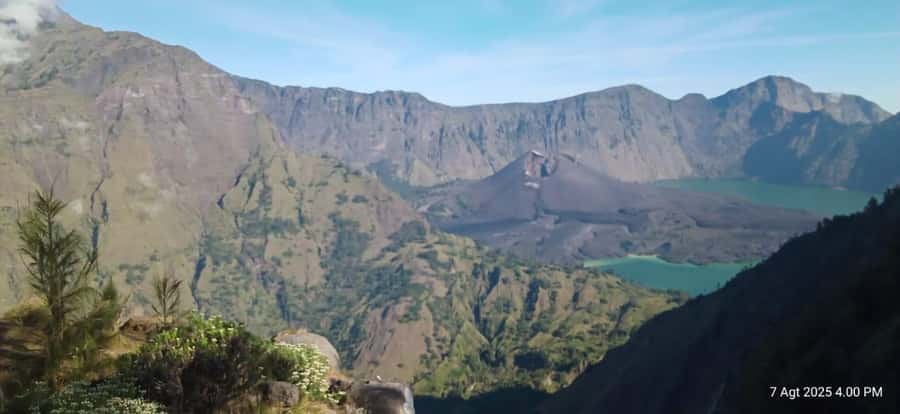
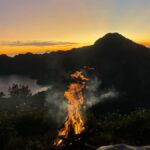
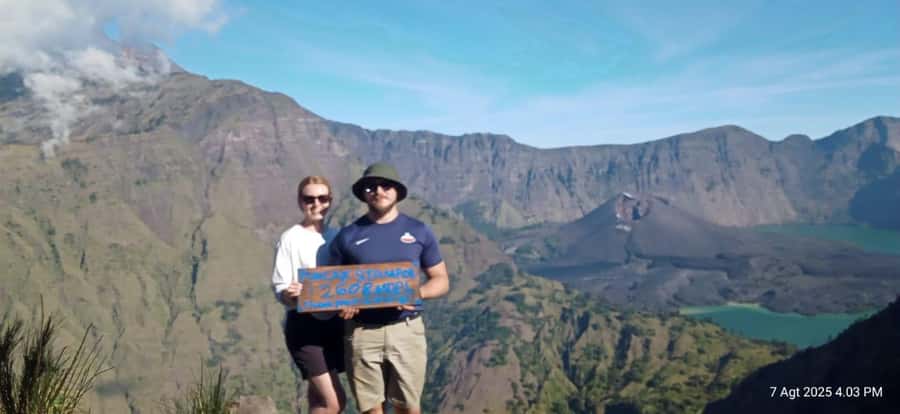
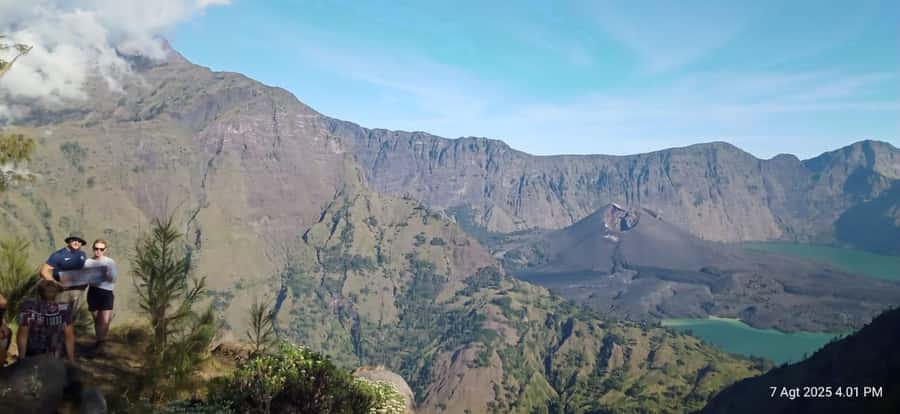
Sunrise is the big event. The route is designed around spectacular morning views from the Setampol rim area, including:
- the 3 Gilis
- Mount Agung in Bali
- sightlines over the Segara Anak area, including smoke associated with activity in the volcanic basin
The info also references sunrise coming from near the valley of Mt. Sanggka Reyang, which matters because sunrise views aren’t just about “being high.” It’s also about the direction your rim points and the way the morning light hits the surrounding islands.
If you’ve never watched a volcano wake up, this is the moment. The combination of distant island silhouettes (the Gilis) with the smoking volcanic scenery around Segara Anak is a strong visual mix. Even if you’re not a geology nerd, your brain will do that thing where it can’t decide if it’s looking at the ocean or a movie set.
One practical note: sunrise depends on your pace. The stoniest, steepest parts are where time can slip. If you climb slowly or stop too often to catch your breath, you may miss sunrise. A past traveler’s advice was to plan around roughly 1 hour per kilometer for the ascent. That’s not a promise, but it’s a useful mental model for not underestimating the effort.
Day 2: The Descent Back to Senaru (Expect Concentration)
Day 2 typically starts with sunrise and then shifts into descent. The descent can feel easier than the climb, but don’t let that fool you. Rocky downhills demand concentration, good foot placement, and often quicker adjustments to your balance.
This is also where trekking poles can help (if you use them), and where gloves become more than a nice-to-have for gripping rough ground. The “stony and steep up” detail is especially relevant, because steep down can be just as tiring for your legs and joints.
You’ll end back at Senaru village, which is convenient because it lets you return to a place with normal logistics after spending the night in the rim area.
What’s Included (And What You Should Confirm)
Based on the provided activity details, you get:
- a live English guide
- an audio guide in English
- a private group setup
- trekking support and snacks mentioned as part of the trek experience
In one well-rated account, the guide emphasized safety and made sure the trekker was fed and watered, and even helped with warmth while waiting for sunrise. That’s exactly what you want from a guide here: not just “pointing the way,” but keeping you steady on a tough schedule.
But here’s where I tell you to be careful: one experience with a low rating said that park entry and other items were extra. That means you should confirm, before you go, what costs are covered in your package versus what gets added on arrival. If you’re planning a low-budget trip, don’t assume everything is included just because the trek is sold as low-cost.
Gear and Fitness: Your Real Checklist for Setampol
You should bring:
- camera
- gloves
- cash
- daypack
- charged smartphone
- trekking gear
That list is small, but it points to the real needs: protecting your hands for rough footing, having cash for any extra on-site requirements, and keeping your phone powered for photos and navigation support.
Fitness-wise, this trek is for people who can handle steep, uneven terrain for hours. One traveler in their 30s described the ascent as requiring conditioning and perseverance, and the descent as needing focus and readiness for slipping—basically: don’t treat this like a scenic walk.
Who it’s best for:
- adults comfortable with steep hiking and rocky trails
- sunrise lovers who can commit to a long schedule
- travelers who want a more time-efficient Rinjani experience (one night instead of longer summits)
Who should rethink it:
- anyone under 12
- anyone over 70
- anyone over 95
Getting Picked Up: How to Plan for Early Starts
If you’re staying in Senaru, the crew meets you around 07:00–07:20 in Senaru—either at an office or at your accommodation area. If you’re staying in Senaru, you also might get pickup from your hotel, and you may get a briefing the night before.
If you’re staying in other areas, pickup happens earlier and may cost extra. The guidance lists:
- Kute Lombok: around 04:00 (long drive, listed 3–4 hours)
- Senggigi or Mataram: around 05:00 (listed 2 hours, confirm your time)
- Bangsal: around 05:30 (listed 1.5 hours)
These early starts are part of the experience. They help you reach the trail on schedule for the rim and sunrise plan.
Safety Reality: Rain or Shine and Airport-Style Security
Two things are clearly stated:
- the trek runs rain or shine
- you go through airport-style security before entering the area
Rain changes the trekking feel. Stony trails get slick. That’s why gloves, proper footwear, and patience matter more than ego. If you’re prone to rushing, this is the wrong kind of hike for that habit.
Security is also a reality check. Build buffer time around your meeting so you’re not stressed when it’s time to start walking.
Price and Value: Is This a Good Deal?
No price number is given here, so I’ll judge value by what you get:
- Two days/one night focused on a specific, famous target: Setampol Crater Rim
- English live guide plus an English audio guide
- private group format (usually means more attention and less crowd chaos)
- morning viewing built around real altitude and timing
If you compare this to day-only options, the value often improves because sunrise requires position. A one-night rim plan is usually worth it if sunrise is your goal and you can handle steep terrain.
But value can drop if you arrive thinking everything is covered and then learn extra costs on top. One low-rated account explicitly mentioned entry and other items were extra. So the smart move is: ask for a full breakdown of what’s included, including park/entry fees and any on-site payments.
Should You Book the Mt. Rinjani 2D1N to Setampol From Senaru?
I’d book this if:
- you want the Rinjani taste without committing to a much longer trek
- you’re serious about crater-rim sunrise with views toward the 3 Gilis and Mt. Agung
- you’re comfortable with steep, rocky hiking and can keep a steady pace
I wouldn’t book it if:
- you hate cold nights, long walking days, or uneven footing
- you’re hoping sunrise is guaranteed even if you move slowly
- you don’t want to handle the possibility of extra on-site costs (confirm what’s included first)
If you do book, the best planning tip I can give is simple: treat pace like part of the itinerary. Start strong, don’t burn out in the first steep sections, and keep moving so you actually arrive at Setampol in time for sunrise.
FAQ
What time do I meet the crew in Senaru?
You meet in Senaru around 07:00–07:20. If you’re staying in the Senaru area, the crew may meet you at your accommodation or pick you up in the morning. There’s also an option for a briefing the night before.
Where does this trek start and where do you end?
It starts in Senaru and returns back to Senaru after spending time on the Mount Rinjani National Park route to the Setampol crater rim.
Is this trip private or shared?
It’s listed as a private group.
What’s the main target: Setampol Crater Rim or the whole summit?
This itinerary focuses on trekking to the Setampol Crater Rim, with sunrise viewing from the rim area as a key goal.
What language is the guide?
The live guide is English, and an English audio guide is included.
What should I bring for the trek?
Bring a camera, gloves, cash, a daypack, a charged smartphone, and trekking gear.
Is the trek canceled if it rains?
No. The tour is stated to run rain or shine.