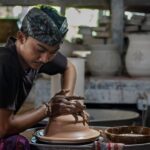
A pottery session can feel like therapy, and this one is. In Ubud, you get to work with 2kg of clay while an English-speaking instructor helps you form one hand piece and one wheel-thrown piece.
I love that the class is small-group and personalized, so you’re not just following a demo. In the best cases, instructors like Putra and Dalem slow things down, help you fix shaping problems fast, and let you make choices about what you actually want to build.
One thing to plan for: your pottery needs time to dry and be fired and glazed, so you may not be able to take it home immediately unless your trip schedule has enough buffer days.
In This Review
- Key things to know before you go
- The real draw in Ubud: 2kg of clay and real making time
- What the class covers in 3 hours (and why the order matters)
- 1) Start with an intro and demonstration
- 2) Hand-building work you can customize
- 3) Wheel-throwing time for that satisfying round shape
- 4) Glazing so you’re not stuck with clay color only
- Your finished pottery: what’s included and what to expect after class
- How long until you get your items
- Instructors and the small-group feel: why patience is part of the product
- Getting there: meeting point, hidden-studio feel, and Grab reality
- Price and value: why $36 can make sense for Bali
- Who this is best for (and who might not love it)
- Practical tips so your pottery experience goes smoothly
- The best part: a calm workshop day in Ubud
- Should you book this Ubud pottery class?
- FAQ
- How much clay do I get in the class?
- What’s included for the price?
- Can I learn both hand-building and wheel pottery?
- Will I be able to take my pottery home right away?
- How long does the pottery class take?
- Is instruction available in English?
- Is this a private group experience?
Key things to know before you go
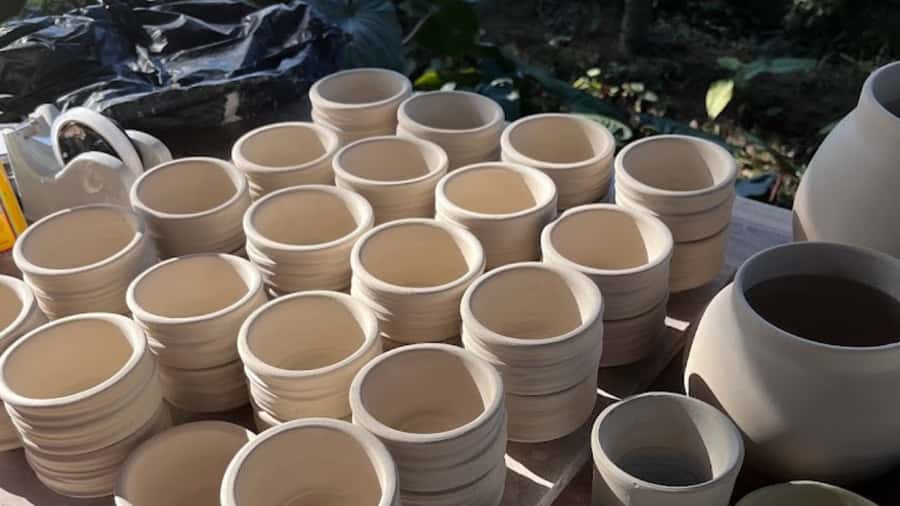
- 2kg of clay is enough to realistically create two separate items
- Hand-building + wheel time means you’ll learn more than just one technique
- Glazing and kiln firing for two items are included, not left to luck
- English instruction with a patient vibe (Putra comes up again and again in feedback)
- Shipping or pickup helps if you’re short on time in Bali
- It can take 1 to 2 weeks for pieces to be ready, so plan your souvenir timing
The real draw in Ubud: 2kg of clay and real making time
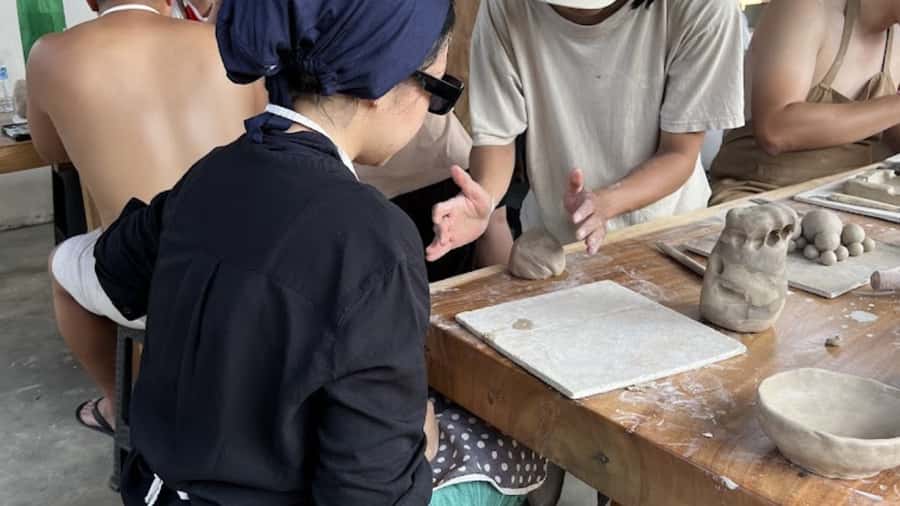
Ubud is famous for crafts, but what makes this class practical is the 2kg clay allowance. That amount matters because pottery takes more material than most first-timers expect. If you’ve ever seen clay shrink and crack, you know you need enough to redo a rim, smooth a wall, or fix a lopsided base without panicking.
In this setup, you’re not just making one tiny souvenir. You’re set up to create two finished pieces because the experience includes firing for 2 items. That’s a big part of the value for the price, since kiln time and glazing are often the invisible costs in DIY craft tours.
You’ll typically spend the session learning and creating, then your work goes through processing after class. That means your time on the wheel and with your hands counts, because the hard part of turning it into a durable finished object happens after you leave the studio.
You can also read our reviews of more tours and experiences in Ubud.



What the class covers in 3 hours (and why the order matters)
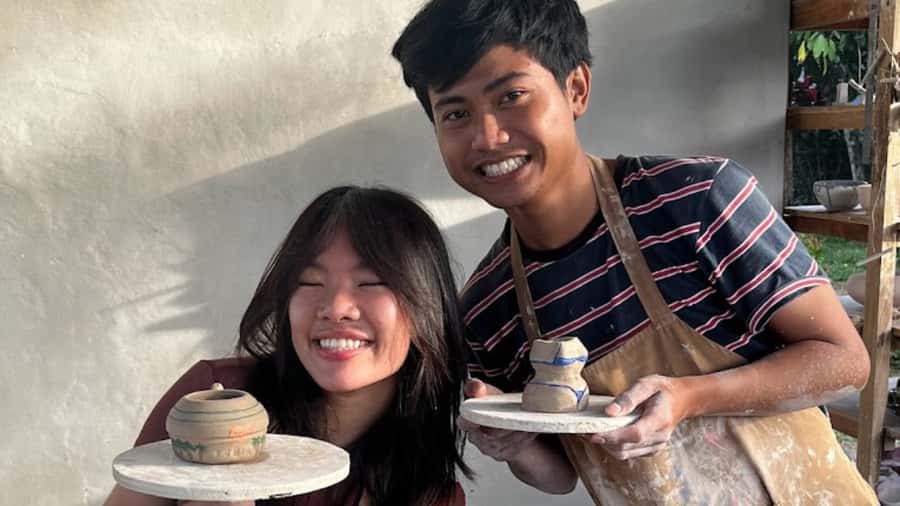
The session runs about 3 hours, and the flow is designed to get you from blank clay to something you’re proud to look at again later.
1) Start with an intro and demonstration
You’ll get an introduction plus a demonstration from the instructor. This is where you learn what to aim for: how to center clay on the wheel, how to control thickness by hand, and how to keep edges neat enough for glazing later.
This matters because pottery is mostly about control. If you only learn the fun part, like shaping, you’ll still end up with wonky results. The demo gives you a target, so your hands know what “good” looks like.
2) Hand-building work you can customize
Hand-building is where you can express ideas quickly, especially if you want something functional like a mug or bowl. Many people in the feedback mentioned making a hand sculpture alongside a ceramic piece of their choice. Even if you’re brand new, hand-building is often more forgiving because you can correct as you go.
I like that this class doesn’t force one style. It gives you a path (hand-building) and then lets you choose what that becomes. That’s a simple way to make beginners feel confident.
3) Wheel-throwing time for that satisfying round shape
The wheel portion shows up again and again in reviews as a highlight. People got to try both methods, with instructors like Andre and Putra described as patient and detail-focused. Even if you don’t get a perfect cylinder on your first try, wheel practice teaches you about symmetry, pressure, and timing.
If you’ve got a steady brain and a slightly stubborn personality, wheel-throwing is where you’ll enjoy the most progress in a single afternoon. You learn something you can bring home, even if the finished item needs firing time.






4) Glazing so you’re not stuck with clay color only
Glazing is included, and that turns your work from an experiment into a finished souvenir. You’ll also use tools and an apron, plus you get details like clay color guidance as part of the process.
One thing to keep in mind: glazing is where results can surprise you. It’s not just about painting. It’s about coverage and how the glaze behaves after firing. If you want a certain look, ask questions while you’re glazing so you understand your options.
Your finished pottery: what’s included and what to expect after class
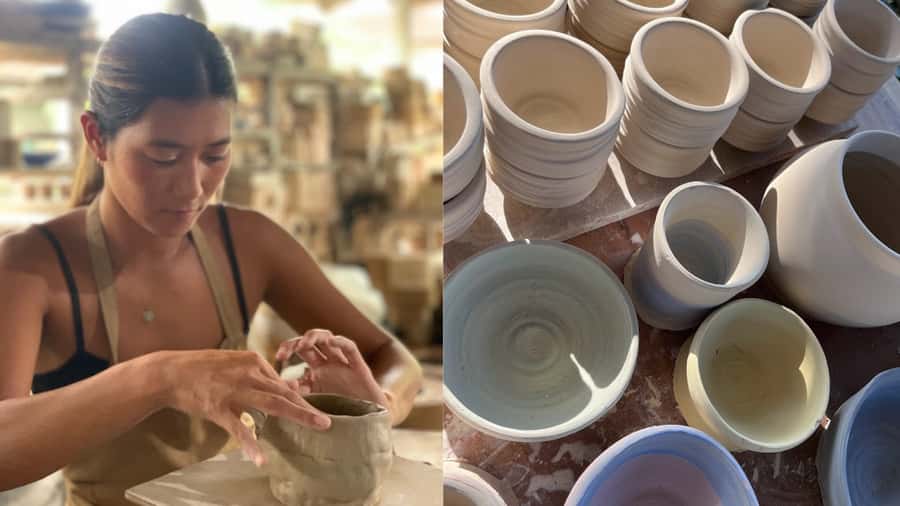
This activity includes:
- 2 kg clay
- Tools and an apron
- Glazing
- 2 item firing
- 1 bottle of mineral water
Meals are not included, so plan to eat before or after you go. The good news is that the studio time is focused and doesn’t drag on. The class is meant to be a creative afternoon, not a full-day commitment.
How long until you get your items
Here’s the key reality: pottery doesn’t finish when class ends. Pieces need time to dry and be fired in a kiln overnight or through the firing process, then they’re ready later for pickup or delivery.
In the information provided, you’ll see a clear instruction: if you want to take your work home, you should have at least 4 remaining days left in your trip. Other feedback points to waiting around 1 week to pick up, and sometimes up to about 2 weeks for drying/baking.
So I’d plan like this:
- If you’re leaving Bali soon, plan on shipping or delivery rather than expecting same-week pickup.
- If you’re staying longer, you can aim for pickup, but still keep a buffer.
This is where the value shows up. Shipping and later readiness protect your souvenir plan if your vacation timeline is tight.
Instructors and the small-group feel: why patience is part of the product
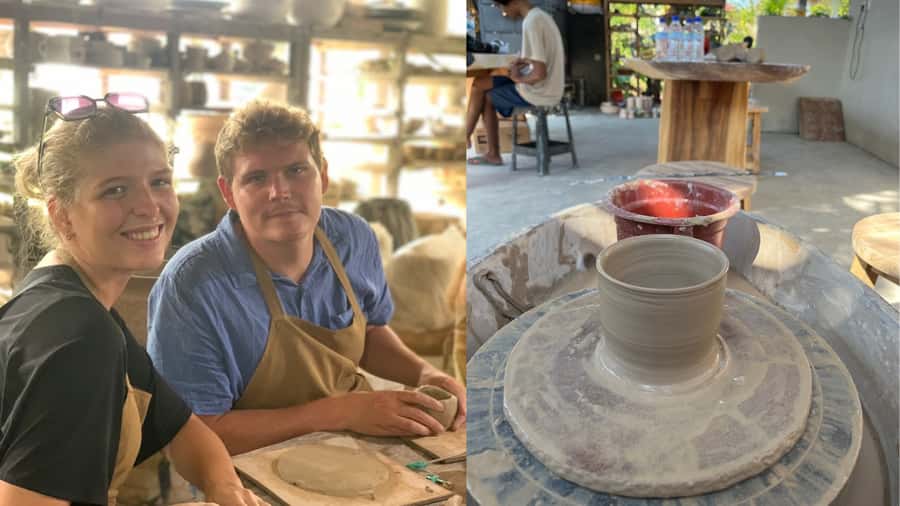
The experience is private-group, and that changes the vibe. In feedback, instructors like Putra and Dalem are repeatedly described as patient and accommodating. That matters because pottery has a learning curve, and beginners need correction more than they need speed.
You’ll likely get real hands-on guidance instead of a quick “good luck” and a slideshow. People mentioned help with making both a hand sculpture and a wheel piece, plus guidance on technique so their clay actually cooperated.
Names that come up:
- Putra (highly mentioned for patience and teaching both hand and wheel styles)
- Dalem (also described as a guide who helped during the relaxed session)
- Andre (another instructor described as patient and helpful with wheel and hand methods)
- Ari (mentioned as a driver who helped coordinate pickup or navigation)
If you’re coming with zero clay experience, the instructor quality is one of your biggest predictors of satisfaction. The tools and clay are only half the story. The other half is how quickly someone helps you fix a mistake before it becomes a ruined piece.
Getting there: meeting point, hidden-studio feel, and Grab reality
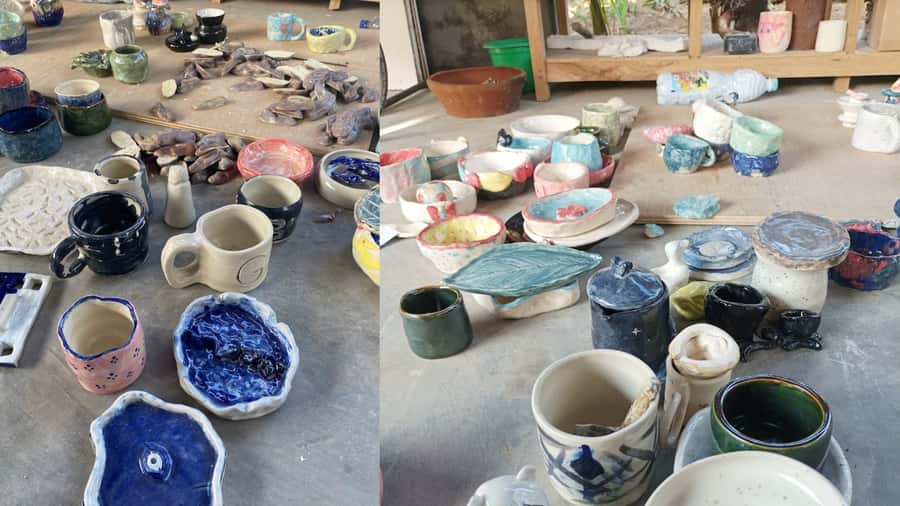
The meeting point is straightforward: when you arrive, go inside and say your booking name.
That said, the practical side can be slightly annoying. One feedback note said a Grab bike couldn’t drop them at the exact location, so they walked a bit. The studio area is described as quiet and tucked away from the main road, which is part of the charm, but you might need an extra few minutes to walk from a drop-off point.
Bring this mindset:
- Build in time for a short walk.
- Take a screenshot of the location details when you book.
- If you’re visiting during a rainy stretch, wear shoes you don’t mind getting a little dusty.
Price and value: why $36 can make sense for Bali
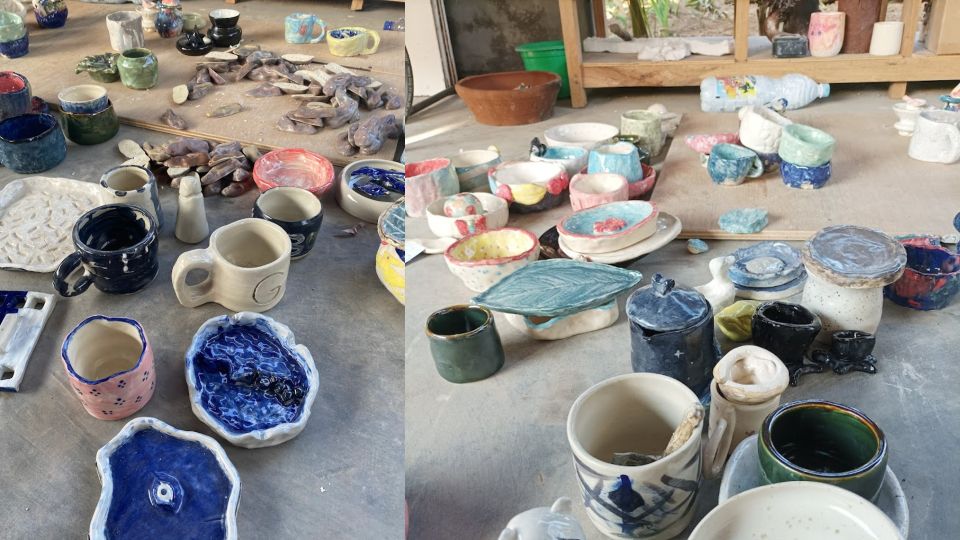
At $36 per person, this class is priced like a focused creative workshop. What makes it reasonable is what you get included.
You’re not paying only for a teacher’s time. You’re also paying for:
- 2kg clay
- tools and apron
- glazing
- firing for 2 items
- two production steps that most DIY methods require access to
The math matters. If you just bought clay and tried to fire it yourself, you’d quickly realize the hidden cost is kiln time and process coordination.
Meals are not included, so your overall day cost depends on what you do for lunch or snacks. But compared with day tours that only give you brief interaction, this is hands-on and skill-based for the full 3 hours.
In plain terms: if you want a souvenir that feels made by you, and you want to learn both hand-building and wheel throwing, the value holds up.
Who this is best for (and who might not love it)
This is a strong fit if:
- you like crafts and want something active to do in Ubud
- you want a calm, creative reset during your trip
- you’d enjoy making two items instead of one tiny keepsake
- you want instruction in English with patient guidance
It may not be the best fit if:
- you have almost no spare time to wait for firing and readiness
- you expect a finished take-home item the same day
- you’re only interested in viewing pottery rather than making it
The timing warning is the big one. If your flight leaves soon, the class can still be fun, but you’ll need a plan for shipping or later pickup.
Practical tips so your pottery experience goes smoothly
These are the small choices that help most beginners:
- Decide your two-item plan early. One hand piece plus one wheel piece is the usual expectation. If you have a gift idea, think about shapes and size before you start glazing.
- Ask questions while you glaze. If you want a certain look, clarify what you’re choosing and what results you should expect after firing.
- Wear something you can handle. Clay and studio work can get messy, and you’ll have an apron, but your clothes still matter.
- Bring time for drying and processing. Your “creative afternoon” turns into a “finish later” souvenir, and that is normal here.
- Plan around your trip days. The guidance says you should have at least 4 remaining days if you want to take your work home.
If you do these, you’ll spend the class actually learning and creating, not rushing or worrying.
The best part: a calm workshop day in Ubud
Several people describe this as serene and enjoyable. That makes sense for two reasons. First, pottery is slow by nature. Second, the studio environment is described as quiet, with the main sounds being natural and neighborhood rather than heavy traffic.
So if your Ubud trip includes temples, markets, and scooters, this workshop gives you an opposite rhythm. You get hands-on skill, a quiet focus, and a tangible outcome later.
And if you’re traveling as a couple or with a friend, it’s also a nice shared activity. You can make complementary pieces, and you’re both engaged the whole time.
Should you book this Ubud pottery class?
Book it if you want a hands-on craft experience with enough clay to create two fired pieces, plus real teaching in both hand-building and wheel throwing. It’s also a great option if you’re craving a calmer afternoon and you appreciate guided practice rather than self-teaching.
Hold off or plan carefully if your trip ends fast. The class is fun in the moment, but your finished pottery takes time to dry and be fired, so you’ll want at least 4 extra days to take it home, or you’ll need delivery/shipping.
If you match that timing, this is one of the more satisfying value-for-money creative activities in Ubud.
FAQ
How much clay do I get in the class?
You get 2 kg of clay included in the experience.
What’s included for the price?
The class includes 2 kg clay, tools, an apron, clay color, glazing, and firing for 2 items, plus 1 bottle of mineral water. Meals are not included.
Can I learn both hand-building and wheel pottery?
Yes. The class includes instruction for hand-building and wheel-throwing, and you typically make two items during the session.
Will I be able to take my pottery home right away?
Not usually. You’ll need time for drying and firing. If you want to take your work home, the guidance is to have at least 4 remaining days in your trip.
How long does the pottery class take?
The duration is 3 hours.
Is instruction available in English?
Yes. The instructor speaks English, and an English audio guide is included.
Is this a private group experience?
Yes. The activity is listed as a private group experience.