Silver gets personal fast in Canggu. You’ll spend 2 hours at Family Silver Class Canggu, learning how local silversmiths turn raw silver into wearable art.
I especially like that the class is truly hands-on, not just watching. You’ll also get English guidance so you can follow each step clearly, even if it’s your first time.
My other favorite part is the finish. Sanding and polishing are included, so your piece doesn’t feel unfinished when you leave. One thing to plan for: at $38, it can feel a little higher than a basic souvenir shop stop, so if you’re budget-minded, focus on the ring option over extras like pearls.
In This Review
- Key things I’d plan for before you go
- Silver Jewelry Making in Canggu: What You’ll Actually Make
- Meeting Family Silver Class Canggu and Getting Oriented
- The 2-Hour Workshop Flow: From Raw Silver to a Finished Piece
- 1) Pick your design direction
- 2) Get shown the stages, then start working
- 3) Make the work clean with sanding and polishing
- 4) Final checks and cleaning help
- Working With Balinese Silversmiths: How the Teaching Actually Feels
- Choosing Between a Ring, Earrings, or a Pendant (and Budget Reality)
- Rings: usually the best budget control
- Earrings: beautiful, but expect add-on choices
- Pendants: a good middle-ground
- The Silver Amount: Why 3–5 Grams Is a Good Sign
- Price and Value: Is $38 Fair for What You Get?
- Where They Operate on Bali (and Why That Matters)
- Who This Bali Silver Class Is Perfect For
- Small Tips So You Leave Feeling Proud
- Should You Book the Bali Silver Jewelry Making Class in Canggu?
- FAQ
- How long is the silver jewelry making class?
- What can I make in the class?
- How much silver do I use?
- Is the class taught in English?
- Do I take my jewelry home?
- Does the class include tools and finishing work?
- Where do I meet for the class?
- Is this a private group activity?
- Is there an option to pay later?
- What is the cancellation policy?
Key things I’d plan for before you go
- 3–5 grams of pure Indonesian silver used for your creation, so you know what you’re working with
- Ring, earrings, or a pendant as your main options, depending on what you choose
- English instructor and English audio guide, helpful if you’re not fluent in Bahasa Indonesia
- Professional Balinese silversmith help, with you doing the work where possible
- Sanding and polishing included, which makes the final result look properly finished
- Small extra perks may happen, like cleaning other silver you’re wearing or creating an extra small piece with leftover silver
Silver Jewelry Making in Canggu: What You’ll Actually Make
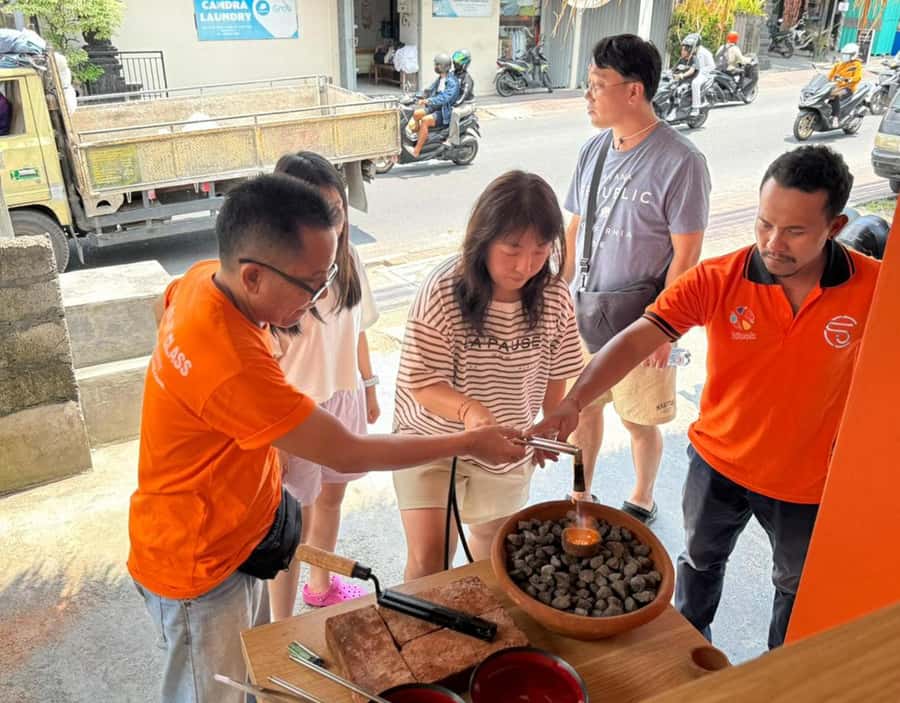
This is a classic Bali hands-on workshop idea done the right way. You’re not just picking from pre-made jewelry and paying for the privilege of carrying it around. You start with fresh silver and end with something you can wear or gift later.
Your main choices are a ring, a pair of earrings, or a pendant. In the workshop, you’ll work with 3–5 grams of pure Indonesian silver, which keeps expectations realistic. That amount is enough to create a meaningful souvenir, but it’s not a fantasy “make a whole bracelet” scenario. If you’re the type who likes to see the limits early, you’ll appreciate that clarity.
You’ll also learn the craft’s local story in Canggu—how silver jewelry making has developed over time, and how the work changed from traditional metalcraft into something visitors can experience firsthand. You don’t need a background in jewelry to get it. The way they teach, you’re handed the process in steps.
You can also read our reviews of more tours and experiences in Canggu.


Meeting Family Silver Class Canggu and Getting Oriented
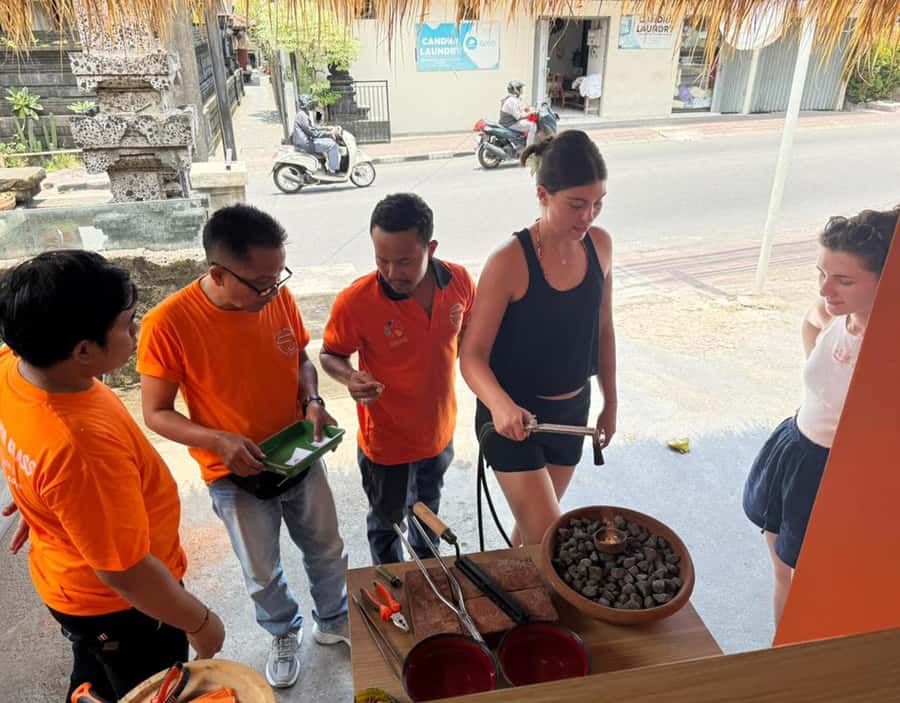
The meeting point is Family Silver Class Canggu, and they say the location matches the maps. This matters because in Canggu, you can lose time if you’re guessing where a small workshop sits.
When you arrive, you’re typically welcomed and taken care of quickly. One nice detail that came up: staff bring water on arrival and make sure you’re comfortable before you start. That sounds small, but in a workshop setting, it helps you settle in fast—especially if you’re coming straight from the beach or a cafe stop.
You’ll be working in an English-led environment. The workshop lists an English instructor and also includes an English audio guide, which is useful if you want to review how the process works at your pace while still staying on track.
The 2-Hour Workshop Flow: From Raw Silver to a Finished Piece
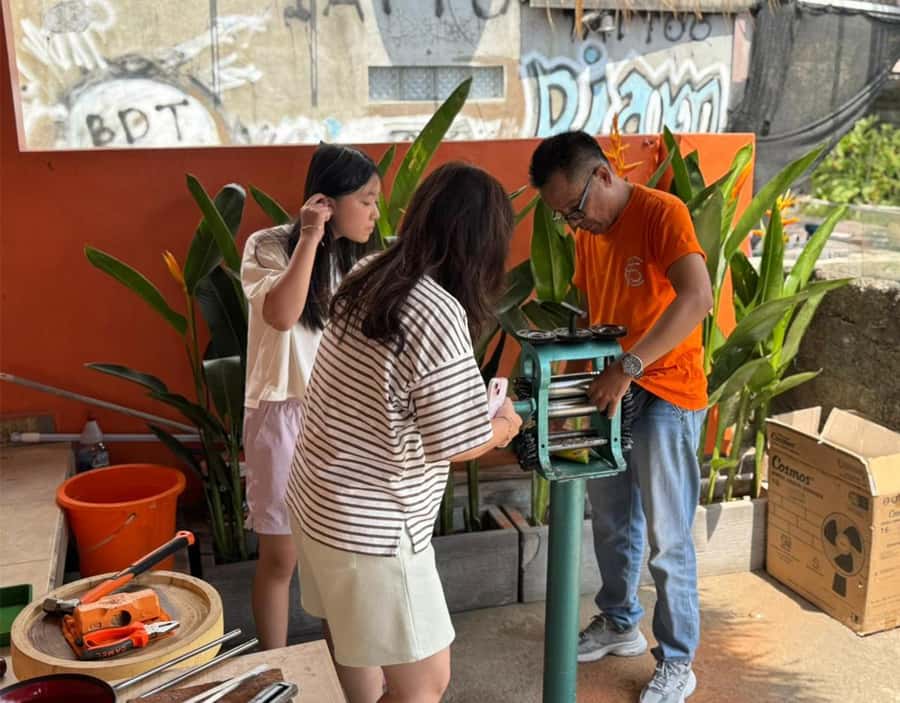
The class runs about 2 hours, so it’s paced like a real workshop: short explanations, then hands-on time. The goal is that by the end, your piece is complete enough to feel special the moment you hold it.
Here’s the flow you should expect:
1) Pick your design direction
You start by choosing what you want to make—ring vs. earrings vs. pendant. The studio has many design options, and the team helps you narrow down something that will work well in the time you have. If you come in with a clear idea, that’s great. If you’re unsure, you can decide on the spot.
2) Get shown the stages, then start working
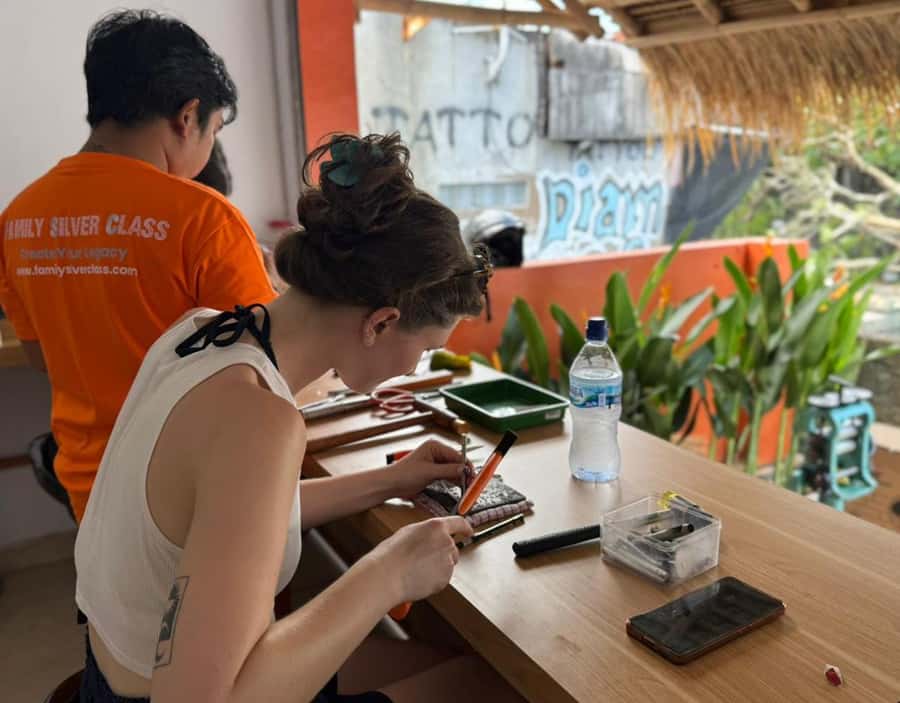
The strongest part of this class is the balance between guidance and doing. You’ll be allowed to work on your own piece, but if anything is tricky, the silversmiths step in. In one case, the guide helped carefully through the stages so the learner could understand what each step actually does—not just copy it blindly.
Names you may hear in the room include Febri (warm welcome and comfort on arrival) and Ketut (step-by-step guidance through the making process). Another guide mentioned is Wayan (with the team). Even if you don’t have the same guides, the teaching style tends to be consistent: patient, hands-on, and tuned to your comfort level.




3) Make the work clean with sanding and polishing
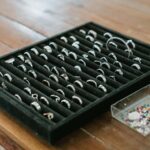
You’ll do sanding and polishing, and that’s where the final look comes from. It’s the difference between jewelry that looks like a craft project and jewelry that looks like something you’d actually buy. That finishing work is included, which is a big value point for first-timers.
4) Final checks and cleaning help
Some learners were helped cleaning or polishing other silver jewelry they brought along. If you travel with old pieces that need a refresh, this is a friendly bonus to watch for. Even if they don’t take time with everything, it tells you the studio cares about the look of silver, not just the act of making.
Working With Balinese Silversmiths: How the Teaching Actually Feels
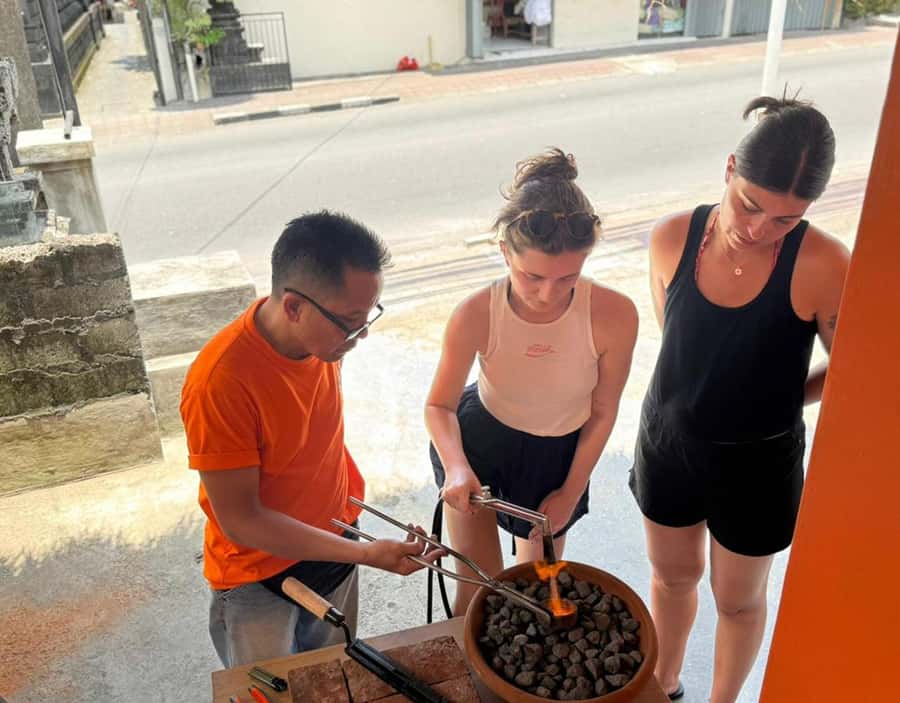
One reason this class lands so high is how the guidance feels during the hard parts. You don’t get pushed into doing something solo that you’ll never manage.
You’ll typically see a “you try, they guide” approach:
- they show the stage
- you do the handwork you can
- they step in for the moments that need more precision
That’s why so many people leave happy with their final result. Even when someone started with one plan—like making just a ring—they ended up making another. The atmosphere feels relaxed enough for that to happen without panic.
There’s also a strong “you can ask” vibe. One learner mentioned they could propose their own design idea and have it accepted, which matters if you don’t want a totally cookie-cutter look.
If you’re worried about language or skill, don’t be. English instruction and the English audio guide do a lot to reduce friction. And if you’re nervous, the team’s patience helps you slow down and focus.
Choosing Between a Ring, Earrings, or a Pendant (and Budget Reality)
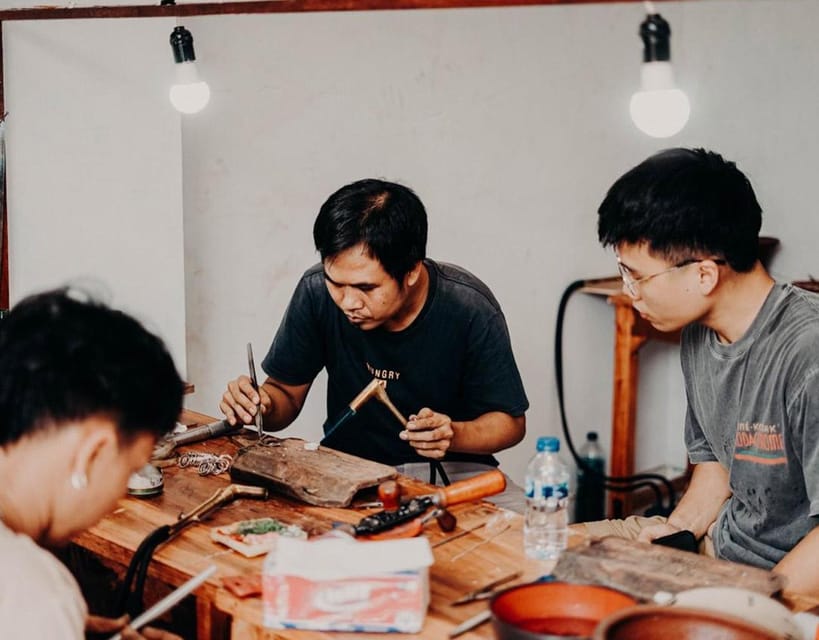
The choices are simple, but the details can affect your final price and what you end up loving.
Rings: usually the best budget control
If you’re trying to keep costs from surprising you, a ring is often the easiest call. One person even advised sticking to rings if you’re on a budget.
Rings also tend to feel extra personal because you’re making something you’ll likely wear regularly after the trip.
Earrings: beautiful, but expect add-on choices
Earrings are popular and look great once polished. But if you’re selecting details like pearls, that can push the price upward. One learner said the earrings were beautiful and worth the extra paid for pearls if you expected that style choice.
That advice is practical: if you want pearls, plan for it. If you just want a classic silver souvenir, choose a simpler style.
Pendants: a good middle-ground
Pendents are a solid option if you want something wearable but less “on display” than earrings. Your piece can still feel special, and it’s easier to style with different outfits.
The Silver Amount: Why 3–5 Grams Is a Good Sign
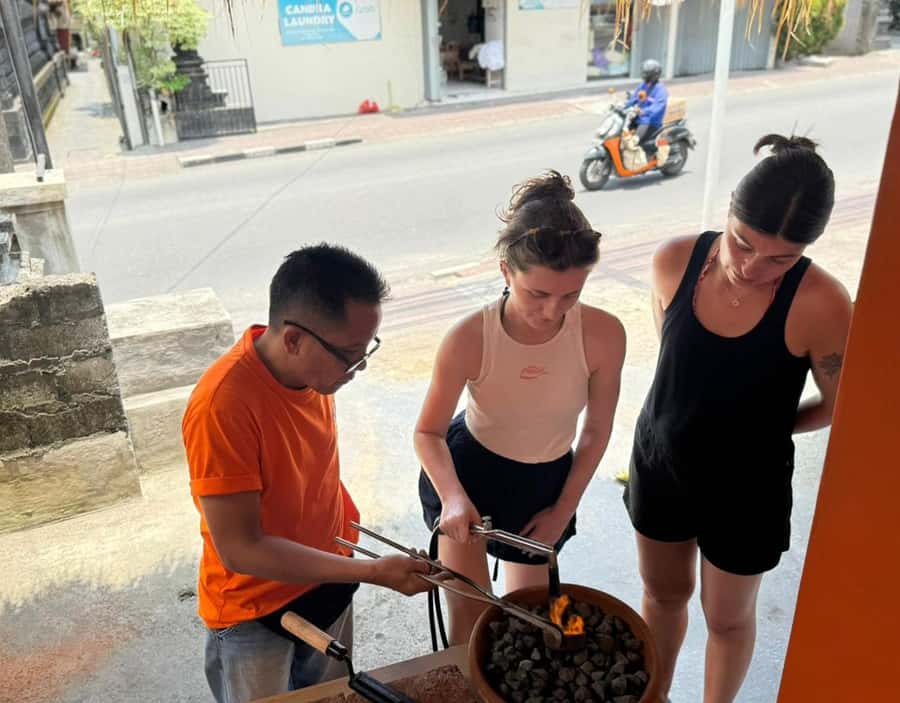
This workshop is honest about materials. You’ll use 3–5 grams of pure Indonesian silver for your creation. Knowing that up front helps you set expectations and avoids the letdown of spending time making something that turns out too small or too thin.
It also means the studio has a clear workflow built around that material amount. That’s part of why the experience stays on schedule. In a tight two-hour class, controlling the inputs is what keeps the final piece looking intentional.
And yes, silver is silver—but “pure Indonesian silver” matters because it’s the base for the quality you’ll see after polishing. You’re not working with something mystery-metal-ish that won’t finish nicely.
Price and Value: Is $38 Fair for What You Get?
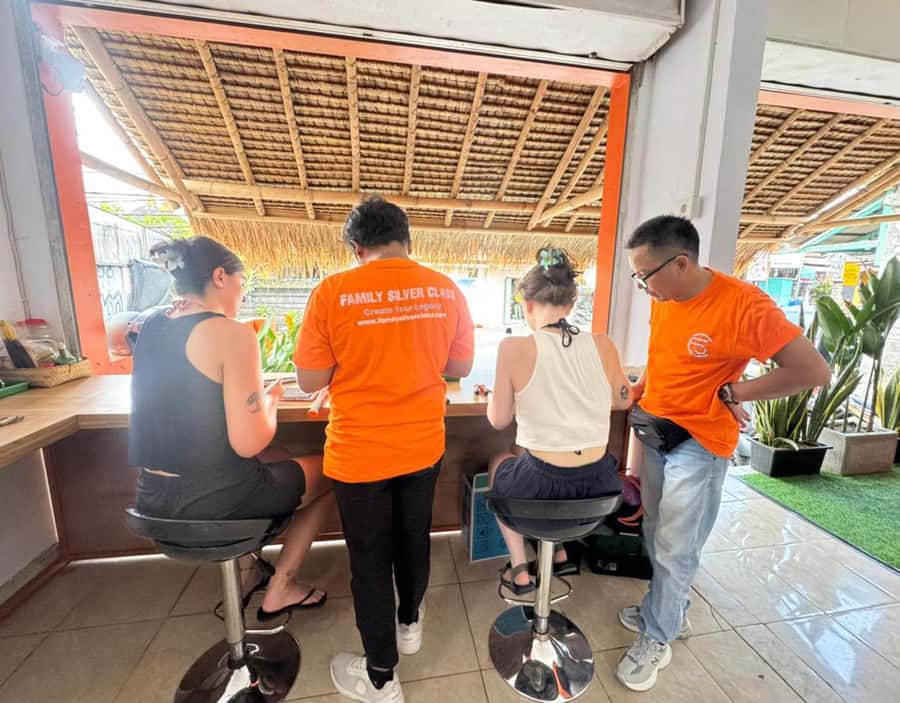
At $38 per person, you’re paying for more than materials. You’re paying for:
- English instruction and ongoing guidance
- skilled handling when precision matters
- your silver (the class includes 3–5 grams)
- finishing work like sanding and polishing
- a finished take-home souvenir
From a value standpoint, the key is that you’re not outsourcing the craft to a factory process. You’re actively participating. The time component is also real: 2 hours gives you enough practice to do the key stages, but the session doesn’t drag into a half-day tour where you feel done halfway through.
That said, one learner noted it felt a bit pricier than expected. That lines up with the reality of artisanal work in a tourist destination: the studio isn’t selling a mass-produced item. You’re paying for the learning experience and the labor behind it.
If you’re cost-sensitive, you’ll get the best value by choosing the ring option first, then adding details only if you truly want them.
Where They Operate on Bali (and Why That Matters)
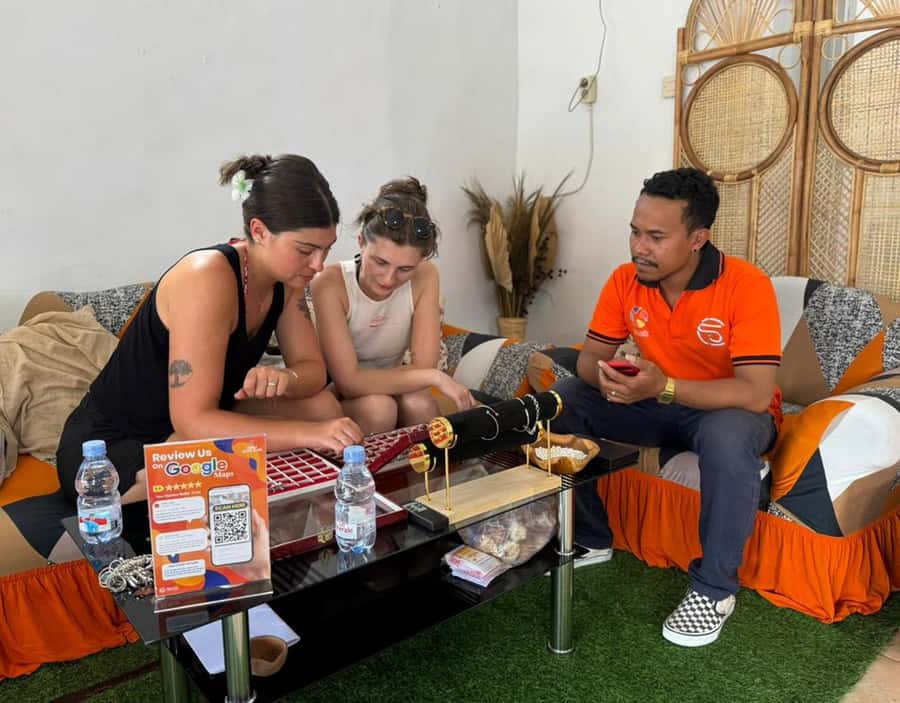
You’ll see that the studio operates in multiple Bali areas, including Seminyak, Canggu, Kuta, Uluwatu, Sanur, Ubud, Sukawati, and Sidemen. The point isn’t that you should drive everywhere. It’s that they’re set up to serve different parts of the island.
In practice, that means you can plan your class around where you’re already staying. Canggu is a great home base for this kind of workshop because it’s easy to combine with cafes and beach time before or after.
Still, keep your eye on the meeting point: Family Silver Class Canggu is where you want to be.
Who This Bali Silver Class Is Perfect For
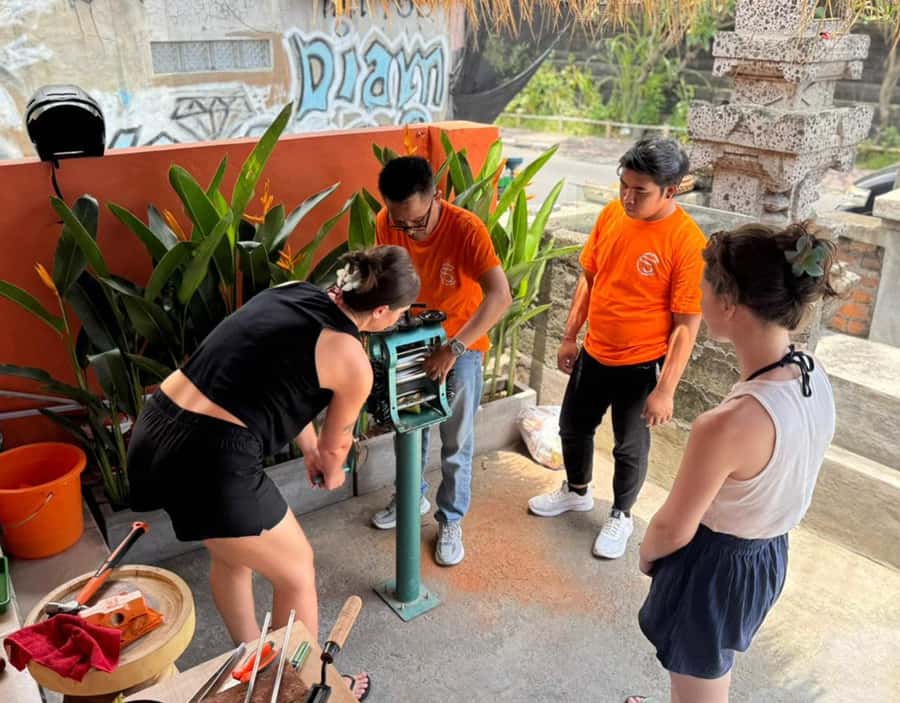
This workshop is for you if:
- you want a hands-on Bali activity with a clear payoff
- you like making gifts that don’t feel generic
- you enjoy learning a craft process, not just snapping photos
- you want something compact that fits into a busy vacation schedule
It’s also a good fit for couples and friends who want an activity that’s social but not chaotic. And since the class is listed as a private group, it usually means a more focused experience than big group tours.
It might not be the best match if:
- you only want a super-cheap souvenir and don’t care about the making process
- you want a huge piece of jewelry (the silver quantity is limited by design)
- you hate anything that involves careful fine-motor work, even with help
Small Tips So You Leave Feeling Proud
Based on how the class runs, you’ll have a smoother time if you go in ready to focus for two hours.
A few practical things:
- Bring a clear preference (ring vs. earrings vs. pendant). If you can’t decide, pick what you’ll wear most after the trip.
- If you like an idea but it feels outside the design options, ask anyway. The studio has shown flexibility with custom requests.
- Wear clothes and shoes you don’t mind getting a little workshop-adjacent. This is a hands-on craft space with sanding and polishing going on.
- If you already own silver jewelry that needs cleaning, mention it. There’s a chance they’ll help polish it back to life.
Should You Book the Bali Silver Jewelry Making Class in Canggu?
I’d book it if you want a real Bali craft experience with an end product you’ll actually keep. The combination of English-led guidance, a hands-on process, and take-home finished silver makes it feel like more than a souvenir stop.
Book with extra confidence if you care about doing the work yourself and getting a clean polished result. If you’re strict on budget, choose a ring and skip add-on details like pearls. And if you want the final piece to look sharp, plan to take the polishing and finishing part seriously during the session.
If that sounds like your kind of trip moment, this $38 class in Canggu is a solid use of your time.
FAQ
How long is the silver jewelry making class?
The class duration is listed as 2 hours.
What can I make in the class?
You can create a pair of earrings, a ring, or a pendant. The workshop also mentions options like bracelets or other imaginative creations.
How much silver do I use?
You use 3–5 grams of pure Indonesian silver for your creation.
Is the class taught in English?
Yes. The instructor is listed as English, and an English audio guide is included.
Do I take my jewelry home?
Yes. Your silver creation is included, and you take it home as a souvenir.
Does the class include tools and finishing work?
Yes. Safety, plus sanding and polishing are included.
Where do I meet for the class?
Meet at Family Silver Class Canggu, at the location point that matches the maps.
Is this a private group activity?
Yes. The class is listed as a private group.
Is there an option to pay later?
Yes. It’s listed as Reserve now & pay later, so you can reserve and pay nothing today.
What is the cancellation policy?
Free cancellation is listed up to 24 hours in advance for a full refund.