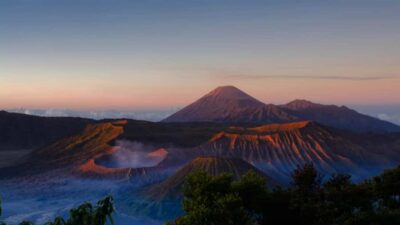
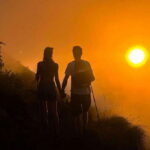
Two days, one giant sunrise. This Mount Rinjani trekking option uses the Sembalun Route to get you from the trailhead up to a crater rim camp, then sends you back down after a pre-dawn summit push for sunrise over the Segara Anak area.
I love two things most. First, the timing: you reach the toughest rocky stretch around 5:00am, then stand on the peak just before sunrise. Second, the human touch at camp—porters handle water, tea, coffee, and set up everything so you can focus on breathing and not gear-sorting.
One key consideration: this is a challenging hike. The summit section includes loose, gravel-like footing, plus cold at the top. If your fitness is low (or you have heart issues or vertigo), this can be a rough match.
In This Review
- Quick Hits: What Makes This Trek Worth It
- A Real Mountain Trek With Big Reward
- Getting From Sembalun to the Trail: Why Day 1 Starts So Early (Even Though It Doesn’t)
- Day 1 to Crater Rim: The Long Hike, Lunch in the Middle, and Lake Views
- Night at the Crater Rim: Cold, Views, and a Meal Without the Stress
- Day 2: The 2:00am Wake-Up, the Rocky Accent Around 5:00am, and the Sunrise Moment
- Returning to Crater Rim and Descending: Breakfast, Then Work Again
- The Human Team: Guides and Porters Who Actually Matter
- Price and Value: Is $200 Fair for 2 Days and a Summit Push?
- Weather Flexibility and the Reality of Summit Conditions
- What to Pack for This Rinjani Two-Day Challenge
- Who Should Book This Trek (and Who Should Skip It)
- Should You Book This Mount Rinjani 2D/1N Sunrise & Sunset Trek?
- FAQ
- How long is the Mount Rinjani 2D/1N trek?
- What route is used for the summit?
- Where do you camp overnight?
- What time do you start hiking for the summit?
- Is food and water included?
- What are the main safety or health limitations?
Quick Hits: What Makes This Trek Worth It
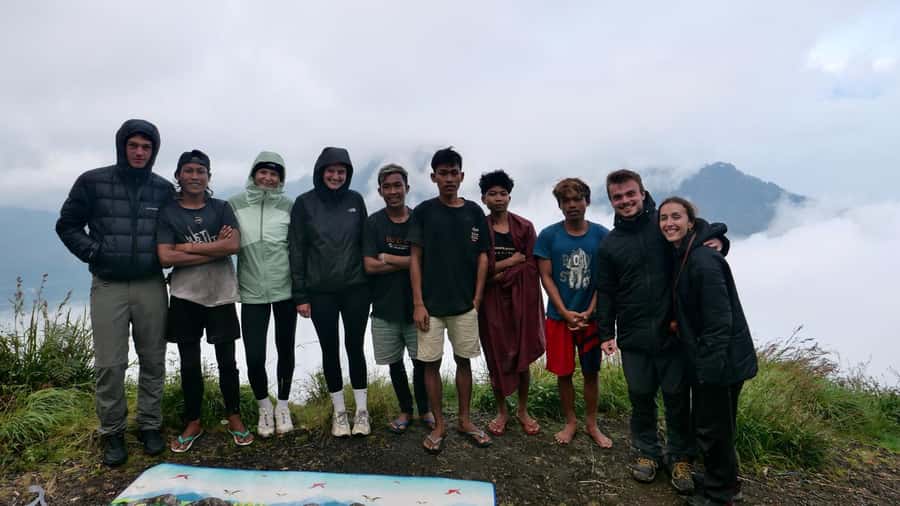
- Sembalun Route to summit sunrise: early start, big payoff.
- Crater rim camp: you sleep high up with views over the Segara Anak area.
- Cold, early-morning climb: the hardest push comes around 5:00am.
- Porters keep things moving: you get cooking support, water, and warm drinks.
- Meals on the mountain: three meals a day plus fruit like pineapple and banana.
- Weather can change plans: the summit may be affected if conditions shift.
A Real Mountain Trek With Big Reward
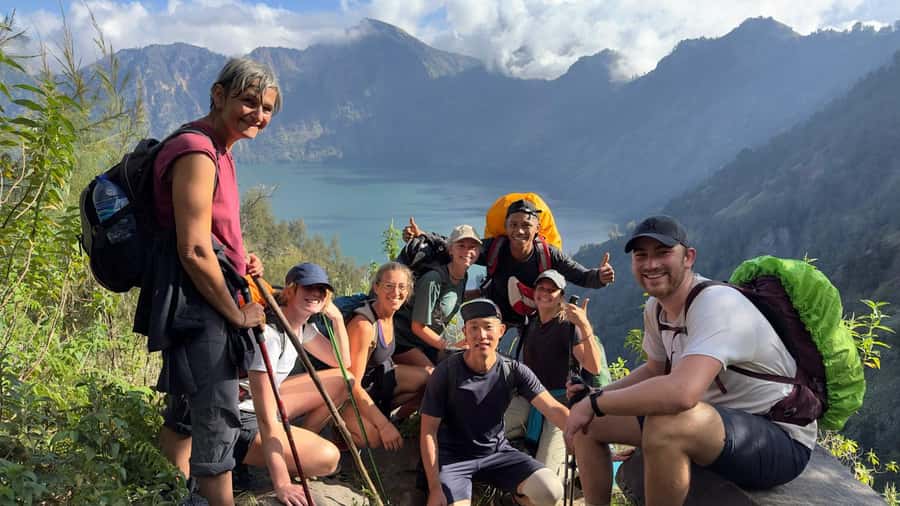
Mount Rinjani is one of those places where your legs do the talking. In a good way. You’ll hike all day on Day 1, then wake up around 2:00am on Day 2 and hike for the sunrise. That combo is the heart of the experience: the long climb, then the quiet, pre-dawn push where everything feels sharper—breath, footsteps, and the promise of light.
The Sembalun approach matters. Compared with gentler hikes that slowly “ease you in,” this one gets you working right away. You’re building altitude through the day, then dropping back to camp later, and finally going again before sunrise. It’s physically demanding, but the route is also scenic in a very Rinjani way: you’re constantly moving through dramatic volcanic terrain and heading toward the Segara Anak Lake region.
What you’ll walk away with isn’t just photos. It’s the feeling that you earned the view. Even people who are fit can underestimate this trek. I’d treat it like a serious workout with a front-row seat to one of Indonesia’s more dramatic crater settings.
You can also read our reviews of more tours and experiences in Indonesia.
Getting From Sembalun to the Trail: Why Day 1 Starts So Early (Even Though It Doesn’t)
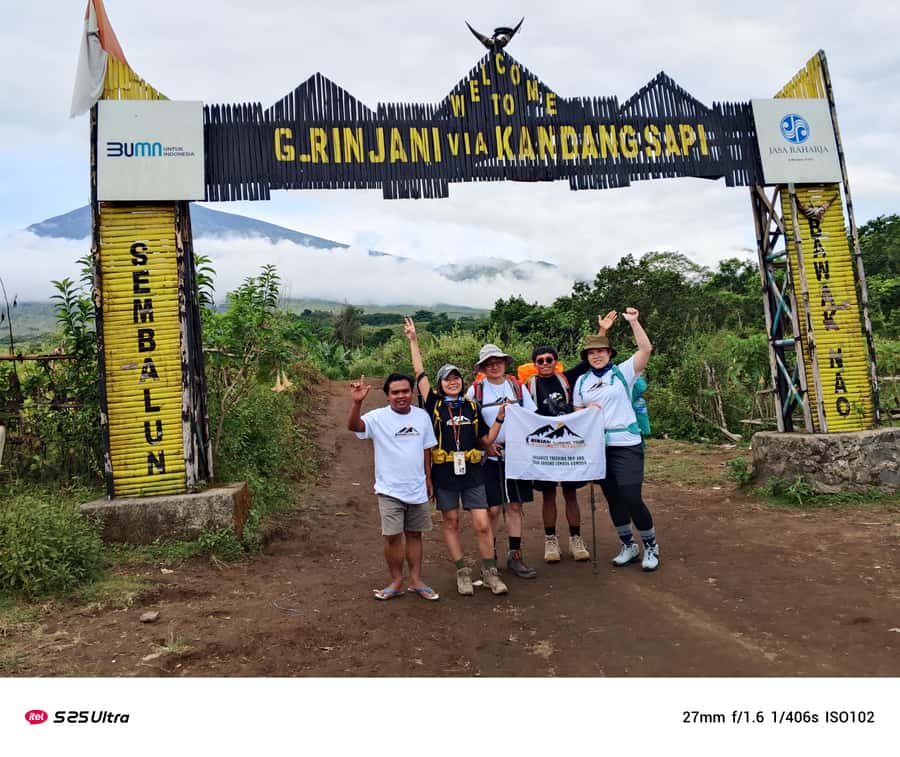
Day 1 begins with breakfast and coffee or tea, then you drive about one hour to Sembalun. That short transfer is useful—you’re not losing half a day stuck in transit. Once you start hiking, the pace and effort build steadily through the day.
You’ll hike until late afternoon, with lunch placed mid-way. The day is long. Expect to be moving from your first steps to camp setup time, then still have energy left for the evening views. When you arrive at the crater rim in the late afternoon, your porters are already working—tents up, camp organized—so you can shift from climbing mode to looking-around mode.
This is also where the tour’s structure helps you. You don’t just “reach a viewpoint.” You arrive while there’s still daylight, so you can take in the crater rim scene before darkness. That matters for comfort too. The easier you make the first night to handle, the better your summit morning tends to feel.
Day 1 to Crater Rim: The Long Hike, Lunch in the Middle, and Lake Views
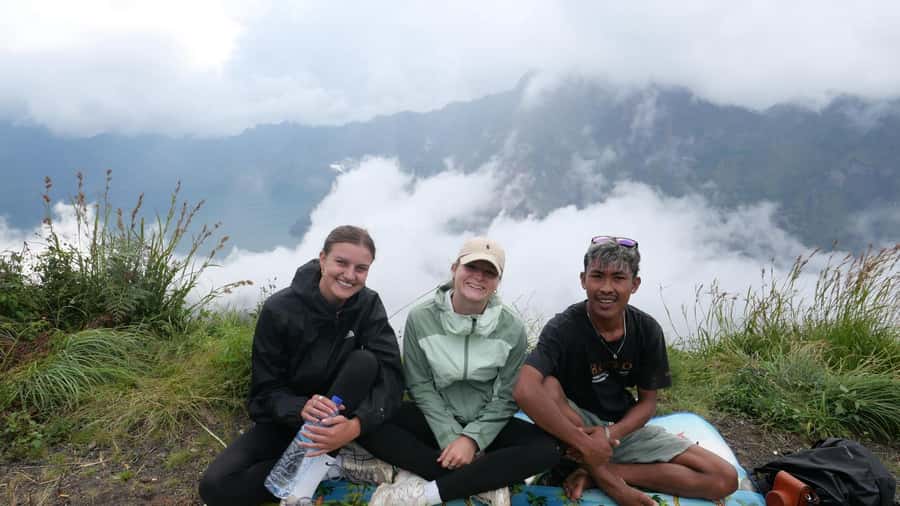
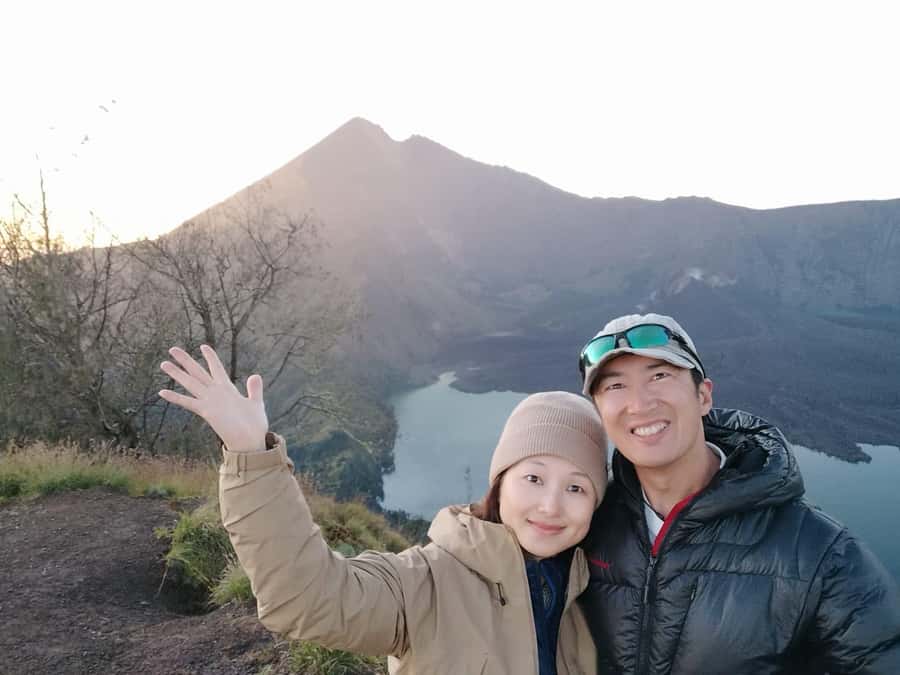
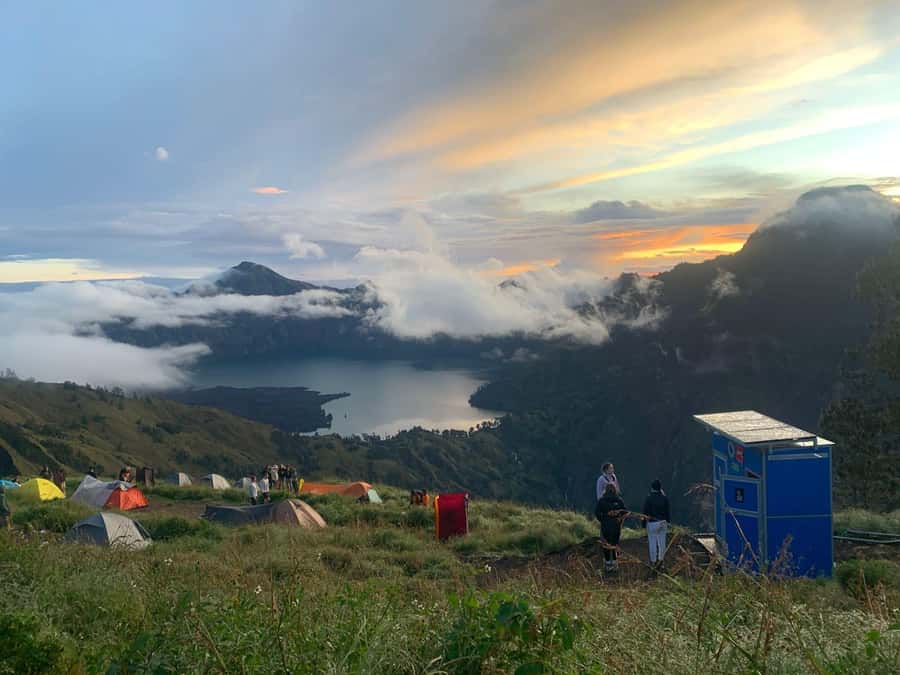
Day 1 is your endurance day. You’ll climb all day, stop for lunch mid-trek, and continue until you reach the crater rim late afternoon. This is when the Segara Anak Lake scenery starts to feel real—less like an idea and more like something you’re staring at from a high volcanic edge.
What makes this part special is the way the landscape changes as you go up. Even when you’re tired, you’ll notice how the crater setting forms around you. The air can feel cooler than lower elevations, and the terrain keeps you alert because you’re always stepping carefully on volcanic ground.
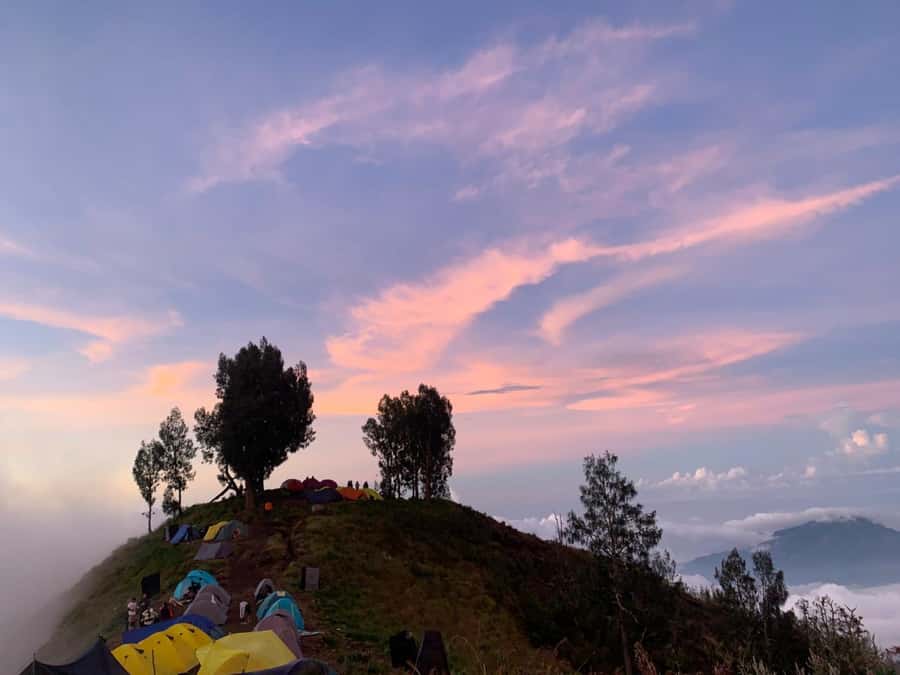
Camp setup is the payoff you feel after hiking. When you arrive, porters are already setting up, and you’ll have dinner on-site. You sleep at the crater rim, which means your next morning doesn’t start with another big transfer. It starts with waking up in the place you came for.
One practical note: bring snacks you like. The included meals are there, but people often still want extra small bites during long trekking hours. A few reviews also highlight that bigger breakfast portions could be helpful—so if you’re a “breakfast person,” consider carrying small extras that you personally enjoy.
Night at the Crater Rim: Cold, Views, and a Meal Without the Stress
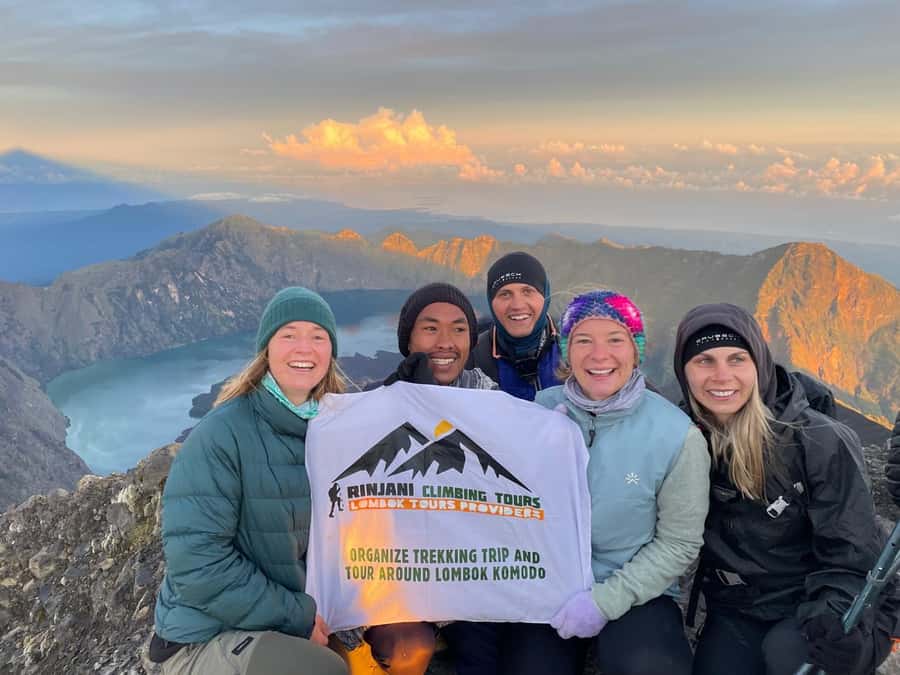
Sleeping at the crater rim changes the entire rhythm of the trek. You’re higher, the temperature can drop, and you’re surrounded by volcanic terrain rather than forest trails. That’s a big part of why sunrise from here feels dramatic: you’re already in the crater zone before the alarm.
The tour includes tent, sleeping bags, and mats, plus a toilet tent with toilet paper. So you’re not trying to improvise basic camping needs while you’re exhausted. That’s one of the most underrated advantages on mountain trips—less time wrestling gear, more time resting your body.
In the evening, you get time for views and dinner. Porters also provide tea and coffee as part of the included setup, which is exactly what you want after a long day when you’re shivering a little and trying not to think about the 2:00am wake-up.
From reviews, I also saw a theme: porters and guides really keep the mood steady. Names like Jack, August, Ajis, and Nun came up as guides people trusted. That matters because the crater rim night can feel long if you’re anxious. Having a crew that stays calm and organized helps you relax.
Day 2: The 2:00am Wake-Up, the Rocky Accent Around 5:00am, and the Sunrise Moment
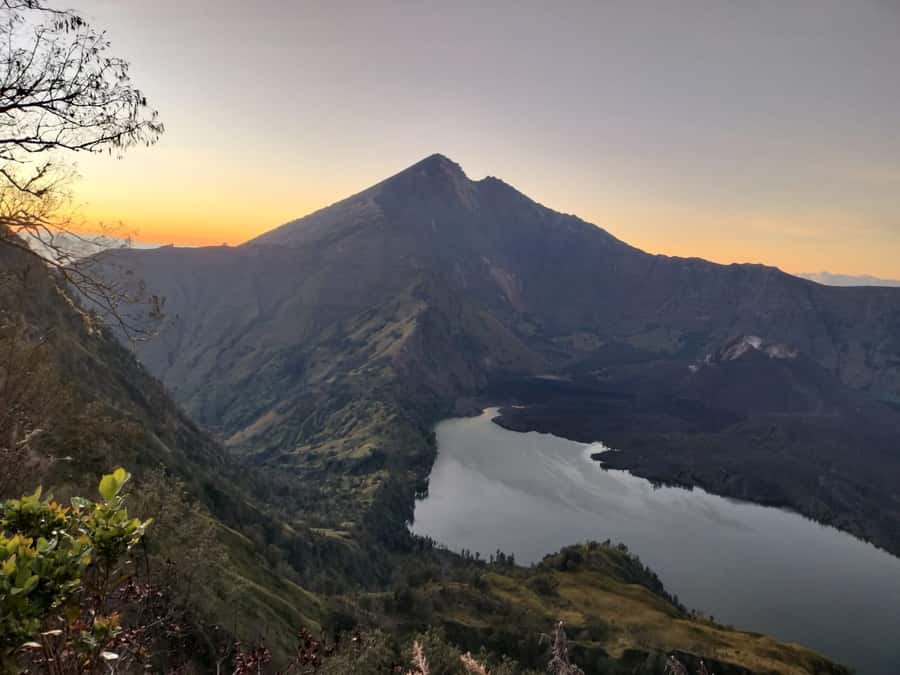
If Day 1 is endurance, Day 2 is focus. You wake up around 2:00am, eat a quick breakfast, then start hiking around 2:30am. The goal isn’t a casual stroll—it’s a summit push timed for sunrise.
You’ll reach the toughest portion around 5:00am: a rocky accent to the summit. The footing is loose—think gravel-like. The good news is it’s described as strenuous rather than dangerous. The bad news is strenuous still means slow, tiring steps and constant attention to where your feet land.
This is where proper footwear matters. The tour doesn’t include trekking shoes, and reviews strongly suggest walking boots (and even a flashlight). If you’ve only got lightweight sneakers, this will feel harder than it needs to. Trekking shoes or solid boots help you move with confidence on uneven ground.
When you finally reach the summit, you’ll spend about 20–30 minutes up there, just long enough for sunrise and for you to absorb it. Then you head back down to the crater rim for a big breakfast.
And yes: this schedule is intense. But the payoff is real—standing on the peak at the moment the world changes from night-dark to light. It’s the kind of experience that makes the earlier discomfort make sense.

Returning to Crater Rim and Descending: Breakfast, Then Work Again
After summiting, you go back to the crater rim for breakfast. This meal matters more than you’d think. You’re using calories to recover from a high-output morning, and you’ll need that energy for the descent.
Once breakfast is done, you start descending. The description you’ll follow depends on where you’re headed next:
- If you’re traveling to Sembalun after the trek, the descent is described as mildly steep.
- If you’re traveling to Senaru, most of the day can be through thicker rainforest.
That difference isn’t just “where you sleep next.” It changes the feel of the day. Mildly steep can still be hard on tired knees, but rainforest terrain tends to mean slower footing and more constant attention.
At the end, once you reach the bottom, you’ll be driven back to the port or airport. If you plan other adventures, you’ll be brought back to the homestay in Senaru.
So you’re not getting a “summit and then free time.” You still finish the job. But at least the hardest parts are behind you by then.
The Human Team: Guides and Porters Who Actually Matter
On a trek like this, your comfort isn’t only about gear. It’s about people managing the mountain day around you.
This tour includes a hiking guide and porters who carry cooking utensils and camping equipment. There’s also an experienced English-speaking guide and professional porters. That’s not a luxury—on a challenging route, good communication and steady organization reduce stress.
Reviews repeatedly praise guides like Peaky and Wahdi, and porters for efficiency, good mood, and constant water/tea/coffee support. One review joked that the guide seemed super agile. I get the vibe. When a crew moves smoothly, you stop thinking about logistics and start hiking instead.
Also, the guides help set expectations. The summit portion is described as strenuous with loose footing, and the trek is clearly positioned for people with decent fitness. When you’re supported, it’s easier to keep a steady pace rather than sprint and crash.
Price and Value: Is $200 Fair for 2 Days and a Summit Push?
$200 per person for a 2-day trek is not cheap, but it also isn’t random pricing. Here’s why it can be good value for the right traveler:
Included value you’re paying for:
- Guide plus porters (including cooking equipment and camping setup)
- 3 liters of mineral water per day per person
- Tent, sleeping bag, and mat
- Food: 3 meals a day, plus fruit like pineapple and banana
- Tea and coffee during the trek
- Transportation after the trek to Bangsal Harbor or Mataram
- Pickup around Senaru, plus transportation to the starting point
- Insurance and storage in the office for what you don’t need during the hike
When you add it up, you’re paying for the whole “mountain infrastructure.” A guided summit-style trek requires more staff than a day hike. Plus, the crater rim camp setup is not something you assemble yourself on the side of an active mountain.
What’s not included (and you should plan for):
- Trekking shoes
- Warm clothes
- Extra snacks/food you personally want
- Tips for the guide and porter
- Extra items like GoPro
If you already own proper boots and you like to be hands-free about meals and camp, $200 can feel like a fair deal. If you’re arriving under-prepared, then your extra costs (shoes, warm layers) can make the total sting more.
Weather Flexibility and the Reality of Summit Conditions
Mount Rinjani is weather-dependent. The info you’re given notes that weather conditions can affect the itinerary. That’s not just legal-sounding wording. One review mentions a case where the summit was closed due to weather circumstances.
So your best strategy is mental as much as logistical. Accept that sunrise might not happen exactly as planned if conditions turn. You’ll still get a meaningful trekking day, and you’ll still get the crater rim experience and the crew support.
This is also why paying attention to your gear matters. Rain gear and warm clothing aren’t optional-feeling on a pre-dawn climb. Cold at the summit is specifically mentioned, and if you run cold, you’ll struggle even if you’re fit.
What to Pack for This Rinjani Two-Day Challenge
You’ll want to pack for cold, dark steps, and volcanic dust or damp ground. The basics from the tour instructions are solid:
- Warm clothing
- Hat
- Hiking shoes (required for comfort on loose, rocky sections)
- Sunscreen
- Camera
- Snacks
- Rain gear
- Water (even though the tour provides drinking water, personal comfort matters)
A few practical add-ons based on real-world feedback:
- Flashlight helps for early morning movement.
- Extra snacks can rescue you if you’re hungry during a long Day 1.
- Keep your daypack small and simple. The tour notes a small daypack/daypack may be rent-able, and storage is available for what you don’t need during the hike.
Also: no smoking, no littering, and don’t touch plants. It’s a protected environment, and the rules exist for a reason.
Who Should Book This Trek (and Who Should Skip It)
This is for you if:
- You’re in good physical condition and ready for a tough hike
- You want sunrise from a summit viewpoint after a pre-dawn start
- You like structured days: camp set up, meals handled, guide leading the way
- You enjoy the idea of sleeping at a high crater rim and waking up in the volcanic zone
This is not suitable for you if:
- You have heart problems
- You have vertigo
- Your fitness level is low
That’s not meant to be dramatic. It’s practical. The Day 2 climb includes a strenuous rocky accent and you start very early in cold conditions. The hike rewards people who can keep a steady pace without panic.
Should You Book This Mount Rinjani 2D/1N Sunrise & Sunset Trek?
If you want sunrise from Mount Rinjani with a crater rim camp and you’re ready for a serious physical challenge, I think this is a good fit. The best part is the package: the guide and porters handle camp, cooking gear, and meals, and you get constant support like water plus tea/coffee. Names like Jack, August, Nun, Wahdi, Peaky, and Ajis show up in feedback for a reason—people feel looked after.
I’d reconsider if you’re not comfortable with cold early mornings, loose rocky footing, or high-effort climbing. And if weather is a major concern for you, plan to stay flexible.
If you match the fitness level and you come prepared with warm layers and proper boots, booking makes sense. You’re paying $200 for a real guided mountain push, not a casual walk. And when sunrise hits, it’s the kind of moment you’ll remember long after your legs stop complaining.
FAQ
How long is the Mount Rinjani 2D/1N trek?
The trek duration is 2 days.
What route is used for the summit?
The summit is reached via the Sembalun Route.
Where do you camp overnight?
You camp at the crater rim in the late afternoon of Day 1.
What time do you start hiking for the summit?
You wake up around 2:00am for breakfast, then begin hiking around 2:30am.
Is food and water included?
Yes. The trek includes 3 liters of mineral water per person per day and three meals a day, plus tea and coffee and fruit like pineapple and banana.
What are the main safety or health limitations?
It’s not suitable for people with heart problems, vertigo, or low fitness, and the trek is described as challenging.