If you like hands-on travel, this hits the mark. The Ubud Silver Class turns your idea into a real piece of jewelry, with step-by-step help as you design, shape, and finish silver. It’s one of the few Bali activities where you leave with something you actually made yourself.
I especially love the patient, practical guidance. People call out instructors like Pak Jero and Lau for explaining each step clearly, then pushing you to do the work (not just watch). One thing to consider: the included silver is capped at 5 grams, and if you want more metal or stones, the extra fees add up fast.
In This Review
- Key highlights you’ll care about
- What You Really Make: Rings, Bracelets, and Other Silver Creations
- Your 3 Hours in Ubud: From Sketching the Idea to Finishing the Piece
- The 5-Gram Rule: How Included Silver Pricing Works
- What’s Included in the $40 Price (and Why It Feels Fair)
- How the Guides Work With You (And What People Praise)
- Location in Ubud Town Center: Jalan Bisma, Easy to Find
- Who Should Book This Class (and Who Might Not)
- Should You Book Ubud Town Center Silver Class?
- FAQ
- How long is the Silver Jewelry Making Class in Ubud?
- What’s included in the $40 price?
- What kinds of jewelry can I make?
- What happens if I use less than 5 grams of silver?
- Do I get charged if my jewelry uses more than 5 grams?
- What are the rules during the class?
Key highlights you’ll care about
- Up to 5 grams of silver included (but under 5 grams still counts as 5 for pricing)
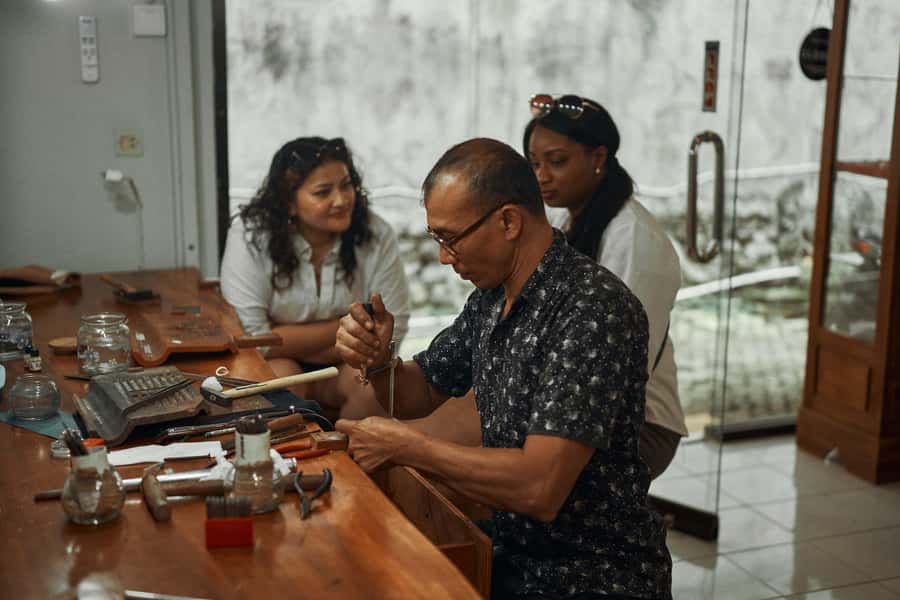
- Hands-on from start to finish, with detailed instruction while you work
- Take-home finished jewelry made by your design, not a generic souvenir
- Staff support you actually need, with many mentions of patience and fast help when you’re stuck
- English and Malay instruction, so you’re not left guessing
What You Really Make: Rings, Bracelets, and Other Silver Creations
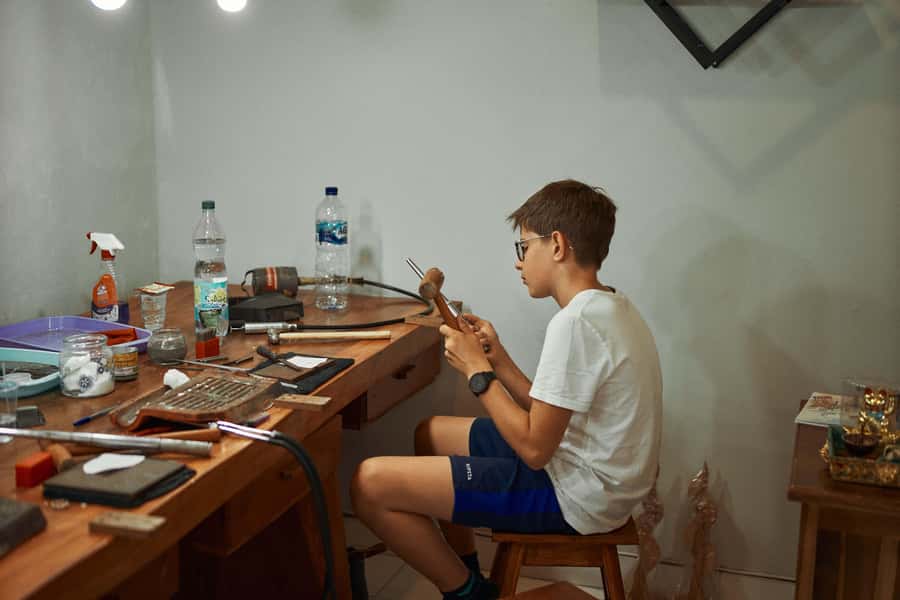
This class is about making a personal piece of silver jewelry in Ubud Town Center. You’re not just picking from pre-made items. Instead, you create your own design and then work through the process of turning silver into a wearable result.
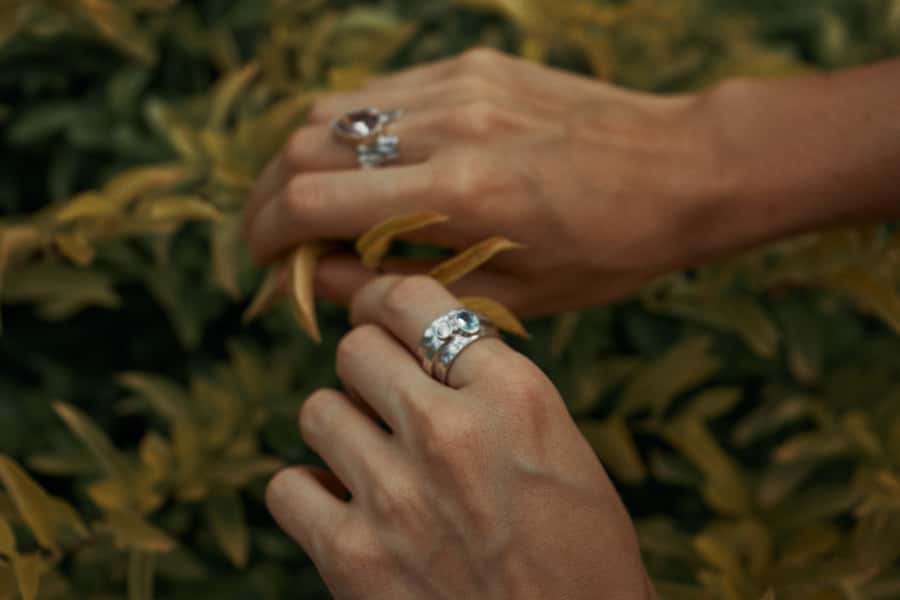
The types of pieces you can make include bracelets, rings, earrings, brooches, and more. In practice, most people seem to go for rings, and that makes sense: reviews describe melting, shaping, and forging steps as part of the experience, so you get a real feel for how silversmithing works. Even if you choose something else, the core idea stays the same: your hands do the work, guided by the instructor.
If you’re the kind of traveler who wants your Bali memory to live on your body, not just in photos, you’ll get it here. And because your finished piece is included, you’re not paying extra for the final result after the workshop.
You can also read our reviews of more tours and experiences in Indonesia.



Your 3 Hours in Ubud: From Sketching the Idea to Finishing the Piece
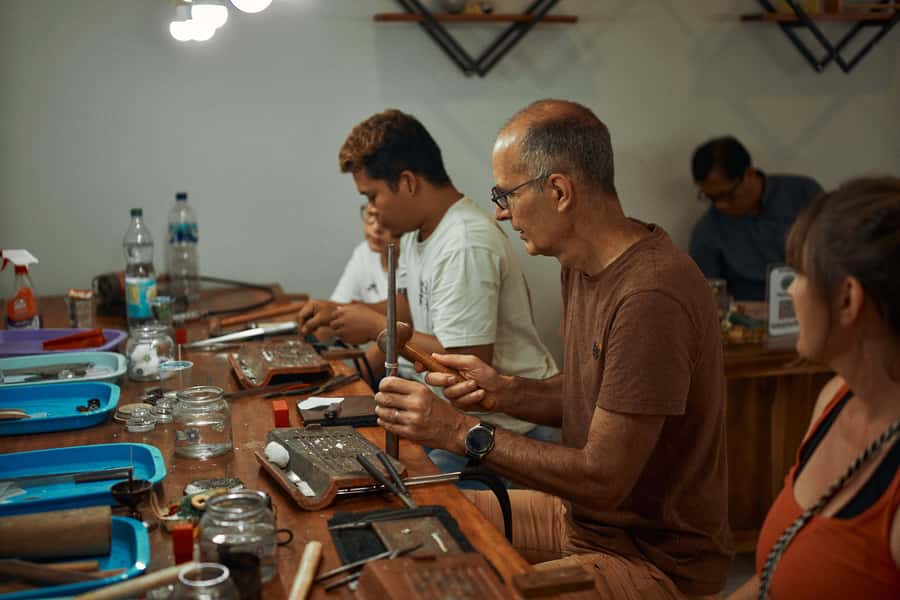
The class runs about 3 hours. Your schedule can vary slightly by start time and how complex your design is, but you’re looking at a focused half-day slot where you move from planning to a finished take-home piece.
Here’s the flow you should expect:
First, you choose what you want to make and shape your design. You’ll work through ideas for the piece with help from your instructor. One helpful hint you’ll want to take seriously: the more detailed your plan, the more you learn and the better your understanding of the steps tends to be. That’s not about being fancy; it’s about giving yourself clear decisions early.
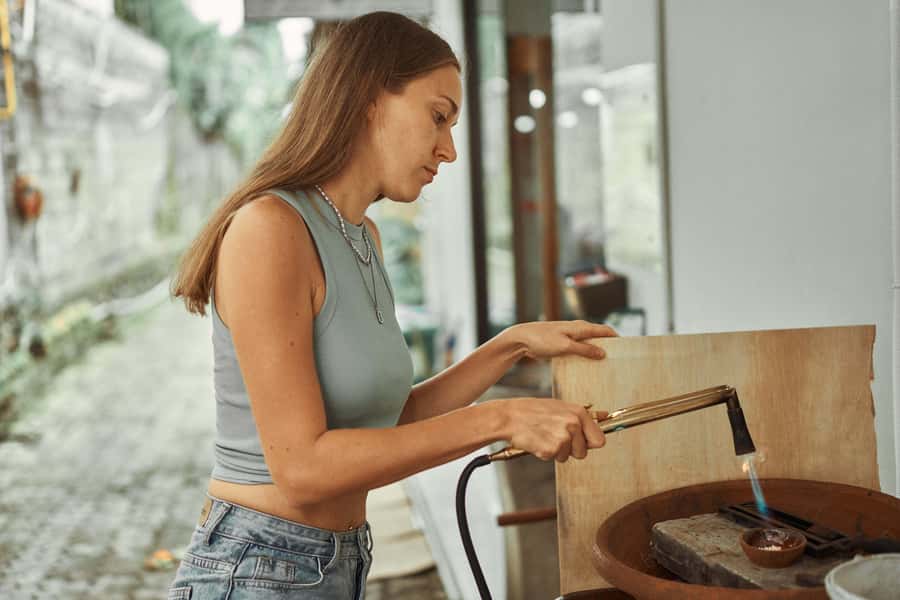
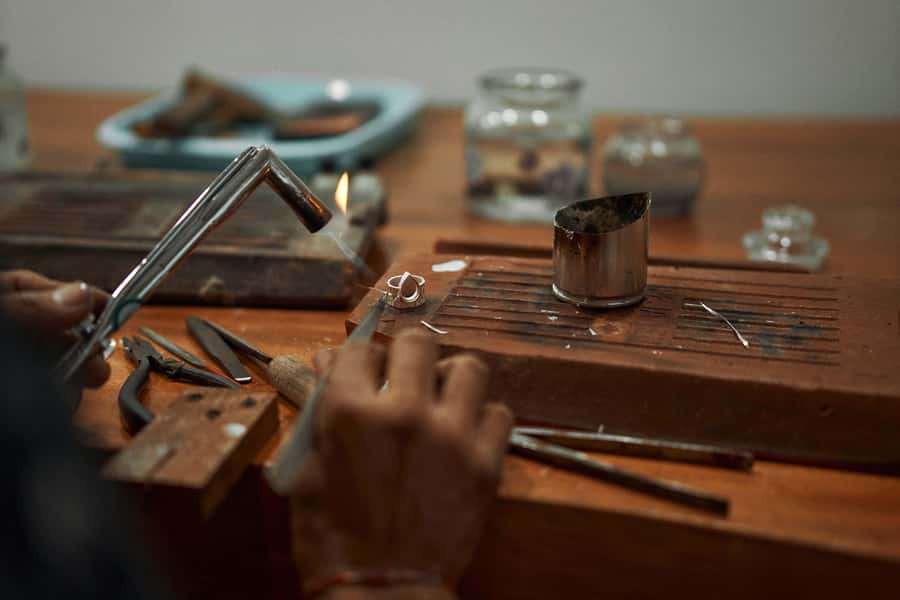
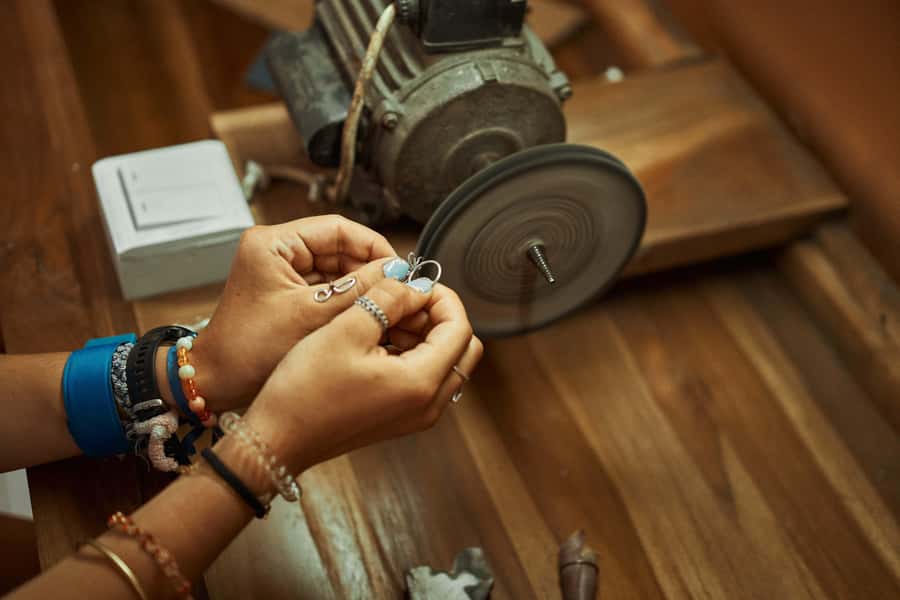
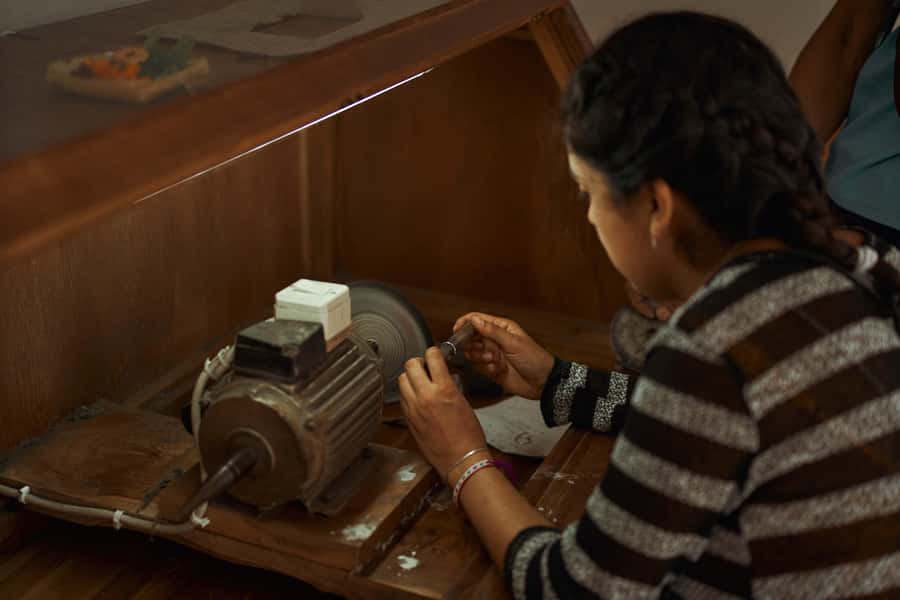
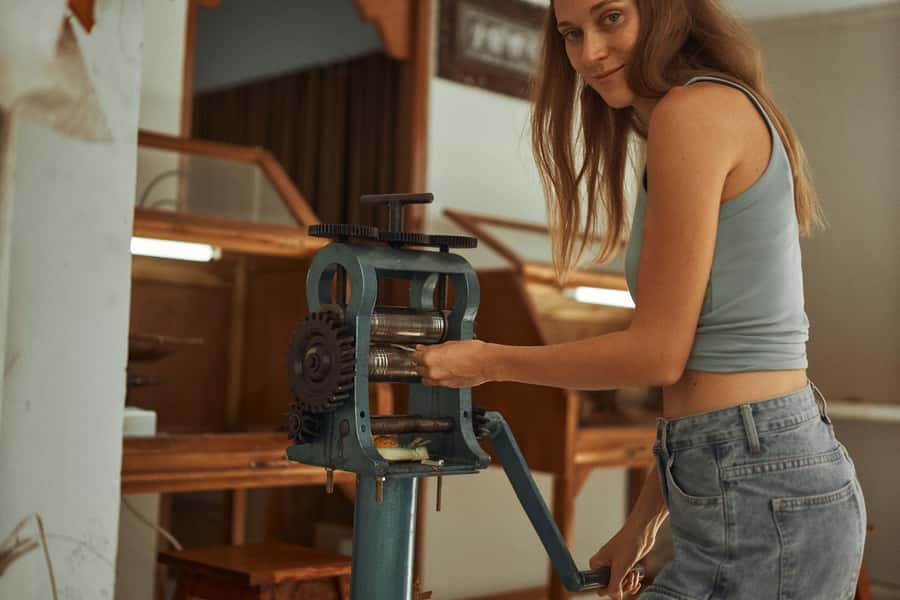
Next comes the hands-on silverwork. The guidance is step-by-step, and the staff explain what you’re doing while encouraging you to do the work yourself. People highlight that it stays hands-on rather than turning into a “watch the expert” performance. If you’re making a ring, you may go through dramatic-feeling stages like melting and forging, which is a big part of why people remember this class.
Finally, you finish the piece. This is where your design becomes something you can wear. The class includes the finished piece to take home, and multiple people describe their results as perfect or exactly what they hoped for—especially for rings.
A good way to think about the experience: the value is in the process. The end product is great, but the real win is learning how silver turns into jewelry through real technique and real attention.
The 5-Gram Rule: How Included Silver Pricing Works
This is the part you should read twice.
Your class price includes high-quality silver up to 5 grams. If your jewelry ends up using less than 5 grams, you’re still charged as if you used 5 grams. And if you want more than 5 grams, there’s an additional fee of IDR 85,000 per gram.
So how do you use this info without stressing out?
- If you’re cost-sensitive, keep your design simpler and avoid adding extra metal “just because.”
- If you already know you want a thicker or more substantial look, plan for the possibility of paying the per-gram overage.
- If you want stones or gems, there’s an additional charge for adding them.
One more rule matters for budgeting and focus: your silver can’t be shared with another person, and one person makes one design. That means you’re not splitting the project or the materials with someone else. You’ll get your own setup, your own piece, and a clear path to a final result.
The upside is control. The tradeoff is that you can’t negotiate the included amount by pairing with a friend. If you’re coming with someone, you’ll likely both be making your own jewelry anyway, which fits the “one design, one person” setup.
What’s Included in the $40 Price (and Why It Feels Fair)
At $40 per person, this class can be a very good value, but only if you understand what you’re getting and what might cost extra.
Included:
- Silver up to 5 grams
- Personalized instruction from experienced silversmiths
- All materials and tools
- A finished piece to take home
- Snack and mineral water
- Free Wi-Fi
- A comfortable air-conditioned room
The part I like most is that you’re not paying separately for the “workshop” and then again for the “finished jewelry.” Many craft activities feel like they nickel-and-dime you at the end. Here, the finished piece is included as part of the core experience.
Also, the air-conditioned room and provided snack matter more than you might think. Ubud can be warm, and a sweaty workshop day kills the fun fast. Plus, having Wi-Fi can help if you want to look up design ideas before you start shaping your piece.
The only reason the price might feel less “cheap” is the silver overage and any stones/gems. But since those are optional, you get to decide how far to push your design.
Practical tip: if you’re already thinking about going over 5 grams, ask about payment options. Credit cards are accepted for extra silver or gemstones, which is helpful if you don’t want to carry a lot of cash.
How the Guides Work With You (And What People Praise)
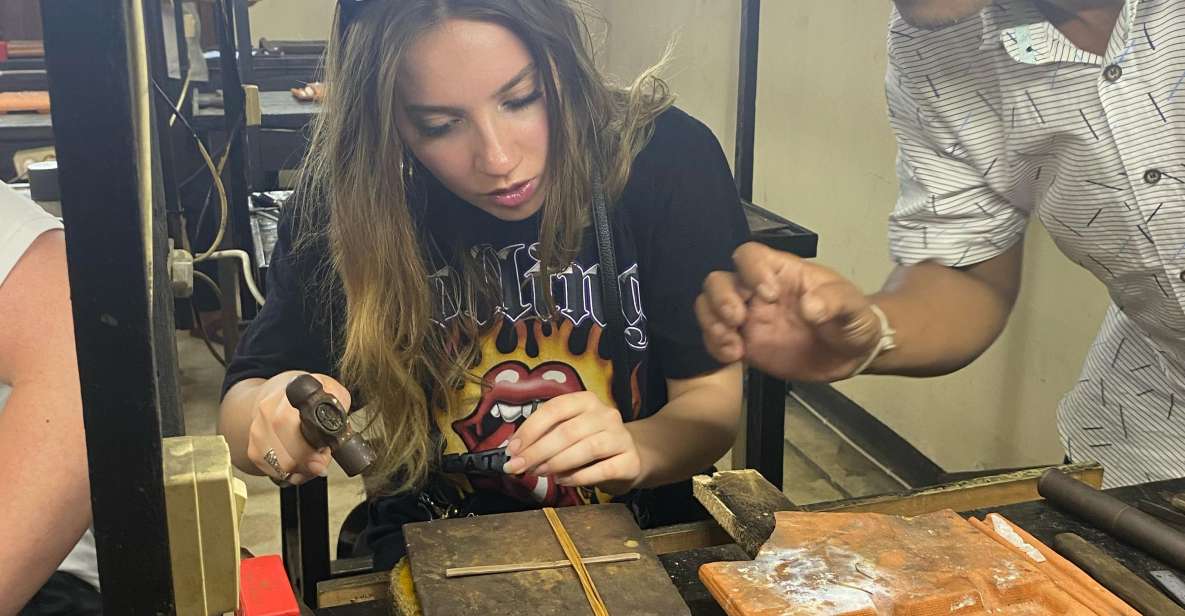
This class wins on instruction. People consistently highlight that the guides are kind, patient, and genuinely helpful while still keeping things hands-on.
Two names show up in feedback often enough that you might run into them: Pak Jero and Lau. The pattern in the comments is what matters most: the staff encourage you to work on your product yourself, but they step in quickly when you need help.
This matters because silversmithing is not something you can learn from a brochure. You need real-time coaching—small corrections, timing adjustments, and practical advice on your design choices. Reviews point out that guides explain each step and provide flexibility in ring design, especially when class size is small.
Speaking of class size: you might end up in a small group. One person described only two people in the class, which likely means more attention and faster feedback. Even if it’s not that small every time, the repeated theme is clear: you won’t feel lost.






Location in Ubud Town Center: Jalan Bisma, Easy to Find
The workshop is called Ubud Town Center Silver Class, located on Jalan Bisma in Ubud. It’s very close to Ubud Rice Field Hostel or NIAGA BUOTIQUE, which makes it easier to orient yourself when you’re walking around town.
Because it’s in the town center, this can be a solid “one activity day” choice. You can combine it with a casual meal or a relaxed stroll through Ubud afterward without needing complicated logistics.
What to do before you go:
- Wear comfortable clothes you won’t mind getting a little messy.
- Keep jewelry simple on the day of the class. You’re working with metal, tools, and sharp edges, and you’ll be focused on your piece.
Inside, the room is comfortable with air conditioning, so you’ll be able to cool down between steps (or between the more intense parts of the process).
Who Should Book This Class (and Who Might Not)
This is a strong fit if you want:
- A souvenir with real craftsmanship behind it
- A short, structured activity that doesn’t require experience
- A creative project where you leave with something wearable
You don’t need prior experience. The class is suitable for all skill levels, including beginners. The key requirement is that you actually want to learn and enjoy working with your hands.
It’s also a good first Bali activity if you like starting your trip with something memorable and hands-on. One person even described it as their first real activity in Bali and loved that it set the tone early.
Not suitable:
- Children under 6 years
And if you’re sensitive to rules around workshop behavior, plan accordingly. Smoking indoors isn’t allowed, and alcohol and drugs aren’t allowed either.
Should You Book Ubud Town Center Silver Class?
If you’re weighing this against other Ubud experiences, I’d book it if you want a practical craft day and a take-home piece you can wear (not just a photo). The price feels fair because it includes silver, tools, instruction, a snack, and the finished jewelry—so you’re not guessing whether the “real cost” is coming later.
I’d also book it if you like being taught by patient professionals. Names like Pak Jero and Lau come up because the instruction is clear, step-by-step, and supportive while still pushing you to do the work.
The one reason to think twice is design ambition. If you want extra grams beyond 5 or you want stones, your final cost will rise quickly due to the IDR 85,000 per gram overage and extra gem fees. If that sounds like you, still go—just plan your design so it matches your budget.
FAQ
How long is the Silver Jewelry Making Class in Ubud?
The class duration is listed as 3 hours. The experience can take 1 up to 3 hours, depending on your project and timing.
What’s included in the $40 price?
The price includes silver up to 5 grams, personalized instruction, all materials and tools, and a finished piece you can take home. You also get a snack, mineral water, free Wi-Fi, and use of an air-conditioned room.
What kinds of jewelry can I make?
You can make personalized silver jewelry such as bracelets, rings, earrings, brooches, and more.
What happens if I use less than 5 grams of silver?
If your silver jewelry uses less than 5 grams, it will still be accounted for as 5 grams for the included pricing.
Do I get charged if my jewelry uses more than 5 grams?
Yes. If your silver jewelry total weight is over 5 grams, there’s an additional fee of IDR 85,000 per gram. Adding gems or stones also costs extra.
What are the rules during the class?
Smoking indoors isn’t allowed, and alcohol and drugs aren’t allowed. The class also isn’t suitable for children under 6 years.