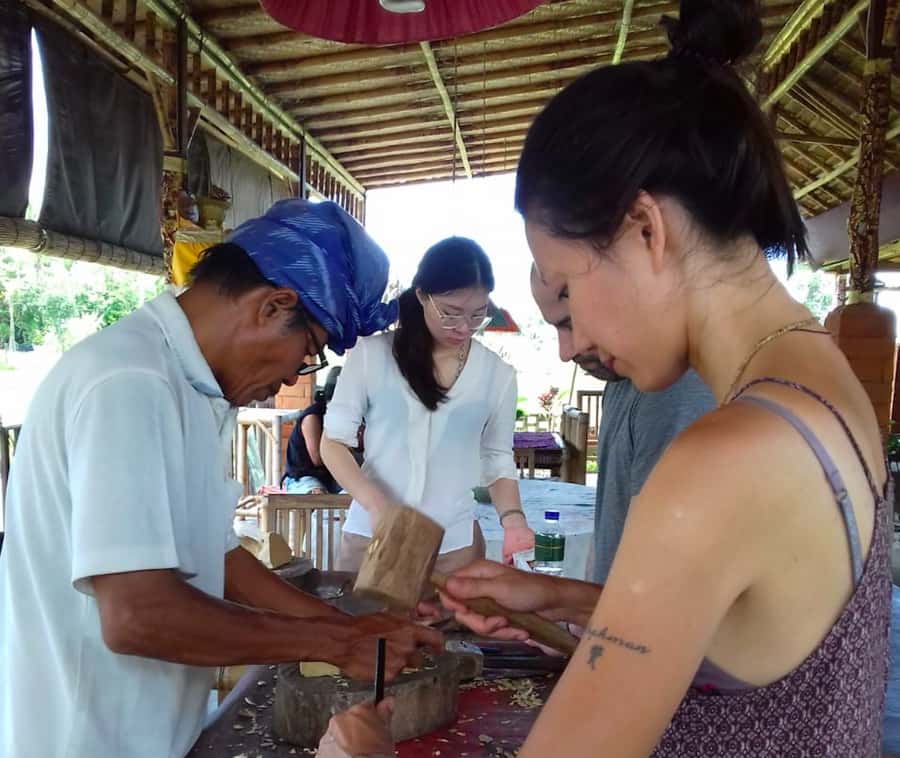
Wood hides a shape, if you look right. In Ubud at WS Art Studio, a Balinese master helps you carve what feels like it was waiting inside the block, with the philosophy behind those masks, animals, and symbolic forms. It’s hands-on Bali craft in a small group setting.
I really like two things about this class. First, the instructors stay patient and hands-on, coaching you through tool use and correcting mistakes as you go. Second, you leave with a finished take-home carving that’s more personal than anything you’ll pick up at a market.
One caution: the 3-hour finish depends a lot on your design choice. Some projects are naturally simpler; if you pick something more intricate, you may need more instructor help and a tighter focus on the details you want most.
In This Review
- Key takeaways before you book
- Why this Ubud wood carving class feels more like art lessons than a tourist stop
- Where WS Art Studio fits into your Ubud day (and how to plan your timing)
- Hotel transfers: the one logistics detail worth knowing
- The opening routine: coffee or tea, snacks, and getting your wood block ready
- Choosing your design: masks, animals, and the idea of hidden shapes
- How the master carver teaches: tools, slow steps, and corrections when you need them
- Two practical tips so you enjoy the carving more
- The philosophy lesson: what Balinese woodcarvers are really teaching
- Snacks, pace, and the studio atmosphere (including the little human touches)
- Pace: what to expect if your group is small, but the teacher is one
- Finishing, improving, and taking your piece home
- Price and value: is $24 a fair deal in Ubud?
- Who should book this class (and who should pick a different option)
- What to bring and what to leave at home
- Should you book the Ubud 3-Hour Wood Carving Master Class?
- FAQ
- How long is the Ubud wood carving master class?
- How much does it cost, and what’s included?
- Do I need any wood carving experience?
- Where do I meet for the class?
- What should I bring?
- Are hotel transfers included?
Key takeaways before you book
- Small group (max 7) means you actually get attention instead of just watching the teacher from afar.
- Master carvers teach the why, not just the how, including the symbolic meaning behind Balinese carvings.
- You carve at your level: beginners can start with manageable steps, while the instructor handles the trickier moments.
- Take-home souvenir is part of the deal, not an optional add-on.
- Tools, materials, and snacks are included (plus coffee or tea or water), so you can show up light.
- Family-friendly vibe works well for kids, too, as long as they’re ready to focus and try.
Why this Ubud wood carving class feels more like art lessons than a tourist stop
Ubud is full of craft workshops, but this one has a different rhythm. Instead of rushing you through a sample craft, you work with a master carver who treats the session like teaching: you’re building skill while also learning why Balinese woodcarving looks the way it does.
This is also a good “no-pressure creative” option. You do the carving yourself for the parts you can handle, but the instructor is there to guide your hands. Multiple class descriptions point to the same theme: you’re not just making a souvenir, you’re getting coached through the cuts and the thinking behind them.
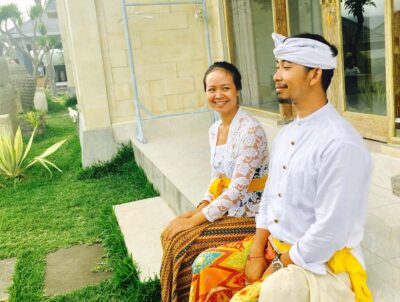
If you’re traveling as a couple, with friends, or with kids, that matters. The class is designed for a range of ages and ability levels, and the small group size helps the lesson stay calm.
You can also read our reviews of more tours and experiences in Bali.


Where WS Art Studio fits into your Ubud day (and how to plan your timing)
The meeting point is WS Art Studio, on Jl. Raya Silungan, Lodtunduh, Ubud (Google Map: C7X4+JFP, Lodtunduh, Ubud, Gianyar Regency, Bali 80571, Indonesia).
Timing-wise, plan for a full block of time in the afternoon. The scheduled length is 3 hours, but carving time can vary by design complexity and how quickly you work with the tools. A few experiences describe the finished piece taking longer than the target window when a project needs more adjustments.
If you want a smooth day, I suggest you avoid stacking tight plans right before or right after. Bring a simple schedule buffer so you can relax while you carve.
Hotel transfers: the one logistics detail worth knowing
Return hotel transfers are available from Ubud center only. If you’re staying outside that area, you’ll want to confirm how you’ll get back. The good news is the workshop itself is straightforward to reach for anyone already in Ubud.
The opening routine: coffee or tea, snacks, and getting your wood block ready
As soon as you arrive, you’re not sent off to wander. The class includes a welcome drink of coffee or tea or water, plus small snacks: Balinese fried pineapple and fried banana with palm sugar.
This matters more than it sounds. Woodcarving takes fine-motor effort, and a quick snack helps you stay focused through the first steps (when you’re still figuring out tool control).
You’ll also be set up with all tools and materials. That’s a real value point here. No hunting for supplies, no surprise “bring your own carving kit” note.
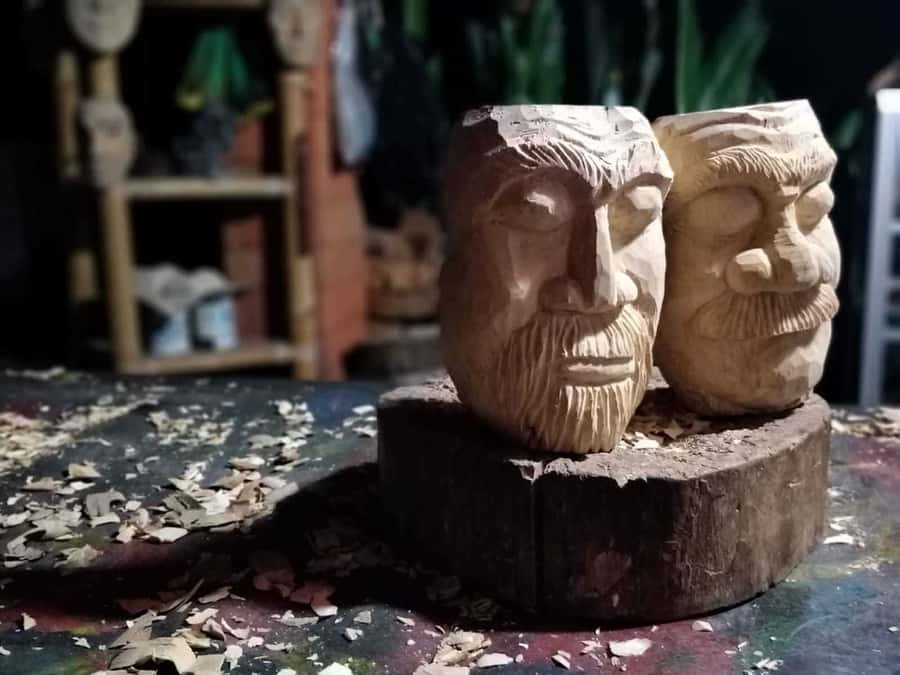
Choosing your design: masks, animals, and the idea of hidden shapes
A big part of the experience is choosing what to carve. The class centers on the idea that the design is already inside the wood block—you just reveal it by following the right carving approach.
You’ll pick from options like:
- Balinese-style masks
- animals (turtles are a common pick)
- other shapes that fit the lesson structure
A practical tip from how the class is described: if you want the best chance of finishing within the time, pick something small and focused. Several people note that you have more flexibility with abstract or simpler designs, while highly detailed shapes can be tougher for a first session.
Also keep expectations realistic. Even beginners often end up with a recognizable finished piece, but it’s usually because the instructor helps with the tricky shaping and final refinements.


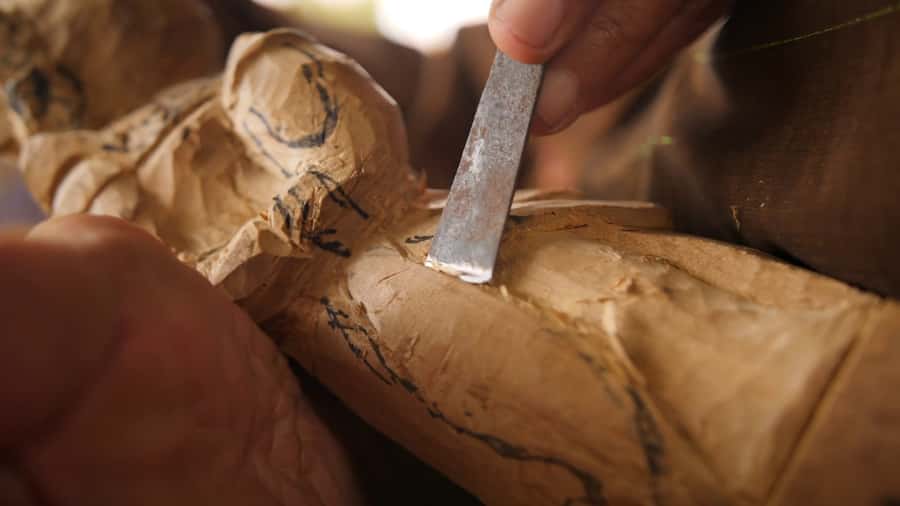
How the master carver teaches: tools, slow steps, and corrections when you need them
This class works in a clear pattern:
- The instructor shows technique and tool handling.
- You try the step yourself.
- The instructor returns to correct or refine what’s not reading correctly yet.
- You repeat until your carving starts to look like the design you chose.
That pause-and-fix rhythm is a major reason people rate this highly. Multiple comments praise the instructors for being very patient and for spending time on the finishing touches rather than just sending you off mid-process.
In some experiences, instructors provided 1-on-1 guidance for beginners. In other cases, you do more of the carving yourself while the teacher handles the detailed parts or takes over when needed. The result tends to be a finished souvenir that looks better than what a beginner could pull off alone.
Two practical tips so you enjoy the carving more
- Go in with a design in mind. It saves time and reduces decision stress.
- Expect guidance on the tough parts. You’ll still carve, but don’t assume you’ll do every millimeter perfectly without help.
The philosophy lesson: what Balinese woodcarvers are really teaching
Yes, you learn how to carve. But the class also teaches the reason behind the look of Balinese woodwork.
The workshop specifically highlights “philosophies” tied to the carvings—why certain forms appear across Bali, and how knowledge gets passed down through generations of carvers. That’s not just trivia. It shapes your approach: you’re more likely to carve with intention when you understand what the design symbolizes and why the process follows tradition.
This shows up in how instructors talk while teaching. One person singled out Bapa Raja for sharing wisdom in a way that connected with their inner child, while another described Wayan as explaining techniques and adjusting guidance to match the student’s questions.
I like this aspect because it’s not just, “Make a turtle and call it done.” You come away feeling like you did something cultural and personal, not merely productive.
Snacks, pace, and the studio atmosphere (including the little human touches)
This is not a warehouse workshop. The venue is described as charming and homelike, with relaxed energy.
Small touches matter:
- Coffee/tea/water is ready for you.
- Fried snacks show up during the session.
- The space feels comfortable enough that families can handle the setting without feeling dragged to a timed production.
A few experiences also mention dogs around the venue. It sounds minor, but it contributes to the “this is a real working studio” feeling.
Pace: what to expect if your group is small, but the teacher is one
Even in a small group (limited to 7), you may still see a “teacher-centered” workflow. One experience mentioned a situation with only one teacher while the group size created waiting time between steps. That doesn’t mean it’s the norm, but it’s a fair consideration: your progress depends on how the instructor schedules demonstrations for your specific group.
If you tend to get restless, pick a design you’re excited about. Motivation helps during any waiting stretches.
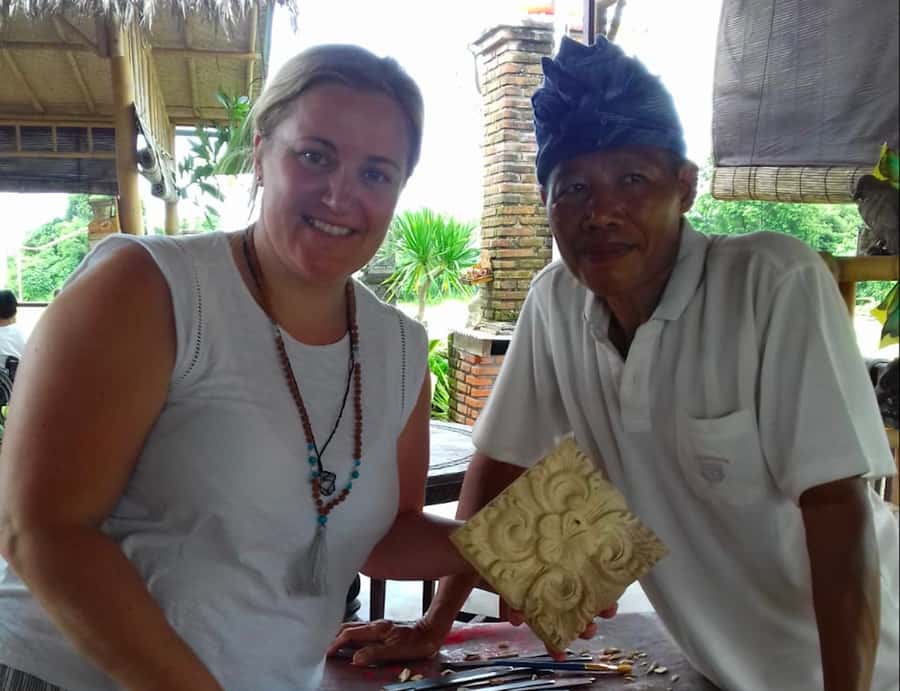
Finishing, improving, and taking your piece home
At the end, the instructor works toward getting your carving to a solid final look. Many comments praise the idea that the teacher:
- improves details you can’t fix alone,
- corrects mistakes along the way,
- and makes sure the finished product you take home is actually something you’ll be proud to display.
Some experiences describe the instructor spending extra time at the end to improve the piece, especially after you reach your own limit on the shape or the details.
You also receive a class certificate, which is a small thing but helps if you like proof of learning (or if you’re collecting Bali memories for later).
Price and value: is $24 a fair deal in Ubud?

At $24 per person for a 3-hour workshop, this is strong value, especially because the included items are not “lip service.”
You get:
- all tools and materials
- small snacks (fried pineapple + fried banana with palm sugar)
- a welcome drink (coffee/tea/water)
- a class certificate
- and you take home what you carved
In other words, the price isn’t only paying for instruction. It covers the practical extras that many paid classes charge separately for (or leave to you to buy).
The only reason I wouldn’t call it a total slam dunk is design risk. If you pick an extremely intricate concept, you might end up with more instructor finishing than you expected. That usually still works out well, but if you want maximum hands-on carving time, choose a design that matches beginner-friendly shapes.
Who should book this class (and who should pick a different option)
This workshop is a great fit if you want:
- a beginner-friendly introduction to Balinese wood carving
- a family activity where kids can participate
- a hands-on souvenir that looks authentic and personal
- instruction that includes both technique and meaning
It may be less ideal if:
- you hate waiting while the instructor demonstrates the next step
- you need a super predictable timeline to the minute
- you want to carve a hyper-detailed sculpture with no instructor help (that’s not how this class is set up)
If you’re traveling with kids, it’s a sensible pick because the workshop’s focus is learning and guidance, not forcing everyone into the same exact outcome.
What to bring and what to leave at home
Bring:
- a camera
That’s it. Tools and materials are included, and snacks and drinks are provided.
If you’re the kind of person who likes to plan, bring a simple idea of what you want to carve. If you’re unsure, show up open-minded and let the instructor help you choose from the available options.
Should you book the Ubud 3-Hour Wood Carving Master Class?
I’d book this if you want a real Bali craft moment at a price that doesn’t feel risky. The big selling points are patient instruction, a small group setup, and the chance to leave with a take-home piece you shaped with your own hands.
I’d think twice if you have a tight schedule and can’t handle the possibility of running past 3 hours for a complex design. Also, if you’re expecting to fully finish an intricate carving end-to-end with no instructor corrections, adjust your expectations or pick a simpler design.
If you want the best odds of a smooth, satisfying experience, choose a smaller, beginner-friendly design and treat the class like a skill lesson. You’ll get a souvenir, yes, but you’ll also leave with tools you can imagine using again.
FAQ
How long is the Ubud wood carving master class?
The class lasts 3 hours.
How much does it cost, and what’s included?
It costs $24 per person and includes all tools and materials, small snacks (fried pineapple and fried banana with palm sugar), a welcome drink (coffee or tea or water), and a class certificate.
Do I need any wood carving experience?
No experience is needed. The class is designed for beginners.
Where do I meet for the class?
You meet at WS Art Studio, Jl. Raya Silungan, Lodtunduh – Ubud (Google Map: C7X4+JFP, Lodtunduh, Ubud, Gianyar Regency, Bali 80571, Indonesia).
What should I bring?
Bring a camera.
Are hotel transfers included?
Return hotel transfers are available from Ubud center only. The activity notes do not say transfers are available from other areas.