Batik turns blank cloth into your story. In Yogyakarta, you learn the hands-on wax-and-dye method, from canting lines to choosing colors and finishing with a real take-home piece. I especially liked the way the small group format kept the studio calm and let instructors guide you closely.
I loved the teaching style. Names like Suzy/Susi and Harry come up in the reviews for a reason: they’re patient, step-by-step, and quick to help when wax goes sideways. I also love that you’re not just watching a demo. You make your own design, then bring it home as the most personal souvenir you’ll buy.
One consideration: you’ll need to handle the logistics yourself. The workshop does not include hotel pickup/drop-off, and you must arrive by 10 AM for the day’s start.
In This Review
- Key Things You Should Know Before You Go
- The Real Appeal of a Yogyakarta Batik Painting Workshop
- Your 5-Hour Flow: From Pencil Sketch to Finished Cloth
- Design Time: Choosing Your Pattern and Making It Yours
- Waxing With a Canting: Where Patience Matters
- Painting With Dye: Color Choices and Subtle Surprises
- The Wax Removal Step: The Moment Your Piece Comes Together
- What’s Included (And How $26 Becomes Fair Value)
- Studio Comfort, Snacks, and Small-Group Advantage
- Timing and Meeting Point: How to Avoid Stress in Yogya
- Who This Workshop Suits Best
- Should You Book This Yogyakarta Batik Workshop?
- FAQ
- How long is the batik painting workshop?
- What is the price for this activity?
- Is hotel pickup or drop-off included?
- What does the workshop include?
- Do I need to know how to draw?
- What tools or materials are provided?
- Is the instructor available in English?
- When will I know the exact meeting point?
- What if I need to cancel?
Key Things You Should Know Before You Go
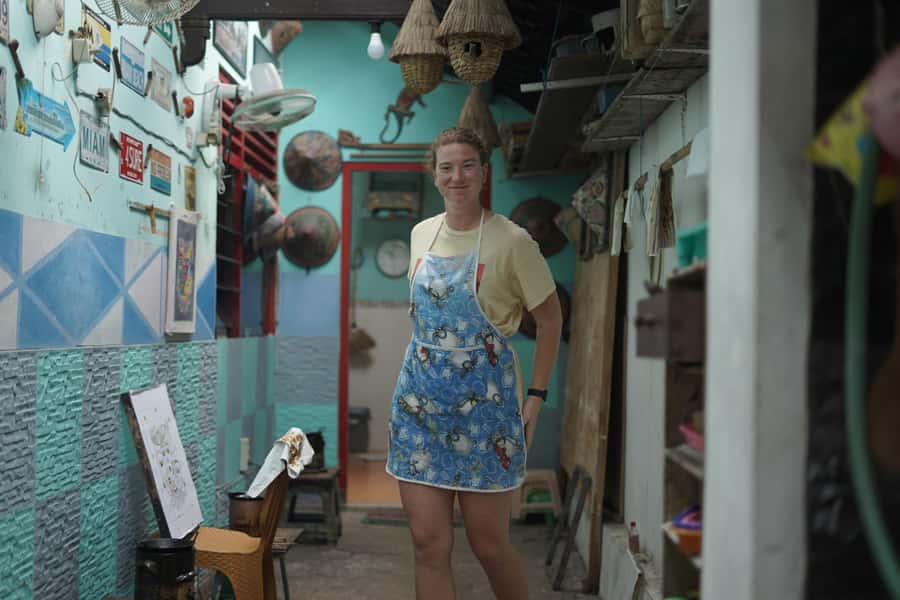
- Hands-on batik, not a quick demo: you sketch, wax, dye, and finish your cloth
- Small group size (up to 10): easier pacing and real instructor attention
- Instructors in English: guidance is geared for English speakers
- Design flexibility: use a pre-drawn pattern or create your own
- Mistakes are part of it: wax lines can be corrected and redrawn
- You take it home: cotton cloth plus your finished batik work after processing
The Real Appeal of a Yogyakarta Batik Painting Workshop
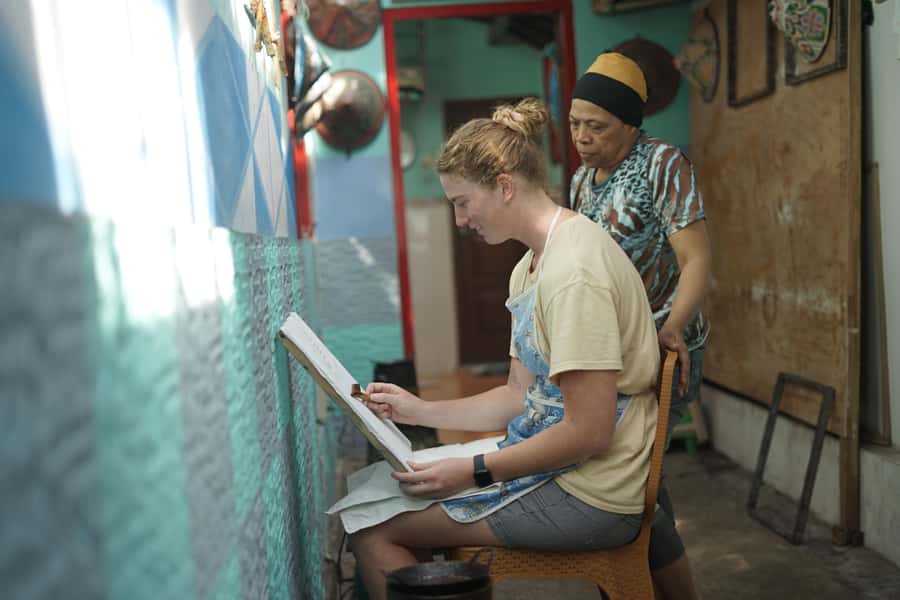
A Yogyakarta batik workshop is one of those rare activities where the learning and the souvenir are the same thing. You’re not buying a finished textile. You’re building it—wax by wax, dye by dye—so the final cloth feels earned.
This is also a good choice if you like slow, focused making. Multiple reviews describe the studio vibe as relaxing and quiet, which matters in a place that can feel busy outside. In the workshop, you get a structured process, plus the freedom to choose your design and color choices.
The best part for me is the combination of craft and creativity. You start with a pencil sketch on fabric, then the workshop pulls you into the method: applying wax along your pattern, then using dye like a controlled paint job. It’s artistic, but not chaotic.
You can also read our reviews of more tours and experiences in Yogyakarta.



Your 5-Hour Flow: From Pencil Sketch to Finished Cloth
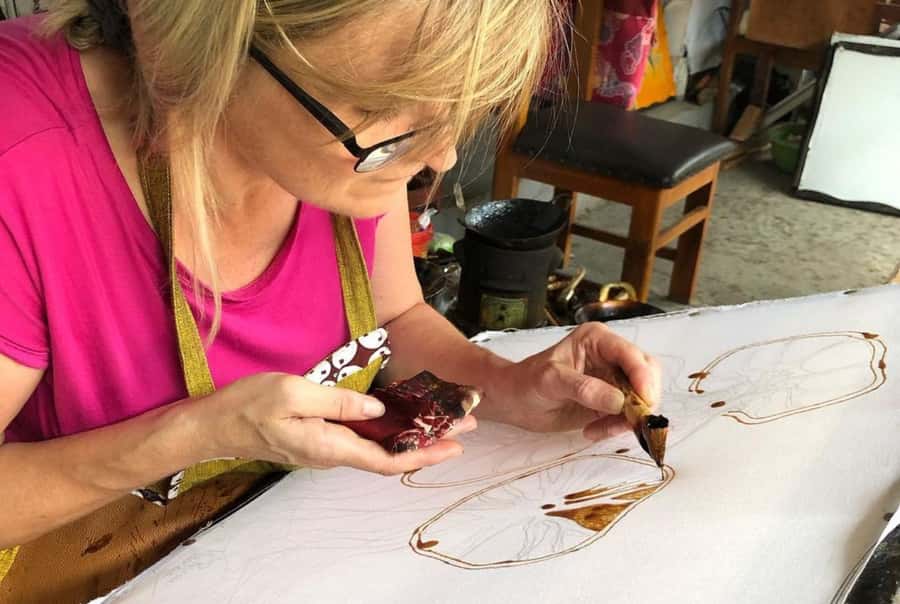
The process takes about 3 to 5 hours depending on your design complexity. In practice, that timing is tied to how detailed your lines are, how many colors you want, and how long you need for the fabric to dry and then be processed to remove wax.
Here’s the workshop rhythm you can expect:
First, you draw your design. Some studios give you pre-traced stencils, while others let you start from scratch. Either way, you’re working directly on the cotton cloth so your layout and proportions matter.
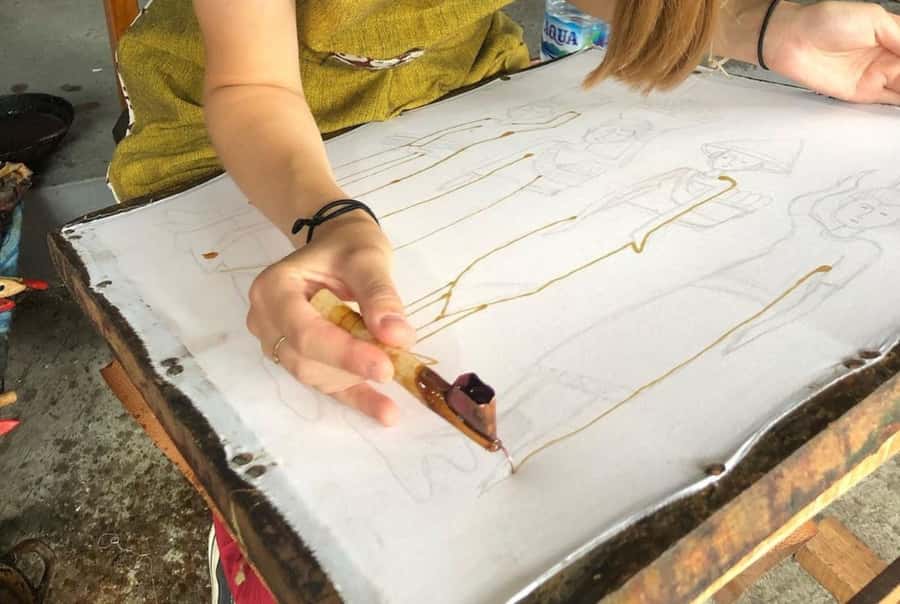
Next comes the wax stage. You’ll heat wax, fill the canting tool, and apply wax along your penciled sketch so it forms the resist pattern. Once the wax is in place, you move into dyeing.
Then you paint with dye. You choose colors and apply them with a brush until the fabric is filled with color. This part is where your design starts looking like batik, not just line work.
Finally, the wax has to be removed. That’s done by boiling water and agitating the cloth so the wax melts out, followed by rinsing and rubbing to remove leftovers. After drying, you’re ready to take your finished batik piece home.
Design Time: Choosing Your Pattern and Making It Yours
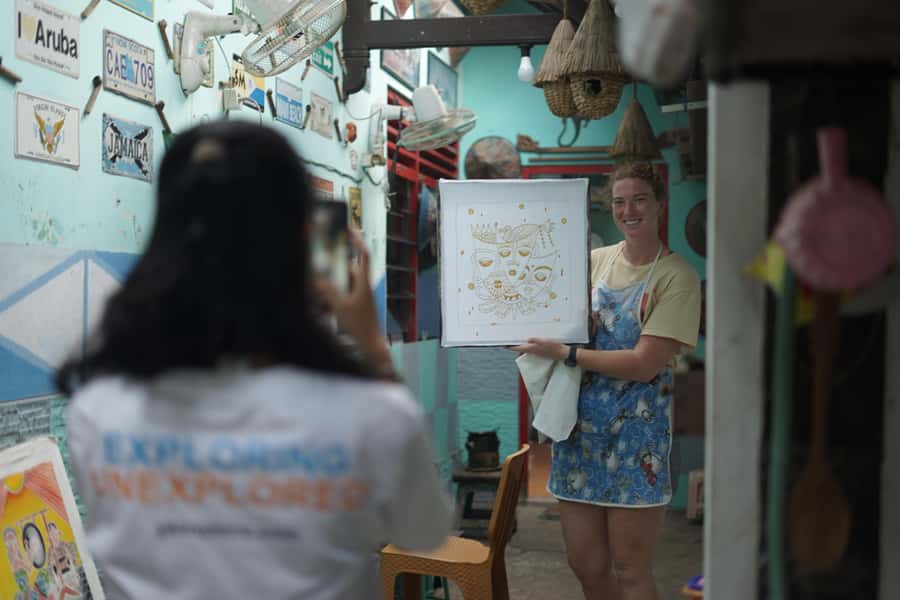
Before any wax touches the cloth, you have the creative “planning” stage. This is the best moment to think like a batik maker: batik is built from boundaries. Once wax hardens into a resist line, that line will guide what stays one color versus another.
You can typically choose between:
- Using a design that’s already prepared for you, or
- Creating your own drawing
Reviews mention that pre-drawn designs and traced stencils help if you don’t feel confident about freehand drawing. That support is useful because batik isn’t only drawing. It’s also timing, wax control, and dye application.
If you want a more complex design, plan for extra time. One helpful tip from a review: draw out your ideas on paper before you arrive. That way, you walk in with a finished sketch and spend your workshop time translating it to fabric instead of brainstorming from scratch.
Waxing With a Canting: Where Patience Matters
The wax stage is the heart of batik. Wax is heated on a stove, then scooped into the canting tool. When you scratch or draw the wax onto the cloth, the pattern you drew in pencil becomes the roadmap.
This is also where your instructor support really earns its keep. Even careful people spill wax or get line thickness uneven. Reviews specifically praise the instructors for being encouraging and helping you fix problems rather than shutting you down when something goes wrong.
If your wax outline is off, you may have a chance to remove wax and re-draw lines. That’s a big deal for first-timers. It turns the wax stage from scary into practice-friendly.
Practical advice: wear clothes you don’t mind getting stained. An apron is provided, but dye and wax accidents are still possible when you’re learning. Bring a mindset of hands-on work, not museum behavior.
Painting With Dye: Color Choices and Subtle Surprises
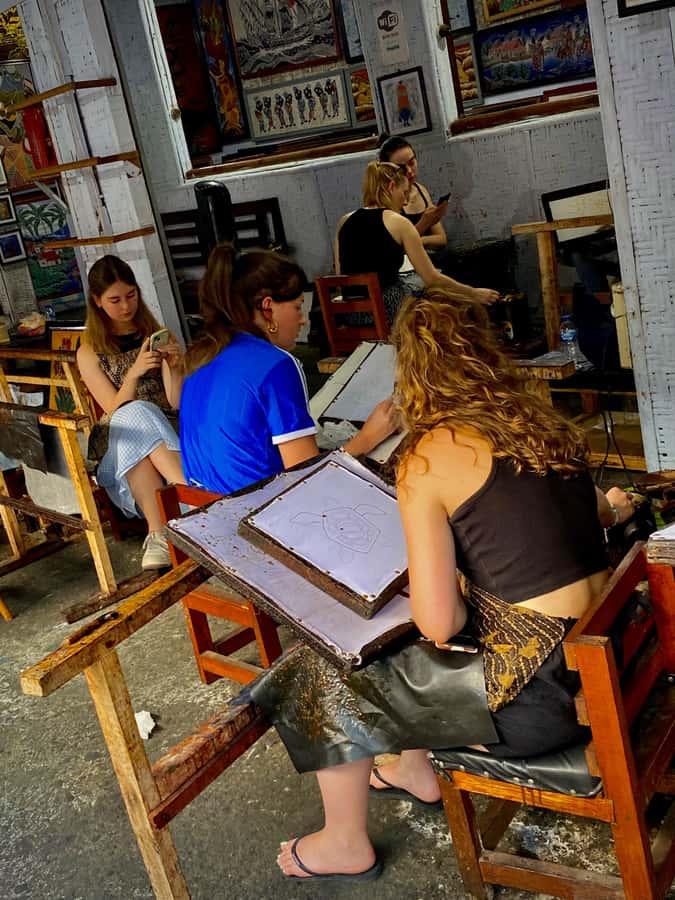
Once your wax resist is set, you can paint the fabric. You’ll pick your colors and use a brush dipped in dye, then apply color across the fabric surface.
What I like about this stage is that it’s straightforward enough for beginners, but it still feels technical. You’re learning how dye spreads, how to avoid muddying areas, and how to work within your wax boundaries.
Color can also behave differently than you expect. One review notes that some colors only reveal themselves later—especially after exposure to sunlight and an acid bath. That means it’s normal if your first impression in the dye stage isn’t the final look.
Also, don’t worry if you want specific shades. Instructors may help mix colors. That kind of hands-on guidance helps you avoid ending up with a color you didn’t intend.






The Wax Removal Step: The Moment Your Piece Comes Together
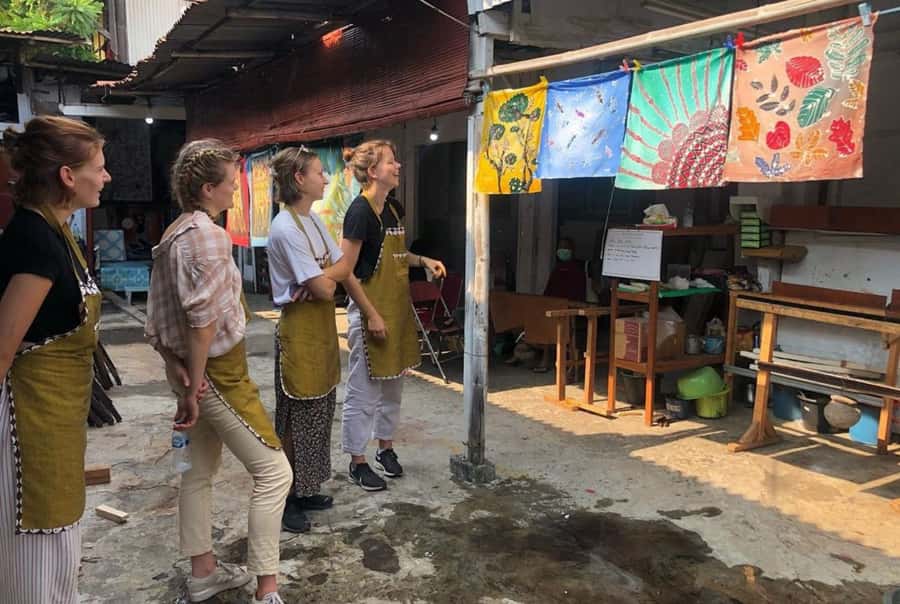
After dyeing, there’s a waiting period while the fabric dries. Then you move into wax removal, which is one of the most satisfying parts because it transforms your work from “wax-and-color” into “true batik.”
The process uses boiling water. You put the cloth into the hot water, stir, and lift it occasionally. The wax melts and comes off into the water.
Next, you rinse and scrub by hand to remove any remaining wax. That rubbing step is important because tiny bits can cling to the fibers. After that, you let the fabric dry again.
This is the part where it helps to be patient. You’re following the chemistry and heat process, not forcing quick results. And while you wait, you can relax in the studio setting, which reviews describe as calm and comfortable.
What’s Included (And How $26 Becomes Fair Value)
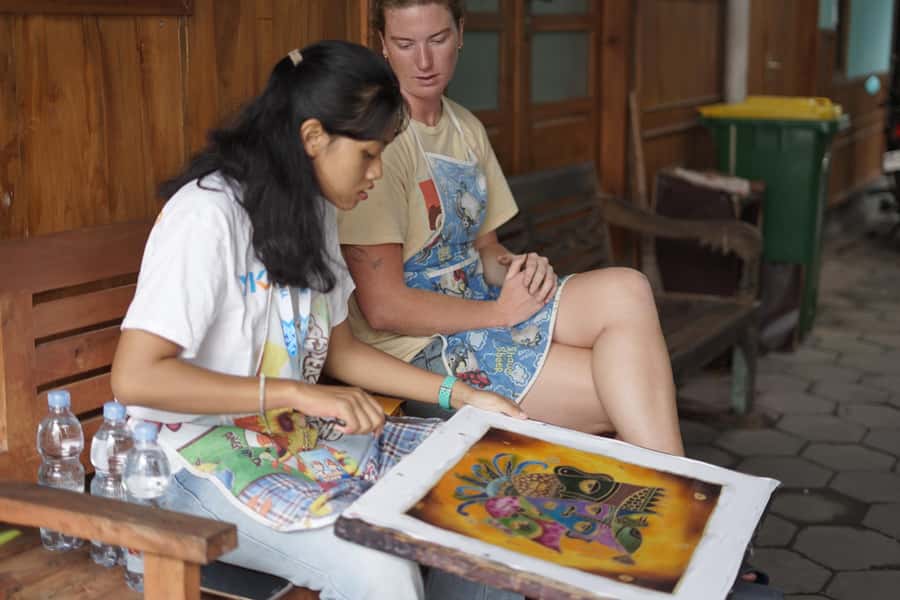
At about $26 per person for the 5-hour workshop, the value comes from what you actually receive.
What’s included:
- 3 to 5 hours of workshop time
- Cotton cloth
- All tools and materials
- Instructor guidance
That’s the key. You’re not paying only for instruction. You’re paying for the supplies, the wax, the dyes, and the entire finishing process that turns your work into a take-home souvenir.
You also get a meaningful souvenir that isn’t mass-produced. Your piece represents your own choices—design, line work, and color decisions. In a travel budget, that kind of “one-of-one” payoff can be better than another generic shop purchase.
One more value point: English instruction and a small group size. That matters because batik isn’t like a paint-by-numbers class. You’ll likely need quick help at least once, whether it’s wax handling or how to apply dye cleanly.
Studio Comfort, Snacks, and Small-Group Advantage
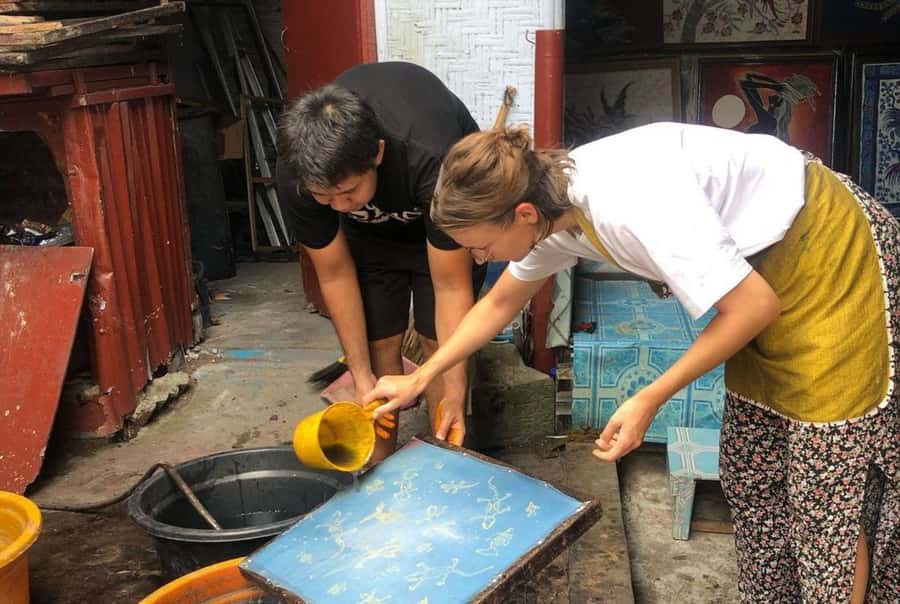
Even though this is a craft workshop, it doesn’t have that rushed school vibe. Reviews mention cold water, towels, snacks, and friendly chats during the day. That kind of comfort makes a long hands-on session feel easier.
Small groups limited to 10 participants also change the experience. You’re more likely to get personal feedback when your lines are uneven or your dye application needs a tweak. If you’re worried about keeping up, this group size helps.
Instructors like Suzy/Susi and Harry are described as helpful and patient, with support that continues throughout the stages. One review even notes that instructors step in if you need help to get back on track. That’s a reassuring safety net for first-timers.
Timing and Meeting Point: How to Avoid Stress in Yogya
Logistics are simple, but don’t assume you’ll be picked up. Hotel pickup and drop-off are not included.
Instead, you’ll get the venue location one day before your workshop date. Check your voucher and email so you know where to go. A WhatsApp number is requested during booking, which suggests the operator may use WhatsApp for day-of communication.
The key timing rule: maximum arrival time is 10 AM. If you’re late, you risk losing time in a process where drying and finishing steps take priority.
So, build in buffer time. If you’re staying in central areas, a short taxi or ride-hail trip can be easy. If you’re further out, plan extra time because you still need to settle in and start drawing.
Who This Workshop Suits Best
This batik workshop is a strong fit for:
- Couples, friends, or families who want a shared activity with a take-home result
- People who enjoy hands-on learning and don’t mind getting a little messy
- Travelers who want an authentic Indonesian craft experience beyond shopping
It’s also good if you’re not an artist. Multiple reviews emphasize that the process is made doable for beginners, including support and traced stencil options.
If you’re short on time and want something fast, this might not be the best match. The work is structured and takes several steps. But if you have a free half-day in Yogyakarta, it’s a great way to slow down and make something real.
Should You Book This Yogyakarta Batik Workshop?
I’d book it if you want a real craft experience with a meaningful souvenir. The combination of hands-on instruction, small-group attention, and a finished batik cloth you bring home makes the $26 price feel fair. It’s also a smart use of time because you’re not just watching history—you’re practicing the method.
Skip or think twice if you’re sensitive to stains or you hate waiting. Wax and dye are part of the process, and the full workflow includes drying and wax removal. Also, since there’s no hotel pickup, you’ll want to be comfortable handling your own route to the venue by 10 AM.
If you go in with patience and plan for an old-shirt day, this workshop can be one of the most memorable things you do in Yogya.
FAQ
How long is the batik painting workshop?
The workshop runs about 5 hours. The process itself can take 3 to 5 hours depending on how complex your design is.
What is the price for this activity?
It’s listed at $26 per person.
Is hotel pickup or drop-off included?
No. Hotel pickup and drop-off are not included, so you’ll need to arrange your own transport to the venue.
What does the workshop include?
You get the batik painting workshop experience (3 to 5 hours), cotton cloth, all tools and materials, and an instructor.
Do I need to know how to draw?
No. You can choose from available designs and stencils, or you can create your own design if you prefer. Instructors help guide you through the stages.
What tools or materials are provided?
The workshop includes all tools and materials you need, along with the cotton cloth for your project.
Is the instructor available in English?
Yes. The instructor language is English.
When will I know the exact meeting point?
The workshop venue is provided one day before your event date. Check your voucher and email for the details.
What if I need to cancel?
Free cancellation is available up to 24 hours in advance for a full refund.