30 meters changes how you breathe underwater. I love the five training sessions built around real skills, and I love the up to 30 meters depth goal with SSI so you feel ready for bigger adventures. One thing to consider: you must already hold Open Water certification and the course depends on good weather in Nusa Lembongan.
This is also run with a small group (max 5) and a comfortable home base, with Wi-Fi and lockers at the scuba shop. The result is a course that feels hands-on and practical, not like a long lecture.
In This Review
- Key Points at a Glance
- Nusa Lembongan: The Right Place for an Upgrade
- What You Actually Earn: SSI Advanced Open Water to 30 Meters
- The 5 Training Sessions That Make This Course Worth It
- The Deep Adventure Session: planning and physiology
- Underwater Navigation: compass skills that actually stick
- Three specialty sessions chosen from a list
- The Two-Day Itinerary: From Crystal Bay to Jungut Batu Beach
- Stop 1: Crystal Bay
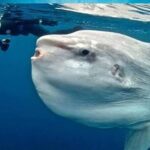
- Stop 2: Manta Point
- Stop 3: Mangrove Point at Nusa Lembongan
- Stop 4: Toyapakeh
- Stop 5: Jungut Batu Beach
- Depth Planning + Compass Navigation: The Real Confidence Builders
- Deeper water feels different—on purpose
- Navigation training you can use on day one
- Specialties You Can Choose: From Buoyancy to Fish ID
- Gear Included, Plus the Calm Comfort Stuff
- Instructors: Safety, Patience, and Detail (Names You Might Meet)
- Pace and Physical Readiness: What “Moderate Fitness” Means
- Price and Value: What $431.28 Really Buys
- Weather, Rescheduling, and How to Think About Risk
- Should You Book This Advanced Open Water Course in Lembongan?
- FAQ
- Do I need Open Water certification before doing this course?
- What depth will I be trained for on the Advanced Open Water course?
- How many underwater training sessions are included?
- Is underwater navigation with a compass part of the training?
- Can I choose what specialty topics I train on?
- What equipment is included in the price?
- What facilities are available at the scuba center?
- Is accommodation available if I don’t have a place to stay?
- What happens if weather is poor?
Key Points at a Glance
- SSI Advanced Open Water in 2 days: build confidence fast after Open Water
- Depth training up to 30 meters (100 feet): structured and supervised
- Compass navigation practice: includes kick-cycles, visual landmarks, and time
- Choose your adventure focus: specialties like photography, buoyancy control, fish ID, and wreck exploring
- Supportive instruction with known names: Valentin, Kaka, Hugo, Sara, Silvère
- All gear provided + on-site facilities: wetsuit, weights, and practical comfort items
Nusa Lembongan: The Right Place for an Upgrade
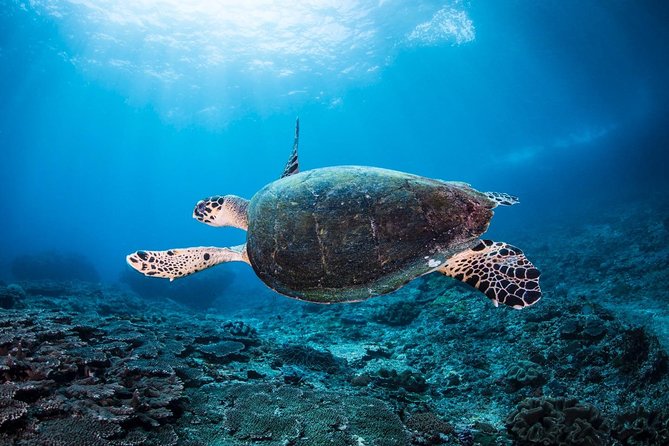
Lembongan sits just off Bali, and it has that helpful mix of easy access and real island diving conditions. For an Advanced Open Water course, the appeal is simple: you’re not just learning skills in theory—you’re practicing them in different underwater settings across a couple of days.
You’ll bounce around several well-known local sites on the itinerary—Crystal Bay, Manta Point, Mangrove Point, Toyapakeh, and Jungut Batu Beach. Each stop gives you a chance to apply what you learned without repeating the same kind of water over and over. That matters because underwater skills don’t work the same way everywhere: visibility, entry/exit conditions, and your own buoyancy control all get tested.
If you’re coming from Bali, this course is a nice shift away from “check off a landmark” tourism and toward something more tactile—gear, air, planning, and problem-solving. When it goes well, it makes you feel like you actually understand what’s happening down there, not just following steps.
You can also read our reviews of more tours and experiences in Nusa Lembongan.
What You Actually Earn: SSI Advanced Open Water to 30 Meters
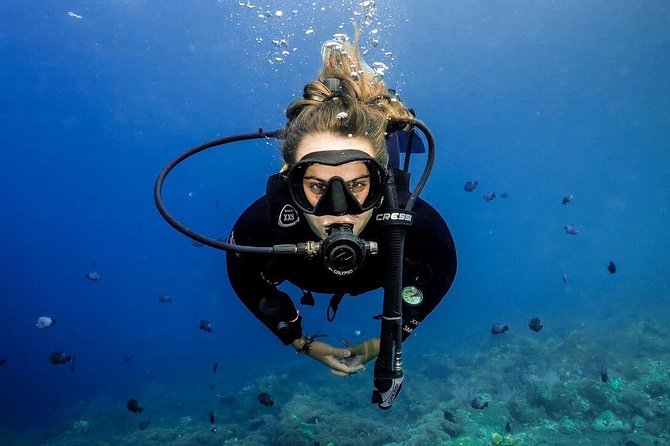
This is an SSI Advanced Open Water certification pathway. To start it, you need to be already Open Water certified—the course is designed to build on that foundation, not replace it.
The big promise is training that qualifies you to go deeper: you’ll be certified to dive down to 100 feet (30 meters). That’s a meaningful step up in the scuba learning curve. Deeper water changes how planning feels (timing, air use, and physiological effects), and it also makes good habits non-negotiable. The course builds those habits through structured training sessions rather than random sightseeing.
You’ll also see an “SSI Mellower” style approach described for this course, and that’s a good sign if you dislike courses that feel too classroom-heavy. You still do the necessary learning, but the emphasis stays on underwater skill-building and guided decision-making.
The 5 Training Sessions That Make This Course Worth It
The course includes five training dives/sessions (training sessions in different specialties). Three of them are tied to deeper learning and navigation, and the other three are specialty-adventure options based on what you want to improve.
Here’s how the skill progression is framed:
The Deep Adventure Session: planning and physiology
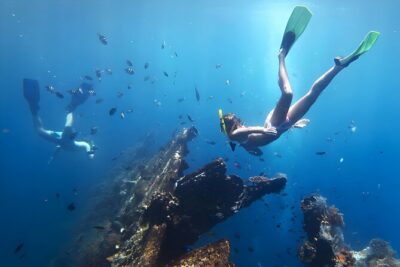
You’ll learn how to plan deeper scuba activities and deal with the physiological challenges that come with deeper water. The course highlights deeper dive planning and managing how your body responds. That’s the part most people remember later, because deeper travel isn’t just “going lower”—it’s managing risk and comfort through smart planning.
Underwater Navigation: compass skills that actually stick
One session focuses on navigation using a compass. You’ll refine how to navigate underwater using:
- kick-cycles
- visual landmarks
- time
That trio is practical. Landmarks and timing prevent you from “guessing” when you can’t see far. Kick-cycles help you control speed, which is huge because rushing ruins navigation. Done well, this skill makes future trips feel calmer and more competent.
Three specialty sessions chosen from a list
The final three sessions are in areas that match your preferences. The course text gives examples of what you can choose from, like:
- photography
- buoyancy control
- fish identification
- exploring wrecks
The value here is not that you get to check off random topics. It’s that you get to steer your training. If you’re obsessed with buoyancy, you can put more of your attention into that. If you want to identify marine life, you can train your observation skills while you’re still under close supervision.
Your instructor works with you to map your learning path based on your interests, so the course doesn’t feel generic.
The Two-Day Itinerary: From Crystal Bay to Jungut Batu Beach
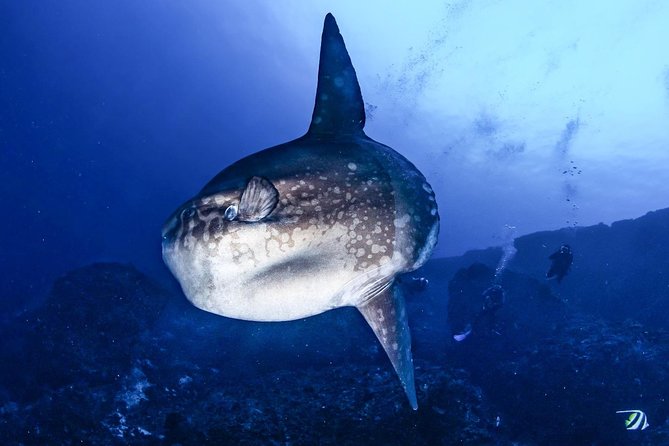
You’ll spend two days moving through five scheduled stops. Exact timing can shift with conditions, but the rhythm stays the same: training, repetition, and applying skills in new areas.
Stop 1: Crystal Bay
Crystal Bay is your first site, and that’s a smart choice. Early on, you want water where you can settle into weighting, buoyancy, and breathing rhythm. Starting here helps you get comfortable before the course leans harder into navigation and deeper planning.
What to watch for: on day one, your biggest “enemy” is usually overthinking and uneven buoyancy. Use the first site to get your body habits right, because that pays off later.
Stop 2: Manta Point
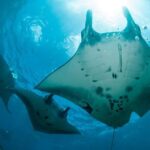
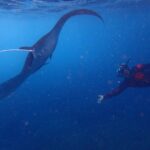
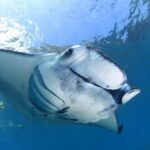
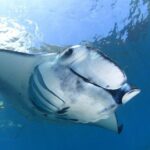
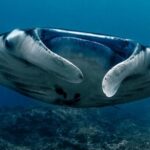
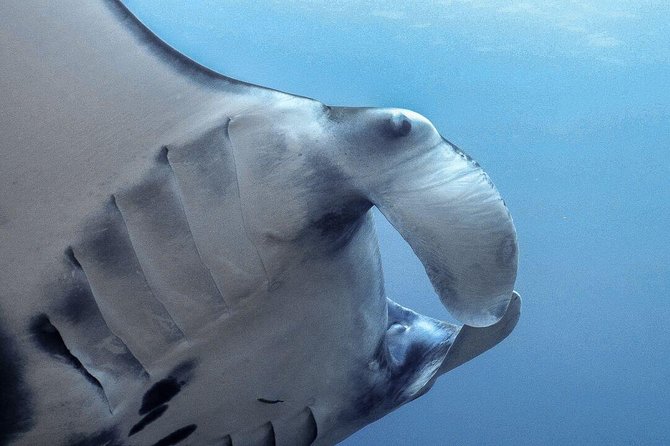
Next up is Manta Point. It’s on the itinerary for a reason, and site names like this usually mean you should expect more open-water style encounters than tiny reef-only viewing (even if the exact wildlife moment can’t be guaranteed). Treat it as a chance to focus on relaxed movement and good buoyancy, especially if you want sharper photos.
What to watch for: if you’re using a camera, don’t let it steal your buoyancy control. Secure shots come from stable breathing and trim, not from chasing angles.
Stop 3: Mangrove Point at Nusa Lembongan
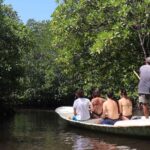
Then you shift to Mangrove Point. Mangrove environments often feel like a different “world” compared with open reef settings—more sheltered, different structure, and a change in how you look for landmarks. That’s useful if you’re training navigation skills, because it forces you to rely on cues instead of just following what’s most visible.
What to watch for: keep your eyes on what the instructor is using as reference points. Mangrove structure rewards calm, methodical scanning.
Stop 4: Toyapakeh
Toyapakeh is the next scheduled stop. By then, you’ve already practiced the basics of the course plan, and you’re more ready to focus on precision: air management, navigation habits, and keeping your movement efficient.
What to watch for: don’t assume you’ll feel the same in every location. Your buoyancy and kick rhythm will change a bit depending on water movement and how the bottom looks.
Stop 5: Jungut Batu Beach
You’ll finish at Jungut Batu Beach. Ending on a familiar-feeling coastal site helps consolidate what you learned—especially if you’re thinking about the practical next step after certification: applying these skills on your next trip without panic.
What to watch for: use the last site to tighten whatever felt slightly awkward earlier. Most people improve quickly once they stop trying to “perform” and start trying to relax.
Depth Planning + Compass Navigation: The Real Confidence Builders
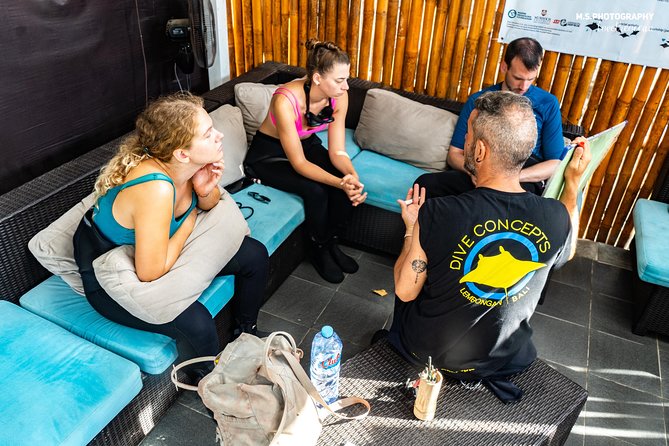
Two skills drive the confidence boost for this certification: deep planning and underwater navigation.
Deeper water feels different—on purpose
The course’s deep session focuses on planning for deeper scuba activities and dealing with physiological effects. That’s a fancy way of saying: you learn how to behave when your body is under new conditions. This matters because deeper water punishes sloppy habits.
If you want future days to feel smoother—less rushed, less uncertain, more controlled—this is where the groundwork happens.
Navigation training you can use on day one
Compass navigation isn’t just “point this way.” The course specifically trains you to navigate using:
- kick-cycles (your propulsion becomes measurable)
- visual landmarks (you build a reference system)
- time (you avoid drifting into guesswork)
That combo is what makes navigation transferable to real travel. You’re not just learning a tool—you’re learning a workflow.
One practical mindset shift helps here: if you treat navigation like a checklist rather than a guess, you’ll make better decisions faster.
Specialties You Can Choose: From Buoyancy to Fish ID
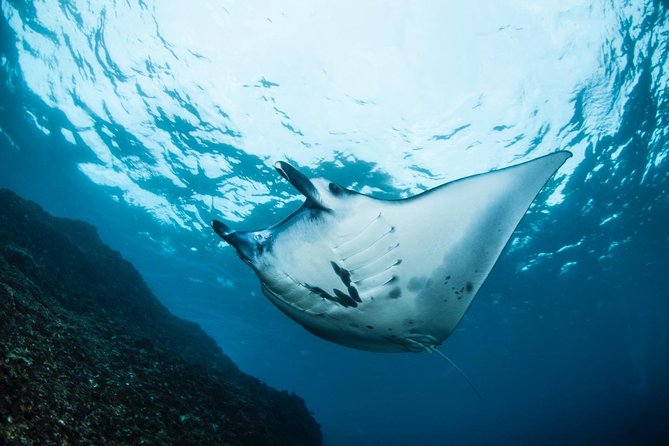
The course includes three specialty sessions based on your interests, pulled from a broader list your instructor helps you select.
The examples given—photography, buoyancy control, fish identification, exploring wrecks—tell you something important about how this course is structured. It’s not trying to turn you into a generalist. It’s trying to turn you into a more intentional underwater person.
Here’s how I’d think about choosing:
- If you struggle with floating stability, choose buoyancy control. This improves everything else.
- If you love marine life, choose fish identification so you train observation habits early.
- If you want better photos, choose photography, but prioritize buoyancy first so your camera doesn’t become a hazard.
- If you’re curious about shipwrecks, choose exploring wrecks, even if you’re not ready to do advanced wreck work yet. You’re building comfort and awareness.
Gear Included, Plus the Calm Comfort Stuff
Good courses remove friction. This one includes the scuba essentials, so you don’t have to hunt down rentals at the last minute:
- mask and snorkel
- fins
- buoyancy control jacket
- regulator and other instruments
- wetsuit
- weight belt
On top of that, the scuba shop has practical facilities like Wi-Fi, lockers, toilets, showers, and change rooms. That might sound boring—until you’re wet, tired, and trying to get your phone charged and your gear sorted.
There’s also a restaurant on-site, but meals are on your own expense. And there’s an optional add-on mentioned: digital souvenir photos/videos you can purchase.
One small but useful detail from the setup: the course caps at five travelers. That usually means less waiting around and more actual feedback while you’re practicing.
Instructors: Safety, Patience, and Detail (Names You Might Meet)
The best part of any certification is the instructor. In this program, the instruction style shows up clearly in feedback, with instructors named like Valentin, Kaka, Hugo, Sara, and Silvère.
Common threads you can expect:
- a strong focus on feeling safe from the first moments
- patience while you learn and repeat skills
- instructors observing you closely and teaching in detail
Some people mention doing both Open Water and Advanced Open Water with the same operation, which is a good sign if you value consistency in coaching. One solo course experience also stood out—when the group is small, instructors can usually adjust faster to your pace. With a maximum of five students, you’re likely to get that attentive feel.
If you’re the type who learns best when someone breaks things down step-by-step (and doesn’t rush you), this course format usually fits well.
Pace and Physical Readiness: What “Moderate Fitness” Means
This is listed for moderate physical fitness. That doesn’t mean you need to be an athlete, but you should be ready for:
- two days of underwater training sessions
- some gear handling
- getting comfortable in water that may be active depending on conditions
Also remember the prerequisite: you’re expected to already have Open Water certification, so the course can focus on advancement rather than starting from zero.
The course length is about 2 days, and you’ll be building momentum the whole time. If you’re the kind of person who gets anxious in new environments, schedule this right when you can keep things calm—no last-minute flights, no pressure to rush off after day one.
Price and Value: What $431.28 Really Buys
The price is $431.28 per person for a two-day Advanced Open Water pathway.
For me, the value comes from what’s included:
- all equipment (wetsuit, weights, mask/snorkel, fins, buoyancy jacket, regulator, etc.)
- a certified instructor
- multiple underwater training sessions across different locations
- on-site facilities like lockers and showers
What’s not included is mostly extras:
- digital souvenir photos/videos
- accommodation, though dormitories and bungalows are available at the dive/scuba center
If you’ve priced out equipment rentals and instructor time elsewhere, the “included gear + instruction + structured training” package is usually the difference between a course that feels smooth and a course that feels like you’re scrambling.
Is it expensive? It’s not the cheapest certification path you’ll find in Indonesia. But for a small-group, two-day Advanced course with full gear provided, it’s a fair, practical value—especially if you want certification that’s built around real skill practice rather than long lecture time.
Weather, Rescheduling, and How to Think About Risk
This course requires good weather. That’s not a scare tactic; it’s the reality of any coastal water activity. If conditions are poor, you’ll either switch to another date or get a full refund.
The best way to handle this is to plan your Bali side of the trip with flexibility. Don’t book a tight departure flight the evening your course ends, and keep buffer time in your schedule. If you’re traveling in the rainy season, you should assume you might lose some day-to-day certainty.
Opening hours are listed as 8:00 AM to 8:00 PM, so the shop has a long window to run training and adjust to conditions.
Should You Book This Advanced Open Water Course in Lembongan?
I’d book it if you:
- already have Open Water certification and want your next step to feel concrete
- want structured training toward 30 meters (100 feet) rather than guesswork
- care about underwater navigation with a compass and learning the habit of planning
- want to choose specialties like buoyancy control, photography, fish identification, or wreck exploring
- value small-group instruction and a comfortable on-site base with lockers, showers, and Wi-Fi
I’d pause if you:
- can’t be flexible with weather (this course depends on it)
- dislike courses that require two full days of focused practice
- aren’t ready for the “moderate fitness” expectations that come with gear, water time, and repetition
If you want a solid certification step with real skill-building, this is one of those courses that makes future scuba trips feel easier—because you learned how to manage depth, move with control, and navigate without panicking.
FAQ
Do I need Open Water certification before doing this course?
Yes. The course is designed for people who already hold Open Water certification, and it builds skills and experience from that baseline.
What depth will I be trained for on the Advanced Open Water course?
The certification qualifies you to dive to a maximum depth of 100 feet (30 meters).
How many underwater training sessions are included?
The package includes five training underwater sessions.
Is underwater navigation with a compass part of the training?
Yes. One of the sessions focuses on underwater navigation using a compass, including kick-cycles, visual landmarks, and time.
Can I choose what specialty topics I train on?
Yes. You’ll plan your learning path with your instructor by choosing from a longer list of Adventure Dive specialty options. Examples mentioned include photography, buoyancy control, fish identification, and exploring wrecks.
What equipment is included in the price?
The course includes masks, snorkel, fins, buoyancy control jacket, regulator, other instruments, wetsuit, and a weight belt.
What facilities are available at the scuba center?
On-site facilities include Wi-Fi, toilet, shower, locker, and change room. A restaurant is also available, but meals are not included.
Is accommodation available if I don’t have a place to stay?
Yes. Dormitory and bungalows are available at the dive/scuba center (accommodation is not included in the package price).
What happens if weather is poor?
This experience requires good weather. If it’s canceled due to poor weather, you’ll be offered a different date or a full refund.