You leave with jewelry you actually made. This Kuta workshop is interesting because you’re not just watching a demo—you work with Balinese silversmiths to turn fresh silver into a piece you can wear (or gift) the same day. I especially liked the hands-on guidance, plus how the class blends practical making with a bit of local context about how silver jewelry evolved in Bali. One thing to consider: the exact experience you get depends on what you choose to make, and some steps may be handled by the pros so your piece ends up looking right.
The vibe is friendly and relaxed, and I think the biggest win is the patient, step-by-step teaching. People often name their guides (like Agus and Made’ Budi, or Mr. Akut and Gede, and others such as Kadek, Iluh, and Walan), and that matches what you’ll feel in the studio—like you’re working alongside craftsmen who want you to succeed. English support is also built in with a live guide and an audio guide.
A small drawback: this is a creative class, not a sit-down “history talk.” If you’re expecting lots of lecture time on silver art, you might want to ask questions as you go—or pair this with other sightseeing. Also, you’ll still need to sort your own meals and drinks.
In This Review
- Key things to know before you go
- Family Silver Class in Kuta: what you’re really paying for at $40
- Picking your ring or earrings: the start that sets your whole session
- Inside the workshop: how silver becomes jewelry step by step
- The pros’ role: why your piece looks good at the end
- Getting the finishing right: sanding, polishing, and personal details
- Transportation and finding the studio near Legian/Kuta
- Group size, English support, and how long you should budget
- Who this workshop is best for (and who might want a different activity)
- Should you book Silverclass in Kuta?
- FAQ
- FAQ
- What kind of jewelry will I be able to make?
- How much silver is included?
- How long does the class take?
- Is there a guide, and is it in English?
- Is this a private group?
- Do I get hotel pickup?
- Where do I meet?
- What’s included in the price?
- What is not included?
- Can I cancel for a refund?
- Is there a reserve now pay later option?
Key things to know before you go
- Choose your design (ring, earrings, pendant, and sometimes other pieces like bracelet charms, depending on the package)
- Use 3–5 grams of pure Indonesian silver as your starting material
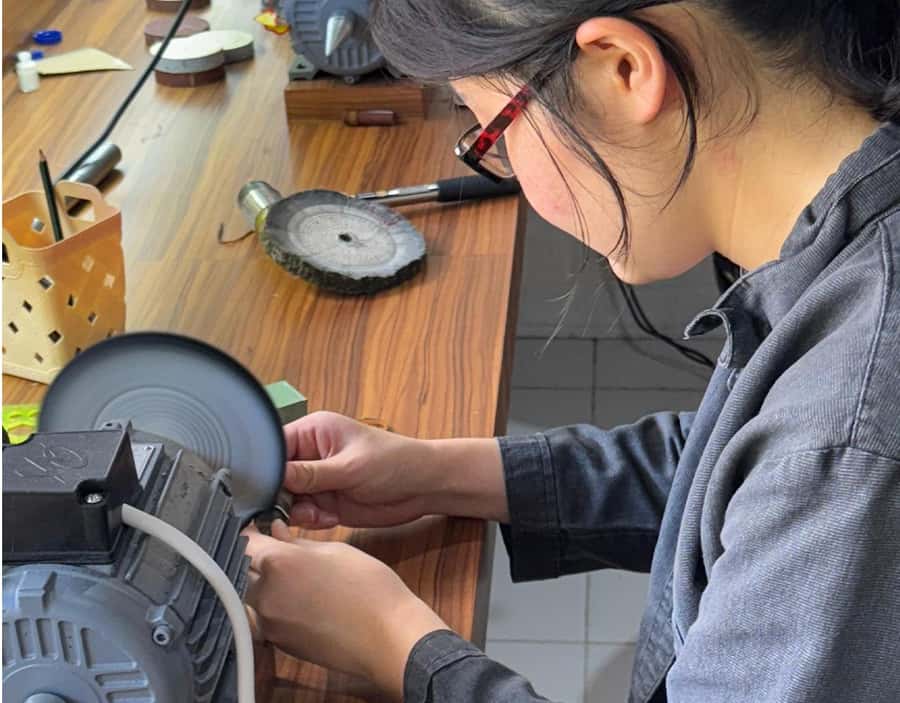
- You get sanding and polishing help, so the finishing is part of the class (not an afterthought)
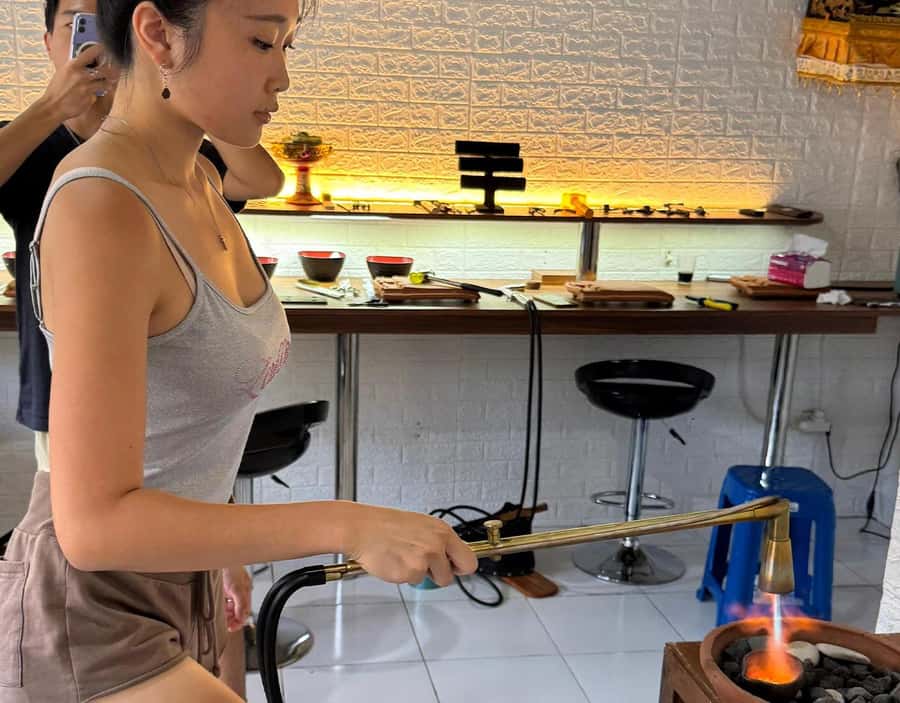
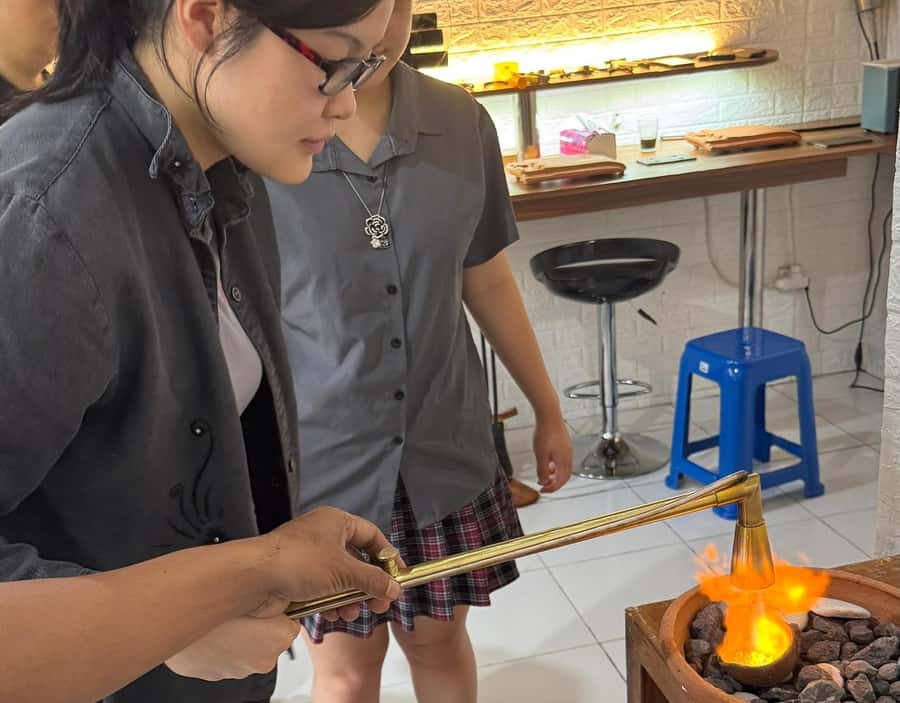
- Pros handle the tricky heavy steps like melting/smelting and shaping, while you learn the workflow
- You take your creation home as your Bali souvenir
- Private group feel with English guidance, plus optional hotel pickup if you want it
Family Silver Class in Kuta: what you’re really paying for at $40
At $40 per person, this class is good value because your money goes toward three things that are hard to separate: instruction, real silver, and a finished souvenir. You’re not just paying for someone to show you how jewelry is made—you’re given 3–5 grams of pure Indonesian silver to work with, and you end the session with something tangible.
In Kuta, it’s also a smart way to spend a few hours when you want a break from the beach, scooters, and constant decision-making. The studio experience is quieter than many tourist stops, and you get a clear, repeatable goal: make a piece, polish it, and wear it back into your day.
Just keep your expectations practical. This is craft time. That means small choices matter (ring thickness, how it sits, how your design is set up), and you’ll likely need a bit of patience—silver work rewards calm attention.
You can also read our reviews of more tours and experiences in Bali.



Picking your ring or earrings: the start that sets your whole session
Your class starts at Family Silver Class. From there, you’ll focus on your design choice. The workshop is set up so you can create a ring, earrings, a pendant, or other creations depending on what package you select. People leave with everything from simple, wearable bands to more personal designs like engraved details.
This is one of the best parts of the whole experience: you get to make decisions. If you’re going with a partner or friend, it’s also fun to compare styles—one person might want a classic ring, while another goes for something a bit more expressive.
A practical tip: if you have a specific look in mind (shape, thickness, or how you want it to feel on your hand), bring that idea into the first minutes. The quicker you lock in your design direction, the smoother the rest of the making process feels.
Inside the workshop: how silver becomes jewelry step by step
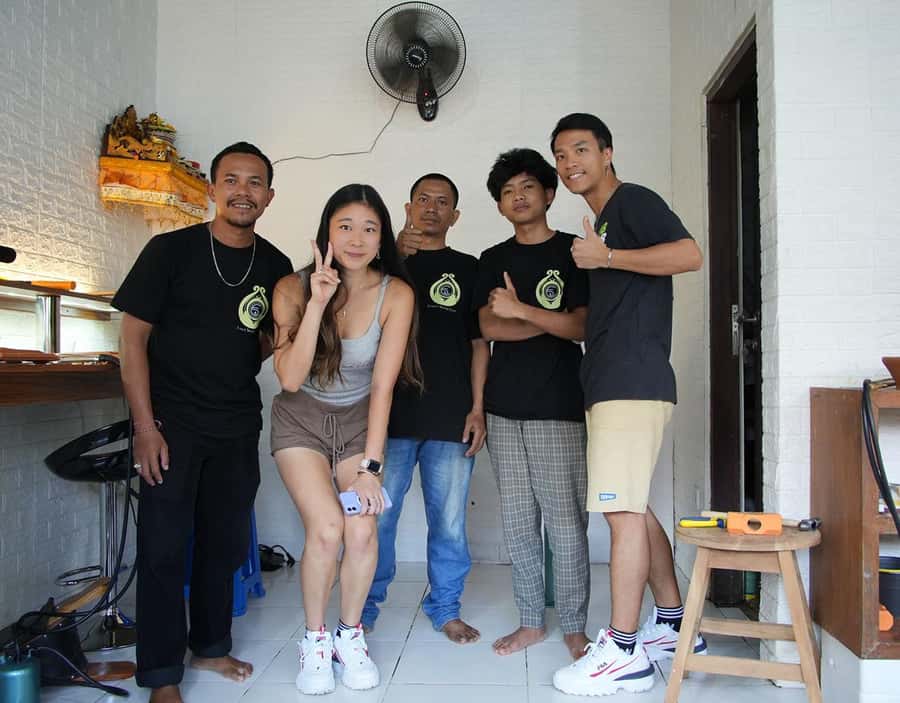
The heart of the experience is the transformation. You’ll learn the workflow for turning silver into a polished piece, and you’ll do real tasks instead of only watching. The class is built around the idea that you’re working with pure Indonesian silver, then sanding and polishing so it’s presentable as a finished souvenir.
What that looks like in plain terms:
- You’ll start with planning and shaping your chosen piece.
- You’ll handle hands-on tasks like finishing steps (sanding/polishing) and practical shaping work where you can.
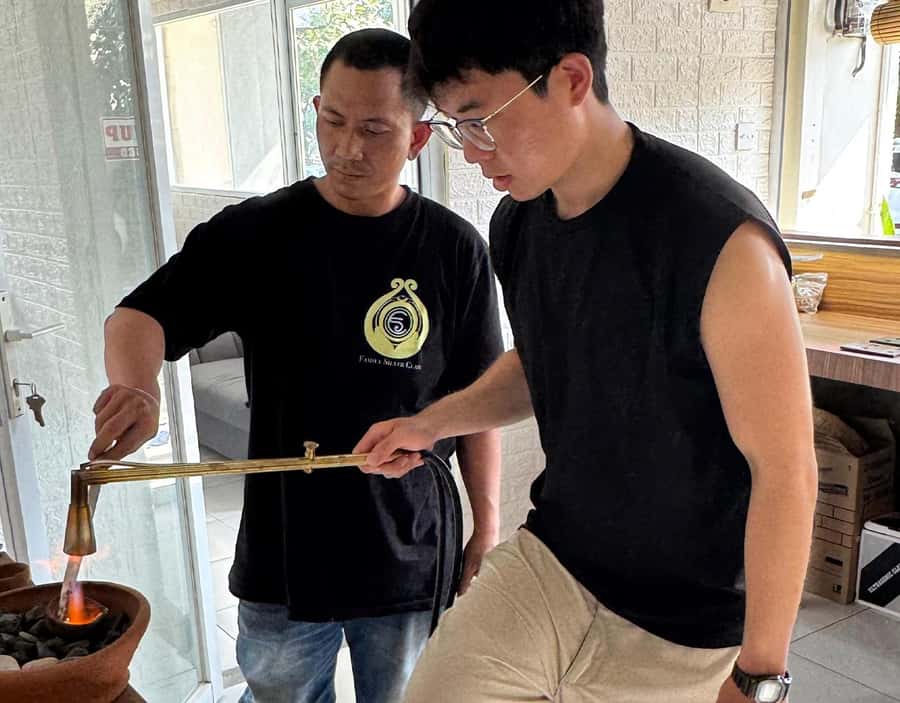
- The craftsmen will support with the parts that need precision—people often mention smelting and shaping being handled by the pros, while you stay involved in the process.
A nice touch is that English guidance is available, so you’re not stuck guessing what your instructor is doing. And if you get stuck mid-step (it happens), you’ll usually get the “how to fix this” lesson, not just a reset.
Timing can vary a bit. While the experience is described as around 2–3 hours, the overall “duration” can show as 2–6 hours depending on the package and options. Plan your day with some buffer so you don’t feel rushed.
The pros’ role: why your piece looks good at the end
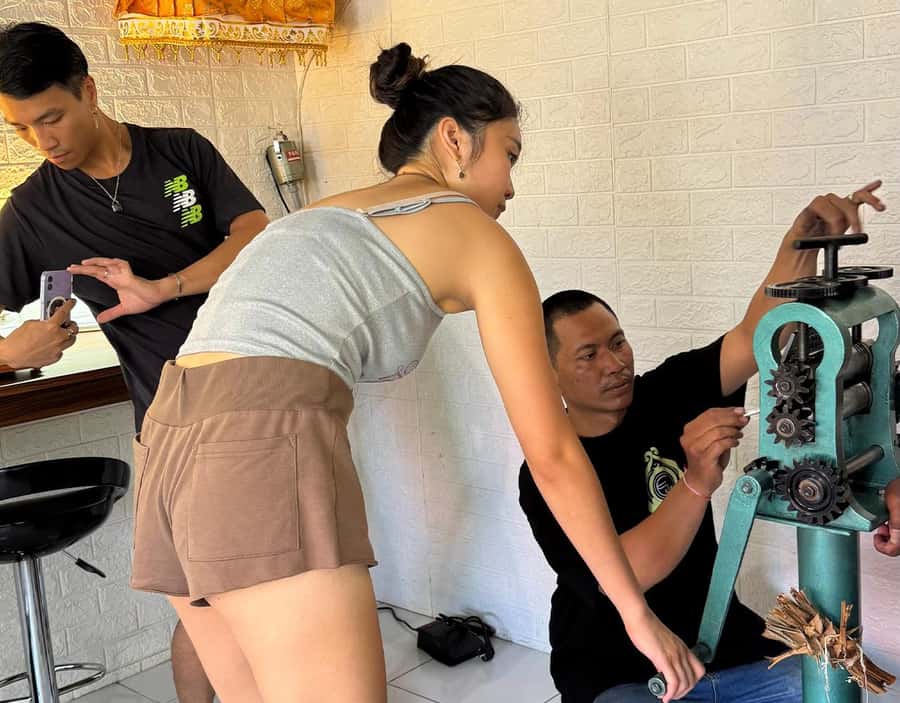
One reason people feel genuinely happy with their final jewelry is that the workshop doesn’t pretend you’re a silversmith on day one. The team supports you where it matters most.
You’ll often see that the more technically demanding parts—like melting/smelting and shaping—are handled with expert control. That’s not a downside; it’s what helps you walk out with a piece that looks finished instead of “still in progress.”
I also like how the guidance focuses on getting your design to match your idea. People have mentioned their guides being helpful and patient, working through tweaks until the ring actually looks like their ring. In one session, for example, guides like Agus and Made’ Budi were described as patient with design help, and others (like Akut and Gede) were praised for making a first-time project feel doable.
If you’re the type who gets frustrated when things don’t match your mental picture, this studio approach is comforting. You get corrections along the way.
Getting the finishing right: sanding, polishing, and personal details
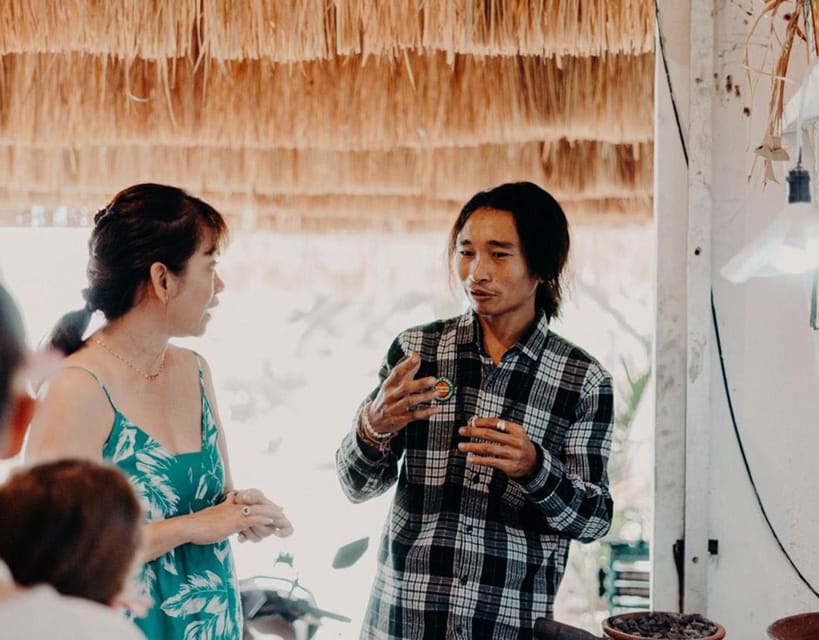
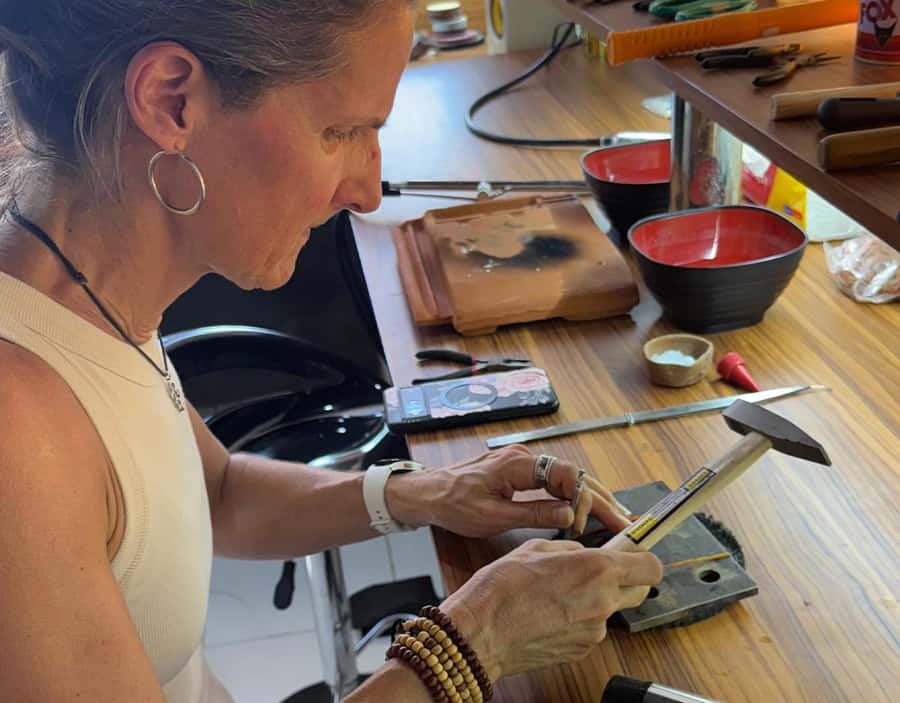
The included work isn’t only “make a shape.” You also get the finishing steps—sanding and polishing—as part of the class. That matters because silver can look dull or uneven if you skip the finish. Here, finishing is part of your learning, so your final piece doesn’t depend on your future skills.
Personalization also shows up in what people end up adding:
- Engraving is a common detail people mention enjoying.
- Some people have noted optional add-ons like gold plating or gemstones for extra silver usage.
Important note for your planning: the base class includes the silver amount (3–5 grams). If you want multiple pieces (like extra rings) or upgrades, you might need additional silver or add-on costs, so it’s smart to ask early while you’re choosing your design.






Transportation and finding the studio near Legian/Kuta
If you’re staying around Kuta or Legian, you’ll likely find the studio using maps without too much trouble, but some people note it can be a bit tricky at first. If you want to reduce uncertainty, choose hotel pickup (optional in the offering) and confirm the pickup address or hotel when you book.
Also, the transport option has strong satisfaction ratings (about 94% of reviewers scoring perfect). That’s a good sign if you don’t want to deal with finding the exact door in busy traffic.
Group size, English support, and how long you should budget
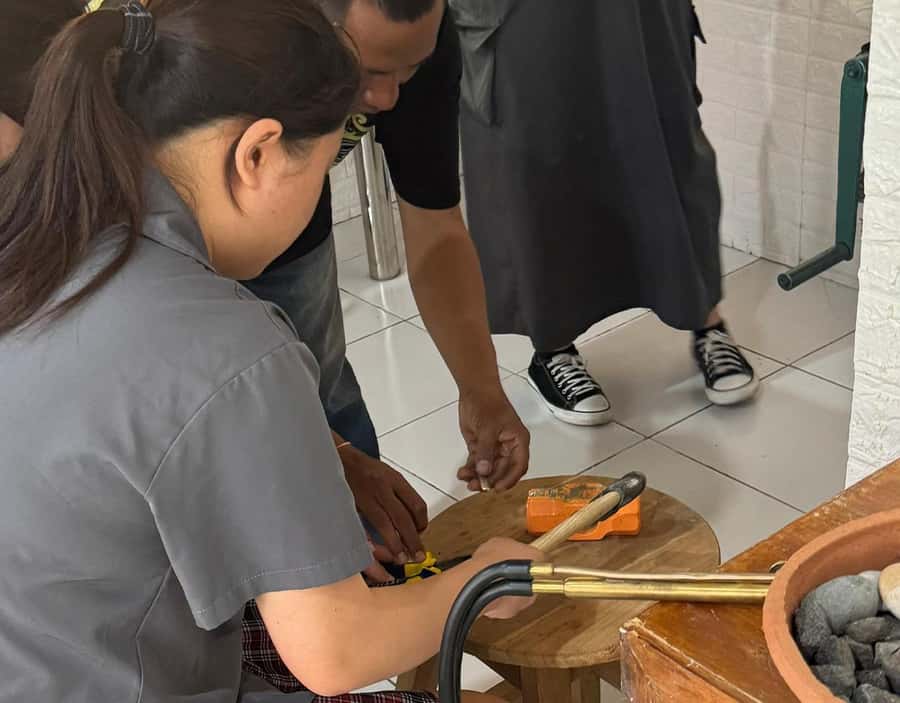
This is a private group experience, and that’s one of the reasons it feels personal. You’re not competing for instructor attention, and it’s easier to ask questions or request help on your specific design.
English support is built in:
- A live tour guide in English
- An English audio guide as well
That combination helps if you’re not fully confident in technical terms related to metalwork.
For timing: expect around 2–3 hours for the core experience in many cases, but the listing also shows durations that can stretch longer depending on what you select. If you’re traveling with kids or you’re on a tight schedule, I’d plan a flexible block rather than something like “right after this, straight to dinner at 6:00.”
Who this workshop is best for (and who might want a different activity)
This class is a great fit if you want:
- A hands-on Bali souvenir you made yourself
- A short creative activity that feels different from shopping
- Something that works for solo travelers and mixed ages, since people have brought families including kids
It might be less ideal if you want:
- A long, lecture-style history tour
- A guaranteed “every step is purely my hands” experience (some steps are led by the pros)
If you’re a first-timer, you’re actually in the right place. The workshop is designed for beginners, and the support is part of the package.
Should you book Silverclass in Kuta?
Yes—if you want a creative Bali memory that’s practical, personal, and actually usable. For the price, you get instruction plus silver plus finishing plus a take-home piece, which is a strong deal compared to many “shop and watch” experiences.
I’d book it especially if:
- You like making things with your hands
- You want an activity that still feels calm and focused amid Bali’s busy spots
- You’re okay spending a few hours learning a craft instead of sightseeing
Skip it (or at least pair it thoughtfully) if you’re mainly chasing deep history content or you’re truly strapped for time. In that case, you might prefer a shorter cultural visit.
If you decide to go, pick your design early, ask questions as you work, and don’t stress about perfection. The point is that you’ll leave with jewelry that looks like your idea—and that’s hard to replicate anywhere else in Bali.
FAQ
FAQ
What kind of jewelry will I be able to make?
You can create items like earrings, a ring, a pendant, or other creations such as bracelet options, depending on the package you choose.
How much silver is included?
The class includes 3–5 grams of pure Indonesian silver.
How long does the class take?
The experience is described as about 2–3 hours, and the activity duration can show as 2–6 hours depending on starting times and package options.
Is there a guide, and is it in English?
Yes. There is a live tour guide in English, and an English audio guide is also included.
Is this a private group?
Yes, it’s listed as a private group.
Do I get hotel pickup?
Hotel pickup is optional. If you choose it, you’ll need to confirm your address or hotel so they can arrange pickup.
Where do I meet?
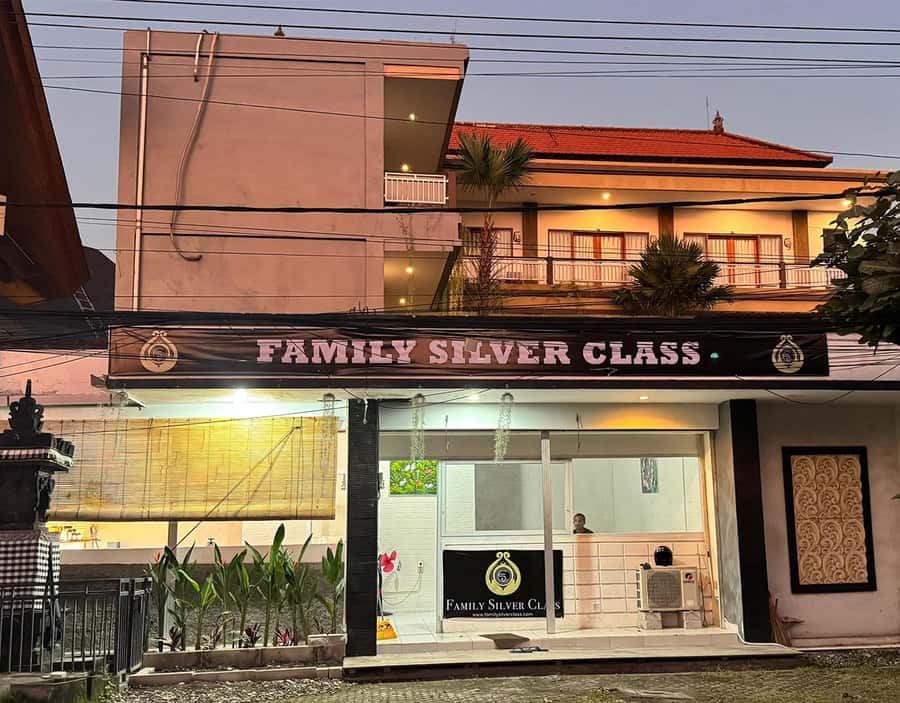
Meet at the Family Silver Class. The meeting point is set according to the maps.
What’s included in the price?
Included items are a local instructor, 3–5 grams of pure Indonesian silver, sanding and polishing, your take-home creation, and hotel pickup if you select it. Entrance ticket(s) are included only depending on the option you choose.
What is not included?
Meals and beverages are not included, and you’ll also have other personal expenses if needed.
Can I cancel for a refund?
Yes. Free cancellation is available up to 24 hours in advance for a full refund.
Is there a reserve now pay later option?
Yes. You can reserve now and pay later to keep your plans flexible.