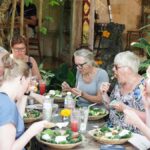
Handmade jewelry in Bali, but make it hands-on. This Canggu workshop has you learning how jewelry is made, not just watching a demo. You’ll work with pure silver, guided by local silversmiths, with views over nearby rice fields as you go.
Two things I love: you get real DIY time with tools and step-by-step coaching, and you walk away with a piece made from included silver (1–6 grams per person). One thing to consider: the base price covers only the included silver, so if you want more silver, gemstones, or gold plating, it’s an add-on.
In This Review
- Key points before you go
- Silver jewelry in Canggu’s Kerobokan: what makes this workshop worth it
- Where you’ll actually be working (Kerobokan) and how to get there
- The 2-hour flow: what happens from check-in to finished jewelry
- 1) Check-in and picking what you’ll make
- 2) Planning your engraving and personal details
- 3) Hands-on silver work with instructor support
- 4) Optional upgrades during the process
- 5) Finishing touches and leaving with your piece
- Designing with confidence: how the class supports your choices
- You choose a design first
- You’re not stuck with the first idea
- Personalization is a real part of the experience
- The silver itself: what’s included, and how to budget for upgrades
- Included in your $49 ticket
- Not included (and how much you might add)
- What you’ll gain besides the souvenir
- You learn a real craft step-by-step
- You get a keepsake with a story
- You’ll feel the workshop’s pace
- Price and logistics: fitting this into your Bali days
- Who this workshop suits best (and who should rethink it)
- Should you book Bali Turtle Silver & Gold Workshop?
- FAQ
- How long is the Canggu Bali Turtle Silver & Gold Workshop?
- What does the price include?
- Can I buy extra silver or add gemstones?
- Are gold plating and gemstones included in the base price?
- Where do I check in?
- Do I need my own transportation?
- What languages do the instructors speak?
- Is this workshop suitable for young children?
- What if I’m late?
Key points before you go
- 1–6 grams of pure silver included for the jewelry piece you make
- Balinese Silversmith guidance while you do most of the work
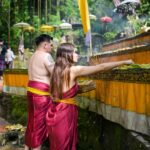
- Rice-field views while you create your ring or other jewelry
- Inscription time: you’ll be asked what to engrave, so think ahead
- Upgrades cost extra (extra silver at 85,000 IDR per gram; gemstones and gold plating available)
- Real variety in ring designs, plus help recreating a design from a picture
Silver jewelry in Canggu’s Kerobokan: what makes this workshop worth it
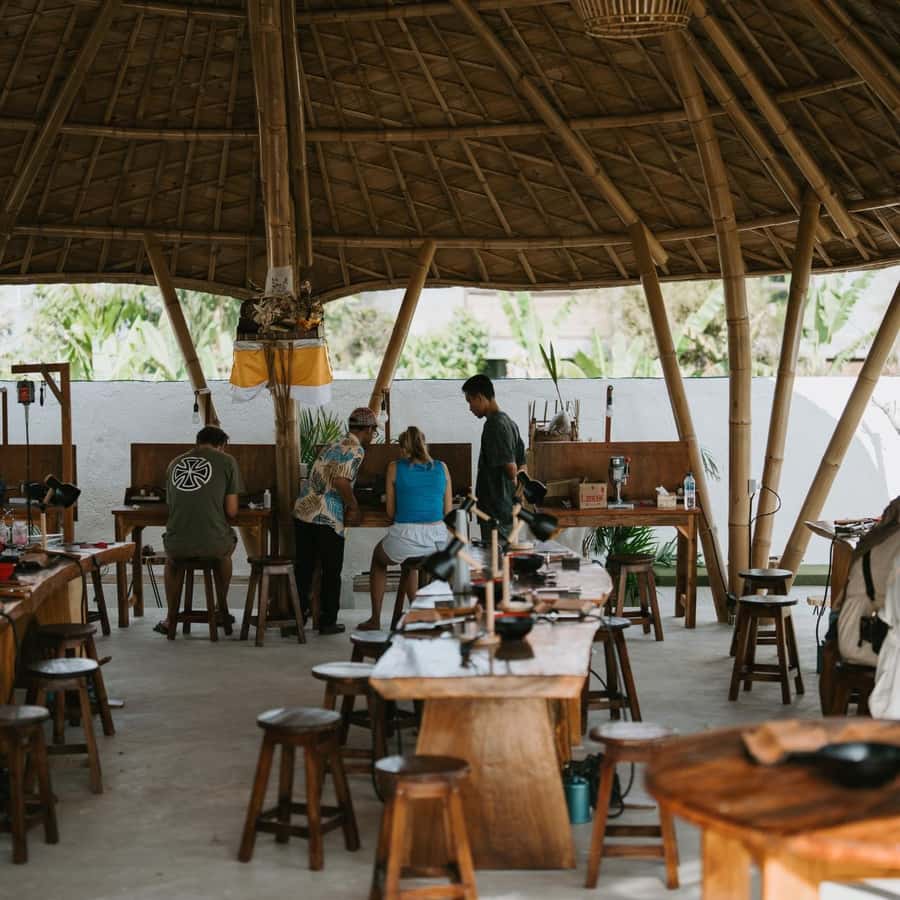
This is one of those Bali activities that feels like a proper skill lesson. Not a souvenir factory. You sit down, pick a design, and then you actually shape and finish your own piece with instruction from Balinese artist-instructors (their English support is listed as English and Indonesian).
The big reason this workshop works for value is that your ticket includes silver weight, not just “class time.” You’re given 1–6 grams of pure silver to create one jewelry item per person, with all tools and materials provided. If you’re comparing it to tours that only give you a small token of silver or a pre-made item, this is a clearer deal.
Another plus: the workshop location is close enough to Canggu and Seminyak that it doesn’t feel like a full-day project. It’s in Kerobokan, about 5–15 minutes from those areas. And while you work, you get views of rice fields, which makes the whole process more relaxed than the usual indoor craft setting.
The only “watch this” part is the extras. People often start with the included silver, then decide they want a more dramatic finish. Extra silver, gemstones, chains/hooks, and gold plating all cost extra.
You can also read our reviews of more tours and experiences in Ubud.


Where you’ll actually be working (Kerobokan) and how to get there
The meeting point is at Bali Turtle Silver & Gold Workshop, and you check in with staff there. Transportation isn’t included, but the area is described as easy to reach via Grab or Gojek.
If you’re staying in Canggu or Seminyak, plan for traffic. The workshop notes that you should allow extra time for travel, and it can accommodate only up to 10 minutes of delay. Beyond that, you’ll need to reschedule.
Practical tip: if you’re the type who likes to arrive a little early, do it. With this kind of hands-on activity, getting seated and started matters more than you might expect.
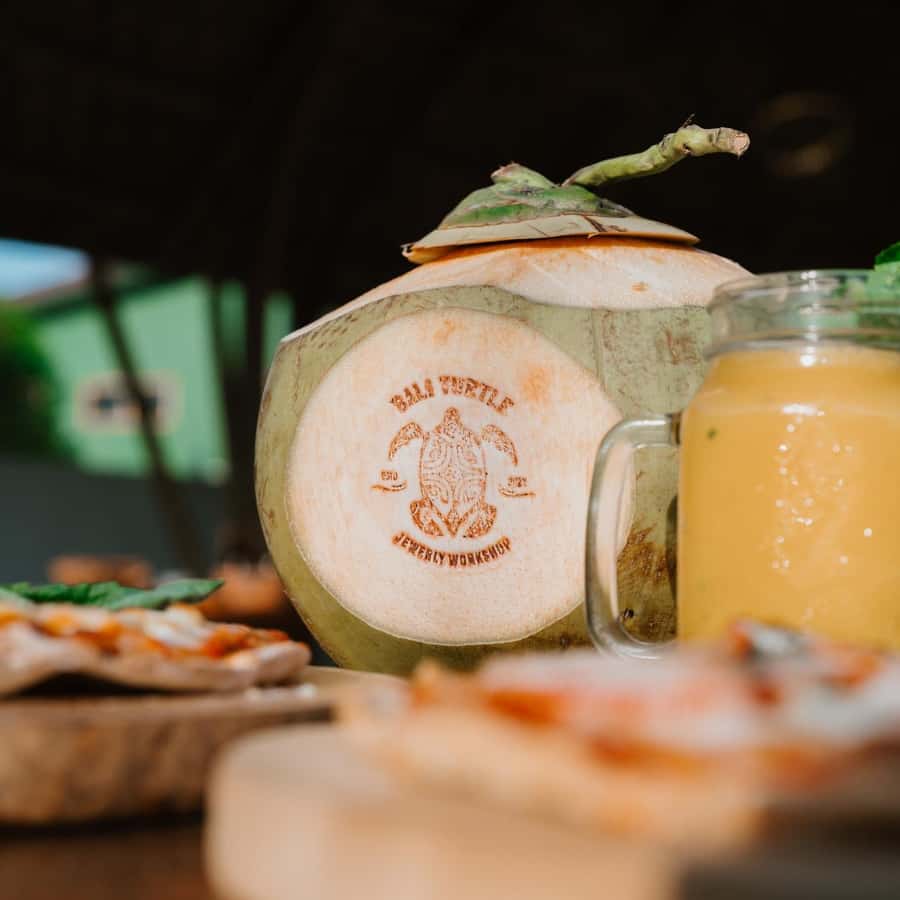
A small local bonus: one recent comment noted a cute bunny café a few meters away, which can be handy if you’re waiting for a pickup or adding a snack stop before or after.
The 2-hour flow: what happens from check-in to finished jewelry
The duration is listed as 2 hours, but the experience itself can run about 1–2 hours depending on how complex your design is. Some people finish faster when they choose a simpler piece, and others take longer if they add more detail.
Here’s the realistic rhythm you should expect:
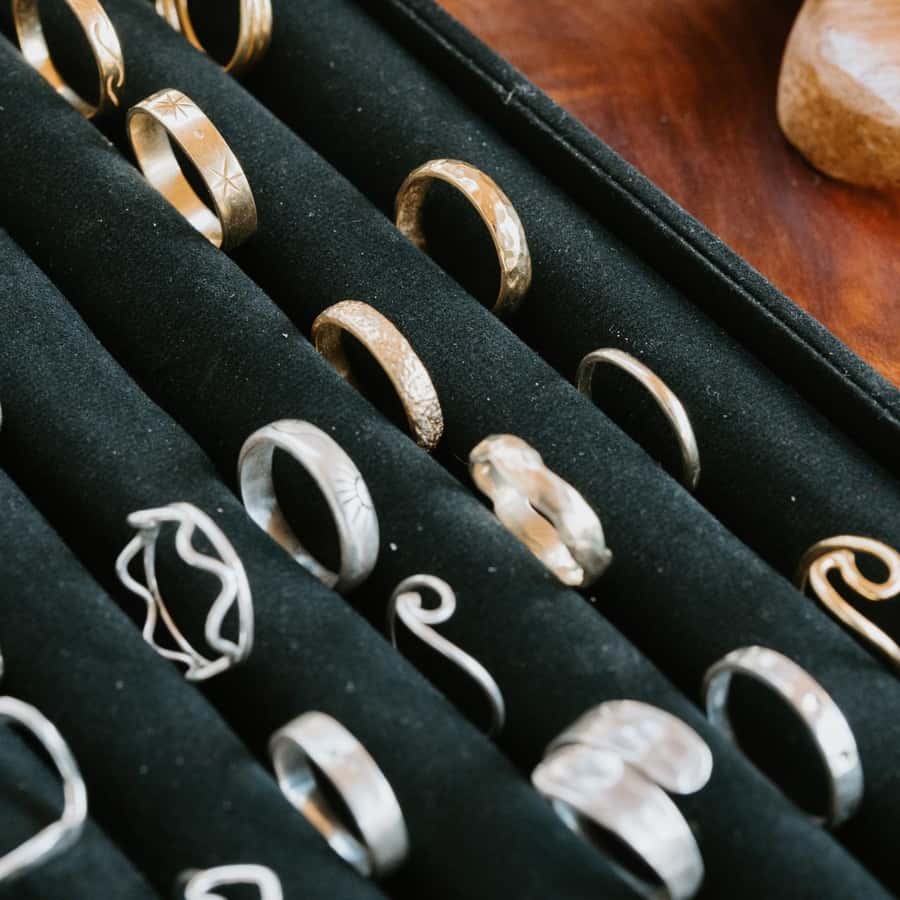
1) Check-in and picking what you’ll make
At check-in, staff will get you started and help you choose your design. The workshop offers a selection of designs (especially for rings), and you’ll be guided through making your own item from start to finish.
If you want something specific, you might be able to bring an idea. At least one account described getting help recreating a design from pictures rather than only picking from the preset menu.
2) Planning your engraving and personal details
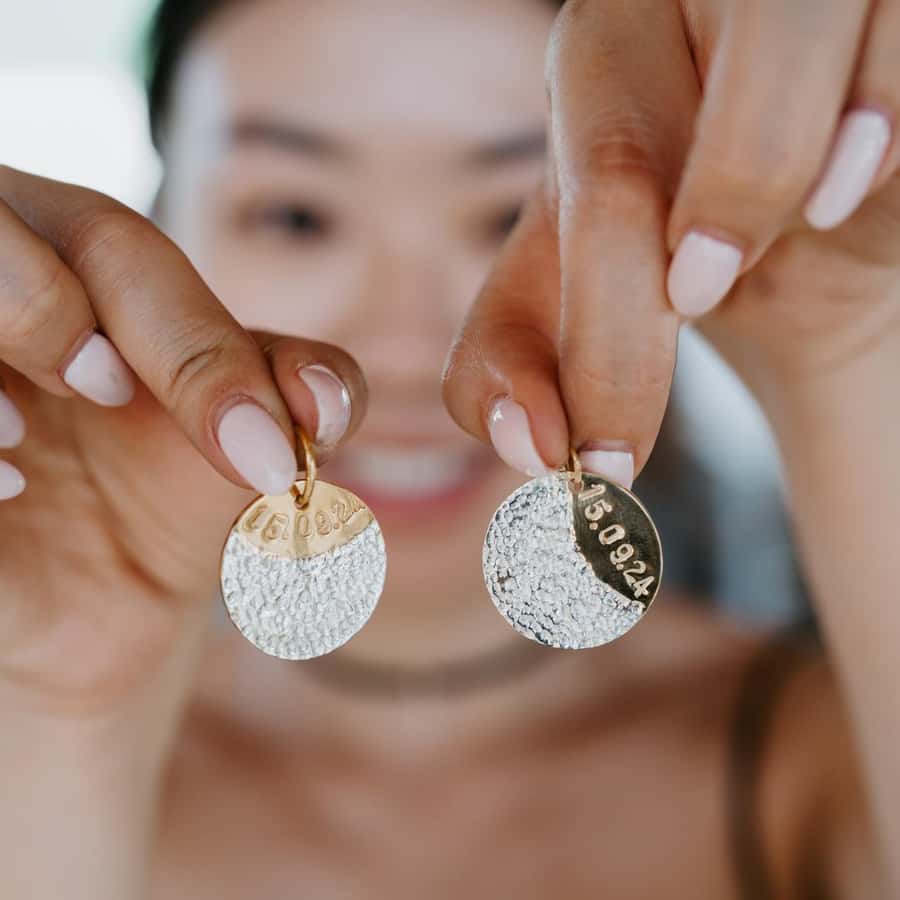
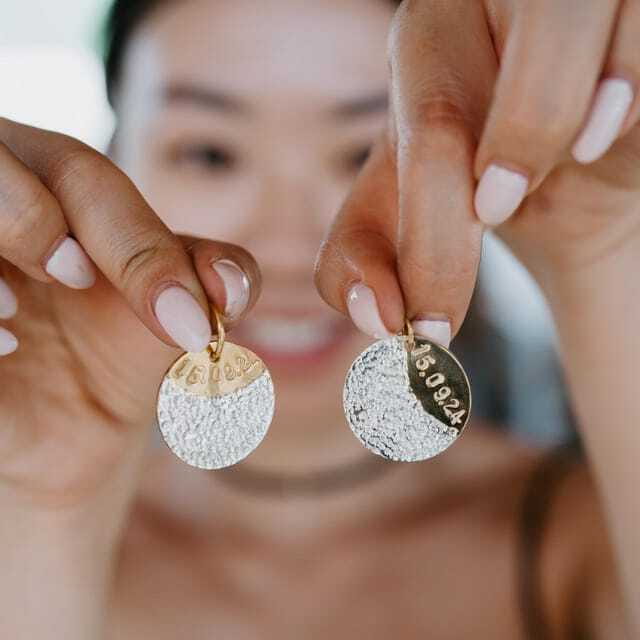
Before you start shaping, you’ll be asked what you want for the inscription/engraving. If you’re doing a ring with a name, date, or a short phrase, have it ready. One person specifically called out that they were asked for the inscription in advance.
You can also get very creative with imagery. One example shared a manta ray engraving, and another described a wave-style ring made for a daughter—proof that the staff will try to help you personalize.


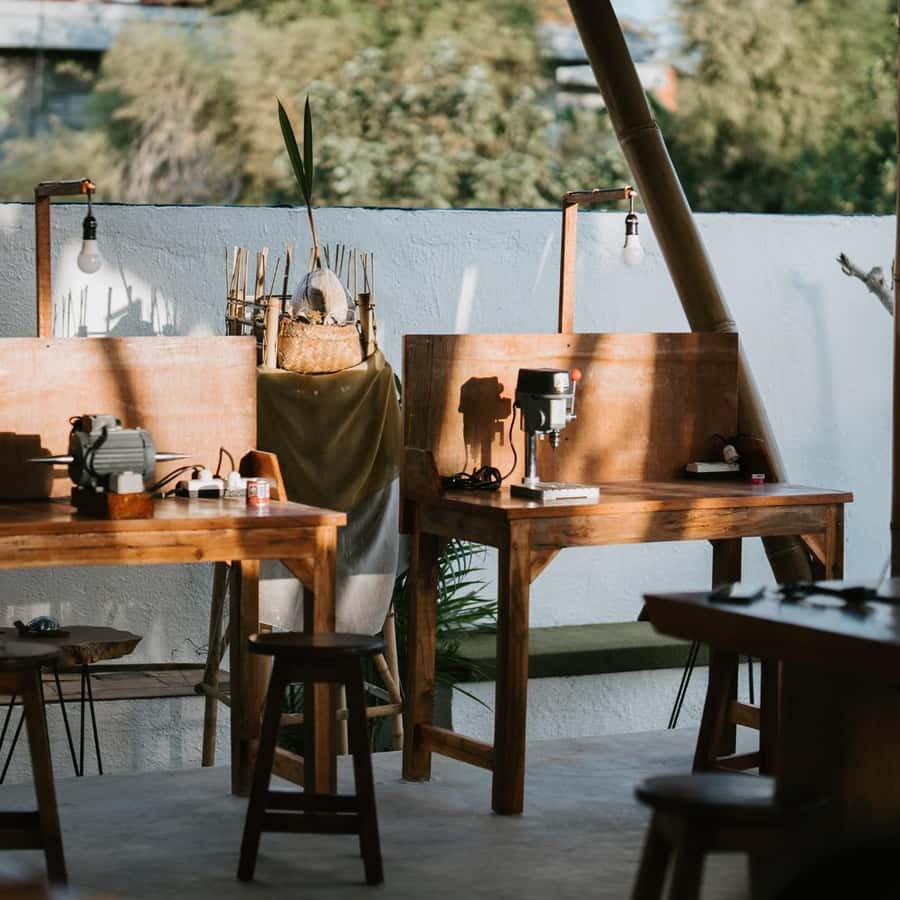
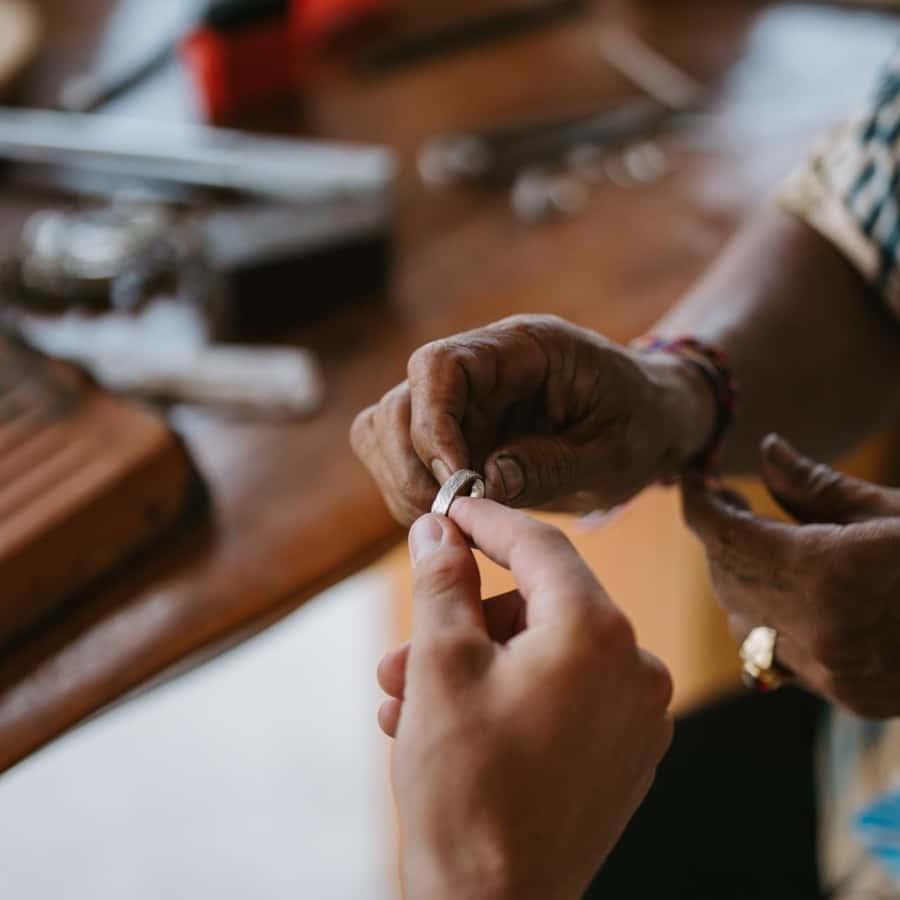
3) Hands-on silver work with instructor support
Then comes the core of the experience: using the tools on included pure silver and learning the steps along the way. The workshop is built to be beginner-friendly, but it doesn’t feel like you’re just doing crafts for ten minutes and then watching someone else take over.
The balance in the classroom seems to be: you do plenty yourself, while the instructor(s) step in for the more delicate or technical parts. Several experiences emphasized that the guides stay involved and patient, and that multiple staff members help you throughout the process.
Also, safety isn’t treated as an afterthought. One comment explicitly mentioned you’re given clear introductions on how to work tools safely.
4) Optional upgrades during the process
If your plan includes stones or a shinier finish, you can usually discuss options during your class. The workshop describes add-ons such as gold plating and gemstones, plus other components like chains or hooks (listed as not included).
If you want more silver than what’s included, you can purchase it on-site. The rate is provided: 85,000 IDR per gram.
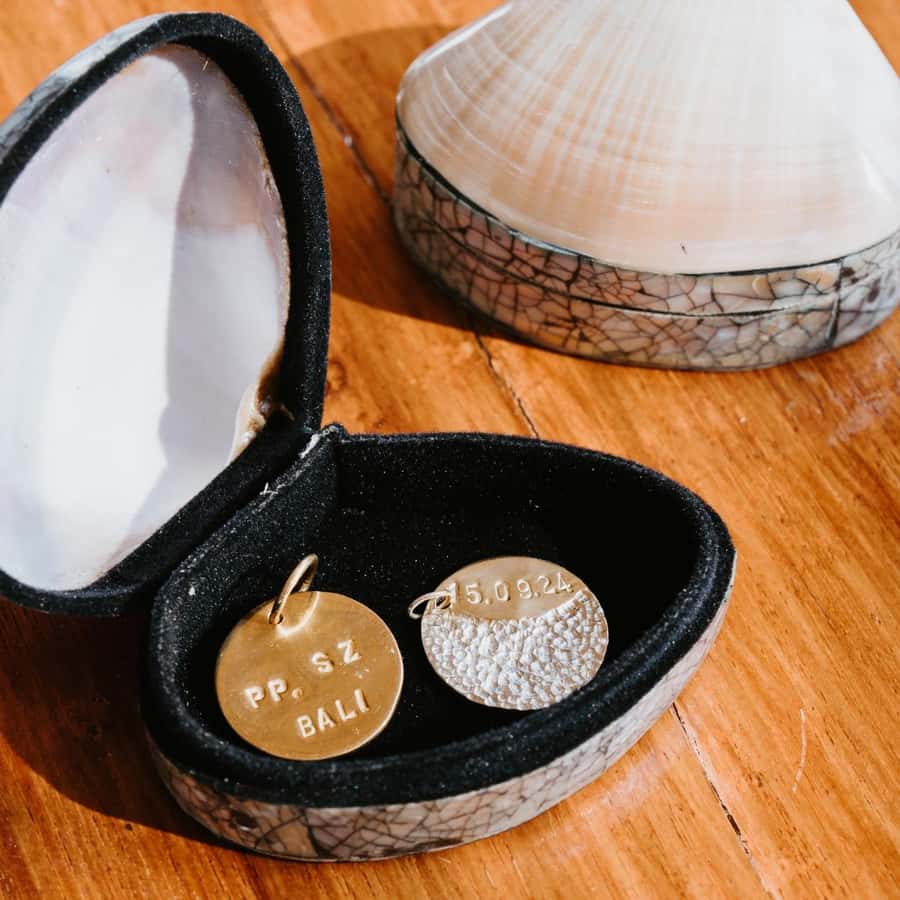
5) Finishing touches and leaving with your piece
Once your ring or jewelry is done, you’ll have your handmade keepsake. The overall point is not just a final product—it’s knowing you made it, step by step, and having something that feels personal rather than generic.
Designing with confidence: how the class supports your choices
A good jewelry workshop gives you options without overwhelming you. This one seems to do that through a design menu plus instructor guidance.
You choose a design first
Most people start with a set design and then customize from there. That keeps things simple for beginners and still gives enough personality to feel like your own piece.
You’re not stuck with the first idea
In practice, the staff can help adjust your plan. One comment said they were supported in creating a design from scratch. Another said they could help recreate a design from pictures.
Personalization is a real part of the experience
Engraving is not treated as an optional extra. Multiple experiences highlighted engraving and inscriptions as part of what makes the finished jewelry meaningful. If you want a specific spelling or a short message, decide it before you arrive so you don’t feel rushed at the moment they ask.
And if you’re worried you won’t get it perfect, don’t. The workshop emphasizes professional guidance and hands-on help, including instructors who are credited by name in multiple accounts, such as Samar, Nengah, and Eddie. While you can’t guarantee the same instructors each time, the pattern is consistent: friendly, step-by-step support.
The silver itself: what’s included, and how to budget for upgrades
This is where the workshop’s value math becomes clear.
Included in your $49 ticket
- Guided workshop
- Balinese artist-instructors
- 1–6 grams of pure silver to create one jewelry per person
Tools and materials are also provided.
Not included (and how much you might add)
The listing breaks out common add-ons:
- Extra silver: 85,000 IDR per gram
- Gold plating
- Gemstones
- Chains or hooks
The upgrade costs aren’t listed as a single flat fee. So the best way to budget is to decide what look you want:
- If you’re happy with clean silver and a meaningful inscription, you might stick close to the included silver.
- If you want a more “jewelry store” finish with stones or gold plating, plan a budget for add-ons on-site.
One thing I’d watch: it’s easy to spend more than you planned once you see the options in front of you. The class encourages creativity, and that’s part of the fun. Just go in with a ceiling in mind so you don’t get surprised later.
What you’ll gain besides the souvenir

This is one of those experiences where the souvenir is only half the payoff. The other half is the process.
You learn a real craft step-by-step
Hands-on making teaches you what “quality” actually means. People described shaping and polishing themselves, while also noting that staff handled the trickier moments. That mix is ideal: you still own the making, and you don’t end up frustrated.
You get a keepsake with a story
A ring with your inscription, or a design inspired by something you liked, is a memory you can wear. Multiple accounts emphasized how special the personal details felt once the piece was finished.
You’ll feel the workshop’s pace
Even though this is labeled as a 2-hour experience, the reality is flexible. Some finished around 30–40 minutes in one account, while others took up to 1–1.5 hours or closer to 2 hours with more complex design choices. That means you can fit it into a busy Bali schedule if you’re not trying to overpack your day.
Price and logistics: fitting this into your Bali days
At $49 per person for a hands-on silver workshop with included pure silver, this sits in the “good value” category for Canggu activities—especially if you want something more tactile than a typical tour.
Logistics are mostly about location and timing:
- Kerobokan is close to Canggu/Seminyak/Kuta (5–15 minutes)
- No transportation is included, so you’ll rely on Grab/Gojek
- Give yourself buffer time due to traffic
- If you’re late by more than 10 minutes, rescheduling is required
If you want a low-stress day: schedule this when you’re not already rushing to multiple appointments. The activity itself is only about 1–2 hours, but Bali travel time can be unpredictable.
Who this workshop suits best (and who should rethink it)
This is a great fit if:
- You want a meaningful souvenir you can wear
- You enjoy crafts and don’t mind doing hands-on work
- You like personalization (inscriptions and design choices)
- You’re comfortable with a guided class that still requires your participation
It may be less ideal if:
- You hate the idea of making choices on the spot (design + inscription happens early)
- You don’t want any on-site spending beyond the base price (stones, gold plating, extra silver are add-ons)
Age note: it’s not suitable for children under 3 years.
Should you book Bali Turtle Silver & Gold Workshop?
I think you should book it if you want a Canggu activity that feels genuinely hands-on and you’ll use the included 1–6 grams of pure silver. The rice-field views and the fact that instructors guide you through the steps are exactly the kind of “Bali magic” that doesn’t require a long detour or big budget.
Skip or reconsider if you mainly want a passive experience, or if you’re set on buying zero add-ons. The workshop makes it easy to upgrade, and that’s great—just keep your spending plan in mind.
If you’re debating between doing another show-and-photo activity and taking home a wearable piece of silver that you made yourself, this is the one I’d choose.
FAQ
How long is the Canggu Bali Turtle Silver & Gold Workshop?
The duration is listed as 2 hours, but the experience can run about 1–2 hours depending on how complex your design is.
What does the price include?
Your ticket includes the guided workshop, Balinese artist-instructors, and 1–6 grams of pure silver to create one jewelry item.
Can I buy extra silver or add gemstones?
Yes. Extra silver is available for purchase at 85,000 IDR per gram, and you can also choose add-ons like gold plating and gemstones on-site.
Are gold plating and gemstones included in the base price?
No. Gold plating, gemstones, chains, or hooks are not included and are available as add-ons.
Where do I check in?
Check in with staff at the Bali Turtle Silver & Gold Workshop meeting point.
Do I need my own transportation?
Transportation to the meeting point is not provided, but the location is described as easily accessible by Grab or Gojek.
What languages do the instructors speak?
The instructor support is listed as English and Indonesian.
Is this workshop suitable for young children?
It is not suitable for children under 3 years.
What if I’m late?
The workshop can accommodate a delay of up to 10 minutes. If you’re later than that, rescheduling is required.