Waking up for sunrise changes everything. I love the way this trek uses the Torean Route for a real climb experience, and then hands you Segara Anak Lake as a reward. The big consideration is simple: this is demanding, with very cold summit hours and steep volcanic steps that are not for vertigo or low fitness.
What makes it feel solid on the ground is the support setup: an experienced English-speaking guide plus porters carrying the cooking gear and camping equipment, so you’re focused on your own pace. One drawback to plan around is that some key costs and comfort items are not included, like the National Park entry ticket and trekking shoes.
In This Review
- Key Things You’ll Notice on This Rinjani 3D2N Trek
- Why the Torean Route Makes This Trek Feel Like More Than a Checklist
- Route at a Glance: Sembalun Climb, Summit Sunrise, Senaru Finish
- Day 1: From Sembalun Grasslands to 2,639 m Crater Rim at Sunset
- Day 2: The 2:00 AM Wake-Up and the Summit to 3,726 m by Sunrise
- Day 3: Rainforest Descent, Possible Black Monkeys, and the Senaru Drop-Off
- What the $145 Price Covers (and What You’ll Pay Separately)
- The Real Itinerary Details That Matter for Comfort
- Packing List: What to Bring for Cold Mornings and Steep Steps
- Who This Trek Fits Best (and Who Should Skip It)
- Guide and Support: English Help That Keeps the Pace Right
- Booking Decision: Should You Book This 3D2N Summit + Lake + Senaru Rim Trek?
- FAQ
- How long is the Mount Rinjani 3D2N trek?
- Where do you start and where do you end?
- What route does the trek use to reach the summit?
- What is the summit elevation?
- What time do you start the summit push on day two?
- Is this trek suitable for beginners?
- What’s included in the price?
- What is not included?
- What should I bring for the trek?
- Is there a cancellation option?
Key Things You’ll Notice on This Rinjani 3D2N Trek
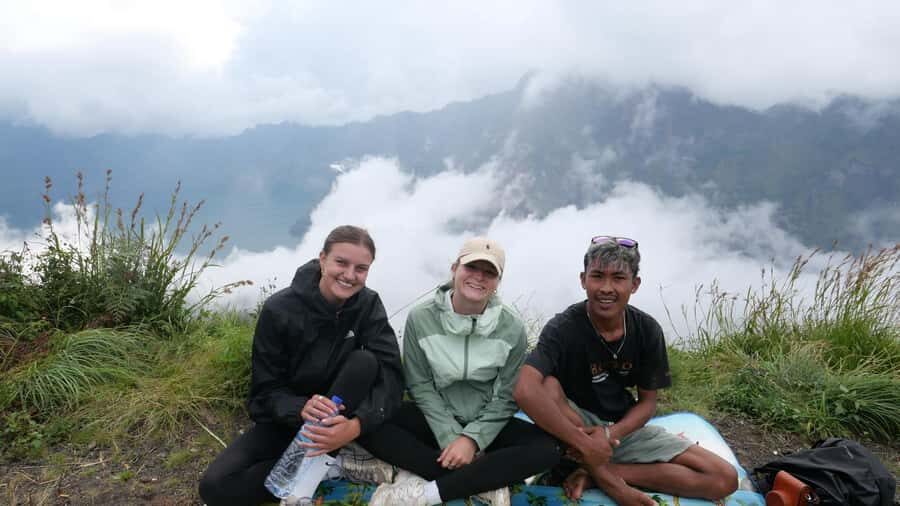
- Torean Route timing: early, planned starts so you can reach the summit by morning light
- Crater-rim camps: one night up high at the Sembalun rim, then another at the Senaru rim with big sunset views
- Segara Anak Lake break: rest time plus a chance to swim, with hot-water bathing mentioned as helpful for aches
- Waterfall trek moment: you pass through tropical forest and come across Penimbungan Waterfall
- Summit views: clear chances to see Lombok, Bali, Sumbawa, and the lake from 3,726 m
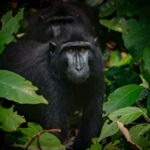
- You might spot black monkeys on the rainforest descent (if luck is with you)
Why the Torean Route Makes This Trek Feel Like More Than a Checklist
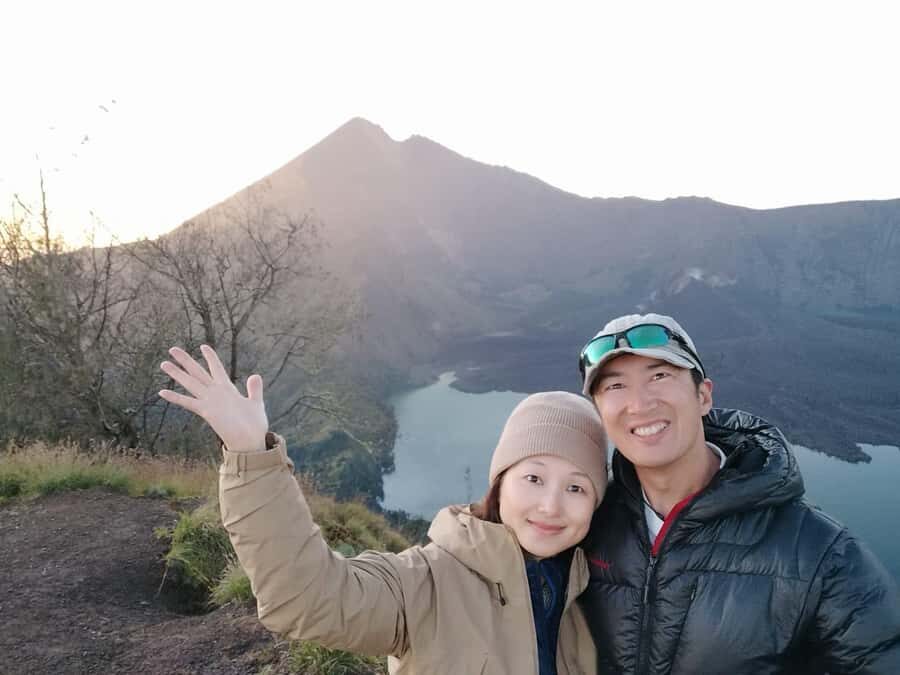
Mount Rinjani is the kind of volcano where the photos look good, but the experience hits harder when you’re moving through it. This 3-day version is built around a full circuit: you start from Sembalun, summit, then descend and return via Senaru. That means you’re not just going up and back—you’re changing scenery in a way that feels more complete.
I like that the pace is paired with altitude strategy. You get day one to build into higher ground, day two to do the summit push early, and day two’s later descent to cool off by the lake. It’s an itinerary that makes sense for strong hikers, not casual walkers.
There’s also a human factor here. The trip runs with an experienced guide and professional porters, so the camp setup doesn’t fall on you. When you’re hauling your energy uphill, that matters.
You can also read our reviews of more tours and experiences in Indonesia.
Route at a Glance: Sembalun Climb, Summit Sunrise, Senaru Finish
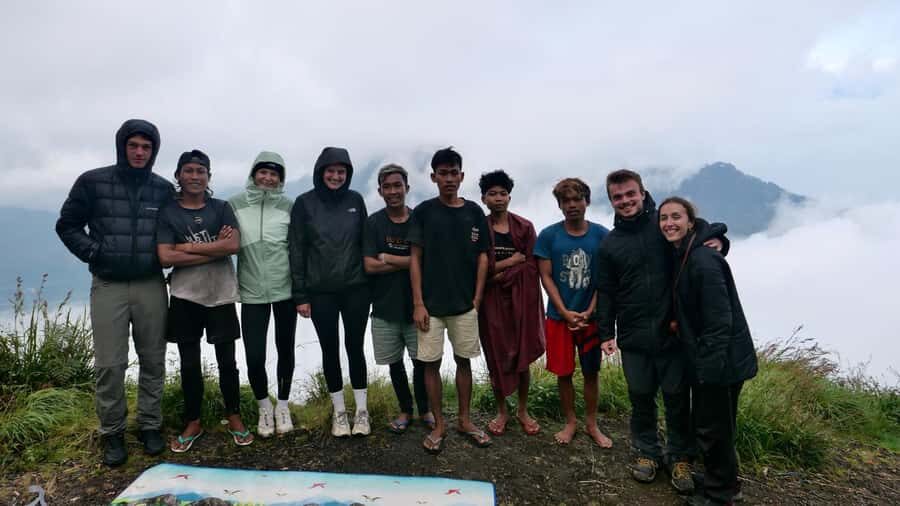
Here’s the flow you should expect, with the important elevations and timing in mind.
- Day 1: Sembalun (about 1,100 m) → climb through grasslands → Post stops → Post 3 lunch → long climb to Sembalun crater rim (~2,639 m) and camp
- Day 2: very early wake → summit climb to 3,726 m → descend for breakfast → go down to Segara Anak Lake → camp again at Senaru crater rim (~2,641 m)
- Day 3: sunrise breakfast → rainforest descent → arrive Senaru village (about 601 m) for pickup
The circuit is the value. You’re rewarded with a crater-rim night-view, then the sunrise summit, then the lake environment, then another crater rim at the end. If you’re chasing variety more than just distance, this route fits.
Day 1: From Sembalun Grasslands to 2,639 m Crater Rim at Sunset
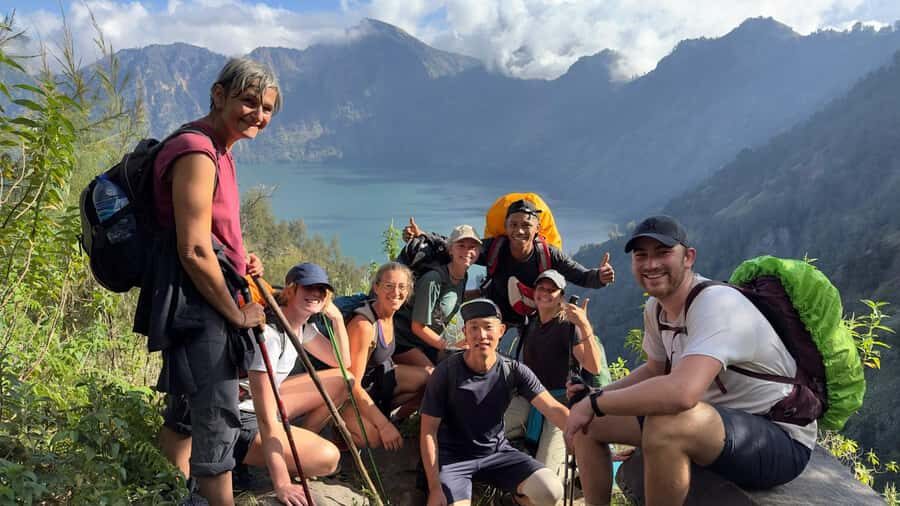
You start the day early by local schedule, with breakfast around 6:00 and a drive to Sembalun to register at the Rinjani information center. Then the trek begins around 8:00 from Sembalun, which sits at about 1,100 m.
The morning start is gently paced: you begin in open grasslands, and after roughly two hours you reach Post 1 (1,300 m). From there, you move to Post 2 (1,500 m) about 40 minutes later. The structure is helpful because it gives you short milestones before the harder work comes.
The trek continues to Post 3 (1,800 m) where lunch happens. This is a good point to settle your rhythm. If you go out too fast early, your legs will pay later—so use lunch to reset your pacing and hydration.
After lunch, you push toward the Sembalun crater rim (2,639 m). The climb takes around three hours, including a long steep section. By the time you reach camp, the day shifts from effort to payoff: you’ll have time to enjoy the sunset view from the rim before sleeping at altitude.
Practical note: even though day one isn’t the summit day, it’s still high. Your warm layer should be ready.
Day 2: The 2:00 AM Wake-Up and the Summit to 3,726 m by Sunrise
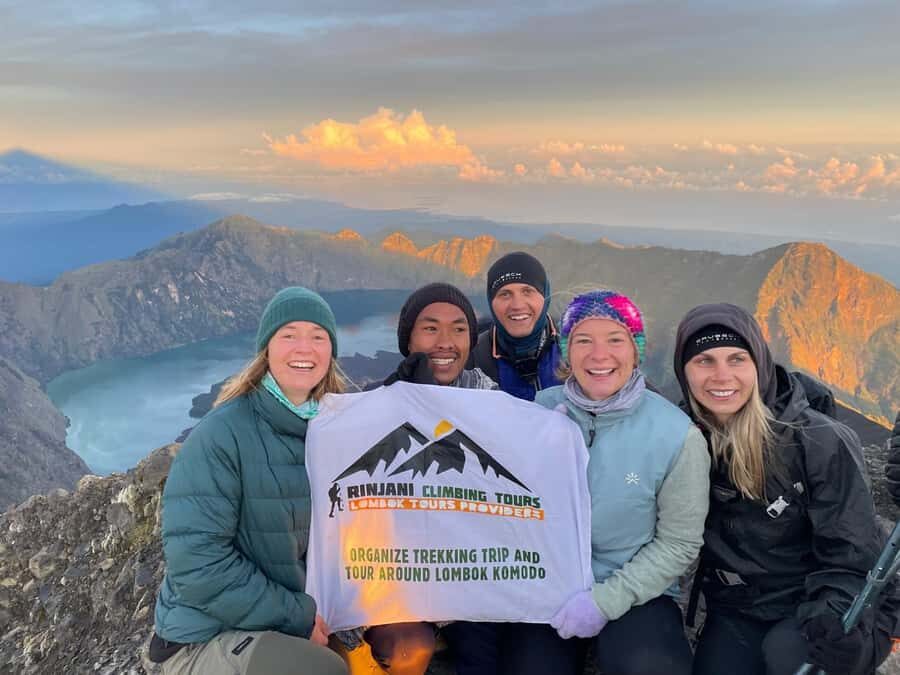
Day two is the one that tests your planning as much as your legs. You wake around 2:00 AM, drink something warm, and have a light breakfast. Then you start walking at about 3:00 AM.
The climb begins moderate, then shifts into a longer effort that feels more grinding than technical. Near the top, you tackle the steep volcanic cliff approach—this is where good foot placement and steady breathing make the difference.
You’re aiming to reach the summit around 6:00 AM, right around sunrise. From 3,726 m, the views are a major reason people do Rinjani at all: you can see Lombok, Bali, Sumbawa, and the Segara Anak Lake area. This is also when the air tends to feel cold and thin. Bring warm clothing you can actually use while walking, not just something for photos.
After sunrise success, you descend back to the crater rim of Sembalun in about two hours, where breakfast is served. Then comes the big change in scenery: you keep descending toward Segara Anak Lake for about three hours.
At the lake side, you get time to rest, enjoy the water views, and the itinerary specifically allows for swimming. If you want a morale boost, this part usually delivers. The info also mentions that bathing in hot water can relieve aches, and that this is widely known as helpful for recovery. Even if you don’t go for full bathing, the lake break gives your body a chance to reset.
Porters handle lunch preparation at the lake. After that, you leave the lake area and climb up to the Senaru crater rim (~2,641 m) for your second night of camping.
Senaru crater rim is where the emotional payoff keeps stacking. You get another sunset view, described as spectacular, with Mount Agung in Bali visible and smoke mentioned from the edge of the lake from a newer volcano. It’s the kind of view that makes the early starts feel worth it.
Day 3: Rainforest Descent, Possible Black Monkeys, and the Senaru Drop-Off
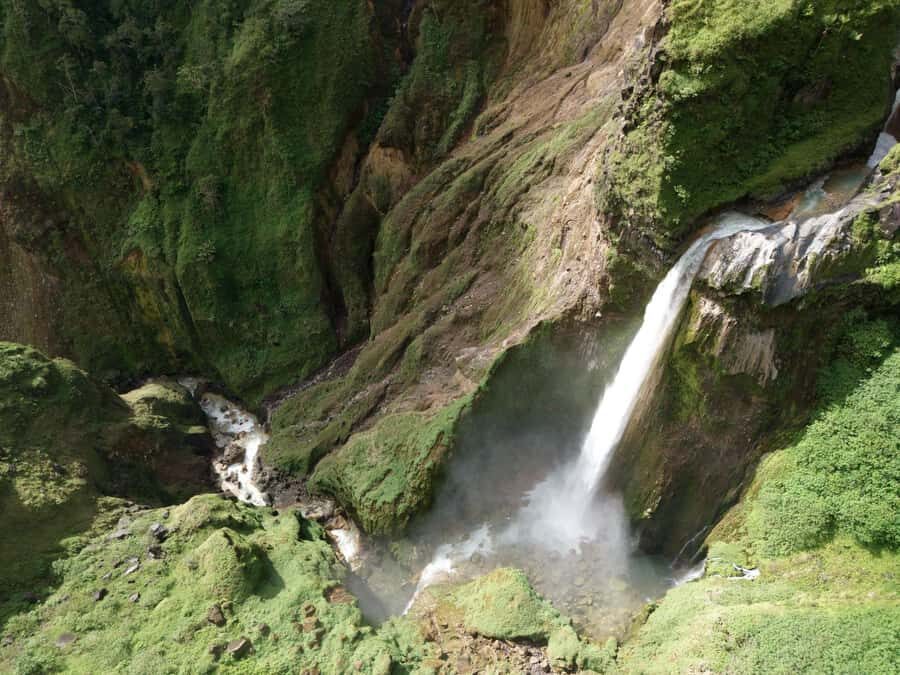
You start day three with breakfast while enjoying a sunrise moment, then begin the descent to Senaru village through the rainforest. The downhill is around five hours, and it’s described as a route where you might see rare black monkeys if you’re lucky.
Along the way, there’s a lunch stop. This day is about getting your legs back under you after the altitude nights and summit morning. The rainforest setting can feel like a relief compared to the earlier sections, but it also means you’ll want rain gear if conditions shift.
Eventually you reach Senaru village (about 601 m). From there, the car picks you up for your next destination.
If you’re the type who tends to underestimate day three after the summit, don’t. The descent is long enough that good pacing and trekking shoes (or solid footwear) still matter.
What the $145 Price Covers (and What You’ll Pay Separately)
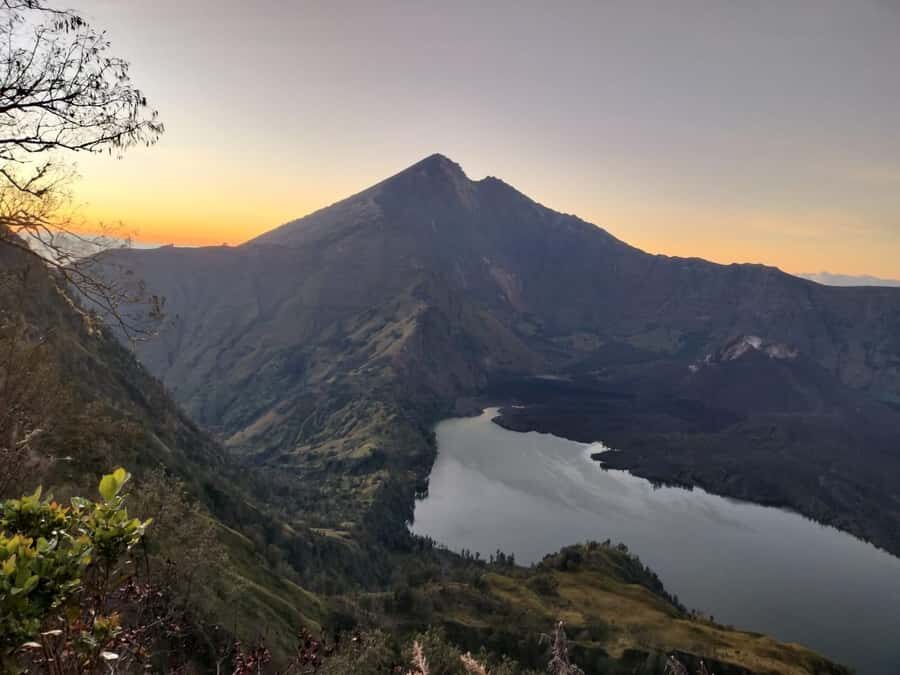
At around $145 per person, the value is strongest when you look at what’s actually included for a multi-day high-altitude circuit.
Included highlights from the package:
- Hiking guide + English-speaking guide and professional porters
- Food and drinking water during the trek, with 3 liters of mineral water per day per person
- Camping setup: tent, sleeping bag, sleeping mat, and a toilet tent
- 3 meals a day plus tea and coffee
- Fruit like pineapple and banana
- Cooking gear, plus camp cooking support handled by porters
- Trekking insurance
- Office storage for your backpack items you don’t need
- Pickup around Senaru and transportation to the starting point
What’s not included (so you can budget cleanly):
- National Park entry ticket
- Trekking shoes (you’ll need your own or rent locally)
- Warm clothes (you’ll need to bring this or plan to buy/rent)
- Extra snacks/food for personal use
- Tips for your guide and porters
- Items like GoPro and personal gear
I like how this package reduces the usual hassle of “what do I carry and what do I set up.” Porters handle cooking utensils and camping equipment, which makes this trek more about walking and less about campsite labor. You’re paying for that support, and it shows.
One more value detail: you’re also getting a full circuit ending in Senaru, with transportation involved. That saves you from having to figure out the logistics on your own while your legs are busy being dramatic.
The Real Itinerary Details That Matter for Comfort
This trek is sold as 3 days, but the lived experience comes from the timing.
- Day 1 gives you grasslands, posts, and a long climb to camp.
- Day 2 is the early morning grind: 2:00 AM wake-up and summit aiming around 6:00 AM.
- Day 2 later gives you the lake recovery segment, including a rest stop and swimming.
- Day 3 is rainforest descent, plus the chance for wildlife sightings.
Weather can affect the itinerary. Rinjani can change conditions fast, so if clouds roll in or temperatures drop, you’ll feel it. The info is clear that cold temperatures at the summit are part of the plan, so warm layers aren’t optional.
Also, the included supplies mean your personal packing can focus on you, not equipment. Still, you need your own small items: hat, sunscreen, rain gear, and snacks.
Packing List: What to Bring for Cold Mornings and Steep Steps
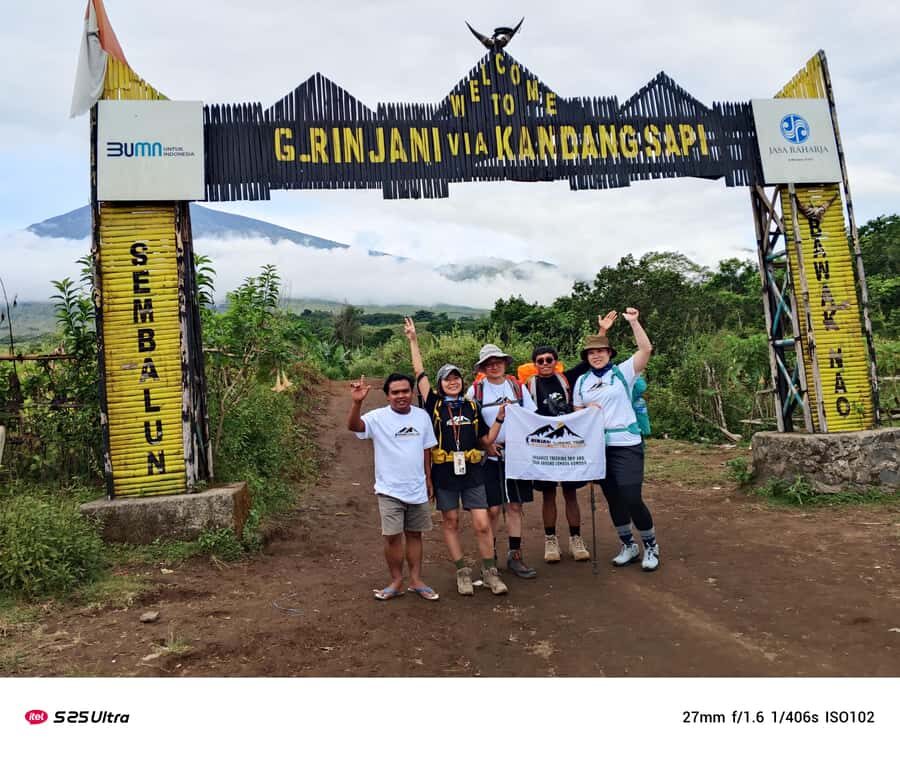
The tour guidance is straightforward, and you should follow it.
Bring:
- Warm clothing for summit hours
- Hat
- Camera
- Snacks for personal energy
- Hiking shoes (or rent, since shoes are not included)
- Sunscreen
- Water (even with the 3 liters per day, personal extras can help)
- Rain gear
Also follow the rules:
- No smoking
- No littering
- Don’t touch plants
Tip that saves you: pack clothing so you can layer quickly in the dark or cold. Summit morning is not the time to fumble.
Who This Trek Fits Best (and Who Should Skip It)
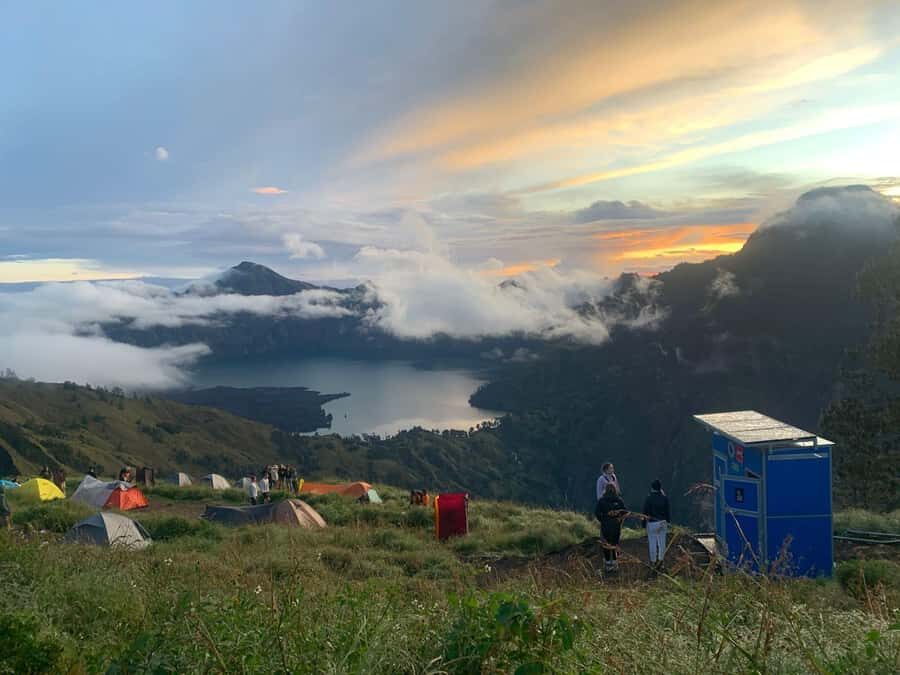
This is listed as designed for experienced climbers with strong energy to tackle the 3-day route. That’s the honest framing.
It’s not suitable for:
- People with heart problems
- People with vertigo
- People with low level of fitness
If you’re a confident hiker who handles steep terrain and early starts, you’re in the right category. You should also know the emotional texture of the trek: you’ll work hard before you see the payoff, and you’ll feel altitude in a real way.
If you’re unsure about your fitness level, be cautious. The summit approach includes a steep volcanic cliff section, and that’s where hesitation becomes a safety issue.
Guide and Support: English Help That Keeps the Pace Right
The package is run by Rinjani Climbing Tours and includes an English-speaking guide and professional porters. One guide name shows up in the feedback: Ajis. The note about Ajis is clear—he helps get you to the top, and that support matters when the body starts bargaining.
You’ll also feel the porters in the way the camps function. Tents, mats, and cooking setup are handled, and you’re given food and hot drinks during key moments. It’s a big deal on day two, when you start walking before most people are even dreaming.
If you’re concerned about pacing, ask your guide for a strategy at the start. You’ll likely find small technique tips make steep parts easier and help you conserve energy.
Booking Decision: Should You Book This 3D2N Summit + Lake + Senaru Rim Trek?
I’d book this trek if you want a full Rinjani circuit with three big scenery moments: crater rims, summit sunrise, and Segara Anak Lake time. The included support, especially porters handling camp and cooking gear, is a real part of the value.
I would not book it if you’re trying to keep this mellow. The trek is challenging, and it’s not designed for low fitness, vertigo, or heart conditions. Also, be ready for cold summit conditions and the fact that you’ll need to bring warm clothing and suitable footwear.
If you’re ready to work, this itinerary gives you the classic Rinjani rewards in a tight 3-day rhythm.
FAQ
How long is the Mount Rinjani 3D2N trek?
It’s a 3-day trek with 2 nights camping.
Where do you start and where do you end?
You start from Sembalun village and return via the Senaru route, finishing at Senaru village.
What route does the trek use to reach the summit?
The program uses the Torean Route for the overall climb and circuit.
What is the summit elevation?
The summit is 3,726 m.
What time do you start the summit push on day two?
You wake around 2:00 AM and begin walking at about 3:00 AM, aiming to reach the summit around 6:00 AM.
Is this trek suitable for beginners?
No. The trek is designed for experienced climbers and people with strong energy to handle the full 3-day route. It’s also not suitable for low fitness.
What’s included in the price?
You get an English-speaking guide and porters, meals (3x per day), tea and coffee, fruit, drinking water (3 liters mineral water per day per person), camping gear (tent, sleeping bag, sleeping mat, toilet tent with paper), cooking equipment support, trekking insurance, and pickup around Senaru plus transportation to the starting point. There is also office storage for backpacks not needed on the hike.
What is not included?
Not included are the National Park entry ticket, trekking shoes, warm clothes, extra tips for guide and porter, extra food/snacks for personal use, and some optional personal items like GoPro.
What should I bring for the trek?
Bring warm clothing, a hat, camera, snacks, hiking shoes, sunscreen, water, and rain gear.
Is there a cancellation option?
Yes. You can cancel up to 24 hours in advance for a full refund, and there’s also a reserve now, pay later option listed.