Yogyakarta has a way of turning craft into memory fast. This batik workshop is hands-on from pencil sketch to wax lines, guided by long-time practitioners, and you finish with something you truly own. I like that the class walks you through the full process in plain steps, and I especially like that your finished batik belongs to you. One thing to consider: if you take your time with super-fine lines, the waxing-and-color schedule can feel a little tight.
I also like the built-in structure: a batik museum visit first, then you make your own design using traditional tools like the canting (wax-drawing pen). You’ll get an English instructor, and the pace is friendly for beginners. The one drawback I’d flag is that the technical bits matter—wax thickness and timing affect the result, and you may need quick help if your first attempt doesn’t behave.
In This Review
- Key things to know before you go
- Why this Yogyakarta batik class feels worth the money
- Meeting near the city center, then getting routed to the studio
- The batik museum visit that makes your design choices click
- Pencil sketch to wax lines: the canting part (where the magic really starts)
- Coloring, boiling, and the background question you might not hear in advance
- What you keep (and why 25x25cm is a smart beginner target)
- Who this class suits best (and who might want a different activity)
- Practical tips that prevent the common first-timer headaches
- Price and value: how $36 holds up
- Should you book this batik workshop in Yogyakarta?
- FAQ
- FAQ
- How much does the batik class cost?
- How long is the experience?
- Is the museum visit included?
- Do I get to keep what I make?
- What cloth do I receive?
- Is the instructor available in English?
- Is hotel pickup included?
Key things to know before you go
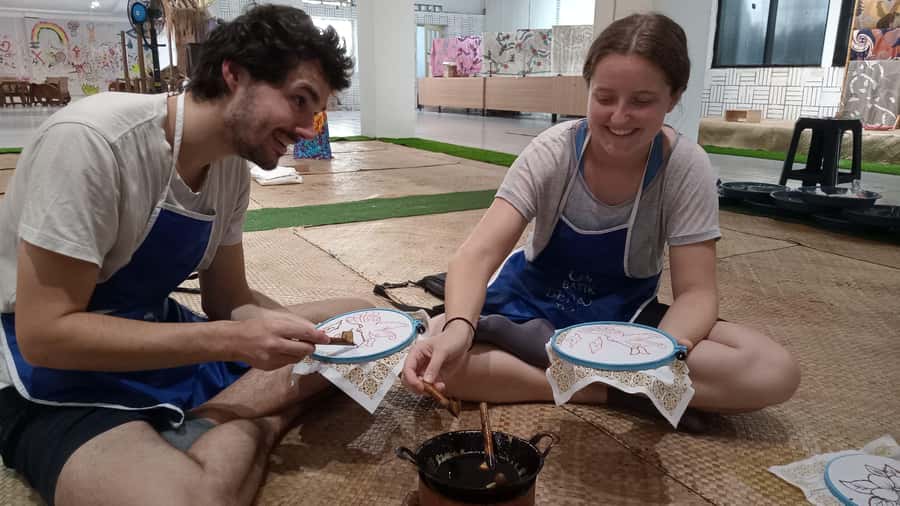
- Expert guidance from batik practitioners who have spent years doing this work
- Manual drawing batik technique: pencil design, heated wax, canting, then coloring
- Museum visit included, so your design choice makes more sense
- You keep your batik, made on included cotton cloth
- English instruction, with hands-on support throughout
- Wheelchair accessible, plus hotel pickup is available for an extra fee
Why this Yogyakarta batik class feels worth the money
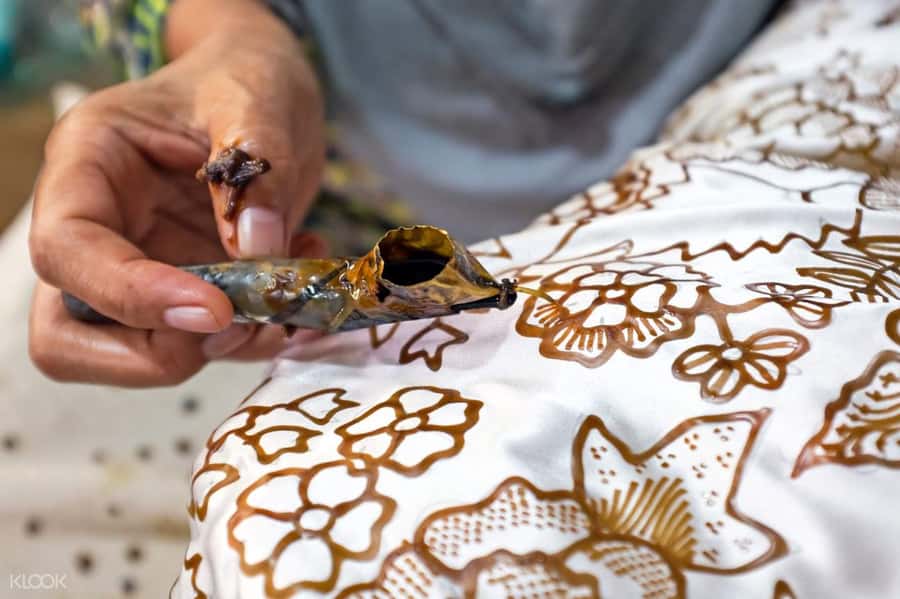
At $36 per person, this isn’t one of those “watch-and-clap” cultural activities. It’s structured as a real workshop: you draw, wax, color, and end up with a tangible piece of art. For me, that value comes from the fact that you’re paying for materials, tools, and teacher attention—not just a seat.
The session is listed as about 2 hours (some packages run 2–3 hours depending on what you choose). Either way, you’re not stuck for an entire day, which makes it a great add-on even if your Yogyakarta schedule is already packed.
You’re also not leaving empty-handed. The class result belongs to you, and one of the packages includes a 25x25cm cotton cloth. That size is practical for beginners: big enough to show your pattern, small enough to finish during the workshop.
You can also read our reviews of more tours and experiences in Yogyakarta.



Meeting near the city center, then getting routed to the studio
You’ll meet at a location near Yogyakarta’s city center. If you want convenience, hotel pickup and drop-off can be arranged for an extra IDR 200k in the Yogyakarta area. If not, you can get there by taxi on your own.
One planning detail I appreciate: the admin will tell you the batik painting venue one day before the activity starts. So you should check your email and WhatsApp. This avoids the common last-minute scramble where you’re hunting for the exact building while your time window is shrinking.
Once you arrive, the workshop environment matters. In the best case, you’re inside a proper batik shop setting. That context helps you understand what you’re doing. You’re not just “making a craft.” You’re stepping into a craft workflow.
The batik museum visit that makes your design choices click
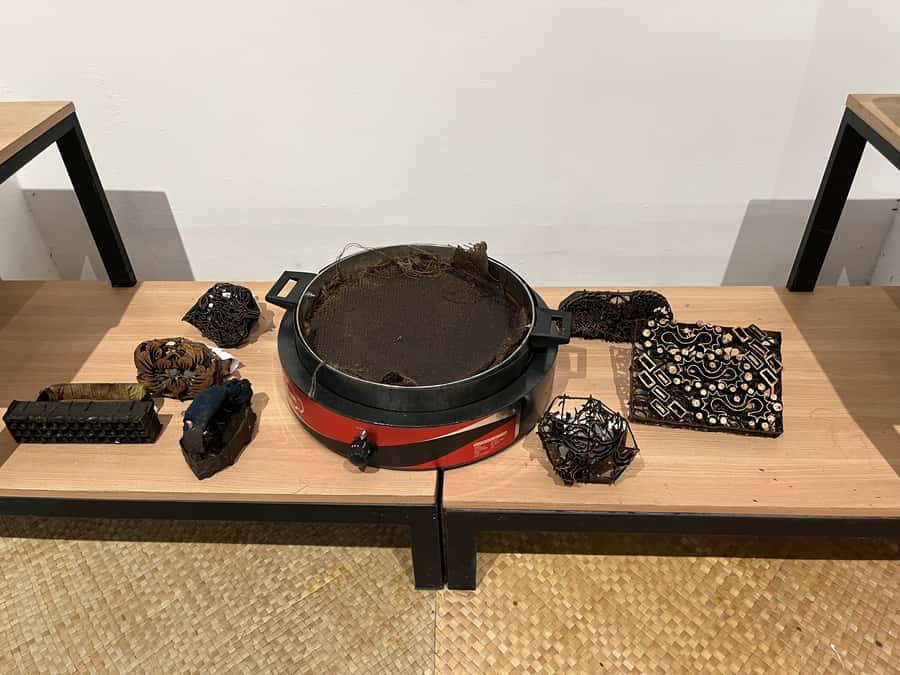
This workshop includes a batik museum visit, plus a batik introduction. That pairing is smart. It gives you a visual language before you start drawing.
When you see patterns and motifs in a museum setting, you start recognizing how batik isn’t random decoration. People use specific designs, repeat shapes, and create meaning through arrangement. You don’t have to copy anything perfectly. Even as a beginner, you’ll feel more confident choosing your own layout because you understand what you’re building toward.
Also, the museum stop has a practical perk: your ticket process can be streamlined since you can skip the ticket line. That saves time and keeps the workshop energy moving.
Pencil sketch to wax lines: the canting part (where the magic really starts)
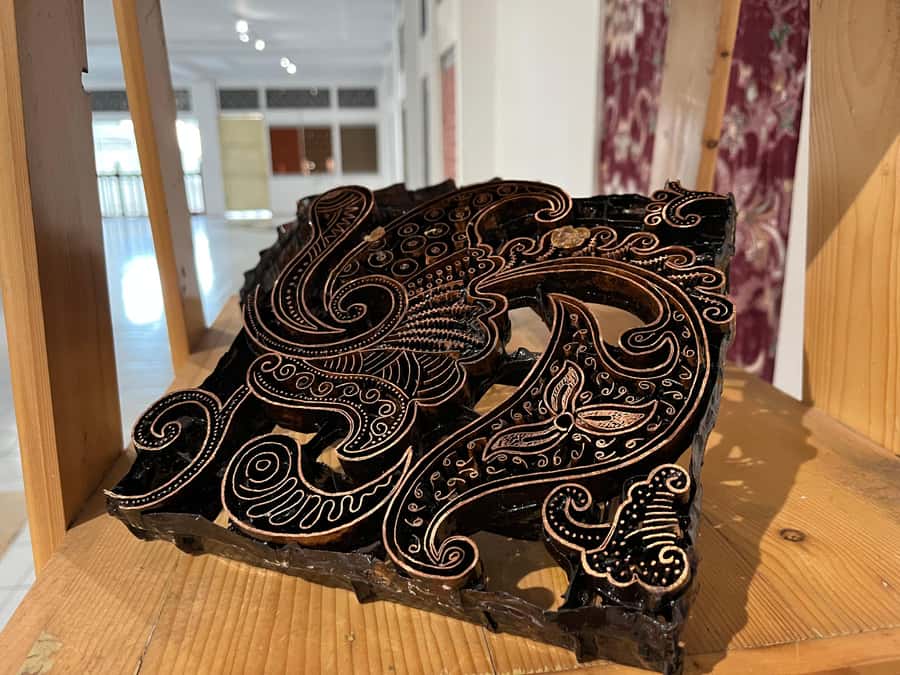
Now for the real workshop work: the manual drawing batik technique.
Here’s the basic flow you should expect:
- You create your own design by drawing it on the cloth with a pencil.
- You then apply heated wax onto the fabric using a tool called canting.
- After the wax stage, you move into coloring.
The canting step is the moment most people remember. It’s small, precise, and a little different from any typical drawing tool. You’re essentially “writing” with wax. That wax will later resist color, which is why your lines turn into crisp white (or uncolored) areas after the finishing steps.
A key takeaway for first-timers: wax thickness and wax coverage matter. One firsthand experience noted that if you don’t put enough wax, it may not transfer cleanly through the fabric. The result can be annoying at the line level—fine details might not behave the way you expect during coloring. It’s not fatal, but it is a reminder that batik is part art, part physics.
Also, don’t be surprised if pencil marks vanish later. One beginner experience described how pen or pencil marks disappeared after boiling. That’s likely part of how the process treats the waxed fabric, so try not to panic if your preliminary lines stop showing.
Coloring, boiling, and the background question you might not hear in advance
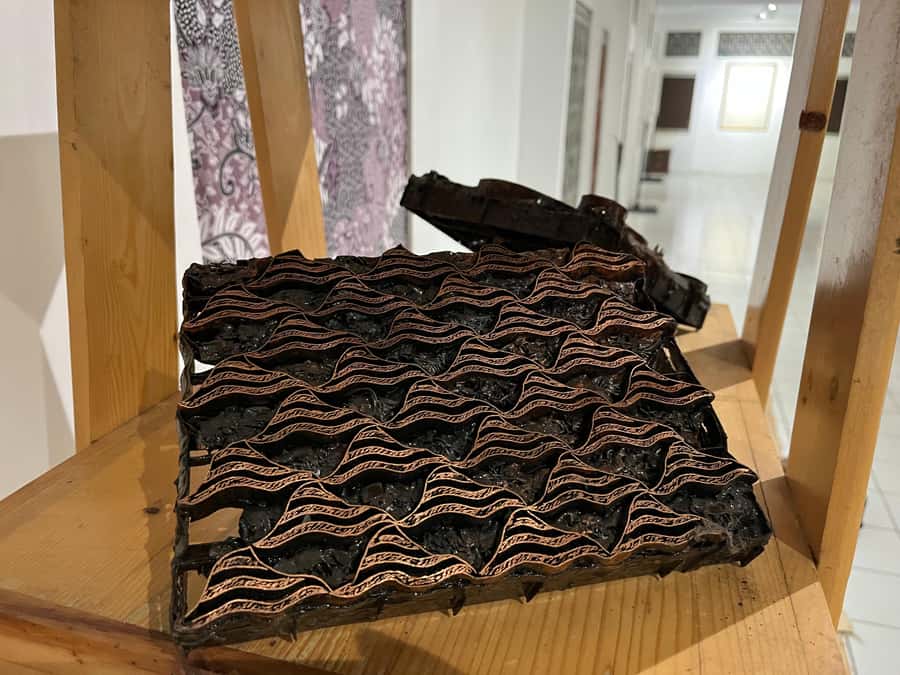
After wax goes on, you color your design. Coloring is where your artwork starts looking like something you’d actually hang.
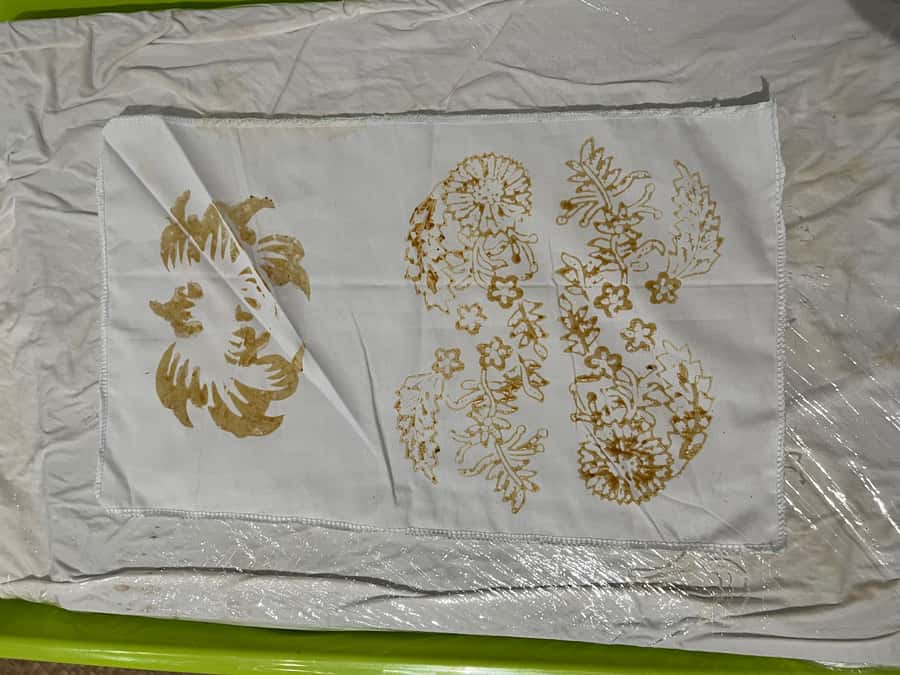
Then comes the finishing step where the wax is removed. In one detailed account, the cloth is boiled, and the wax disappears, leaving behind lighter lines as the contrast. That effect is one of batik’s defining looks: dark and light areas defined by where wax blocked color.
Here’s the part that trips people up: your background may need attention.
One reviewer described that after finishing coloring, they were told to paint the background so the piece wouldn’t look awkward. That’s a useful heads-up for you: when you’re designing, plan for more than just the main motif. Leave some time and intention for how the empty spaces will finish.
Another practical note: if you start with super-fine lines thinking they’ll stay perfect, be ready for the wax-and-boiling reality check. When contrast forms, your final look can differ from your first visual draft. The good news is that help is available during the class, and you can correct issues if someone spots them early.


What you keep (and why 25x25cm is a smart beginner target)
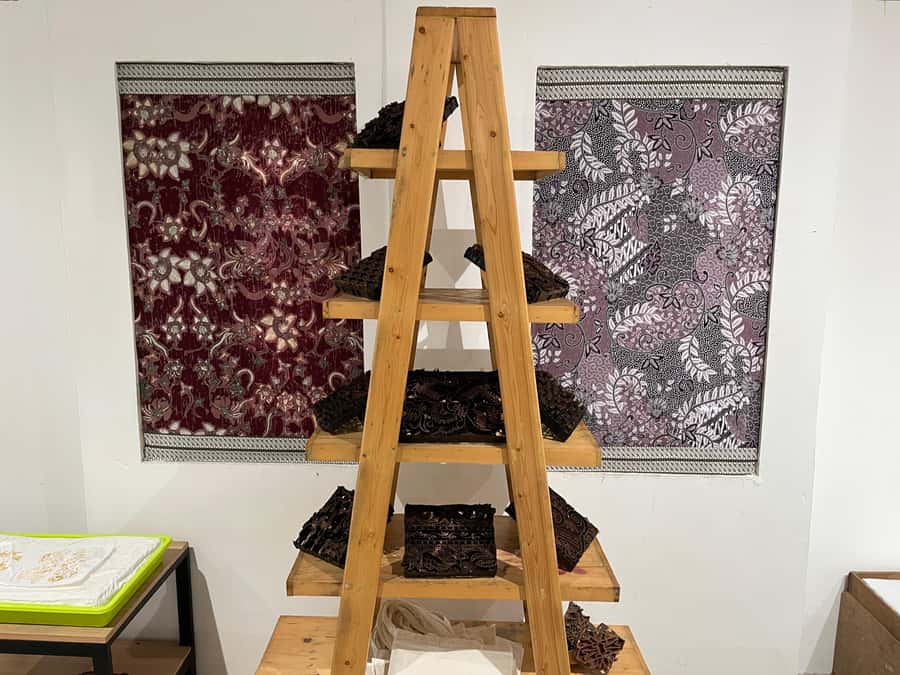
You’ll keep your batik. That’s the headline, but the details matter.
The workshop package includes 25x25cm cotton cloth. That size is ideal for beginners because:
- It’s large enough to work on comfortably with a canting technique.
- It’s small enough to complete without rushing everything.
- You can bring it home and actually use it as décor, a gift, or a reminder of your trip without needing special display planning.
The “keep it” part is also emotionally important. You’re not borrowing someone else’s finished product. You’re carrying the outcome of your decisions—your lines, your color choices, your background choices.
And if you’re curious about souvenirs: one experience mentioned you may receive gifts from the batik shop environment. That’s a nice extra, but the main value remains your own piece.
Who this class suits best (and who might want a different activity)
This class is best for:
- Beginners who want to learn real technique, not just take photos
- People traveling with friends or family who want a shared, calm activity
- Anyone who likes making something with their hands and learning why it works
In the reviews, multiple people described feeling more confident by the end—especially after being guided step by step through how wax and dye interact. That confidence boost is a real selling point. Batik can look intimidating from the outside. The workshop format brings it down to manageable steps.
It may be less ideal if you’re the type who hates process. The class is technical, and you’ll spend time on each stage—design, waxing, coloring, and finishing. If you prefer purely scenic sightseeing, you might find it slower than you expected.
Practical tips that prevent the common first-timer headaches
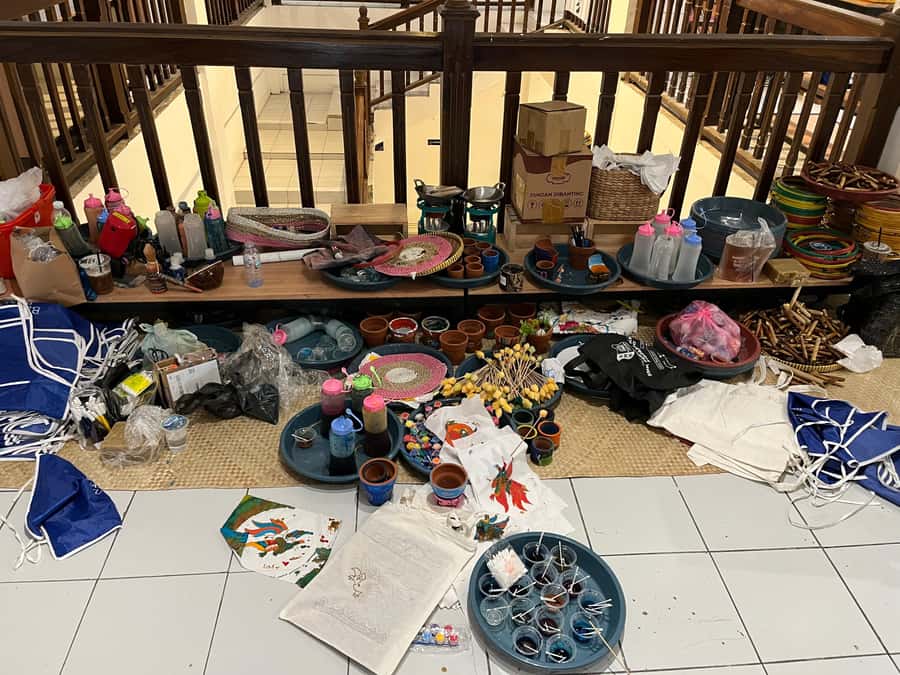
If you want your batik to come out cleaner and closer to your vision, here are smart, low-effort tips based on what shows up during the process.
Go easy on ultra-fine detail. Fine lines are pretty on paper, but wax behavior and dye penetration can turn them into a time sink. You can still create detail—just aim for confident shapes over hairline perfection.
Expect wax coverage to matter. If a line doesn’t transfer well, you might lose crispness during color steps. If you notice odd results, ask for help quickly rather than trying to fix everything at the final stage.
Plan for the background early. Don’t assume you only need to color the main motif. When the wax is removed and the design contrast appears, empty space can look unfinished if you don’t treat it intentionally.
Bring snacks and water. It’s not a full-day tour, but you’ll be working actively for about 2 hours. One included suggestion is to bring snacks and water, and I’d follow it so you stay steady through the stages.
Confirm details the day before. Your admin will message you about the venue one day before. Check email and WhatsApp so you show up at the right location without stress.
Price and value: how $36 holds up
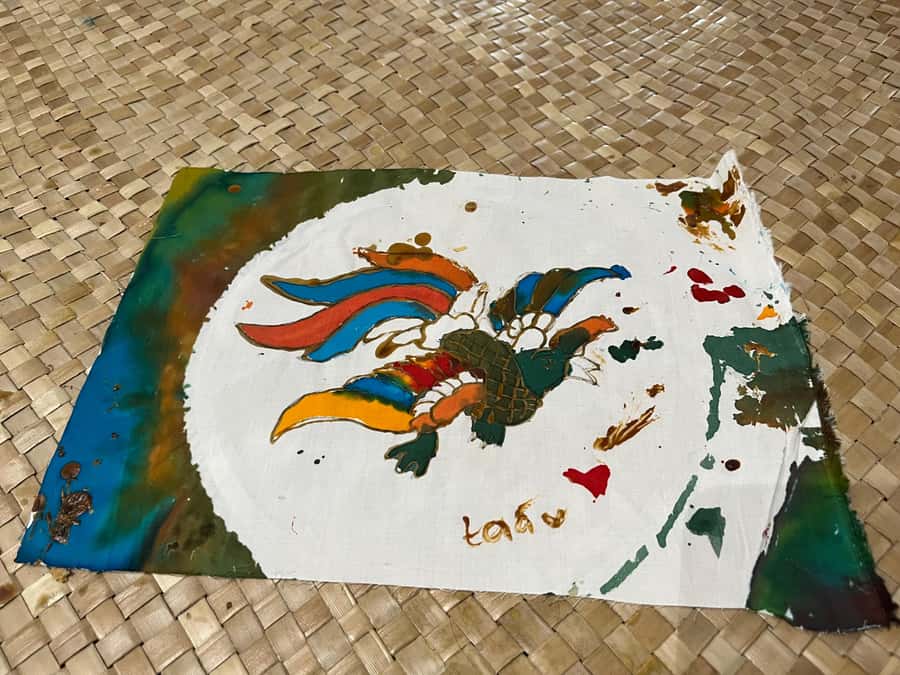
Let’s talk value in a real way.
You’re paying for:
- Batik introduction and a museum visit
- A batik painting workshop with tools and materials
- An experienced batik teacher
- An English instructor
- A finished result you keep (on included cotton cloth in the workshop package)
That combination usually costs more if you try to piece it together yourself. And the key advantage here is teacher time. Batik isn’t “one rule and done.” You need help to understand wax application, line definition, and how the dye stage changes what you see.
At $36, the pricing feels reasonable for a guided class that actually teaches the craft. The only extra cost to plan for is optional hotel pickup and drop-off (IDR 200k). If you’re already using taxis in Yogyakarta, you can probably skip the pickup and keep it simple.
Should you book this batik workshop in Yogyakarta?
If you want a hands-on cultural experience with a clear outcome, I’d book it. You’ll learn the manual steps—pencil design, wax drawing with a canting, coloring—and you’ll leave with your own batik piece. The English instruction is a bonus, and the museum visit adds context so your design choices don’t feel random.
I’d be a bit cautious if you’re expecting a casual, no-pressure activity. This is a craft process. The wax-and-color science shows up in the final result, and you’ll get the best experience by being open to small corrections as you go.
If you’re flexible and curious, this workshop is a strong match.
FAQ
FAQ
How much does the batik class cost?
The batik making class costs $36 per person.
How long is the experience?
The class is about 2 hours. Some packages may run 2–3 hours depending on what you choose.
Is the museum visit included?
Yes. The experience includes a batik museum visit as part of the program.
Do I get to keep what I make?
Yes. The results of the batik class will belong to you.
What cloth do I receive?
One workshop package includes a 25x25cm cotton cloth.
Is the instructor available in English?
Yes. The instructor is English-speaking.
Is hotel pickup included?
Hotel pick up and drop-off are not included. It’s available with an additional charge of IDR 200k for the Yogyakarta area. You can also go by yourself using a taxi.