Silver dust turns into something you can wear. This hands-on Uluwatu silver jewelry workshop lets you design and make a real ring in about 2 hours. It’s set at a covered rooftop at Rolling Fork Restaurant, just a short walk from Padang Padang Beach, so you get Bali’s outdoor feel without being stuck in the heat.
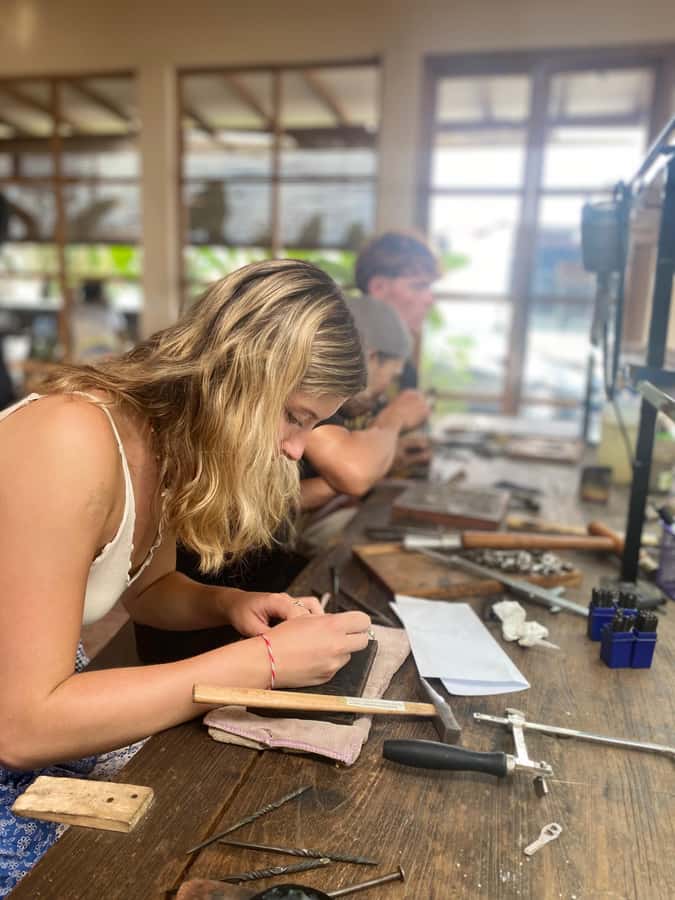
I especially love how practical it is: you’re not just watching a demo. You choose a ring design, use tools like saws, files, and grinding wheels, and learn techniques such as stamping and hammering. The other big win for me is the finished souvenir: you take home the exact piece you made.
One possible drawback to plan for: if you want a stone, expect extra cost beyond the included silver, and you’ll want to double-check what, if anything, is offered for food and drinks during your session.
In This Review
- Key things to know before you go
- Rooftop Silver Class in Uluwatu: the setting that makes it easy
- Choosing your design: how you move from idea to ring
- Tools and techniques: what you actually learn (and why it sticks)
- Hammering, stamping, sawing, and polishing: your step-by-step flow
- How long it takes: making time work with Uluwatu plans
- Price and value: what $46 really buys you
- Wi‑Fi and language support: the practical comfort factor
- Who should book this workshop (and who might not)
- Tips to get the best ring possible
- Should you book Uluwatu Silver Jewelry Making with Creation?
- FAQ
- How long is the Uluwatu silver jewelry workshop?
- What is included in the price?
- Is food or drinks included?
- Where do you meet for the workshop?
- Are the instructions available in English?
- Can I make a ring with a stone?
Key things to know before you go
- Rooftop workshop setting at Rolling Fork Restaurant near Padang Padang Beach in Uluwatu
- You make the jewelry using real tools, from sawing and filing to grinding and polishing
- Silver amount included is 1–6 grams, depending on your 1 jewelry design choice
- Stones may cost more, so keep your budget flexible if you want extra sparkle
- English and Indonesian instruction, plus free Wi‑Fi at the venue
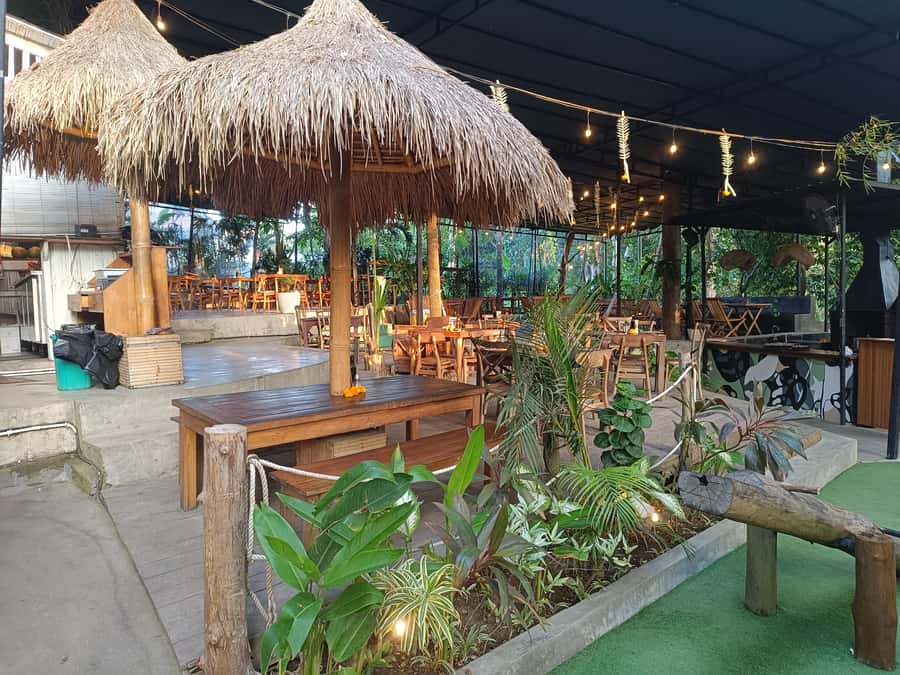
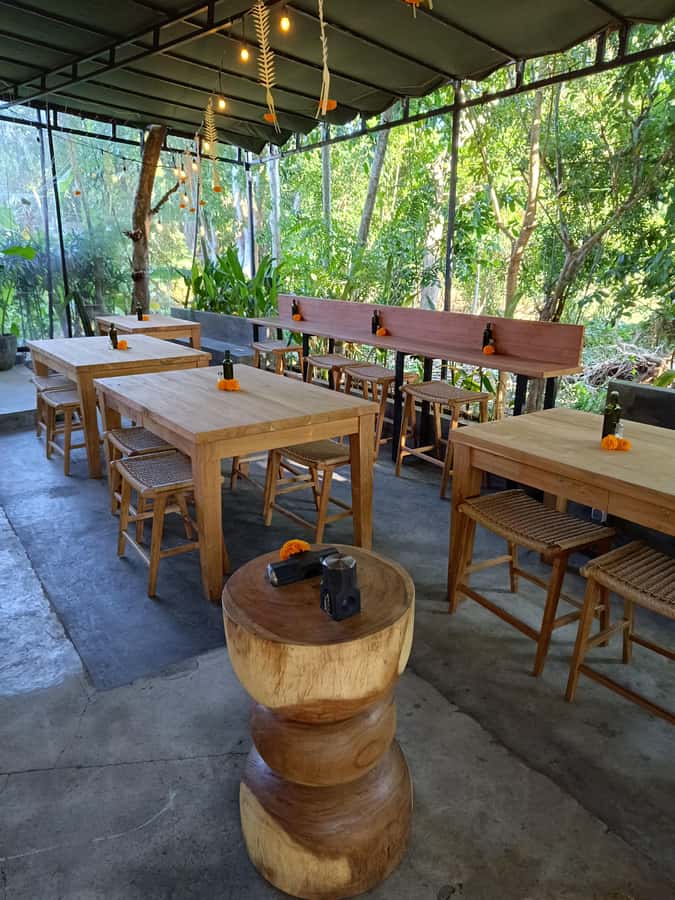
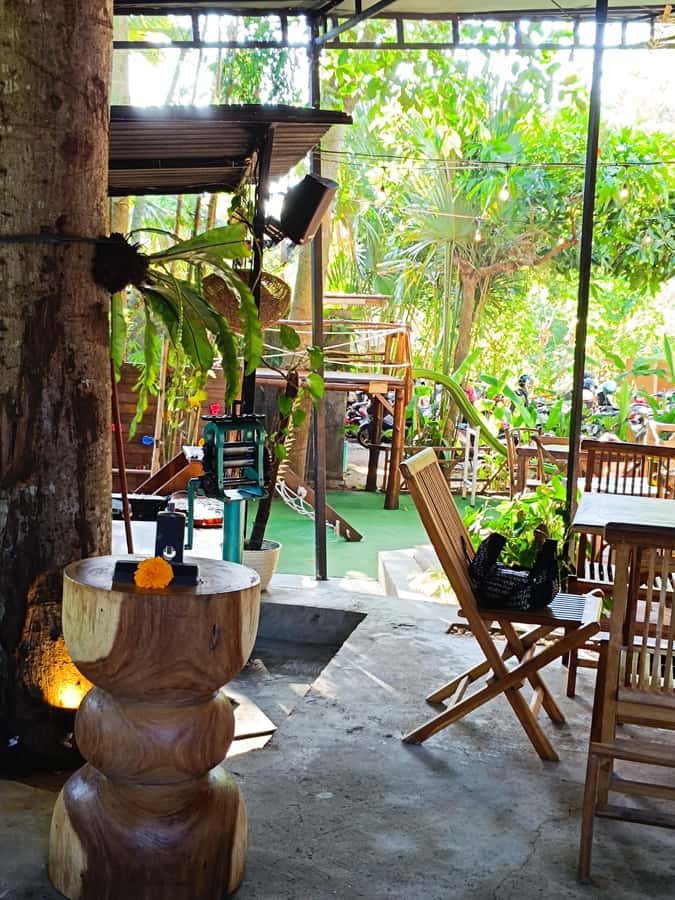
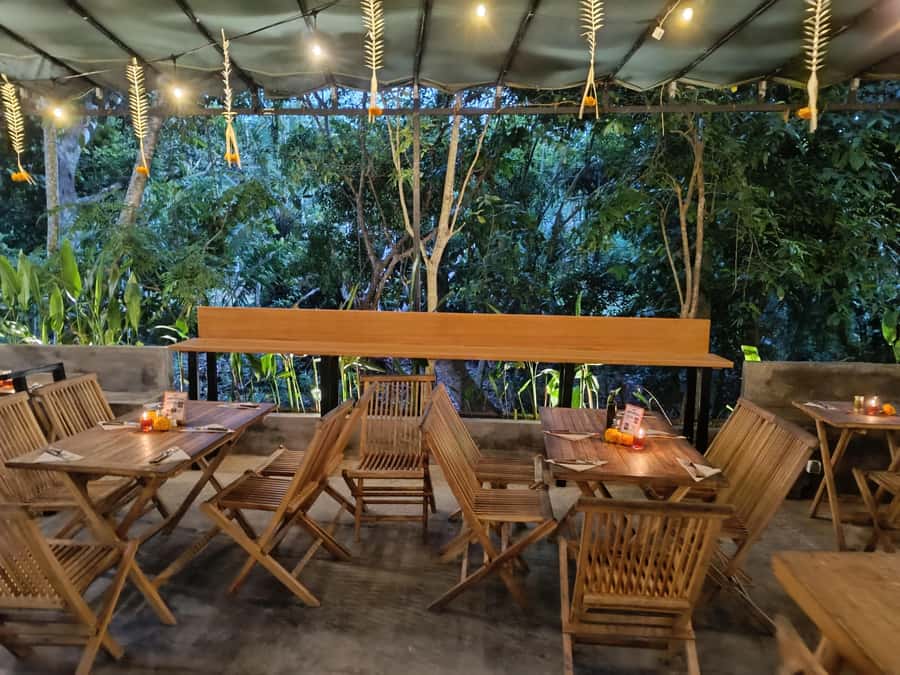
Rooftop Silver Class in Uluwatu: the setting that makes it easy
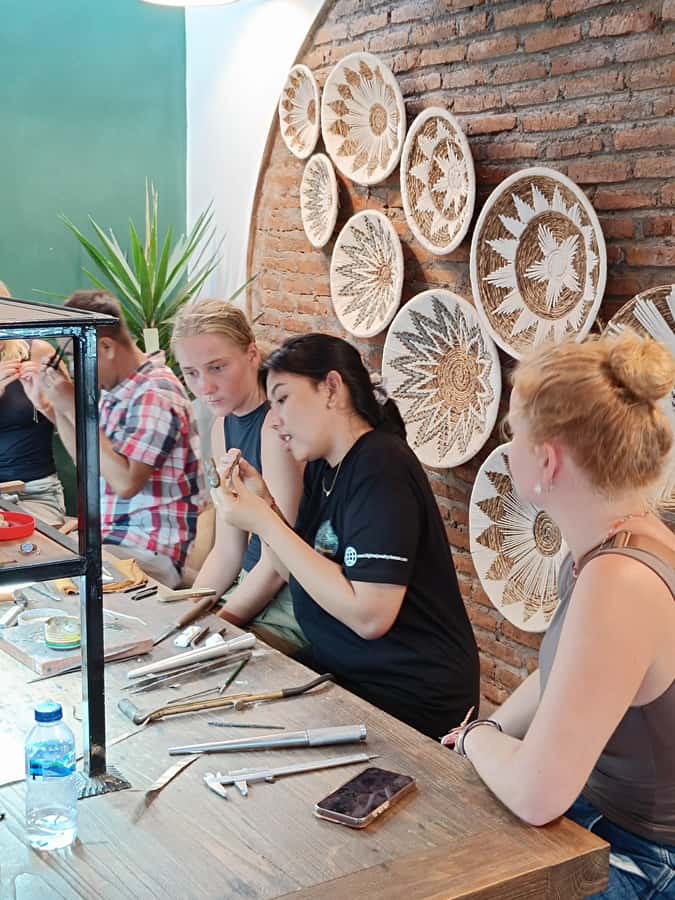
Uluwatu is all cliffs, sunsets, and beach time. This workshop gives you a break from driving around and chasing reservations. The class happens at Rolling Fork Restaurant, inside an outdoor-style space with a covered rooftop, so you get natural wind and Bali atmosphere while still staying comfortable.
From a practical standpoint, I like that it’s close to the coast. One review-style detail that matters: it’s about a 5-minute walk from Padang Padang Beach, which makes it easy to pair with a beach morning or late afternoon.
Also, the vibe tends to feel friendly and not overly formal. Many people talk about the staff being welcoming and guides staying close enough to help when you’re stuck, but not taking the whole job over. That balance is what makes a workshop like this feel rewarding instead of stressful.
You can also read our reviews of more tours and experiences in Uluwatu.


Choosing your design: how you move from idea to ring
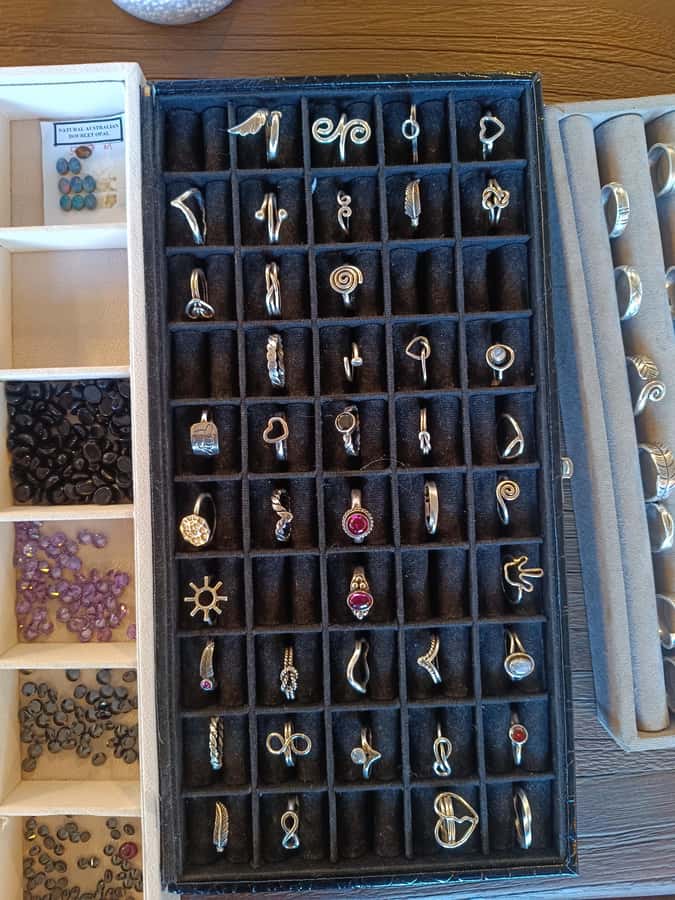
Your session starts with picking a ring design. In practice, you’ll usually have a menu of samples to choose from, and you can often shape it around what you want. People have mentioned being able to match a personal idea, not just selecting from one rigid option.
Then comes the part that affects everything: the silver weight. The workshop includes 1–6 grams of silver for 1 jewelry design. That range isn’t just a technical detail. It impacts how chunky or delicate your final ring can be, and it’s part of why the workshop stays around the 2-hour mark.
If you’re the type who likes structure, this is helpful. If you’re more creative and want maximum freedom, you still have room to adjust your plan, but you’ll do it within the session time and the included silver.
One budget note: if you add a stone, you’ll pay extra. Some people made rings with stones, and the stone requirement was specifically called out as an additional charge. So if you’re aiming for an all-in number, decide early whether you want stones or a clean, polished silver look.
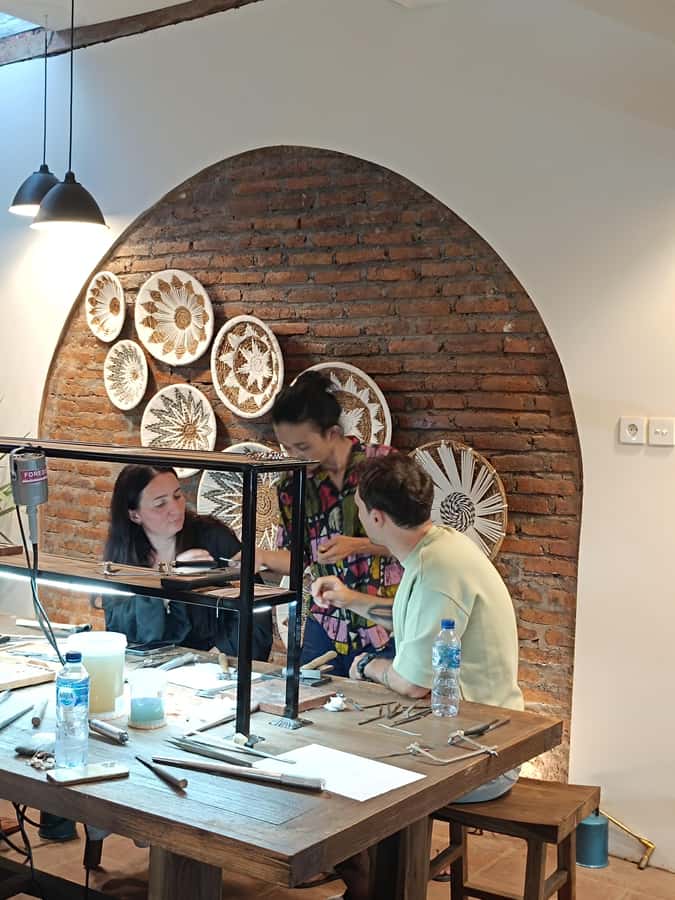
Tools and techniques: what you actually learn (and why it sticks)
This isn’t a paint-by-numbers souvenir. The whole point is learning how silversmiths work with metal using classic tools. You’ll get hands-on practice with items like jeweler’s saws, files, and grinding wheels.
Here’s why that matters: once you use a saw to cut a metal shape, or a file to refine edges, you start understanding the logic of the craft. Even if you never make jewelry again, you’ll feel the difference between rough work and finishing work. That makes your ring feel earned.
You’ll also learn key techniques such as stamping and hammering. In plain terms, stamping helps create repeated patterns or texture, while hammering helps with shaping and forming metal. These methods are what give many Balinese- and Indonesian-style pieces their character without needing expensive equipment.
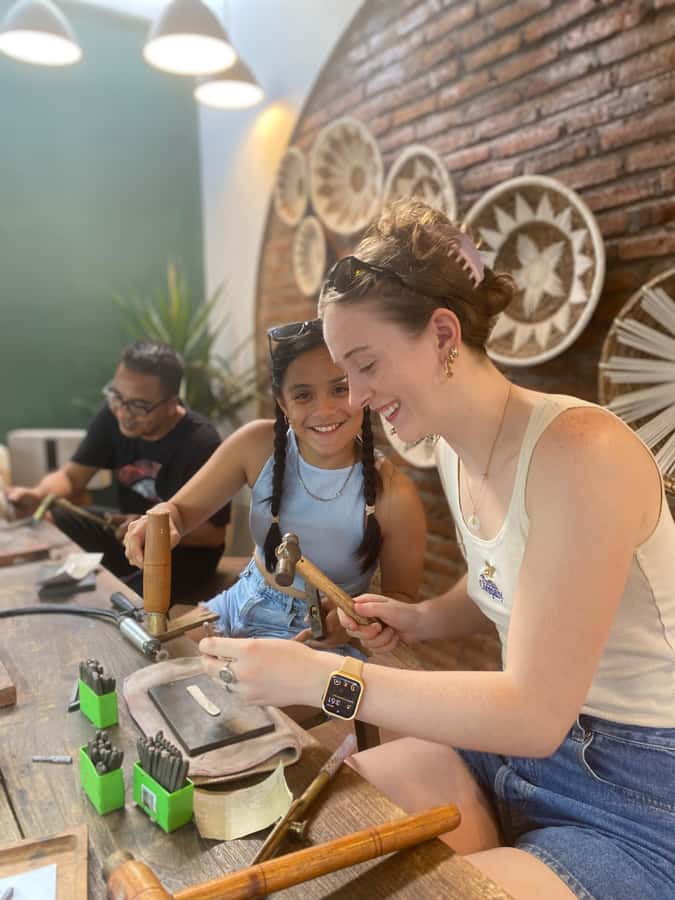
And yes, there’s a rhythmic quality to it. People love the sound and feel of hammering as you work step-by-step. That might sound like a small detail, but in a hands-on workshop, the sensory part is half the point. It keeps you focused.
Hammering, stamping, sawing, and polishing: your step-by-step flow
A typical session follows a clear sequence. You’ll start with instruction from a silversmith, then build your piece yourself with guidance along the way. The workshop emphasizes going from concept to the final polish, not just finishing one stage and moving on.
Here’s what that looks like in real life:
- Early stage: planning and shaping
You choose your design and learn how to translate it into workable metal. This is where you’ll start cutting and forming, and you’ll see how small adjustments change the outcome.
- Middle stage: the metal work
This is where the tools come out. You’ll use saws to cut, files to refine, and grinding wheels to smooth. You’ll also practice stamping and hammering, which gives your design texture and structure.
- Finishing stage: polishing and cleanup
The final steps matter. A ring can be technically correct and still look dull if it isn’t polished well. You’re guided through the last stage so your piece looks like something you’d actually wear, not just a rough prototype.
What stands out from the experience pattern: guides often stay close but still let you do the work. People specifically mention instructors who helped them all the way through while still keeping them involved. Names that show up in this workshop environment include Zen, Gunawan, Bunawan, Ayu, Yunus, Danny, Wulan, Agung, and Yanto. That doesn’t mean every instructor is exactly the same, but it does suggest the class team is consistent about teaching and support.
If you’re worried about being “too clumsy,” don’t. This is designed for beginners. The key is paying attention during the instruction moments, then taking your time during the tool work.
How long it takes: making time work with Uluwatu plans
The workshop runs for 2 hours. That’s long enough to do real metal work, but short enough that you can still build it into a day of beaches and viewpoints.
I’d treat it like a “main activity block.” If you plan a beach too close beforehand, leave time to rinse off or change if you get sandy. If you’re combining it with dinner, try to schedule it earlier rather than right when you want to head out, because you’ll likely want a few minutes to admire your finished ring and take photos.
One detail that helps planning: people describe the class as organized and well-paced, with time flying because you’re doing something the whole way through. That’s a sign the workshop uses the full 2 hours efficiently, not as filler.


Price and value: what $46 really buys you
At $46 per person, the big value is that you’re not paying for a lecture. You’re paying for instruction, access to tools, and the silver for your ring—specifically 1–6 grams for 1 jewelry design.
Value comes from three places:
- You take home the product
This is a workshop with a tangible souvenir. You leave with a wearable ring that you made with your own hands.
- You get real-tool practice
Some “craft” experiences are mostly decorating. Here, the emphasis is on making metal forms and finishing them.
- Instruction time and support are built in
People repeatedly mention guides helping step-by-step while keeping them involved. That support is part of what you’re paying for.
Where the cost can change: stones cost extra if you want them. Also, the workshop doesn’t include food or drinks. If you’re hungry, plan a meal before or after.
One small heads-up: there’s mention in the experience record of someone expecting a promised drink and not receiving it. I can’t say that will happen, but it’s a good reminder to confirm what is actually included at check-in—especially if you’re budgeting for refreshments.
Wi‑Fi and language support: the practical comfort factor
This is one of those small details that makes a difference when you’re on vacation. The workshop includes free Wi‑Fi, so you can text family, upload photos, or share a design idea in the moment.
Language support is listed as English and Indonesian. Reviews mention guides who speak good English and keep instructions clear. If you’re not fluent in Indonesian, you should still be fine. The workshop format is hands-on enough that even when vocabulary gets tricky, the visual demonstration helps.
Also, if you’re going solo, the staff friendliness is part of the appeal. People mention solo-friendly comfort and even guides helping with videos and photos. That means you’re not stuck feeling awkward while your ring is being made.
Who should book this workshop (and who might not)
This is a great choice if you like doing something with your hands and want a souvenir that feels personal. It also works well if you’re visiting Uluwatu and want an activity that’s meaningful without needing a full-day commitment.
I’d especially recommend it for:
- Couples who want a shared Bali memory, not just matching postcards
- Friends traveling together who enjoy guided creativity and a little friendly banter
- Anyone who likes learning a skill, even briefly, and taking it home as a keepsake
You might think twice if:
- You want a very low-friction activity with no tool use. This is hands-on by design.
- You’re mainly interested in buying jewelry rather than making it. You’ll still end up with a ring, but your time is spent crafting, not shopping.
- You’re strict about budget and want stones. Stones can add cost on top of the included silver.
Tips to get the best ring possible
Here’s how you’ll get the outcome you want without stress:
- Decide on your style early
Simple, clean bands can look amazing with polishing. If you want texture, plan for stamping/hammer work from the start.
- Choose your stone only if you really want it
If you add stones, treat it as a budget upgrade. It also affects how your ring looks and how finished it feels.
- Pay attention during the instruction moments
The workshop goes step-by-step. If you miss one explanation about fit or filing, it can affect the next stage.
- Take your time at finishing
Polishing is where the ring turns from workshop-made into wear-it-now shiny.
Should you book Uluwatu Silver Jewelry Making with Creation?
I think you should book it if you want an authentic Bali experience that’s not just scenic. This workshop combines a beautiful Uluwatu location, hands-on metalcraft, and a souvenir that’s actually yours—made in real time with guided support.
I’d skip it only if you’re looking for a passive activity, or if you’re trying to keep the budget super tight and you’re set on adding stones. Otherwise, the $46 price makes sense because you’re paying for silver, tools, and skilled help to turn raw material into something you can wear at home.
FAQ
How long is the Uluwatu silver jewelry workshop?
It lasts 2 hours.
What is included in the price?
The workshop includes a silversmith instructor, 1–6 grams of silver for 1 jewelry design, and free Wi‑Fi.
Is food or drinks included?
No. Food and drinks are not included.
Where do you meet for the workshop?
You meet at the Uluwatu Silver Class located at Rolling Fork Restaurant in Uluwatu.
Are the instructions available in English?
Yes. The instructor speaks English and Indonesian.
Can I make a ring with a stone?
You can, but stones are charged extra.
If you want, tell me when you’re in Uluwatu and whether you want a plain band or a ring with a stone, and I’ll suggest a smart schedule around this workshop.