Canyoning in Bali starts with training, not a leap. I love how beginner-friendly the Banyuwana canyon track feels, especially with the short practice on using your lanyard and learning simple canyon hand signals before you descend. I also like the early comfort of warm greetings and a light breakfast with tea or coffee at the Wanagiri base, so you’re not scrambling to get ready.
One thing to plan for: this is weather-dependent, and you’re doing real physical work—hiking in, then descending, then hiking out—so if you’re nervous about heights, go in calm and listen hard during safety coaching.
In This Review
- Key highlights at a glance
- Banyuwana Canyoning From Ubud: What You’re Really Booking
- Pickup, Wanagiri Base, and the Morning That Gets You Ready
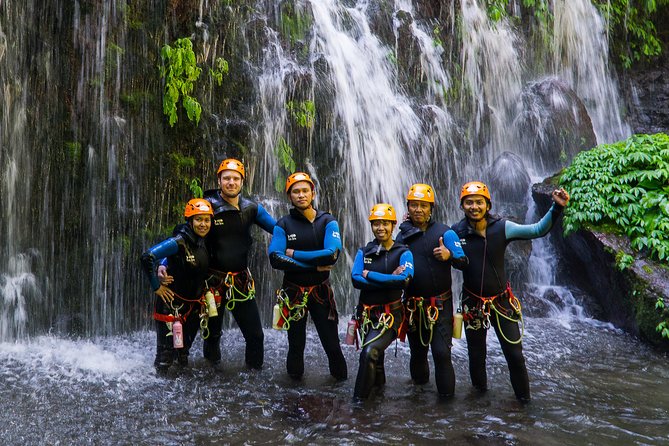
- Gear Up with Wetsuit, Harness, Helmet, and Canyoning Boots
- Training at the Start Point: Lanyard Skills and Canyon Hand Signals
- The Descent Experience: Approach Hike, Rappels, Slides, and Jumps
- Lunch After Your Descent: Local Food and GoPro Footage
- Price and Value for $158.98: What You’re Actually Paying For
- Best Fit: Who This Beginner Trip Works for (and Who Might Reconsider)
- Practical Tips for Your Banyuwana Day
- Should You Book Banyuwana Beginner Canyoning in Bali?
Key highlights at a glance
- Small group size (max 10 travelers) keeps the instruction personal and the pace manageable
- Warm greetings + light breakfast at the Wanagiri base helps you start strong
- Lanyard training, abseil practice, and hand signals before you drop in
- All gear provided: wetsuit, harness, helmet, and canyoning boots
- GoPro photos and videos included, shared during lunch
- Local lunch included after your descent, so you recover without hunting for food
Banyuwana Canyoning From Ubud: What You’re Really Booking
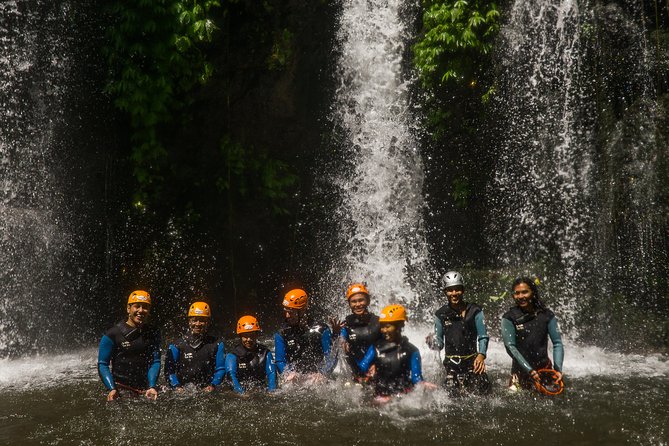
This is a one-day beginner canyoning trip in Bali focused on the Banyuwana canyon, with a track described as greener than the other option. For you, that usually means a more “alive” feel under the trees and along the water—less of the dry, dusty look you sometimes get on island adventures.
The real value here is that it’s not just a ticket to get wet. You’re paying for a full canyoning day that includes transportation, gear, instruction, and meals. That matters because canyoning isn’t like a quick waterfall visit. It has multiple steps: approach hike, safety training, controlled descents, then recovery time.
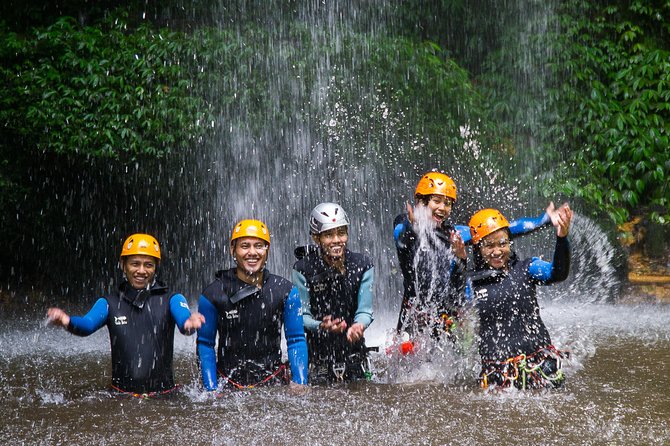
Another detail I appreciate: the day includes a mix of canyon techniques beyond just one move. One guest specifically mentioned rappelling, ziplining, waterfall sliding, jumping, and hiking. Your exact combination can vary with conditions, but the overall promise is an active adventure, not a slow stroll.
You can also read our reviews of more tours and experiences in Ubud.

Pickup, Wanagiri Base, and the Morning That Gets You Ready
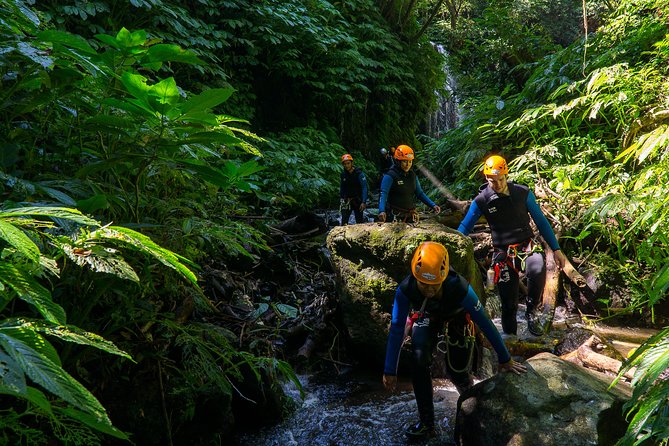
Your day starts with pickup. They state they’ll collect you from your accommodation anywhere in Bali, then drive you to a local house in Wanagiri as the base.
Why that’s useful: you don’t need to figure out transport on your own, and you can spend your energy on the canyon part, not the logistics part. An air-conditioned vehicle is included, which is a small but real comfort in Bali’s heat.
At the Wanagiri base, you get warm greetings plus a light breakfast with tea or coffee. This is a smart setup for first-timers. Canyoning involves physical effort and timing. If you show up hungry, you’ll feel it during the hike and you’ll want to rush the training. Starting with something small helps you stay steady.
Group size is limited to up to 10 travelers, which usually means you spend less time waiting around. That matters when you’re learning new safety skills.
Gear Up with Wetsuit, Harness, Helmet, and Canyoning Boots
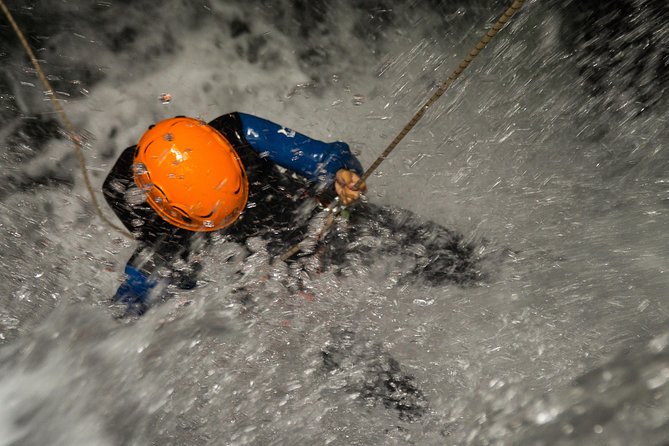
Once you arrive, you suit up with canyoning equipment. Included gear is listed clearly:
- Wetsuit
- Harness
- Helmets
- Canyoning boots
They also mention “latest technology gear.” You don’t have to care about the engineering details. What you should care about is that the gear is designed for canyon movement: secure fit, traction for wet rock, and protection for head and harness points.
A wetsuit also helps for two reasons. First, it makes the water crossings and descents more comfortable. Second, it protects your skin from scrapes. On a beginner route, you still want protection, because the “easy” version of canyoning can still toss you into cold water at least a few times.
If you’re the kind of person who hates “fiddly gear,” you’ll probably be happier than you expect. You don’t need to bring your own kit, and the staff handle the fitting as part of the experience.
Training at the Start Point: Lanyard Skills and Canyon Hand Signals
This is where Banyuwana canyoning earns its beginner label. Before you descend, your instructor gives a briefing about what you’ll do, then you practice how to use your safety system.
What you learn:
- how to use your lanyard (safety ropes)
- basic abseil technique
- hand signals for communicating in the canyon
That last part sounds small, but it’s huge. In a canyon, you can’t always shout. Hand signals help you move with confidence because you know what the team expects—when to pause, when to continue, and when to listen.
I also like that there’s short training right at the start point. You’re learning while you’re still fresh, and you’re not trying to remember instructions later when your adrenaline spikes.
In the feedback you shared, guides such as Abi and Barbara are praised for making the day safe and exciting. That’s exactly the role you want in canyoning: calm, clear coaching, plus the kind of encouragement that keeps first-timers from freezing.
The Descent Experience: Approach Hike, Rappels, Slides, and Jumps
After training, you enjoy the approach hike to the start point with magnificent views. That hike does more than stretch your legs. It builds the day’s rhythm. You’re moving from “vacation mode” into “adventure mode,” and by the time you reach the start point, you’re ready for the technique work.
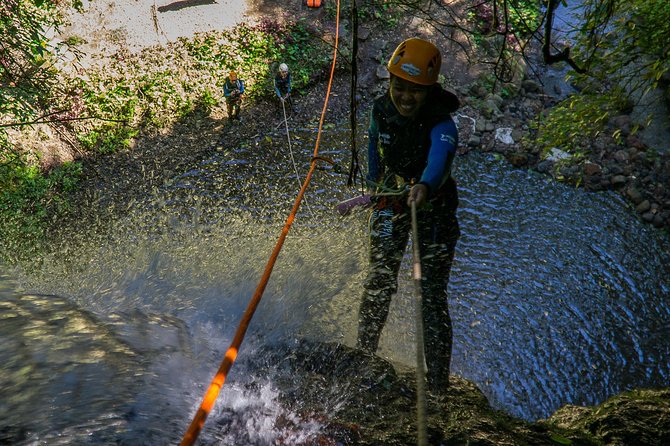
Then comes the descent. The provided description emphasizes enjoying the descent, and one guest specifically highlighted multiple challenge types: rappelling, ziplining, waterfall sliding, jumping, and hiking. For first-timers, the key is that these activities are introduced with instruction rather than sprung on you without context.
Here’s what I’d tell you to expect mentally:
- You’ll feel cautious at the beginning, even if you’re excited.
- Your confidence grows as you execute each step of the safety training.
- You’ll likely have moments where you think, I can’t believe I’m doing this.
Also, remember this is a canyon, not a theme park. Water can be changeable. The team’s job is to keep you safe and adjust the plan when needed.
If you’re someone who’s afraid of heights, that doesn’t automatically rule you out. But you do need to respect the process: listen during lanyard coaching, keep your focus during abseils, and don’t rush decisions. One guest mentioned conquering a height fear and still having a great time. The takeaway is not that it’s easy—it’s that support and structure make it manageable.




Lunch After Your Descent: Local Food and GoPro Footage
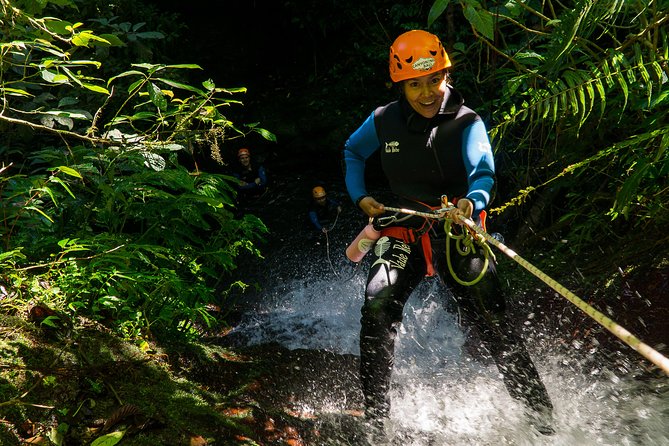
After you finish your descent, you return via hiking. Then lunch is waiting: a big lunch (local food).
That meal timing is practical. Canyon days drain you. If lunch came later, you’d feel it by the time you got back to the car. Here, you get food while your energy is still recoverable.
Another standout included bonus: footage by GoPro. They state you receive photos and videos during your lunch time. That’s a nice touch because it prevents the annoying end-of-tour scramble where you have to remember to ask for media. You get it right when you’re sitting down, recovering, and actually able to enjoy it.
One detail not included: USB storage is not part of the package. If you’re the type who likes physical backups, you’ll want to plan how you’ll save files on your own device or request whatever file format you prefer.
Price and Value for $158.98: What You’re Actually Paying For
At $158.98 per person, this doesn’t look like a “cheap activity,” and I don’t think you should try to treat it like one. Instead, judge it like you would a guided adventure: you’re paying for the stuff that makes canyoning workable and safe.
Included items that increase value:
- Air-conditioned vehicle pickup and transport
- Light breakfast plus snacks and coffee/tea
- Lunch (big, local food)
- Canyoning equipment (wetsuit, harness, helmet, boots)
- Insurance
- GoPro photos and videos
When you add it up, you’re not just buying access to a canyon. You’re buying a full-day service: guidance, equipment, safety systems, meals, and media capture.
If you were to do canyoning independently, you’d still need to solve transport, gear, instruction, and risk coverage. That’s where the price starts to make sense.
What’s not included (and worth knowing):
- USB storage
That’s a small gap, and it’s really about how you want to receive and store the files.
Best Fit: Who This Beginner Trip Works for (and Who Might Reconsider)
This trip is designed for beginners. The overview frames Banyuwana as a good option for families and friends who want to discover canyoning. One guest did it with a son as a first-time canyoning experience, and another mentioned it as a fun nature day and an approachable challenge even without prior jungle-water experience.
So who is it for?
- You want a guided canyoning day without planning gear or routes.
- You’re okay doing an active hike plus a controlled descent.
- You want a beginner lesson in safety skills, not just a random thrill.
Who should think twice?
- You’re extremely uncomfortable with heights, even with training. You might still be able to go, but you’ll need to be realistic about how you’ll react during abseils.
- You can’t handle active outdoors time (hiking in and out, moving on wet surfaces). The trip is built around movement.
Also, if you want a private adventure, this one probably isn’t your match. The group cap is 10 travelers, which helps, but it’s still a shared experience.
Practical Tips for Your Banyuwana Day
A canyon day has a few repeat lessons. Here’s what helps you enjoy it more:
- Wear clothes that dry fast. You’ll likely go from dry to wet and back again more than once.
- Be ready for the suit-up process. It’s part of the learning curve, not wasted time.
- When you practice lanyard and abseiling, focus on technique, not speed. You’ll go faster naturally once you feel secure.
- Ask questions early. If you don’t understand a hand signal or a step, get clarity before you enter the descent.
- Plan to relax after lunch. You’re not sightseeing after this; you’re recovering.
If you’re the kind of person who loves photos, make sure your phone storage is ready before the day starts. You’ll get GoPro footage during lunch, but you’ll want a way to save and share it after you’re back.
Should You Book Banyuwana Beginner Canyoning in Bali?
I’d book this if you want a real canyoning experience with training, gear, and meals handled for you, plus a small group size and clear safety coaching. The Banyuwana track is positioned as a greener, beginner-friendly option, and the guides (including praised names like Abi and Barbara) are associated with a mix of safety and fun.
I wouldn’t book it if you’re unwilling to hike, you can’t handle getting wet, or you have intense fear of heights without the patience to learn slowly. In canyoning, your body reacts before your brain catches up.
If you’re on the fence, the best deciding factor is this: do you want to learn canyon safety skills and do a guided descent, or do you just want a quick nature photo stop? Banyuwana is built for the first choice.