Silver isn’t just jewelry in Ubud. This Balinese silver workshop turns a couple of hours into a hands-on lesson in how local artisans shape, polish, and finish silver using traditional techniques. I especially like the strong “learn it, then do most of it” approach, from melting to polishing, and the friendly English-speaking team (including Wayan, plus Zak, Zaheer, and AK). One thing to plan for: you’re working with a fixed silver amount (it’s listed as 5 grams, while the highlights mention 7 grams), and extra silver costs 60,000 per gram.
After you arrive, you’ll meet your artisan guide, get a welcome drink, and start by choosing a style that fits your taste. The workshop runs about 2 hours, so it’s a solid break from temples and rice fields, and it’s close enough to Ubud town that you won’t feel stranded. Just wear comfortable clothes and closed-toe shoes, because making jewelry involves real work, not just watching.
In This Review
- Key things to know before you go
- Ubud Silver Class: what this experience actually is
- Finding the workshop and settling in (without stress)
- The welcome moment: meet the artisan team and get your drink
- Picking your style: Balinese motifs, symbols, and real customization
- Making day: from melting silver to shaping your ring
- Shaping and finishing: polishing is where it clicks
- How much silver you get, and what it means for your design
- Price and value: $37 is about the silver + instruction
- Who this workshop suits best (and who might want a different plan)
- Practical tips so you get the best results
- Should you book the Ubud Silver Class workshop?
- FAQ
- How long is the Ubud Silver Class workshop?
- How much does it cost?
- Is hotel pickup and drop-off included?
- What silver amount is included?
- Is there an extra cost if I want more silver?
- What language is the instructor?
- What should I bring, and what should I wear?
- Who is the workshop not suitable for?
Key things to know before you go
- Hands-on from start to finish: you’ll go through the full ring-making stages, with help when needed
- Design choice is real: pick styles and techniques like filigree, granulation, or wire weaving
- Cultural meaning is part of the lesson: you’ll learn what motifs and symbols can represent
- English instruction: the class is led by an instructor who can teach in English
- You leave with your own silver piece: typically a ring, plus the satisfaction of making it
- Budget for extra metal: additional silver is priced separately at 60,000 per gram
Ubud Silver Class: what this experience actually is
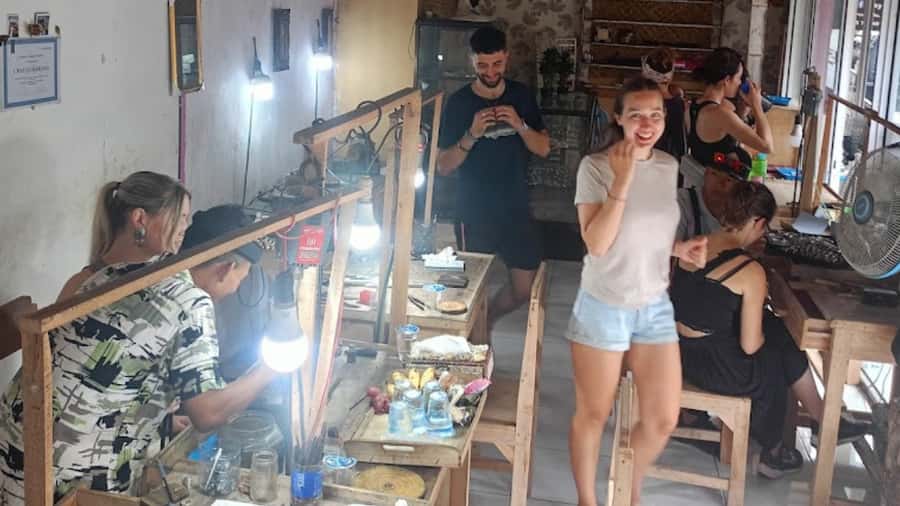
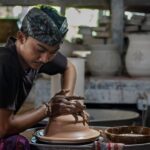
This is a two-hour silver workshop in Ubud that’s designed less like a lecture and more like a guided work session. You’re not just learning facts about Balinese jewelry—you’re making something you can wear or gift, with artisans staying close as you move through the steps.
The core idea is simple: you’re given a set amount of silver, and you craft a personalized design using traditional methods. That’s why it feels like a craft class and a cultural encounter at the same time. You’ll also get a welcome drink right at the start, so you settle in instead of feeling rushed.
Price-wise, $37 per person is the kind of “pay for a skill + leave with a tangible souvenir” deal that tends to work well in Bali. The catch is the fixed silver allotment—if you want to build a thicker piece or add extra details that require more metal, you’ll need to pay for additional silver at 60,000 per gram.
You can also read our reviews of more tours and experiences in Ubud.


Finding the workshop and settling in (without stress)
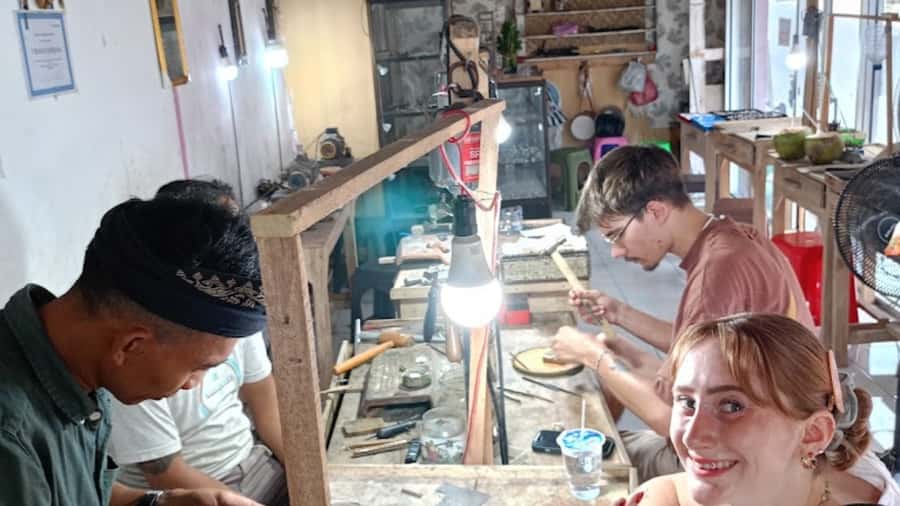
You’ll meet at the workshop location and go inside, then say your booking name. That’s straightforward, but do yourself a favor and arrive about 15 minutes early so you have time to get oriented, get your shoes on properly, and not feel rushed before you start working.
Dress matters here. Wear comfortable clothes that you don’t mind getting a little dusty or slightly warm. Closed-toe shoes are a must, since metalwork involves heat tools and a workspace where you’ll be moving around carefully.
One practical thing I like about this setup is that the class is taught in English. If your Balinese is limited (like mine would be), you won’t have to guess what’s happening at each step.
The welcome moment: meet the artisan team and get your drink
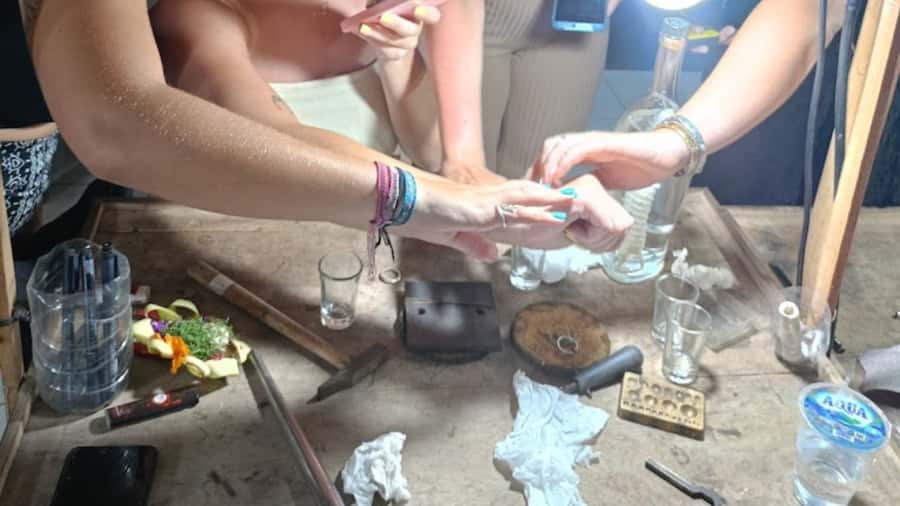
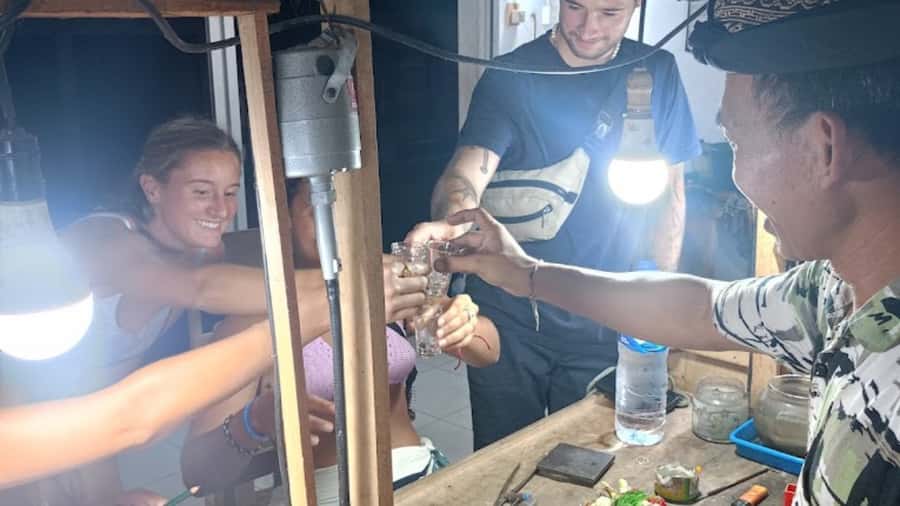
The first part is about getting you comfortable and getting you into the mindset of making. You’ll get a welcome drink as you meet the artisan guide and team. Multiple people described the hosts as friendly, warm, and genuinely engaged—like they’re happy to teach and also happy to see you create something you’ll be proud of.
This isn’t a hands-off experience. You’ll get guidance at key steps, but you’ll still do most of the work. That balance is what makes it memorable: you’re not stuck waiting for someone else to finish your jewelry.
Picking your style: Balinese motifs, symbols, and real customization
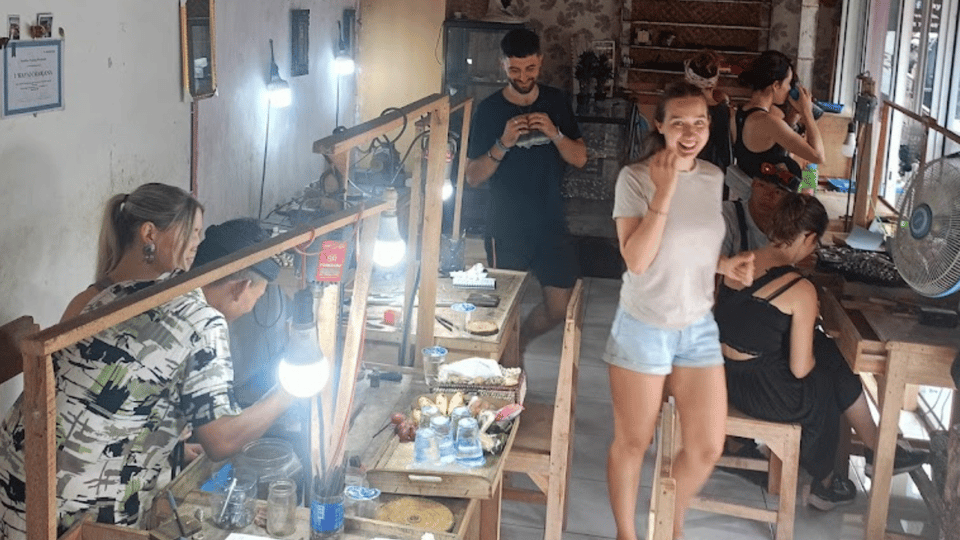
Before your hands touch the tools, you’ll choose a design path. This is where Balinese silver jewelry becomes more than a craft souvenir. You’ll learn about the history and techniques of Balinese silverwork, including the symbolic meanings behind designs and motifs.
Then comes the fun part: you customize. You can choose from different ring styles, and you can personalize details based on your taste. The experience mentions techniques such as filigree, granulation, and wire weaving. Even if you’re a beginner, the artisans can help you apply these ideas in a way that matches your design.
One of the best outcomes from this style-first approach is that your ring doesn’t feel generic. You’re making something tied to your choices—shape, detailing, and finishing—while staying within what the craft methods can realistically produce in the workshop time frame.
Making day: from melting silver to shaping your ring
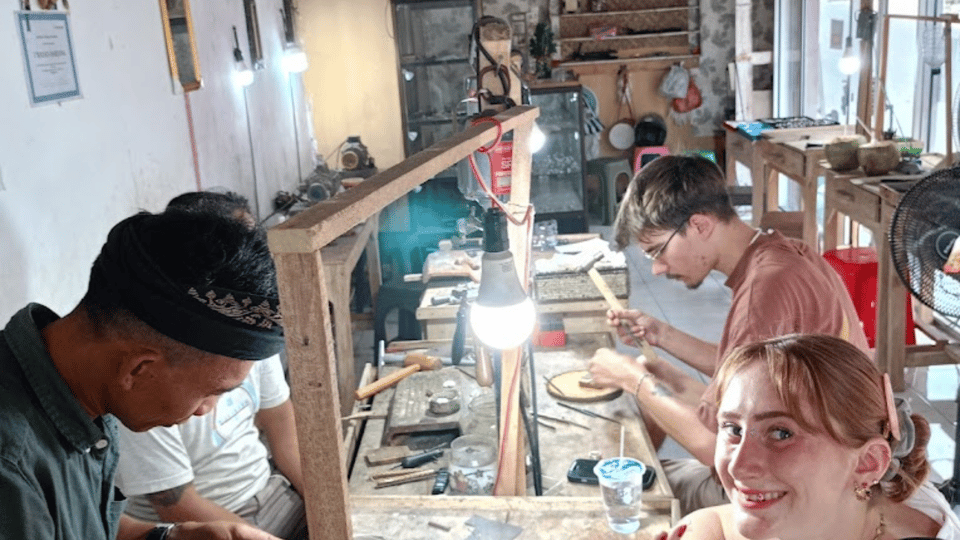
Over the two hours, you’ll move through a full set of stages. Expect to see the process from the ground up: melting the silver, forming the base, and then shaping and refining your piece.
This part is more physical than many people expect. One person noted it can be a workout for your legs while you’re at workstations and leaning in to handle the metal carefully. So treat it like a light craft activity, not a sit-and-snack class.
The good news: you’re not doing it alone. The guides stay involved through the ring-making steps. People described the instruction as both supportive and hands-on—helping when you need direction, but letting you do the work so you feel ownership of the final piece.
A key detail here is precision. Balinese silver jewelry is known for meticulous finishing, and that shows up in how you shape and polish. This workshop format gives you enough time to focus on those steps rather than rushing straight to the end.






Shaping and finishing: polishing is where it clicks
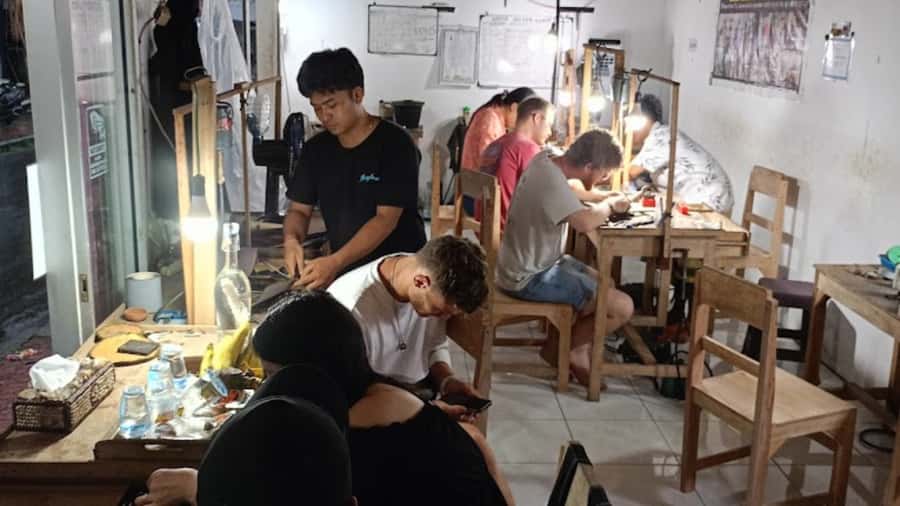
Polishing and finishing are often the step people remember most. It’s the moment when your creation goes from “work-in-progress” to something that looks like real jewelry.
You’ll learn how to refine the surface and finish your piece properly, and the artisans help with the details that make the difference between a rough copy and a clean, wearable ring. If you’re the kind of person who likes things to look right, this section will feel satisfying.
Even better, finishing is where the craft meets culture. The workshop approach ties technical steps—shaping, polishing, and detail work—to the care artisans put into their handmade items. So you’re not just learning how to make metal behave—you’re learning why the finishing matters.
How much silver you get, and what it means for your design
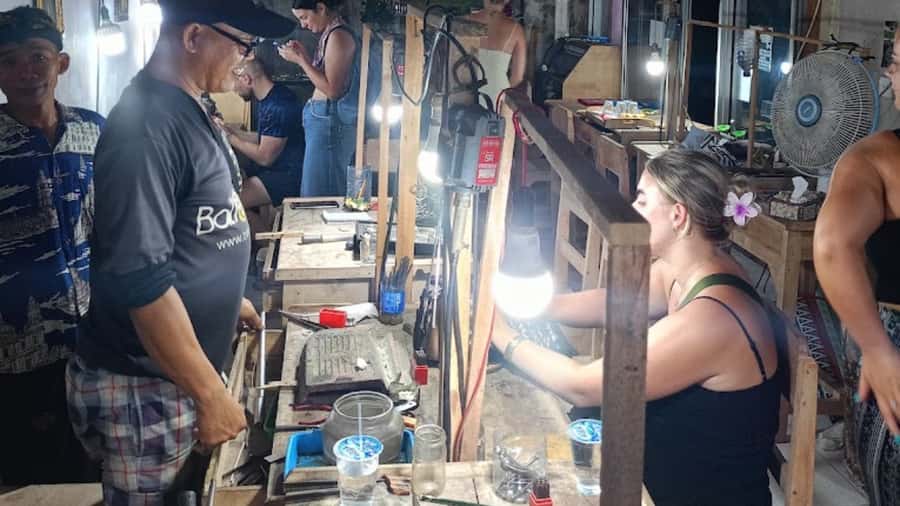
Included in the workshop is 5 grams of silver plus all necessary equipment. You also get guidance by a skilled artisan and a welcome drink.
This matters because your design should match the metal you’re given. The highlights describe creating a unique piece using 7 grams of silver, but the included details specify 5 grams. Since the workshop is built around a set allotment, assume your final piece is limited by that amount. Your best strategy: plan to customize within the design options offered, not based on an idea that you can keep adding metal freely.
If you fall in love with the process (easy to do), you can buy more silver—additional silver is listed at 60,000 per gram. That price makes it smart to decide early: do you want one polished ring, or are you aiming for extra size and more complex metalwork? Most people seem to leave with a ring, which makes the silver allotment feel perfectly aligned with the workshop length.
Price and value: $37 is about the silver + instruction
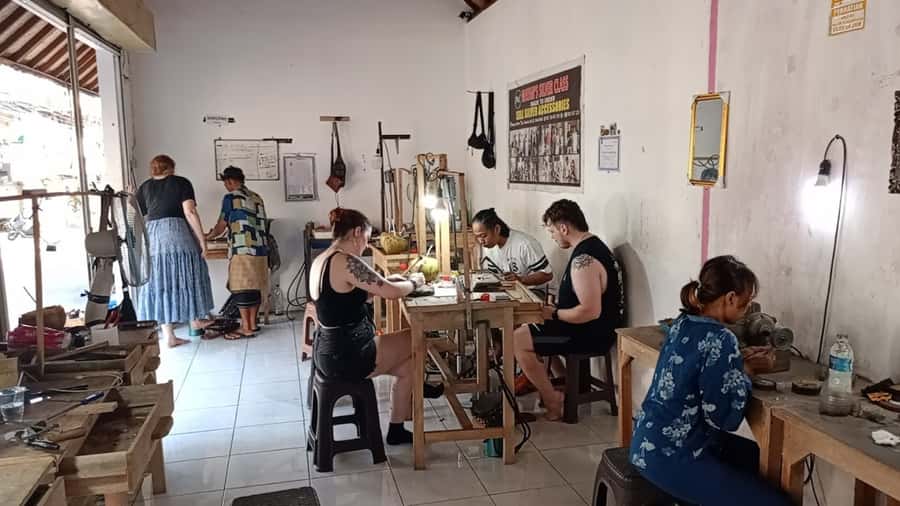
At $37 per person for a two-hour class, you’re paying for three things: hands-on instruction, equipment, and silver. The key value driver is that you’re not paying extra for the metal you work with—5 grams is included.
If you compare this to buying Bali jewelry, you’re essentially paying for the “maker experience” and the souvenir at the same time. The experience also has real cultural instruction: history, techniques, and symbolic meanings. That’s harder to get from a shop purchase.
Where value can drop is if you want to add beyond the included silver. Since additional silver is priced separately at 60,000 per gram, your final spend depends on your ambition. If you keep your design within the workshop’s natural limits, the $37 feels like strong value.
Who this workshop suits best (and who might want a different plan)
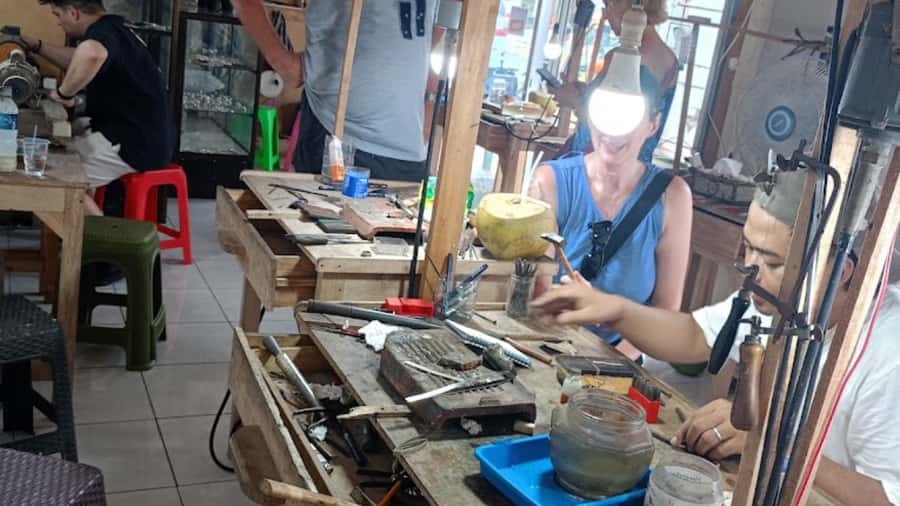
This class fits best if you want:
- A hands-on craft that ends with a wearable piece
- A cultural lesson that connects technique to meaning
- Close, English-capable guidance rather than self-guided museum-style learning
It may not be suitable for:
- Children under 8 years
- Pregnant women
- People with mobility impairments
If you’re sensitive to heat or you don’t like standing and working with your hands for extended periods, think about how comfortable you’ll be during the melting and shaping stages. One review mentioned the melting stage can feel like a workout for the legs—so bring patience and comfy clothes.
Practical tips so you get the best results
A few small choices can make a big difference:
- Wear closed-toe shoes and clothes that can handle a bit of workshop mess
- Bring a camera if you want to remember the process, not just the final ring
- Plan to arrive about 15 minutes early so you can start smoothly
- Treat the welcome drink as part of your “settle in” moment, not a pause from doing
- If you’re designing something intricate, keep it realistic for the included silver allotment
Also, smoking isn’t allowed during the workshop. If you smoke, step away before you enter so you’re not dealing with extra friction.
Should you book the Ubud Silver Class workshop?
Yes, if you want a high-value souvenir that actually comes from your own hands. The strongest reason to book is the workshop style: you get cultural context, clear guidance, and enough time to go through the key stages from melting to polishing.
I’d especially recommend it if you’re traveling as a couple or small group. The experience is easy to enjoy together because you can choose designs separately and compare your finished rings at the end. And if you’re the type who likes details—motifs, finishing, and technique—the lesson adds more depth than a typical tourist stop.
Only skip it if you already know you want to spend on extra silver beyond the included amount, or if the physical setup (standing and working) won’t work for you. Otherwise, $37 for a guided, hands-on silver piece in Ubud is a pretty clean deal.
FAQ
How long is the Ubud Silver Class workshop?
The class lasts 2 hours.
How much does it cost?
It costs $37 per person.
Is hotel pickup and drop-off included?
No. Hotel pickup and drop-off are not included.
What silver amount is included?
The workshop includes 5 grams of silver.
Is there an extra cost if I want more silver?
Yes. Additional silver is listed at 60.000 per gram.
What language is the instructor?
The instructor is English.
What should I bring, and what should I wear?
Bring a camera. Wear comfortable clothes suitable for crafting and closed-toe shoes.
Who is the workshop not suitable for?
It’s not suitable for children under 8 years, pregnant women, and people with mobility impairments. Smoking is also not allowed.