A silver workshop beats another day of shopping. You spend two hours making a real piece of jewelry from pure silver, with hands-on tool time and an instructor guiding every step. It’s in a calm Ubud setting with garden views, plus you’re not stuck indoors the whole time thanks to pool and lounge access.
What I like most is the chance to create something personal—you take home the exact piece you make—and the practical, step-by-step instruction from a professional local silversmith. You’ll also get a comfortable AC workspace, not the sweaty-campfire version of crafting.
One thing to plan for: getting there can be tricky if you’re relying on normal cars. The entrance is narrow, so you’ll likely need a scooter or a hotel buggy (and double-check your map pin, since directions can send you to the wrong spot).
In This Review
- Key Takeaways Before You Go
- A Calm Workshop Base Near Ubud Center (With Pool Perks)
- What You’ll Make: One Jewelry Piece from 1–6 Grams of Silver
- Inside the AC Studio: Comfort While You Work the Metal
- The Hands-On Tools You’ll Actually Use
- The Class Flow: From Concept to Final Polishing
- Instructor and Language: You Can Ask Questions
- Price and Value: Why $46 Can Make Sense
- Location Logistics: Getting There Without Stress
- Who This Class Is Perfect For (And Who Should Skip It)
- What to Bring (So You Don’t Feel Underprepared)
- Should You Book This Ubud Silver Jewelry Class?
- FAQ
- How long is the silver jewelry class in Ubud?
- What is included in the price?
- Do I get to take the jewelry home?
- What materials do I use?
- What languages is the instructor available in?
- What should I bring?
- Is hotel transfer included?
Key Takeaways Before You Go
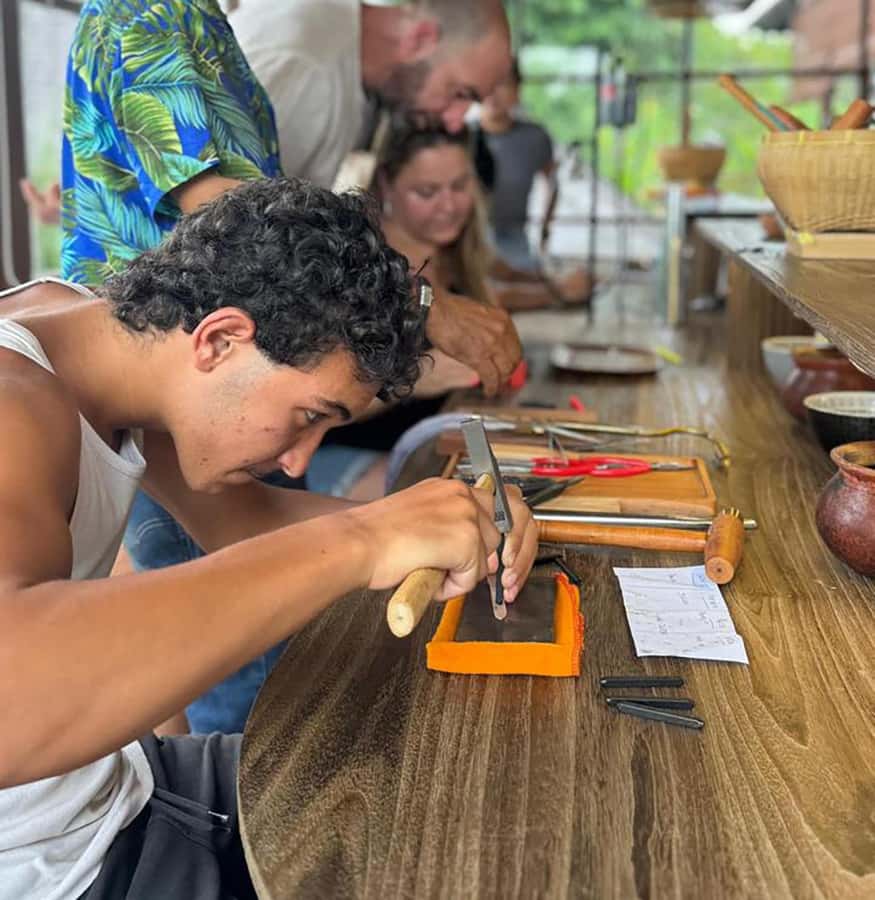
- Take-home silver jewelry: You’ll leave with your own finished piece, not just a souvenir photo.
- Tools-in-your-hands class: Grinding wheels, jewelry saws, files, and more are part of the process.
- Real material included: You’re provided 1–6 grams of pure silver for one jewelry design.
- AC studio + garden views: You work comfortably while the setting stays peaceful.
- Pool and lounge access: Cool off before or after, with indoor and outdoor hangout space.
- Location needs a plan: Expect narrow access—use a scooter or buggy, and verify the workshop location.
A Calm Workshop Base Near Ubud Center (With Pool Perks)
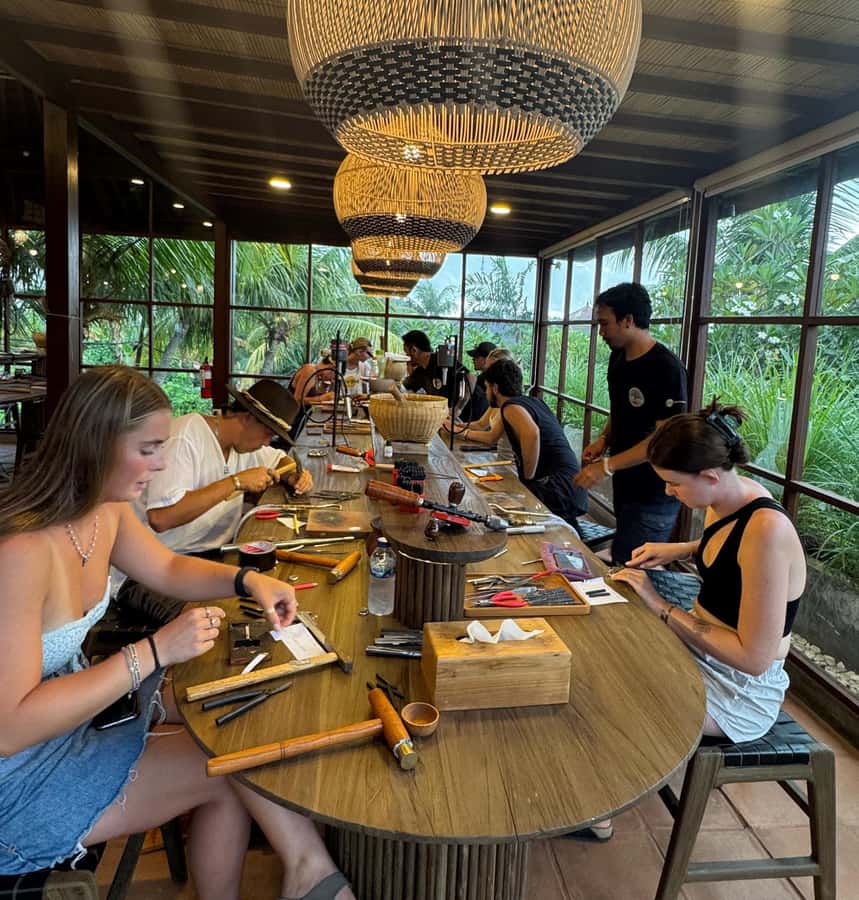
This class sits around the Ubud area in a resort setting at Alam Wayang Resort, between Sayan and close to Monkey Forest. The big win here is the contrast: Ubud can feel busy, but this workshop gives you a quieter pocket where you can actually focus.
You’re only about 10 minutes by car from Ubud’s center, which matters because it keeps your day from turning into a long commute. Yet once you’re inside the grounds, you’re working in a cozy AC studio with garden views, plus there’s lounge space and a swimming pool nearby.
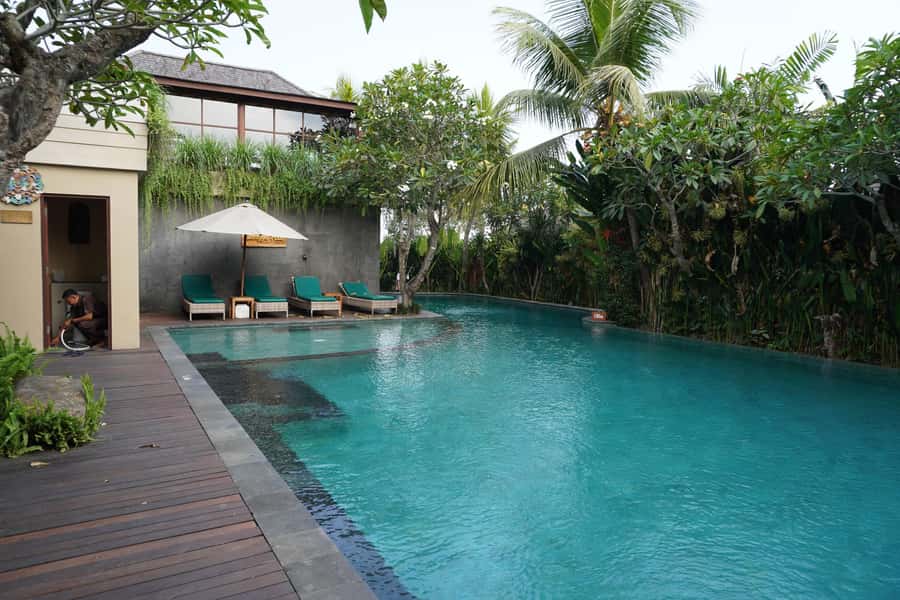
And that pool access is more than a nice bonus. In real terms, it gives you a reset option during your craft day. If the weather is warm (it usually is in Bali), you can cool down after you finish shaping your silver, then return to the process or simply relax while you wait.
You can also read our reviews of more tours and experiences in Ubud.



What You’ll Make: One Jewelry Piece from 1–6 Grams of Silver
The core promise is simple: you make a piece of silver jewelry and take it home. You’ll use 1–6 grams of pure silver for one jewelry design, and your workshop guides you from early concept through final polishing.
That silver amount is important for your expectations. If you’re imagining something bulky or super detailed, remember the class is built around a specific work-and-finish timeframe. Two hours is enough to learn the flow and finish something real, but it’s not a “start a full jewelry brand” situation.
Because the workshop is hands-on, you’ll likely feel your confidence grow quickly. You’ll begin with an idea and then follow the silversmith’s steps to turn that idea into a metal piece you can actually wear.
Optional gold plating is available for an additional charge. If you want the look of gold over silver, this is the time to decide—without changing the whole class format.
Inside the AC Studio: Comfort While You Work the Metal
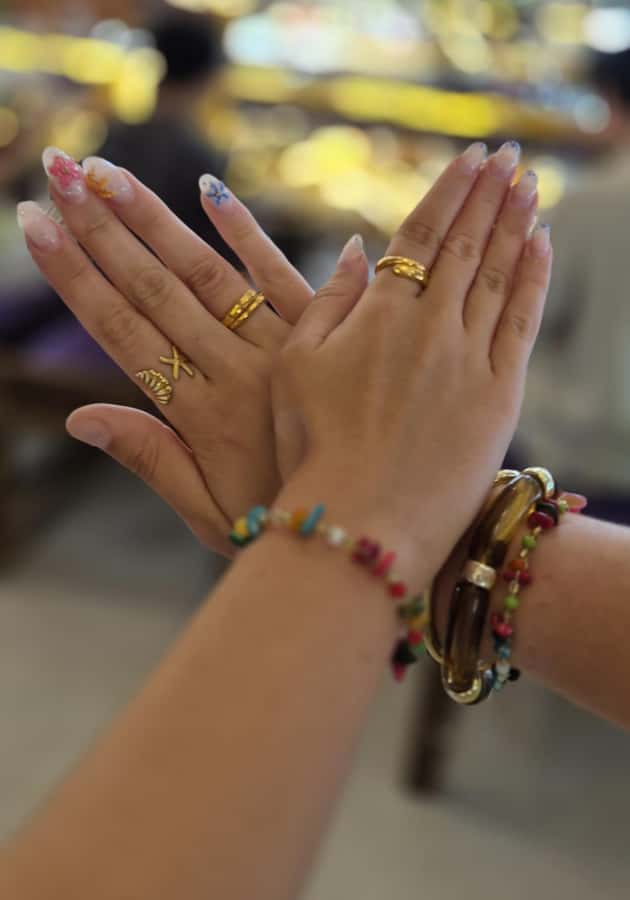
Your workspace is air-conditioned, which is honestly the difference between enjoying crafting and feeling drained. You’ll be at an organized studio environment where the tools are ready, and you can concentrate on the tiny movements metalworking needs.
Outside of that, you’re not trapped in the room. The resort facilities include access to:
- a swimming pool
- lounge areas
- waiting space inside and outside
For your schedule, that means you can treat the experience as two hours of focused work plus time to decompress. It’s also helpful if you’re going with friends and want a little social time before or after, without turning it into a full-day tour.
The Hands-On Tools You’ll Actually Use
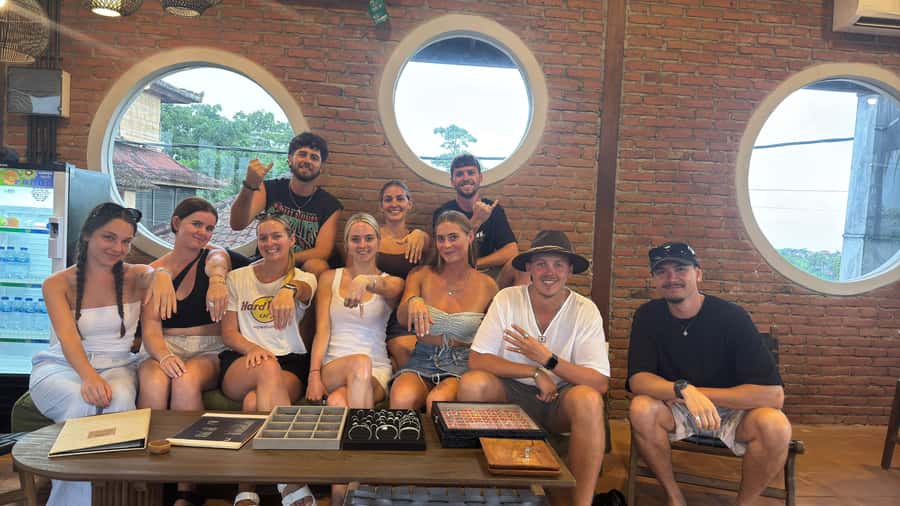
A lot of “craft classes” are mostly watching and light assembly. This one is different because you’ll use common jewelry-making tools during the process, including grinding wheels and jewelry saws, plus files and other tools needed to shape and refine the piece.
Here’s why that matters: jewelry making is less about one dramatic step and more about repeated precision. Grinding and filing help you correct small errors and dial in the shape. Saw work helps you cut the structure you designed in the first place. And polishing is what turns a shaped piece into something wearable and presentable.
Even if you’ve never held these tools before, the instruction is there to keep you moving step-by-step. You’re not left to guess how aggressive to be with the grinder or how to avoid over-thinning the metal. The instructor’s job is to guide you through what to do next and why that step affects the final look.
The Class Flow: From Concept to Final Polishing
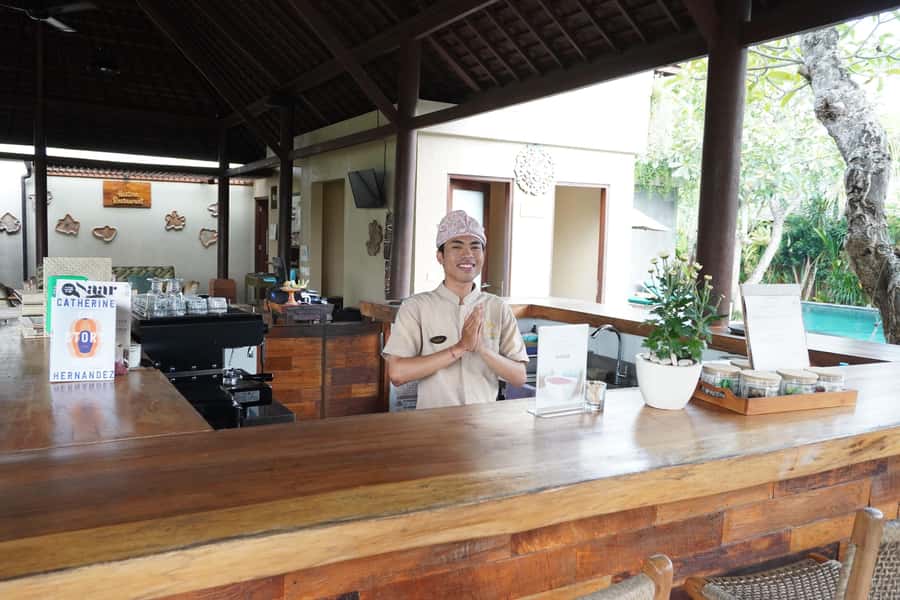
You’ll spend the 2 hours learning the full process, from the first concept to the finishing touches. While the exact design path depends on what you choose, the structure is built around these phases:
1) Starting the design
You’ll begin with an idea and follow the silversmith’s direction on how that idea turns into an actual piece. This is where you learn how to think like a jeweler: not just what looks good, but what’s practical to make within the time and silver weight you have.
2) Measuring and shaping
Next comes the hands-on work—cutting and shaping using jewelry saws and refined shaping using files. This is where you start to feel the difference between rough metal and a clean, controlled profile.
3) Grinding and refining
Grinding wheels come into play for smoothing and bringing edges into better alignment. This step is key for comfort and wearability. If the shape feels too sharp, polishing won’t save it—you need the metal to be right first.
4) Finishing and polishing
By the end, the focus is on getting your piece ready to take home. Final polishing is what makes your jewelry look finished, not like a project that got paused mid-way.
The vibe throughout is workshop-real, not “performance crafting.” You’ll be busy, but you’ll understand what you’re doing as you do it.






Instructor and Language: You Can Ask Questions
This class is led by a professional local silversmith instructor. The instruction is available in English and Indonesian, which is a practical detail when you want clarity about safety, tool use, and the process steps.
If you’re the type who likes to understand the why behind the what, you’ll probably appreciate the way the instructor walks you through the necessary steps, not just the final result. And if you’re more of a quiet, focus-only maker, you can still get what you need without turning it into a classroom lecture.
Price and Value: Why $46 Can Make Sense
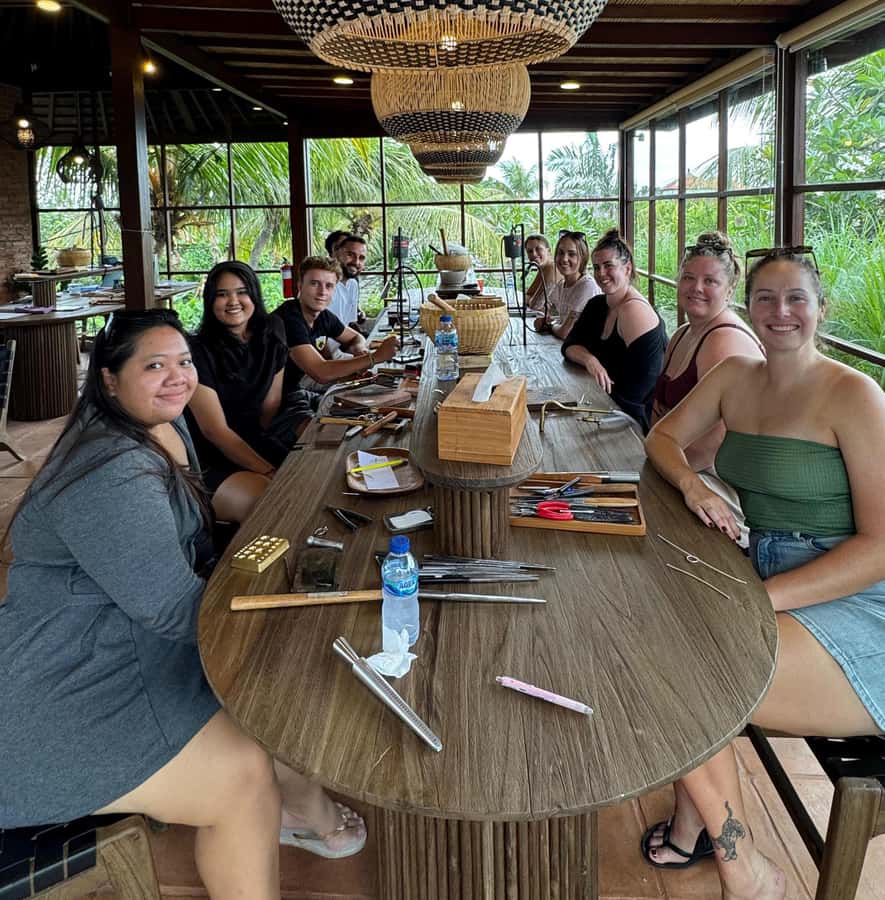
At $46 per person, the headline is cheap compared to many “souvenir workshops” that mostly sell experiences without giving you the materials. Here, the price includes tools and equipment, a professional instructor, AC studio time, WiFi, bottled water, and pool access—plus you get 1–6 grams of pure silver for your one design.
The value equation comes down to this: you’re paying for (1) skilled guidance and (2) usable materials you keep. That’s different from a class where you craft something out of pre-made parts or buy the metal separately later.
There’s also a practical value in the finished result. If you like jewelry but hate overpriced tourist markups, taking home a piece you made yourself can feel like a real swap: your vacation money becomes wearable memory.
Location Logistics: Getting There Without Stress
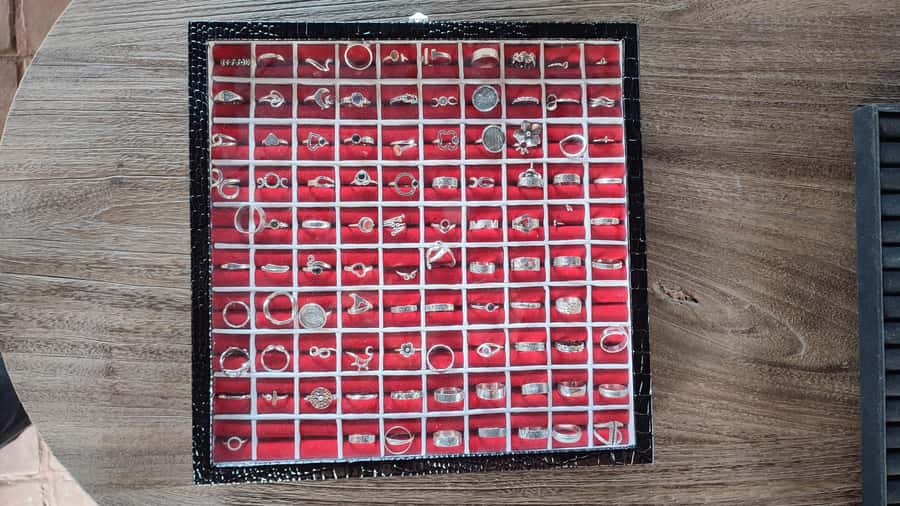
This is where I’d be a little more picky than the rest of the experience.
The workshop is at the resort setting near Sayan and Monkey Forest, and it’s about 10 minutes by car from Ubud center. But the catch is access: one recent booking pointed out that you’ll likely need a scooter or hotel buggy, because cars/taxis can’t drive up to the narrow entrance.
Also, be careful with directions. Some navigation can point you to the wrong place. A helpful tip from a verified booking: disregard directions that send you to the wrong resort location, and verify the correct workshop name when you set your pin (it was specifically called out as Alam Ubud Jewellery Workshop).
My advice: before you leave, open your map and confirm the workshop label and the immediate access route. Plan on being dropped at the right entry point, not right at the door if a vehicle can’t reach it.
Who This Class Is Perfect For (And Who Should Skip It)
This workshop is a great fit if you want:
- a hands-on, take-home souvenir
- a short class that still covers real steps (not just stamping and photos)
- a break from heat and heavy sightseeing, thanks to AC
- an experience that feels calm, not frantic
You should consider skipping it if:
- you want a large, complex jewelry outcome (the included silver is limited to 1–6 grams for one design)
- you really don’t want to handle scooter/buggy logistics for a narrow-access venue
- you’re expecting a guided tour through markets or temples (this is about making jewelry, not touring sights)
What to Bring (So You Don’t Feel Underprepared)
The class is straightforward, and the main clothing requirement is comfort. Bring comfortable clothes so you can sit, move around the work area, and focus.
If you want to be extra prepared, wear something you don’t mind getting slightly dusty from metalworking activities, even though the studio environment is controlled. Comfortable shoes also help, since you may move between indoor workspace and resort spaces like lounge or pool areas.
Should You Book This Ubud Silver Jewelry Class?
I’d book it if you want a short, high-satisfaction craft day where you leave with something you made, not just a story. The combination of professional instruction, hands-on tools, included pure silver weight, and a comfortable AC studio makes the price feel fair. Add pool and lounge access, and you’re getting more than a one-room workshop.
The only reason to hesitate is logistics. If you don’t want to rely on scooter/buggy access or you get stressed by confusing map pins, do a quick location check first so you don’t waste your energy on getting there.
If you’re aiming for a memorable, practical souvenir that actually reflects your effort, this is one of the better ways to spend two hours in Ubud.
FAQ
How long is the silver jewelry class in Ubud?
The class lasts 2 hours.
What is included in the price?
It includes swimming pool access, 1–6 grams of pure silver for one jewelry design, tools and equipment, a professional local silversmith instructor, an air-conditioned studio environment, free WiFi, and bottled water. Optional gold plating is available for an additional charge.
Do I get to take the jewelry home?
Yes. You create a piece of silver jewelry during the class and take your creation home as a souvenir.
What materials do I use?
You use 1–6 grams of pure silver for one jewelry design as part of the workshop.
What languages is the instructor available in?
Instruction is available in English and Indonesian.
What should I bring?
Bring comfortable clothes.
Is hotel transfer included?
No. Hotel transfer is not included.