Rinjani rewards early mornings and steady legs. This 3-day, 2-night trek to the summit and crater lake is built around big volcano moments—night climbs, lake steam, and the feeling of being far from normal life. I like that you get real trail support with English-speaking staff and an experience-style pacing, not a rush job. I also like the practical inclusions, like camping gear, food, and the people who handle the load. One thing to watch: it is a tough trek with a 2:30am summit start, so strong fitness matters and the schedule won’t wait for you.
What makes this trip feel extra workable is how the day-by-day structure is spelled out—from Sembalun gate to Pos 1/Pos 2/Pos 3, then two crater-rim camps. Guides you might run into include Fahri and Ipan/Irpan, and the porters’ work comes up repeatedly in feedback—support when the trail gets dark and cooking that doesn’t taste like survival food.
In This Review
- Key takeaways before you go
- Meeting in Senaru and starting the trek on time
- Day 1: Sembalun gate, Pos 1 to Pos 3, and first crater-rim camp
- Day 2: The 2:30am summit push, then lake and hot spring
- Day 3: 6am sunrise, then down to Senaru gate by early afternoon
- What’s included (and what that really means for your comfort)
- Price and extra fees: what to budget beyond the $245
- Guides, porters, and the Sasak cultural touch
- Trail challenge: fitness level, timing, and gear tips that matter
- Nature and wildlife: what you can realistically expect
- When weather changes, the trip still happens (but be flexible)
- Is this the right trek for you?
- Should you book Rinjani Trek Adventure’s 3D/2N summit and lake trek?
- FAQ
- What time does the trek start and where do I meet?
- How long is the trek overall?
- Where does the trek begin on the walking days?
- What is the schedule for the summit sunrise?
- Do I need to bring camping gear?
- Is the Mt. Rinjani entrance fee included in the price?
- How many people are in the group?
Key takeaways before you go
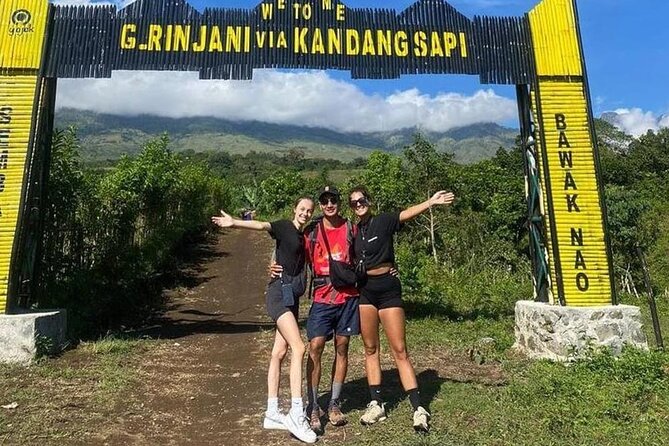
- Small group (max 6) keeps the pace more flexible and the experience more personal on a hard route.
- English-speaking local guide helps with route clarity, safety, and practical explanations along the way.
- Porters + cooking support mean you carry less, and food is a real part of the experience.
- Sunrise planning drives the early starts, including the 2:30am push toward the summit.
- Camping setup included (tent, sleeping bag, mattress, toilet tent) lowers the gear stress.
- Extra costs exist for transport on arrival, pre-trek lodging, and the Mt. Rinjani entrance fee.
Meeting in Senaru and starting the trek on time
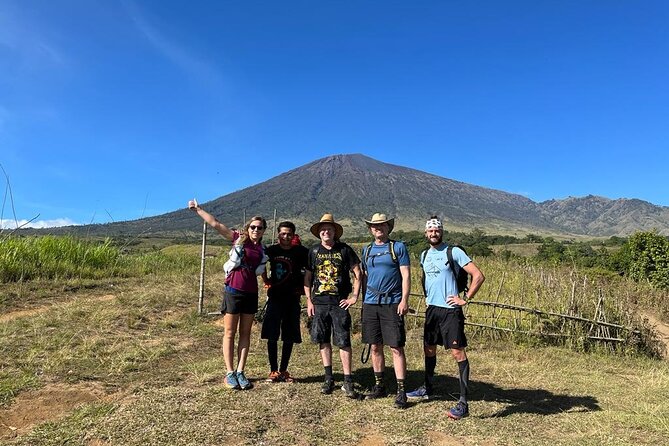
This trek is based out of Senaru, and you meet at the Rinjani Trek Adventure office in Senaru. The start time is 7:00am, and you end back at the same meeting point around 1:00pm on day 3.
On the arrival day, you’ll be picked up from the office or your accommodation in Senaru village and get a briefing on how the trek works. It’s a simple touch, but it matters. When you’re going to be climbing in the dark and timing matters, you want to understand the flow before you’re already tired.
If you’re arriving on your own, note that transport into Senaru on arrival day is not included (listed at IDR 500,000 per person). Also, accommodation before the trek is not included (listed at IDR 250,000 per person). In other words: budget for at least one night near the trailhead unless you’re already there.
You can also read our reviews of more tours and experiences in Lombok.
Day 1: Sembalun gate, Pos 1 to Pos 3, and first crater-rim camp
Day 1 starts with a ~45-minute drive from Senaru to Sembalun village, then you register at the Rinjani office. After that, you drive again briefly to the Sembalun gate, where the walking begins.
From there, the trail is paced in clear chunks:
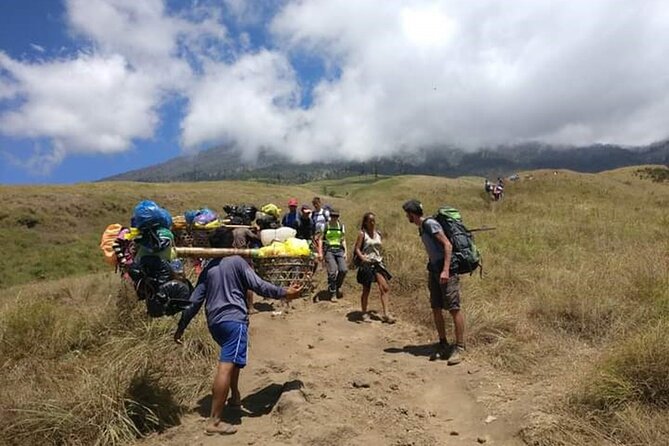
- Walk to Pos 1 (about 2 hours), then rest 15 minutes
- Continue to Pos 2 (about 45 minutes)
- Lunch at Pos 2
- Head to Pos 3 (about 1 hour)
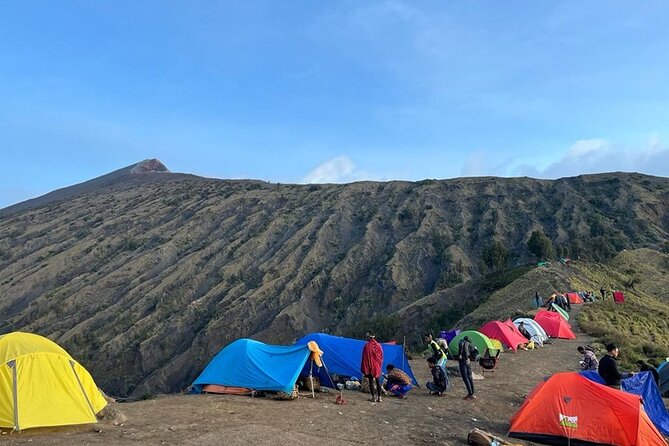
- Move on to camp on the Sembalun crater rim for your first night
Why this day matters: it sets your rhythm. You’re not thrown straight into the toughest hours. You learn the tempo with breaks built in, and you start feeling the altitude shift as you climb into that crater-rim zone.
What’s also practical is that you’re not juggling gear. Food and water are included, plus you’ll have tent and sleeping setup provided. You can focus on pacing and hydration instead of hauling the full camping load.
One small consideration: day 1 can still feel long, especially if you’re not used to hiking in heat earlier in the day. If you’re the type who needs to ease in, that first segment to Pos 1 is where you do it.
Day 2: The 2:30am summit push, then lake and hot spring
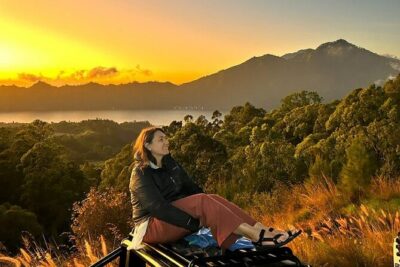
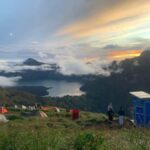
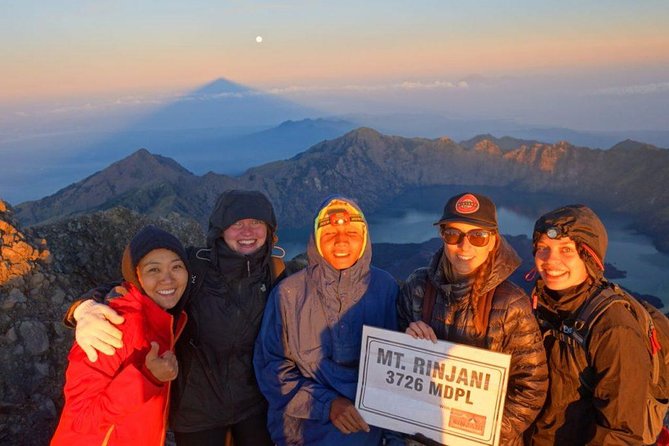
Day 2 is the dramatic one. You start at 2:30am for the summit sunrise. The uphill part to reach the sunrise is described as about 3 hours of walking.
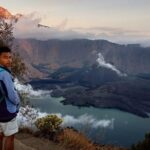
Then it’s a controlled descent. You walk down about 2 hours, and after that you go down again toward the lake and hot spring area. After the lake/hot spring time, you walk back up to camp at the Senaru crater rim for the second night.
This day is why you’re doing the whole trip. Getting the sunrise from the summit is a bucket-list moment, but it comes with real tradeoffs:
- You’ll be climbing in darkness, so headlamp discipline (and staying with your guide) is key
- The day mixes steep walking, descending, and then another climb back up to camp
- Your legs will feel it, even if you handled day 1 well
The hot spring and crater lake stop is where the trek’s mood shifts. You go from peak effort to a slower, “wow, we’re actually here” kind of time—especially helpful after the grind of the early hours.
One more note drawn from how people talk about the experience: if weather shifts, the trek can still happen, but conditions may affect your comfort and timing. The tour is described as requiring good weather, and if conditions cancel the trip due to weather, you should expect to be offered another date or a full refund.
Day 3: 6am sunrise, then down to Senaru gate by early afternoon
Day 3 starts with a wake-up at 6:00am to catch another sunrise moment. After that, you hike down to the Senaru gate, with the walking time given as about 5 hours, including lunch on the way. You’re expected to finish around 1:00pm on a normal schedule.
This is the day you’ll feel most grateful for the earlier support. By now, you already learned the trail rhythm. The descent can be hard on knees and calves, so take the slow win: short steps, consistent pacing, and don’t try to sprint because you’re thinking about the end.
Once you reach the gate, you’re done. No extra detours, no surprise overnight. Just the clean close to a full-on volcano trek.
What’s included (and what that really means for your comfort)
On paper, the inclusion list looks standard. In real life, it’s the difference between enjoying the hike and spending half your brain on logistics.
Included:
- English-speaking local guide
- Porter support for carrying your food and trekking equipment
- Food and water during the trek
- Fruit and soft drinks
- Camping gear: tent, sleeping bag, mattress, and a toilet tent
Here’s why I think this is good value at the posted price of $245 per person. You’re getting staffed logistics plus camping setup. You’re not just buying a route—you’re buying relief from the heavy parts of the trip.
You also get small morale boosters like fruit and soft drinks. It sounds minor, but during multi-day trekking, those small resets help you keep going without feeling like you’re running on empty.
Also, the maximum group size is 6 travelers. That matters when you’re tired and when the guide needs to manage pace and safety. It’s much easier to stay together in a small group, and that reduces the chance of you getting stretched too far ahead in the dark.
Price and extra fees: what to budget beyond the $245
The headline cost is $245 per person, and it’s typically booked about 43 days in advance. That timing matters because trekking slots and weather windows can be tight.
But the listing also clearly points out important add-ons:
Not included:
- Transport to Senaru on arrival day: IDR 500,000 per person
- Accommodation before the trek: IDR 250,000 per person
- Mt. Rinjani entrance fee: IDR 600,000 per person
So, how do you think about value?
You’re paying for:
- English guide time
- Porter labor
- meals and water
- camping gear
- route and timing management for summit sunrise and lake time
You still need to cover:
- the required entrance fee
- getting positioned in Senaru
- any pre-trek night you need
If you’re already staying in Senaru and you can handle an overnight there, your total cost stays closer to the advertised number. If you’re not, plan for those extra IDs. Either way, the trekking itself isn’t the kind of activity you can do “cheap,” because the staff and gear are part of what keeps you safe and comfortable.
Guides, porters, and the Sasak cultural touch
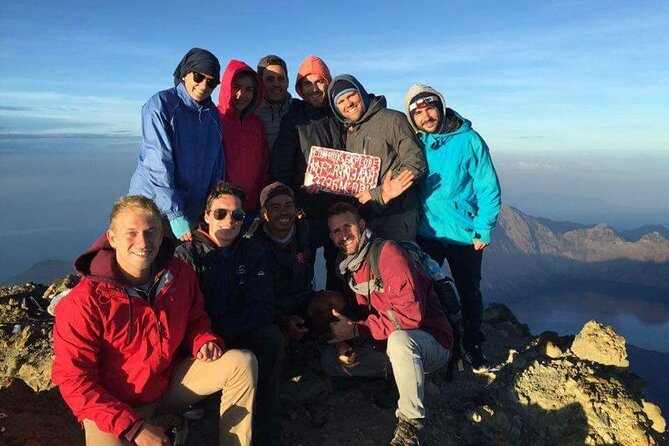
One of the standout parts in feedback is the human team—especially the guides and porters.
Guide names that come up include:
- Fahri
- Adi
- Ipan (also written as Irpan/Ivan in some notes)
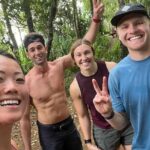
People also describe the team as professional, funny, attentive, and organized. On the hardest parts—midway to the summit in darkness—support shows up as more than just friendliness. It’s about you not getting lost, and not making bad decisions when you’re tired.
Cultural immersion is also part of the concept. You interact with local guides and porters to learn about Sasak culture. That usually doesn’t mean a formal lecture. It’s more like conversations and small explanations that happen naturally while walking and setting up camp.
Also, one review mentions a warm welcome at an eco villa complex at the foot of Rinjani, with music. I can’t promise that vibe on every date, but it does suggest the team tries to make arrival feel calm rather than purely transactional.
Trail challenge: fitness level, timing, and gear tips that matter
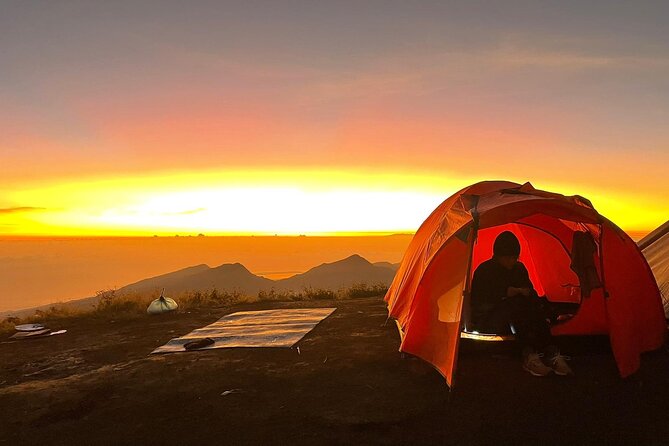
The tour is clear that you should have strong physical fitness. That’s not tourism talk. Day 2 alone—2:30am start, sunrise summit effort, then descent and return up to another crater rim camp—makes the physical bar real.
Here’s the practical way to judge if you’ll be comfortable:
- If you regularly hike and handle uphill effort at altitude, you’ll likely feel challenged but manageable.
- If you’re new to hiking, plan on a slower pace and expect fatigue, especially on the ascent and during the descent.
Gear notes from experience include trekking poles. One comment explicitly says poles are a must. Poles reduce knee impact on descents and help with balance on uneven volcanic ground. If you have them, bring them. If you don’t, consider renting—your future knees will make the decision for you.
Packing basics aren’t listed in the data you gave me, so I won’t pretend I know what you’ll be issued beyond the included camping gear. But at minimum, you should come prepared for cold early starts and night hiking since you’re out before sunrise and walking in a dark window.
Nature and wildlife: what you can realistically expect
This trek goes through Rinjani National Park, and the experience description highlights diverse flora and fauna.
In practical terms, nature sightings on this kind of route depend on season and weather, and you’re unlikely to stop for long birdwatching breaks when the schedule matters. But because you’re moving through a protected volcanic area, you’re not just walking past scenery—you’re moving through an ecosystem.
Your best “expectation setting” is simple: be open to small moments—unique plants, tracks, and quiet stretches—rather than expecting a guaranteed checklist of wildlife.
When weather changes, the trip still happens (but be flexible)
This tour requires good weather. If weather is poor and the trek is canceled, you’ll be offered a different date or a full refund.
Even when the trek runs, weather can change how the trail feels—visibility in the dark, wind chill on crater rims, and comfort on exposed sections. That’s why flexibility is part of good planning for Rinjani. You’re climbing a volcano. Mother Nature holds the schedule sometimes.
Is this the right trek for you?
I think this trip fits best if you:
- want a small-group summit trek, not a big convoy
- like having a structured plan with built-in rests
- value strong logistics (guide, porters, camping gear, meals)
- can handle a tough start time and multiple ascent/descent segments
You might want to consider a different option if:
- you’re not comfortable with steep early morning hiking
- you want a leisurely “scenic walk” pace
- you’re not ready to cover the entrance fee and pre-trek logistics
Should you book Rinjani Trek Adventure’s 3D/2N summit and lake trek?
Book it if you’re serious about a summit sunrise experience and you want real support—English guidance, porter carry, camping gear, and a route built around Pos-to-Pos pacing on day 1 and a high-impact day 2. The mix of summit effort plus crater lake and hot spring time is the unique value here.
Think twice if you’re carrying injury risk, you don’t have strong fitness, or you don’t want early mornings. Also, double-check your total budget because the entrance fee and pre-trek costs are separate. If you’re prepared on both fronts—body and budget—this is the kind of trip that tends to leave a long memory, not just photos.
FAQ
What time does the trek start and where do I meet?
You meet at the Rinjani Trek Adventure office in Senaru. The start time listed is 7:00am, and the trek finishes back at the meeting point.
How long is the trek overall?
It’s a 3-day trip with about 2 nights of trekking/camping.
Where does the trek begin on the walking days?
Day 1 starts after a drive from Senaru to Sembalun village, then registration, and then walking begins at Sembalun gate.
What is the schedule for the summit sunrise?
You start the summit climb at 2:30am on day 2 to reach sunrise in about 3 hours of walking.
Do I need to bring camping gear?
You’re provided with tent, sleeping bag, mattress, and a toilet tent.
Is the Mt. Rinjani entrance fee included in the price?
No. The entrance fee is listed separately at IDR 600,000 per person.
How many people are in the group?
The tour has a maximum of 6 travelers.