Starting from Sembalun and ending in Senaru, this Mount Rinjani trek links grasslands, crater rims, and Segara Anak Lake into one tight 3-day circuit. The best part is the rhythm: a daytime build-up, then an early push for the sunrise from high on the mountain, plus a real chance to rest at the lake and hot spring area before you drop back to the forest.
I really like how well organized the trip feels, from the early morning start to the way camps are set up. In group setups I’ve seen before, the details can blur; here, the names stuck with me because you’re not just paying for a ticket—you’re supported by people like guide Nas, with prompt help from their contact Azmi, and strong porter crews including Madi and Awan.
One thing to consider: this is not a casual walk. The trek includes steep climbs and a route that can feel punishing on the way down, so you’ll want a reasonable fitness base and comfort hiking with a steady pace.
In This Review
- Key highlights at a glance
- Entering the Rinjani Trail From Sembalun Grassland
- What I’d watch out for on Day 1
- Day 1 Campsite on the Crater Rim: Big Views, Steeper Effort
- A possible drawback: the “steep then camp” combo
- The 3:00 am Summit Push and Sunrise Over Lombok
- After the summit: down to Segara Anak and hot spring recovery
- The second camp: Senaru crater rim
- Segara Anak Lake and Hot Spring Time: Why This Stop Matters
- Day 3 Descent to Senaru Village Through Tropical Forest
- Guides, Porters, and the Food You Don’t Expect on a Summit Trek
- Price and Value at $360: What You’re Really Buying
- Fitness Level: Who This 3D2N Summit–Lake Route Suits
- Weather, Summit Chances, and the Real-World Flexibility
- Should You Book Rinjani Samalas 3 Days 2 Nights Summit – Lake?
- FAQ
- How long is the trek?
- Where does the trek start and end?
- What route does this 3D2N trek include?
- What time does the summit attempt start?
- What is included in the package?
- What is not included?
- How fit do I need to be?
- What group size can I expect?
- What if weather is bad or I need to cancel?
Key highlights at a glance
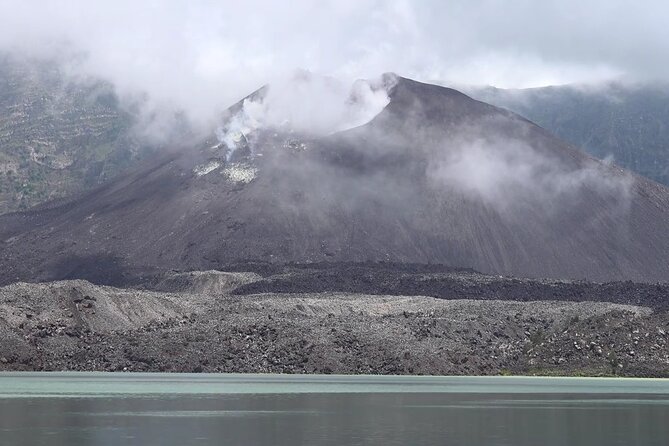
- Sembalun to summit to Senaru: one loop route instead of bouncing back and forth
- Sunrise push: an early 3:00 am summit attempt with a Lombok Island view payoff
- Segara Anak Lake + hot spring time: lunch and rest help you recover before the next camp
- English-speaking guide and professional porters: clearer pacing, fewer logistics headaches
- Camping support included: tents, mats, sleeping bags, toilet tents, and even a pillow
- Small group cap (max 10): you’re not crushed into a giant crowd
Entering the Rinjani Trail From Sembalun Grassland
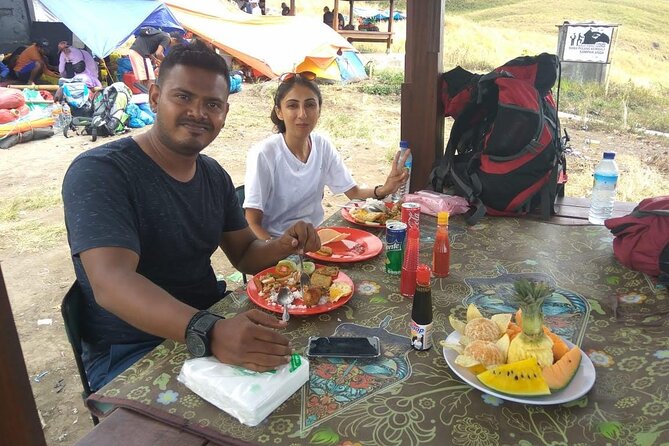
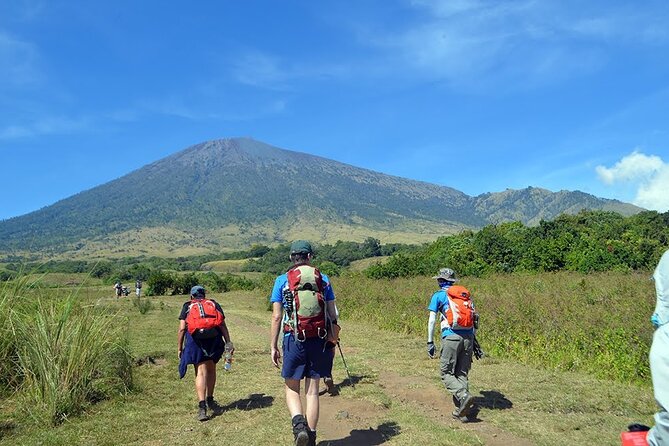
This trek starts in the Sembalun area around 8:00 am on Day 1, and the vibe is different from the forest-heavy days you might expect from a volcano. You begin with a gentle ascent through open grassland. That matters because it gives you time to settle into your breathing and rhythm before the mountain starts asking more of you.
The route climbs in steps, and you feel it in the way the day is paced. After roughly two hours, you reach Pos 1 at about 1300 meters. Then you keep moving to Pos 2 at around 1500 meters, and later to Pos 3 near 1800 meters, where lunch is planned. That “progress points” structure is useful. It keeps you from guessing how hard the day will be, and it gives you something concrete to aim at before you start feeling tired.
I also appreciate that this first day ends with a camp on the crater rim (about 2639 meters). That sets up a big contrast for the rest of the trek. You’re not just hiking through scenery—you’re building up to the edges of the crater, where the environment becomes more dramatic and the air feels thinner.
Day 1 is mostly a warm-up that turns into a climb. The gentle start is real, but after Pos 3 and lunch, you transition into a steep push toward the Sembalun crater rim, and it takes around three hours, including a prolonged steep climb.
You can also read our reviews of more tours and experiences in Lombok.
What I’d watch out for on Day 1
If you’re a bit anxious about altitude, this is where you can manage it. You might feel fine early on, then notice your legs getting heavy during the steeper crater-rim climb. Pace matters. Keep your effort steady rather than sprinting between checkpoints, especially because you’ll need energy for the night start on Day 2.
Day 1 Campsite on the Crater Rim: Big Views, Steeper Effort
Once you finish lunch at Pos 3, the day turns into the kind of climb that gets your attention. The walk from lunch toward the crater rim is described as steep, and it’s planned to take about three hours, including prolonged uphill effort. This is where the trek stops being a “scenic hike” and starts being a “real mountain hike.”
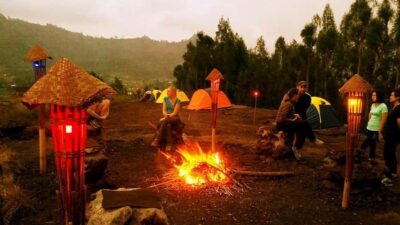
Reaching the camp on the crater rim (around 2639 meters) is the payoff. You’re camping at elevation, and camps feel more exposed than lowland trekking. That’s part of why the whole experience stands out: you’re not sleeping on a flat patch and forgetting the world. You’re sleeping near the crater rim, with the kind of high-altitude stillness that makes everything feel sharper.
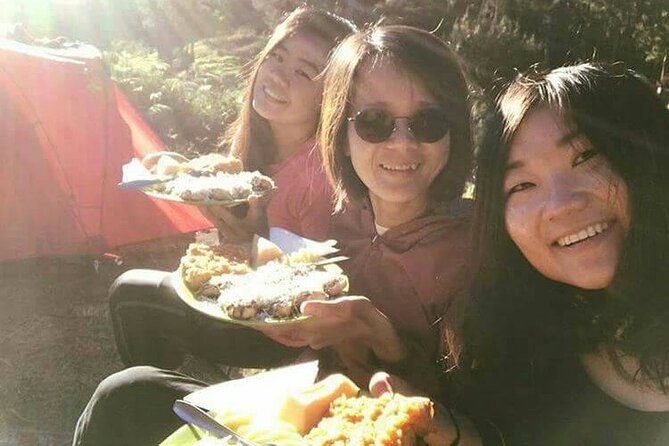
From the camp side, this tour seems to nail the basics. The package includes camping equipment like tents, sleeping mats, sleeping bags, and toilet tents, plus a camping chair and even a pillow. Multiple guide-and-porter focused comments in the feedback highlight that camp setup is taken seriously, not rushed. That’s important because on a trek like this, camp quality can decide whether you sleep well or just lie there tired.
A possible drawback: the “steep then camp” combo
The day’s structure means you’re not just climbing—you’re climbing, then transitioning quickly to camp. If you’re prone to getting wiped out late in the day, you’ll want to control pace from the start. Also, the next day begins in the dark, so your goal is to sleep, not just exist in a tent.
The 3:00 am Summit Push and Sunrise Over Lombok
Day 2 is where the trek becomes unforgettable. You’re awakened around 2:00 am with hot drinks and a light breakfast, then you start heading to the summit at 3:00 am. That timing is not optional; it’s the core of how you catch sunrise from high elevation.
The climb begins as a moderate ascent. It’s not described as the hardest kind of steepness right away, but the hour makes it hard in a different way. Moving in darkness for a long time burns patience. This is where an experienced English-speaking guide earns their keep. Many comments emphasize how guides encouraged hikers and kept people moving at a workable pace, which is exactly what you want on a long, early climb.
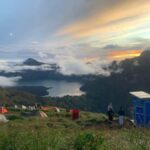
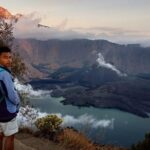
Then, by about 6:00 am, you hit sunrise timing. The view is described as panoramic, including a Lombok Island panorama. That’s the kind of reward that makes early starts feel rational instead of annoying.
After the summit: down to Segara Anak and hot spring recovery
Once you finish at the summit, the day shifts into descent, moving toward the lake and hot spring area. Lunch is prepared by porters while you’re at the lake, and the plan includes time to shower and rest before the next climb.
This is more than a nice break. It’s strategic. After spending the night climbing and then reaching very high altitude, your body needs recovery. Having a planned meal at the lake area and an actual rest period gives you a better chance of handling the final climb to your next campsite.
The second camp: Senaru crater rim
After lunch and rest, you leave the lake and climb up to the Senaru crater rim (around 2641 meters) for the night. Camps at crater rims mean continued exposure and a high-altitude feel again, even though Day 2 has already taken a lot out of you.
Segara Anak Lake and Hot Spring Time: Why This Stop Matters
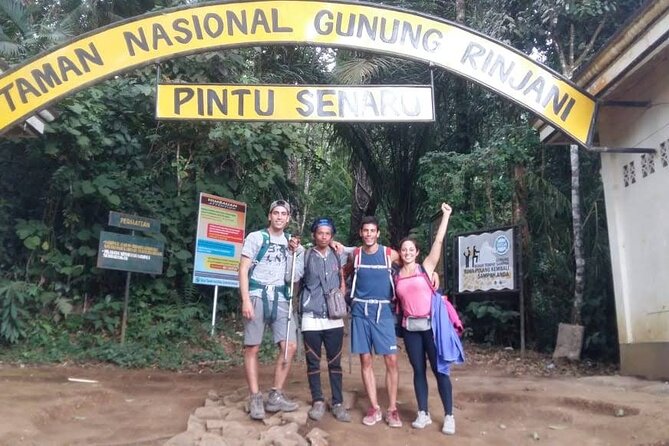
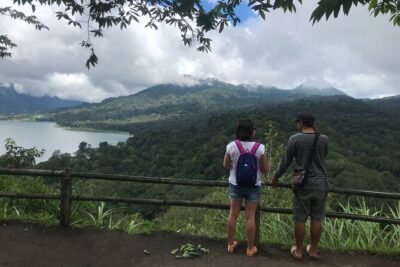
Segara Anak Lake isn’t just a photo stop in this itinerary. It’s part of the trek’s structure for recovery. You reach it after the summit, and then your day includes lunch plus time to shower and rest.
That rest matters because the itinerary doesn’t give you a “stay put” day. Day 3 is still a long descent down to Senaru Village (about 5 hours). If you rush Day 2 without letting yourself reset, Day 3 can feel longer and harder than it needs to.
The hot spring area is also important for mental recovery. It’s one of the few chances during a summit trek to do something other than hike or wait. If your legs feel stiff, this kind of stop is often what keeps you from dreading the final day.
From the feedback, the food quality stands out as a major strength. Comments talk about plentiful meals and delicious food, with curry mentioned specifically. On a trek, that’s not a small detail. When you’re burning energy, good food helps your mood and your stamina.
Day 3 Descent to Senaru Village Through Tropical Forest
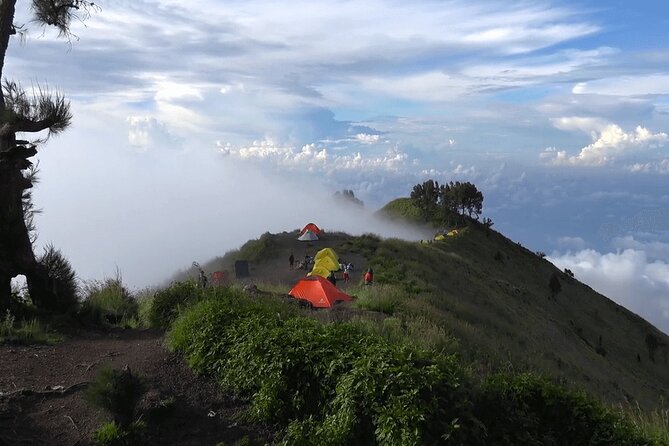
Day 3 starts after breakfast, with sunrise mentioned as part of the morning. Then the plan is to trek down to Senaru Village through tropical forest, taking about 5 hours.
This is the part many people underestimate. A “down day” still taxes your body. Your knees and shins take the hits, and the final hours decide how you remember the trek overall. The route described in feedback can be steep on the way down, and one comment specifically advises it’s not for total beginners. That’s consistent with what you’d expect after two nights at crater rim elevation and a summit day.
Still, Day 3 has a gentler emotional arc than Day 2. You’re moving away from the intense altitude sections and into a more shaded, forested environment. That kind of shift often helps people settle into a steady pace rather than fighting the mountain.
By the end, you reach Senaru Village and the program ends there, with pickup/drop-off happening back at the meeting point area. The important thing is that you don’t have to navigate the last leg on your own—your guide and porters are part of the whole flow.
Guides, Porters, and the Food You Don’t Expect on a Summit Trek
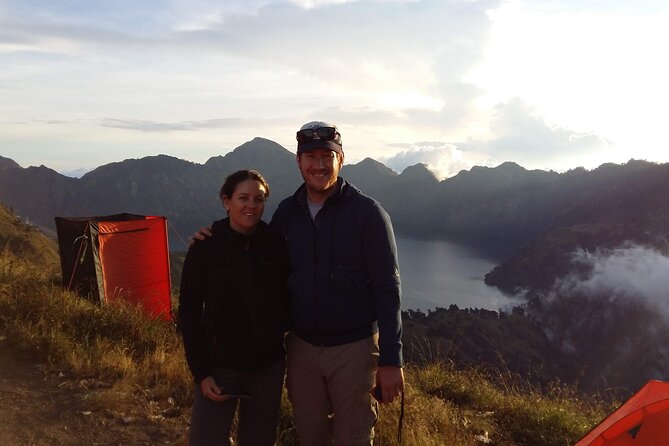
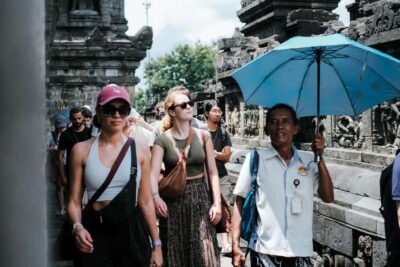
For me, one of the strongest signs that this is a solid operator is how much the feedback highlights people, not just scenery. Names like guide Nas show up with notes about patience and support, and porters like Madi and Awan are credited with setting up camp and getting things ready before hikers arrive.
That’s exactly what you want on a volcano trek. You don’t need drama. You need dependable support: someone to manage pacing, someone to organize camp, and a team that keeps the basics working at altitude.
Food is another repeated win. Multiple comments describe meals as plentiful and delicious, and some call out specific favorites like curry and nasi goreng. I also like that the tour includes snacks, fruits, and drinks throughout the trek. That’s practical. On long climbs, your energy drops fast, and having regular food stops keeps you from “running on willpower.”
Camping gear is also part of why the experience feels smoother. Tents, sleeping mats, sleeping bags, toilet tents, and pillows are included. That means less weight to carry yourself and less stress about whether the camp setup will work for your comfort level.
Price and Value at $360: What You’re Really Buying
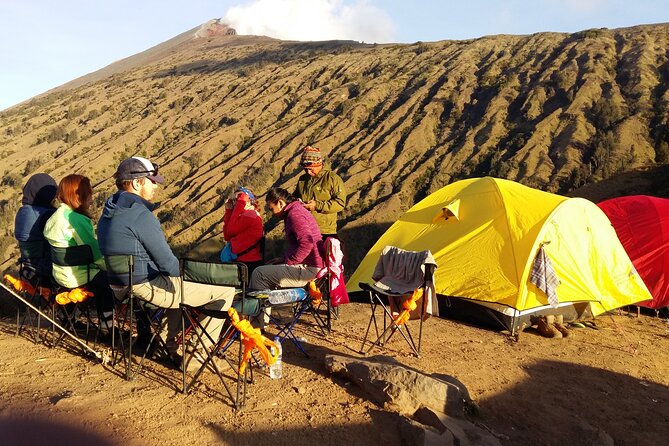
At $360 per person for 3 days and 2 nights, the value depends on how you compare it to alternatives. What makes this price feel reasonable is what’s bundled:
- Mount Rinjani National Park entrance fees
- Camping equipment (tents, mats, sleeping bags, toilet tents, pillow, chair)
- An English-speaking guide plus professional porters
- All meals, snacks, fruits, and drinks during the trek
That’s a lot of operational cost wrapped into one number. The bigger hidden cost on treks like this is usually logistics: gear rental, entry fees, food, and staffing. By including those basics, you can focus on hiking and recovery instead of budgeting item-by-item.
Two things are not included: an extra porter for personal belongings and tipping for the guide and porter. If you’re bringing heavier personal items, you’ll want to think about how you manage weight. If you’re traveling solo, group pricing can also make a difference because the operator can take smaller groups rather than insisting on private-only pricing.
The tour caps groups at a maximum of 10 travelers. That’s a sweet spot for many hikers: enough people to feel social, not so many that you get slowed down by crowding.
Fitness Level: Who This 3D2N Summit–Lake Route Suits
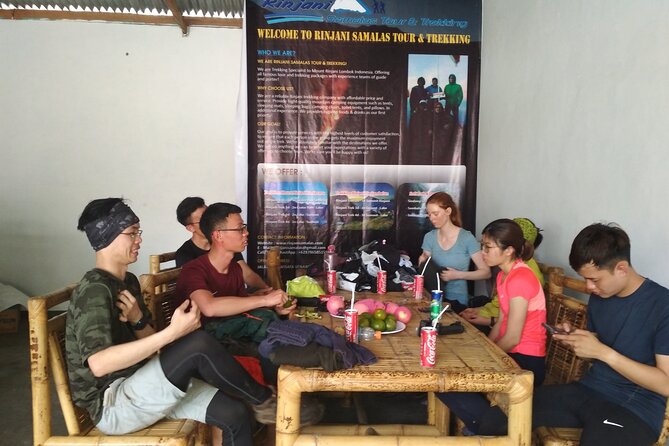
This itinerary is built for people with a reasonable fitness level. Day 2 includes very early wake-up and a summit push, and the route includes steep climbs and a descent that can feel steep on the way down.
If you’re comfortable with multi-hour hiking and you don’t panic at altitude fatigue, you’ll likely handle it well. If you’re a total beginner, the steep sections and long descent can be a rude awakening—especially after a night climb.
Think of it like this: Day 1 and Day 2 are about climbing efficiency and endurance. Day 3 is about leg control and steady downhill pacing. You don’t just need to be able to walk up. You need to be able to walk down without burning out.
Weather, Summit Chances, and the Real-World Flexibility
This experience requires good weather. If weather is poor, the trek can be canceled, and you’ll be offered a different date or a full refund. That’s important on Rinjani because conditions can change quickly, and summit attempts are sensitive to safety and visibility.
Also, the experience requires a minimum number of travelers. If they don’t meet that minimum, you’ll get a different date/experience or a full refund. Those are the kinds of practical details that matter more on mountain treks than on city tours.
Should You Book Rinjani Samalas 3 Days 2 Nights Summit – Lake?
I’d book this trek if you want a complete Rinjani experience with real structure: Sembalun to summit, Segara Anak Lake with hot spring recovery, then a finish in Senaru. The combination of English-speaking guides, professional porter support, included camping gear, and consistent meal quality makes it feel like the operator is geared toward helping you finish strong—not just reach a checkmark.
I’d hesitate if you’re brand-new to hiking or you know you struggle with steep downhill walking. This isn’t gentle trail tourism, even with good support. It’s a mountain mission with a sunrise payoff.
If you can handle the early start and you have a reasonable fitness base, this is one of those rare treks where the planning does real work for you.
FAQ
How long is the trek?
The program runs for 3 days and 2 nights.
Where does the trek start and end?
The trekking starts from Sembalun (Day 1 begins around 8:00 am), and it ends back in the Senaru area after finishing in Senaru Village on Day 3.
What route does this 3D2N trek include?
It follows a route from Sembalun to the summit, then to Segara Anak Lake and the hot spring area, continues to the Senaru crater rim, and ends with a trek down to Senaru Village.
What time does the summit attempt start?
On Day 2, you’re awakened around 2:00 am and begin heading to the summit at 3:00 am.
What is included in the package?
Included are Mount Rinjani National Park entrance fees, camping equipment (tents, sleeping mats, sleeping bags, camping chair, toilet tents, and pillow), an experienced English-speaking guide and professional porters, and all meals, snacks, fruits, and drinks on your trek.
What is not included?
An extra porter for personal belongings is not included, and tipping for the guide and porter is also not included.
How fit do I need to be?
The trek is described as suitable for people with a moderate physical fitness level.
What group size can I expect?
This tour has a maximum of 10 travelers.
What if weather is bad or I need to cancel?
The experience requires good weather; if it’s canceled due to poor weather, you’ll be offered a different date or a full refund. You can cancel for a full refund up to 24 hours in advance of the start time; cancellations made less than 24 hours before won’t be refunded.