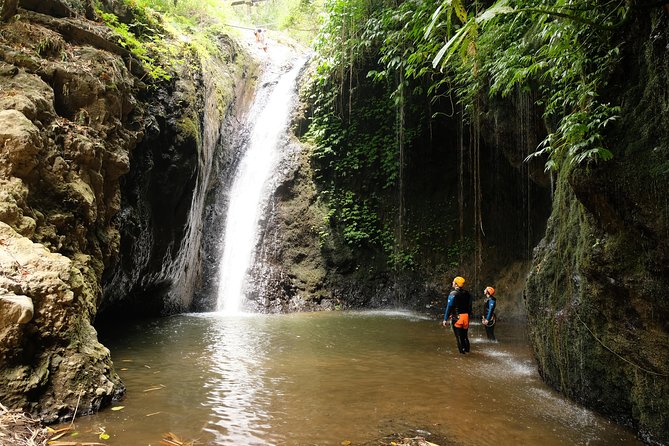
Maboya Canyon turns Bali into an action day. This intermediate canyoning run in north Bali mixes jumps, slides, and rappels, and it stays small with a group capped at eight. I also like that you get GoPro footage saved to your own device, plus breakfast, a hearty lunch, and round-trip hotel transfers.
The main thing to consider is timing and effort: it’s about an 11-hour day and you should have moderate physical fitness for hiking between drops and doing the safety moves in wet conditions.
In This Review
- Key things I’d watch for
- Maboya Canyon: why intermediate feels like the sweet spot
- Hotel pickup and the Wanagiri setup that keeps it easy
- Gear, insurance, and the safety training that actually matters
- The descent: slides, jumps, and rappels in the order you want
- After the canyon: the big lunch and getting your GoPro footage
- Duration and timing: what an 11-hour day really feels like
- Who should book this and who should sit it out
- Price and value: what you’re really paying for
- Should you book Maboya Canyon in Bali?
- FAQ
- What level is the Maboya Canyon tour?
- How long does the tour take?
- Do you get picked up from hotels around Bali?
- What group size is the tour limited to?
- What fitness level do I need?
- What’s included in the tour price for equipment and safety?
- Are meals included?
- Is GoPro footage included?
- What happens if the weather is bad?
Key things I’d watch for
- Pickup door-to-door across Bali so you skip the self-drive stress
- Wanagiri base and a view-filled approach hike before you start the descent
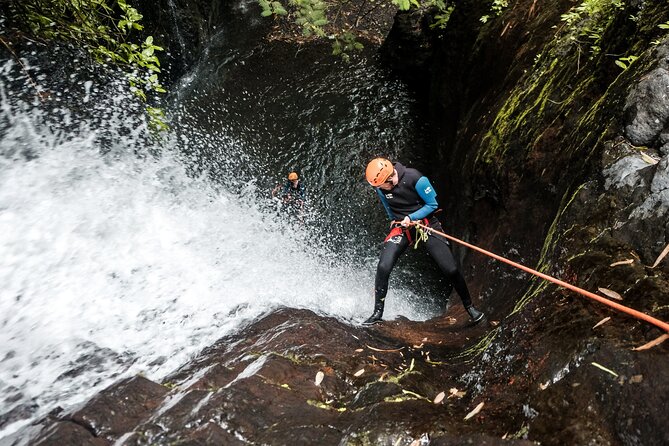
- Training on safety ropes and abseiling basics before anyone jumps in
- Intermediate features like slides, jumps, and controlled rappels
- Gear + insurance included (wetsuit, harness, helmet, canyon boots)
- Footage delivered during lunch while your body cools down
Maboya Canyon: why intermediate feels like the sweet spot
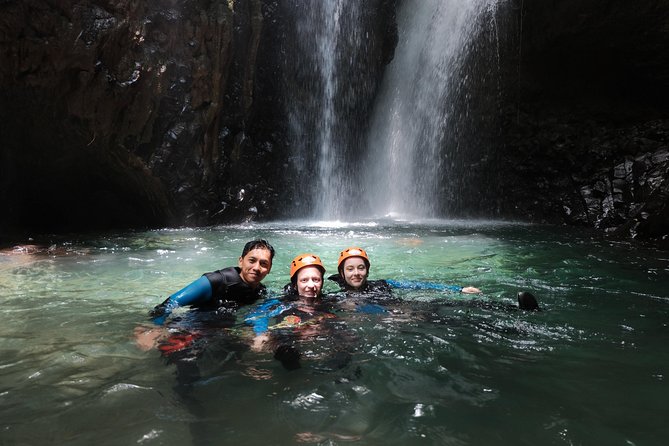
Maboya Canyon is built for the in-between crowd. If you’ve tried a beginner canyoning trip and want more action, this one adds variety: you’re not just learning how to rappel. You’ll also be doing slides, jumps, and abseils as the descent unfolds.
What makes this feel like a good intermediate level isn’t just the “adrenaline” angle. It’s the structure: you get a briefing, a short training session at the start point, and then you move through the canyon with an instructor watching your setup and your safety position. That reduces the guesswork, especially if you’re still learning how to trust the rope system.
And north Bali is a nice change of pace if you’ve already done the typical Bali sights. You’re trading viewpoints and traffic for a day focused on movement—hike, suit up, drop in, repeat—while the canyon does the scenery work for you.
You can also read our reviews of more tours and experiences in Ubud.

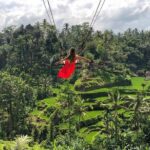
Hotel pickup and the Wanagiri setup that keeps it easy
One of the biggest practical wins here is how simple the logistics are. You’re picked up from your accommodation anywhere in Bali, loaded into an air-conditioned vehicle, and taken to a local base in Wanagiri. No navigation apps. No trying to time traffic. No parking puzzle.
Once you arrive, the day starts with warm greetings and a light breakfast with tea or coffee. That matters more than you might think, because canyoning days tend to involve early starts and a lot of waiting while you get geared up. Having food early helps you feel human when you’re about to pull on a wetsuit and boots.
Then there’s an approach hike to the start point. Even though the canyon is the main event, this walk is part of why the day feels organized. You’ll get your bearings, and you’re not immediately thrust into the first rappel without context.
Gear, insurance, and the safety training that actually matters
This tour takes safety seriously, and the setup is very clear: the operator provides the canyoning equipment including wetsuit, harness, helmet, and canyoning boots. They also include insurance, so you’re not trying to solve that part on your own.
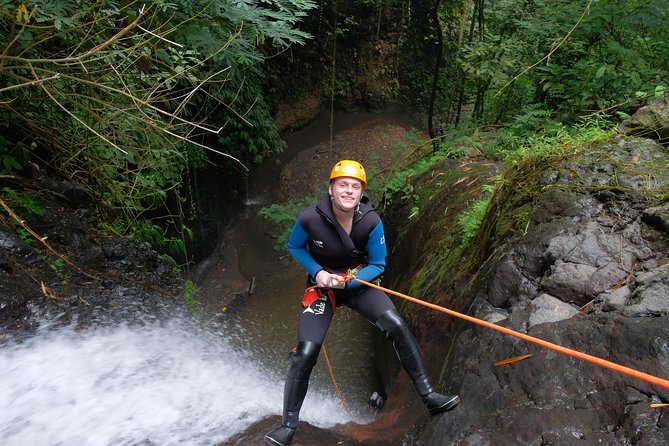
Before anyone starts descending, your instructor runs you through the basics you need for this specific canyon experience. You’ll learn how to use the lanyard (safety ropes), how to abseil, and you’ll also get a bit of canyon communication training, including hand signals.
That last part is underrated. In a canyon, there’s noise, water movement, and limited space. Hand signals help you follow instructions fast without waiting for someone to shout over everything. It also helps you stay calm when you’re focusing on footing, rope position, and the next step.
In past runs, guide names like Eddy and Harry have come up as instructors who made the experience feel memorable and safe. Even if your guide isn’t the same duo, the core takeaway is consistent: you’re not thrown into the action blind. You get instruction first.
The descent: slides, jumps, and rappels in the order you want
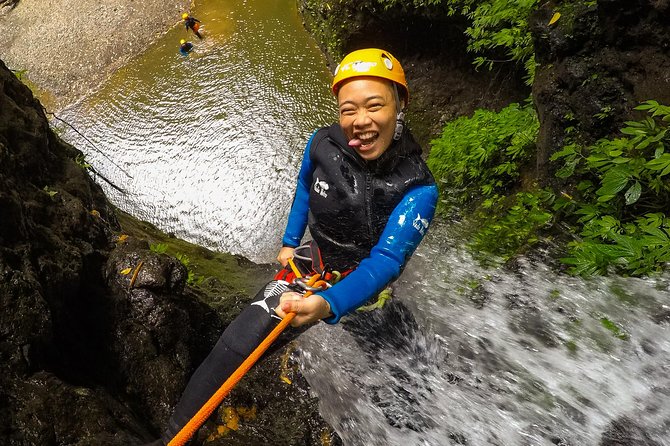
Here’s the flow you should expect once you reach the start point:
1) Short training on lanyard use, abseiling technique, and hand signals
2) The descent sequence that mixes slides, jumps, and rappels
3) Return hiking to get back to the base after the canyon portion
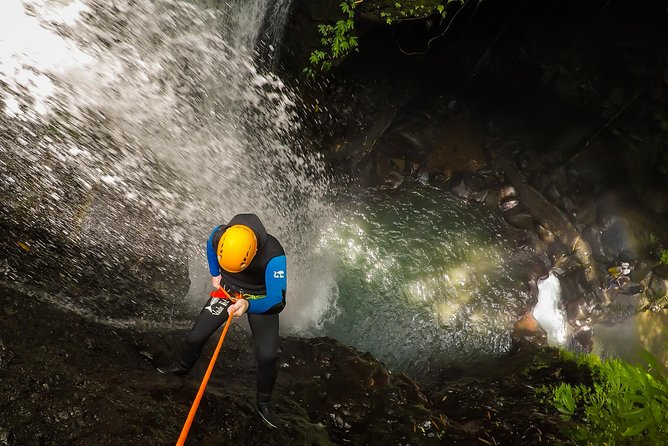
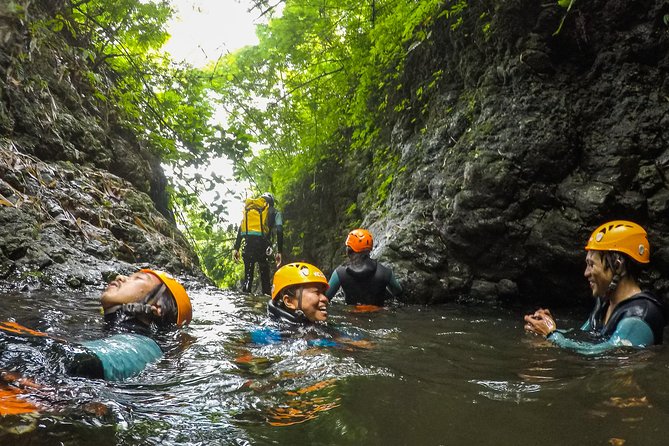
The “intermediate” part shows up in how varied the route feels. You’re not stuck on one technique the whole time. You’ll likely transition from slide moments to more vertical segments where rappels/abseils come into play, and you’ll get jump opportunities when the canyon offers them.
What I like for first-timers to intermediate routes is that you’re learning while you go. The instructor isn’t just handing you gear and pointing downward. They provide the training upfront and then guide the descent so your body learns the rhythm: move to the right spot, check your rope, commit to the drop, then reset.
Also, the tour is capped at eight travelers, which tends to make instruction feel more direct. When you’re in a small group, you can pay attention to the guide’s corrections and not feel like you’re part of a noisy assembly line.
After the canyon: the big lunch and getting your GoPro footage
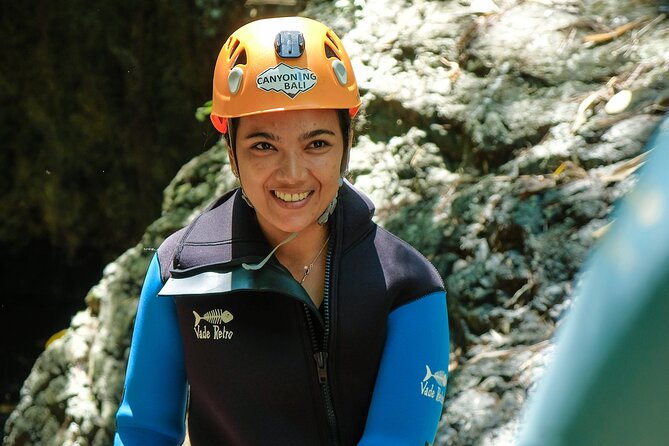
The best recovery moments are planned for you. When you finish the descent, you return hiking back from the canyon to the base area. Then the day shifts from adrenaline mode to refuel mode.
You’ll get a big lunch with local food. This is a smart pairing: you’ve used up energy in the water and on the hike, and lunch is your chance to eat something satisfying rather than just snack and hope for the best.
During lunch, they share the GoPro footage captured on the descent. The highlights say you can save the photos and videos to your own device for no extra charge. Practically, that means you won’t need to wait weeks for an emailed link or hunt for someone to send files. Your day’s memories are handled right when your adrenaline drops and your body starts cooling down.
One small detail to note: USB storage is not included. So if you’re planning to transfer footage later, rely on your own phone or storage method rather than expecting a provided USB drive.



Duration and timing: what an 11-hour day really feels like
The tour runs about 11 hours. That’s long enough that you should treat it like a whole-day commitment, not a quick morning activity.
From the flow, you can expect it to feel like:
- early start and transport,
- light breakfast before gearing up,
- approach hike and short training,
- the descent itself,
- return hike,
- lunch and footage sharing,
- then the ride back to your hotel.
One review mentioned a pickup around 6am from the Canggu area, which is a good reminder to set your alarm and plan for an early departure. If you’re the type who hates rushed mornings, bring a flexible attitude and let the schedule do its thing.
Also keep in mind the time window listed for the activity runs 7:00 AM to 5:00 PM. It’s broad, so your exact start time depends on your pickup and routing, but the day length is steady.
Who should book this and who should sit it out
This is best for people who want a step up from beginner canyoning. If you’re comfortable with instruction, moving over wet rock, and spending hours in a wetsuit, you’ll likely enjoy it.
The key fitness guidance here is moderate physical fitness. That doesn’t mean you need to be a mountain athlete, but you should be ready for:
- hiking on an approach to the start point,
- technique practice (lanyard, abseil basics),
- sustained effort during the canyon sequence,
- hiking back after the descent.
If you don’t handle physical exertion well, or if you’re worried about safety training, this might feel stressful. Canyoning isn’t just a scenery walk. It’s an active water sport with ropes and controlled movement.
It also helps if you enjoy doing a full activity from start to finish. The payoff here isn’t just one moment. It’s the whole progression: briefing → training → drops → recovery → lunch → footage.
Price and value: what you’re really paying for
Your details list a price of $0.00 per person, which usually means you’ll need to confirm the actual booking cost in your checkout screen. I can’t guess the real number from what’s provided.
But I can talk value, because the “what’s included” is where the worth typically shows up on canyoning tours. This package includes:
- round-trip transfers from your Bali hotel,
- air-conditioned transport,
- breakfast (light) and snack/coffee or tea,
- lunch (local food),
- canyoning gear (wetsuit, harness, helmet, canyon boots),
- insurance,
- and GoPro footage for your own device.
The big value play is that you’re not assembling a kit, arranging insurance, and paying separately for guided transport. You also avoid self-drive stress, which is a real deal in Bali when you want the day to feel smooth.
The only item clearly called out as not included is USB storage. In most cases, that’s not a deal-breaker because you’re meant to save the footage to your own device.
If the price checks out when you book, this is the kind of all-in structure that usually makes canyoning feel worth it. You pay for safety, gear, and a guided route, not just for the water slides and ropes.
Should you book Maboya Canyon in Bali?
Book it if you want an intermediate canyoning day with clear guidance, a small group size, and a setup that covers the essentials: gear, insurance, training, meals, and footage.
I’d also book it if you like the idea of getting door-to-door pickup from anywhere in Bali. That removes a lot of friction and lets you focus on the canyon day itself.
Skip it or ask questions first if you’re worried about moderate fitness requirements or long time on your feet. An 11-hour tour with hiking and wet-condition movement is not the right fit for everyone.
If you want one practical decision rule: if you’re ready to learn rope technique and follow hand signals before you start dropping, you’ll probably have a strong day. If you’re hoping for an easy walk with a few photos, this won’t match the vibe.
FAQ
What level is the Maboya Canyon tour?
It’s an intermediate canyoning tour, with training before you descend and activities that can include slides, jumps, and rappels.
How long does the tour take?
The duration is approximately 11 hours.
Do you get picked up from hotels around Bali?
Yes. Pickup is offered and the driver will pick you up from your accommodation anywhere in Bali and return you after the activity.
What group size is the tour limited to?
The tour has a maximum of eight travelers.
What fitness level do I need?
The tour description says travelers should have a moderate physical fitness level.
What’s included in the tour price for equipment and safety?
Included items are canyoning equipment such as a wetsuit, harness, helmet, and canyoning boots, plus insurance.
Are meals included?
Yes. You’ll have a light breakfast and coffee or tea, and lunch is also included.
Is GoPro footage included?
Yes. GoPro photos and videos are included, and you can save them to your own device. USB storage is not included.
What happens if the weather is bad?
If the experience is canceled due to poor weather, you’ll be offered a different date or a full refund.