Make a ring with your own hands. In Kotagede, it’s interesting because you learn the craft firsthand in a small group and leave with silver 925 you made yourself. I especially liked how the experienced silversmiths guide every step, and I love the fact that your final piece is a real, handmade souvenir. The main drawback: it’s hands-on metalwork (heat, hammering), so it’s not a good fit if you’re not comfortable with that, and it isn’t suitable for some age and mobility needs.
This workshop also earns points for communication. The English-speaking guide (I saw names like Danis and Vio in different sessions) helps you understand each stage, while skilled silversmiths such as Mr. Darwin and Lili guide your hands through the process.
You start at Makam Raja-Raja Mataram Kotagede and meet near the huge banyan tree, then you head to the workshop area for about 3 hours of craft time, with a local snack and mineral water included along the way.
In This Review
- Key points before you go
- Why this silver workshop is worth your time
- Meeting at Makam Raja-Raja Mataram and finding the right start
- The design stage: make it yours, or you’ll feel rushed later
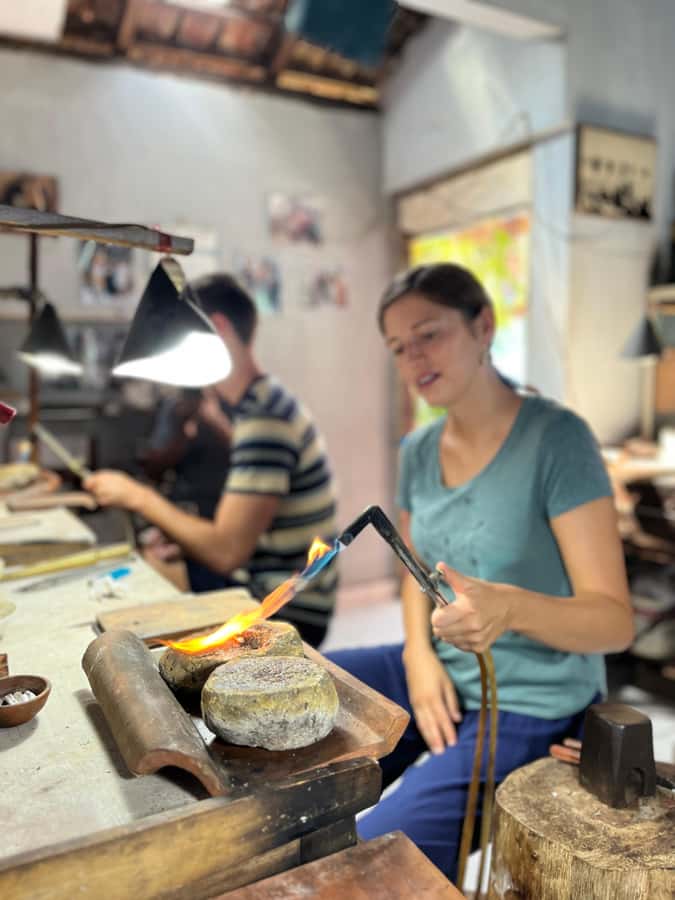
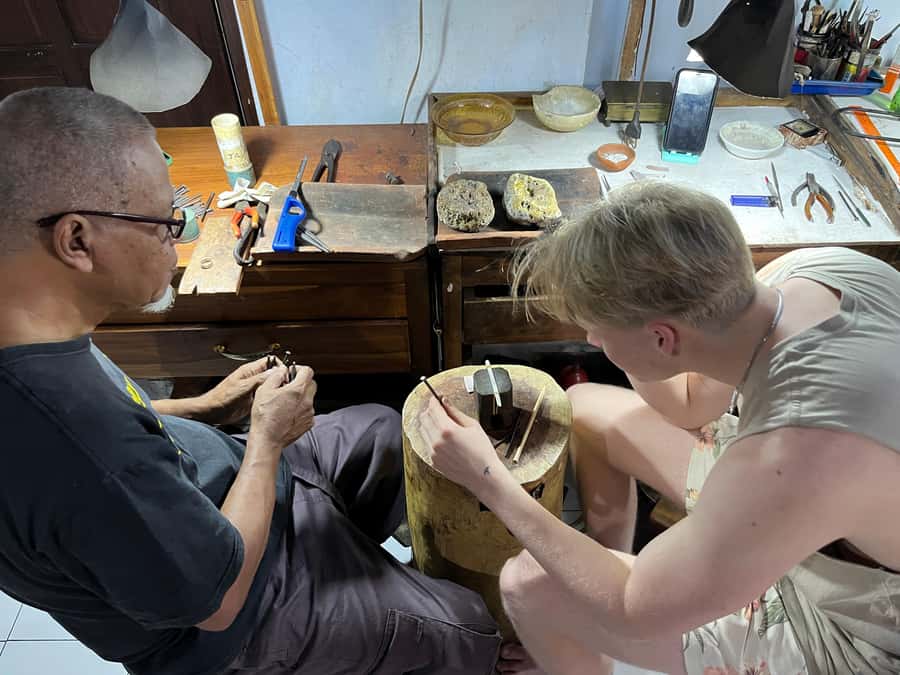
- From melting to hammering: what the 3 hours really includes
- The workshop team: why the guidance feels personal
- Polishing and taking your own jewelry home
- Price and value: what $51 really covers
- Who should book this, and who should skip it
- Little extras: snack breaks and the feel of a local workshop day
- Should you book Kotagede’s silver making class?
- FAQ
- How long is the silver making experience?
- How many people are in the group?
- Where do I meet for the activity?
- What languages will I use during the class?
- What will I make during the class?
- What’s included in the price?
- What isn’t included?
- Is the class suitable for children?
- Is it suitable for wheelchair users or seniors?
- What’s the cancellation policy?
Key points before you go
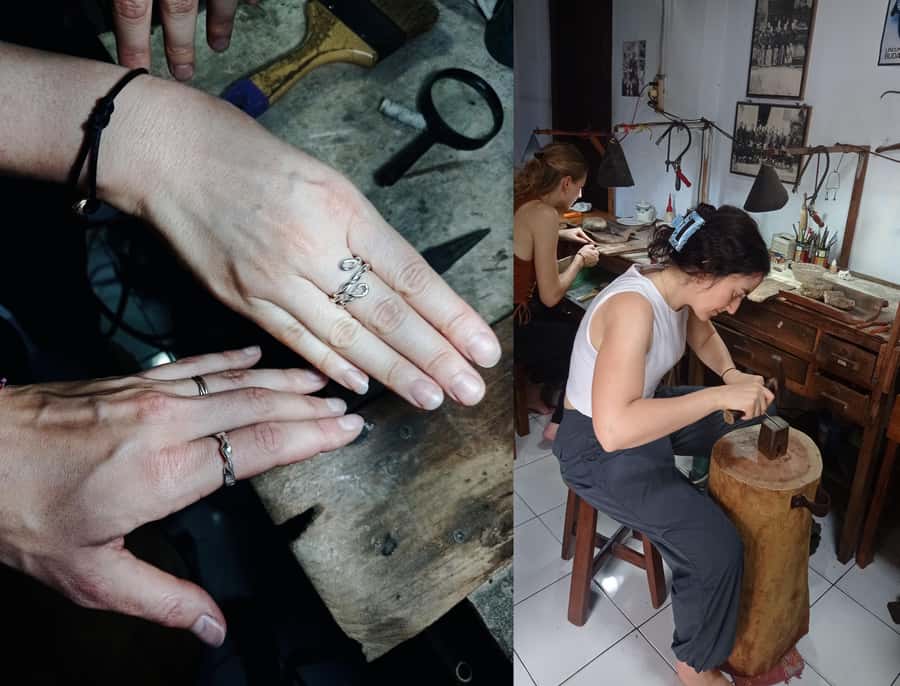
- Small group, hands-on coaching with an experienced silversmith tutor and an English-speaking translator
- Design to finished jewelry, so you’re not just watching—you’re making your own souvenir
- Silver 925 workflow includes melting, shaping, heating, hammering, and polishing
- Bring a design idea (photo helps) so you can move fast and get a result you’re proud of
- You might want extra budget if you extend time or add materials like gemstones
- It’s not for everyone, especially kids under 10, people over 70, wheelchair users, or pregnant women
Why this silver workshop is worth your time
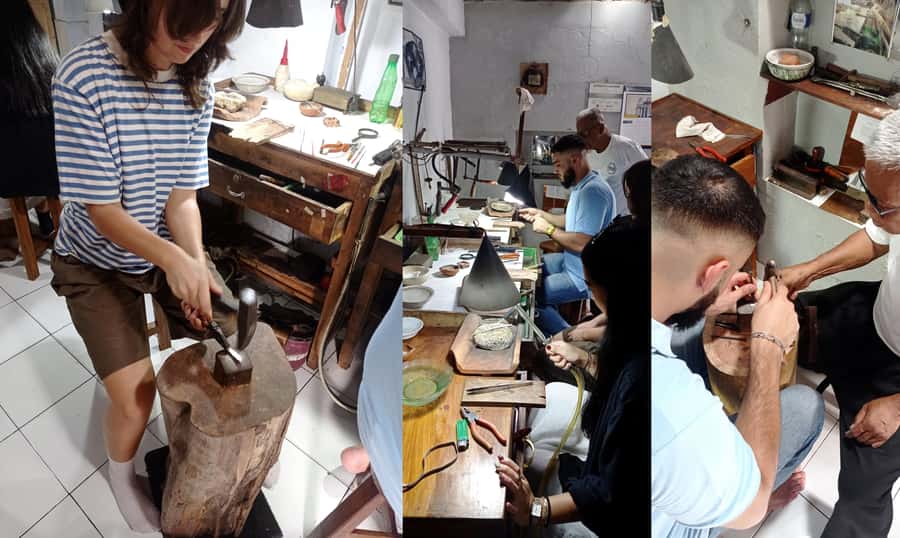
I like activities where the “work” is the attraction. This one is simple: you learn silver-making by doing it. You start with a design decision, then you work the metal through the real steps—melt, shape, heat, hammer, and finish with polishing. That’s why the souvenir feels meaningful. It isn’t just pretty; it’s personal, because your hands made it.
Another big plus is the human scale. The group is limited to 5 people, which means you’re not stuck waiting your turn. In a small class, the tutor can correct your technique while you’re actually making the ring or jewelry piece.
The third thing I like is how “craft” here is practical, not performative. You’re not learning silver theory from a slide deck. You learn how the metal behaves when it’s heated, how shaping changes the form, and how finishing is what turns a rough shape into something you’ll actually wear.
You can also read our reviews of more tours and experiences in Indonesia.



Meeting at Makam Raja-Raja Mataram and finding the right start
You begin at Makam Raja-Raja Mataram Kotagede. The meeting point is close to the huge banyan tree at the parking lot area. It’s a clear landmark, which matters because this is a neighborhood workshop experience, not a big museum-style venue.
From there, you head to the workshop stop for your class time. There’s also a “secret stop” element that includes a class/arts & crafts market visit before you get deep into making. That small detour is useful because it gives you context for what surrounds the craft: people making and selling handmade items nearby, not just tourists walking past vitrines.
A small caution: since you’ll move from the starting point to the workshop area, build in a little buffer time so you aren’t rushing. When the class only lasts 3 hours, being late can cut into the part where you actually shape and finish your piece.
The design stage: make it yours, or you’ll feel rushed later
Your experience starts with choosing a design. That’s not a throwaway step—it sets up everything that follows. You decide what you want to make and then you translate that idea into a workable plan during the session.
Here’s my advice: come with a clear idea. If you don’t have one, the silversmiths and guide will still help, but you’ll move faster if you show up ready. If you can bring a photo of your idea, that helps your instructor understand your goal quickly.
Also, think about your final result during design. You’ll go through melting and shaping using the amount of silver provided (the workshop includes silver). If you pick something that needs more material detail or more time, you might want to adjust the design early so it fits the 3-hour flow.
From melting to hammering: what the 3 hours really includes
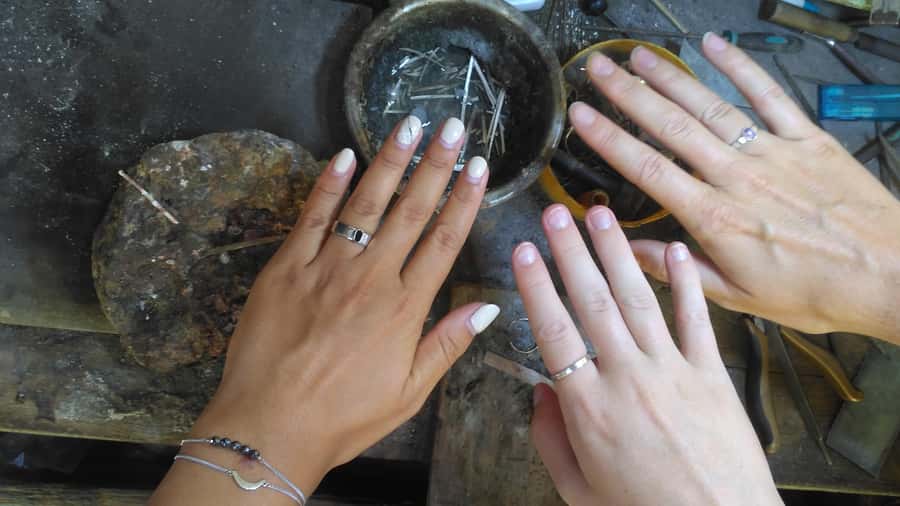
Once you start work, you follow the manual steps of the trade. The process you can expect typically goes like this:
1) Decide and seize the design
You agree on what you’ll make and how it will look in the end.
2) Melt the silver 925 material
Silver 925 is the key material in this class. You’ll heat and melt it before forming.
3) Shape and heat the metal
Shaping is not “one push and done.” It’s repeated work—form, adjust, and rework as needed.
4) Hammering and forming
You’ll hit and form the metal depending on the design you’re making. This is where the hands-on part becomes real. You’re learning the feel of metal as it’s worked.
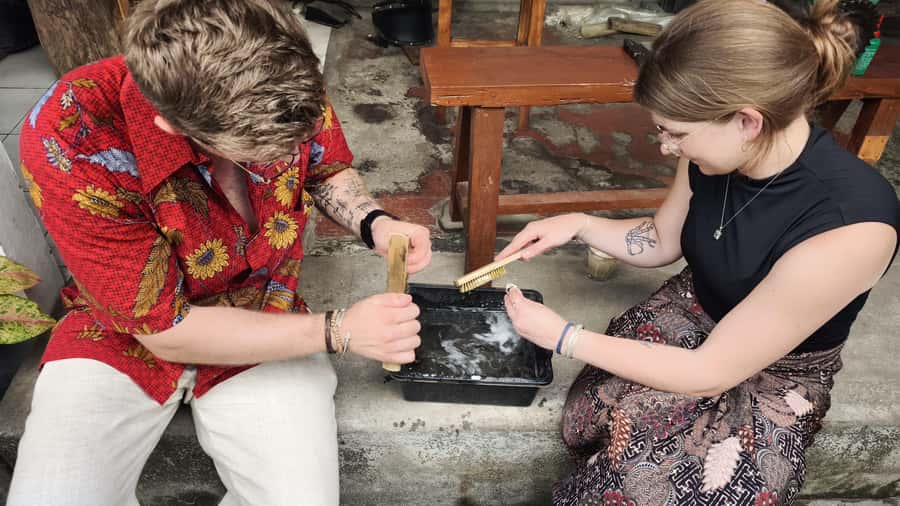
5) Polish to finish
The polishing step is what turns the crafted metal into something presentable. If you’ve ever seen raw metal pieces, you know finishing is the difference between “made” and “wearable.”
All the steps are taught and assisted by the experienced silversmith, with help from the English-speaking guide/translator. So even if you’ve never touched metalwork before, you’re not expected to “know the trick.” You learn it through doing it.
One practical consideration: because everything is manual by hand, you should expect a real learning curve. The goal isn’t to get a factory-perfect result. The goal is to create a solid, wearable souvenir while learning the technique.
The workshop team: why the guidance feels personal
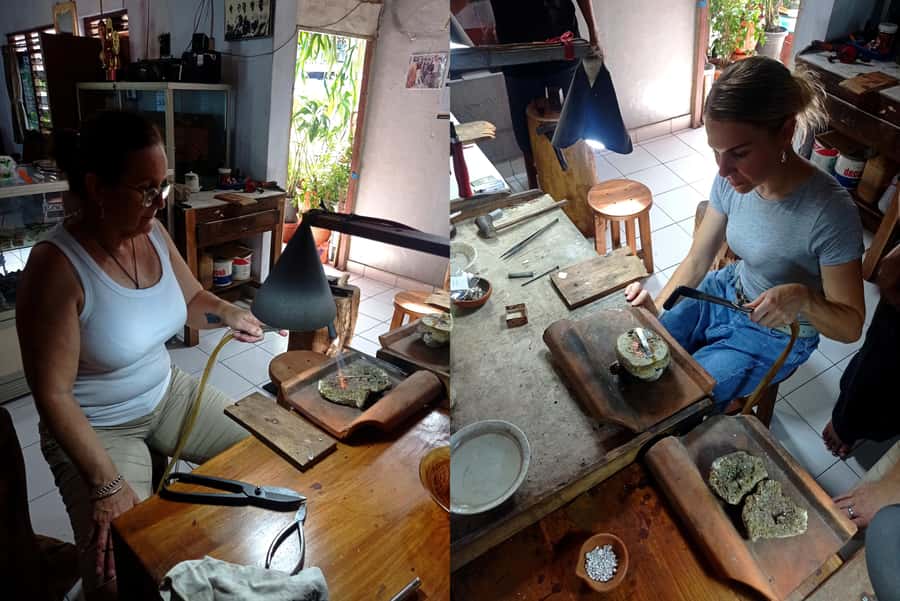
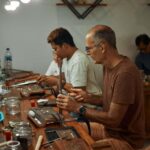
What makes this class shine is the coaching quality. I saw repeated praise for the guide’s English ability and patience, plus the silversmiths’ skill. Names that came up in different sessions include Danis and Vio for guiding/translation, and silversmiths like Mr. Darwin and Lili for the hands-on work.
In a small group, you can actually keep up. The tutor can watch your piece closely and correct small mistakes before they become big problems. And because there’s an English-speaking translator, you’re not stuck guessing what to do next.
This is also the kind of activity where mood matters. If your instructor is calm and good at explaining, you’ll enjoy the process more. The class is built around step-by-step assistance, which is exactly what you want when working with heat and metal shaping.





Polishing and taking your own jewelry home
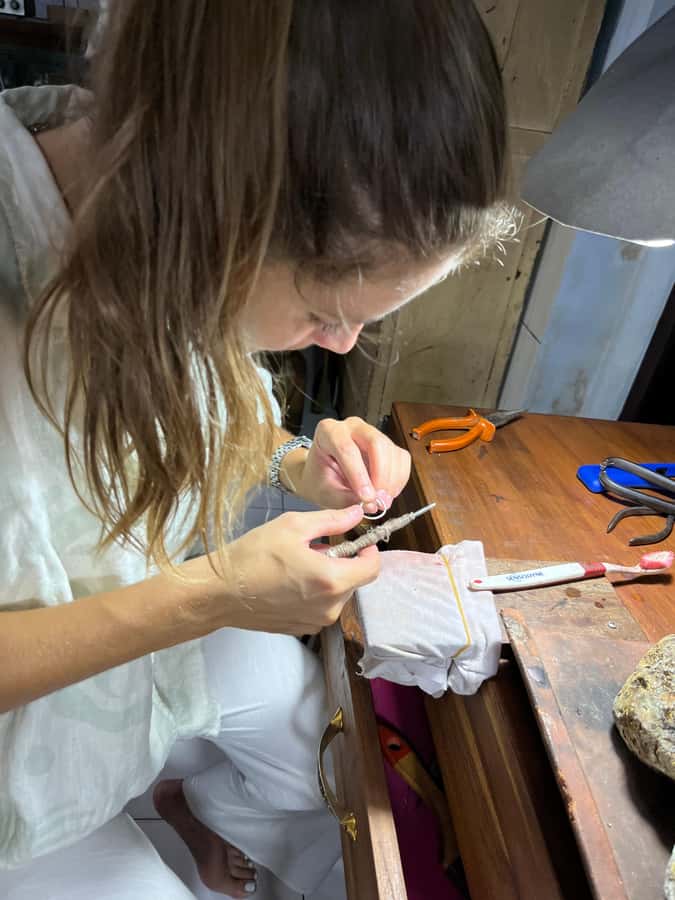
The last stage is polishing—often the part people don’t realize will matter so much. Polishing is where your work turns from “shaped metal” into something that looks finished, clean, and ready to keep.
At the end, you take home the jewelry piece you made. That’s the core value here: you’re buying a lesson plus a physical result, not just paying for time in a workshop chair.
And because it’s handmade, it carries a story. When you wear it later, you’ll remember the steps: the heat, the shaping, the hammer work, and the final polish.
Price and value: what $51 really covers
For $51 per person and about 3 hours, you’re getting more than a demonstration. Included in the experience are:
- the experienced silversmith tutor
- silver material (Silver 925)
- tools access
- mineral water
- a local snack
- an English speaking translator
That matters. Many craft classes charge separately for material and basic tools. Here, the core ingredients of learning—silver and tool access—are included, so your money goes directly into the making.
What costs extra is also clear:
- extra time is listed at around $10 USD per hour
- extra material (for example gemstones) is not included
So if you want a more elaborate final look—like adding stones—you should plan either to bring those items (if allowed) or expect an added cost. The safest approach is to design within the silver you’re given unless you’re ready to pay for upgrades.
Who should book this, and who should skip it
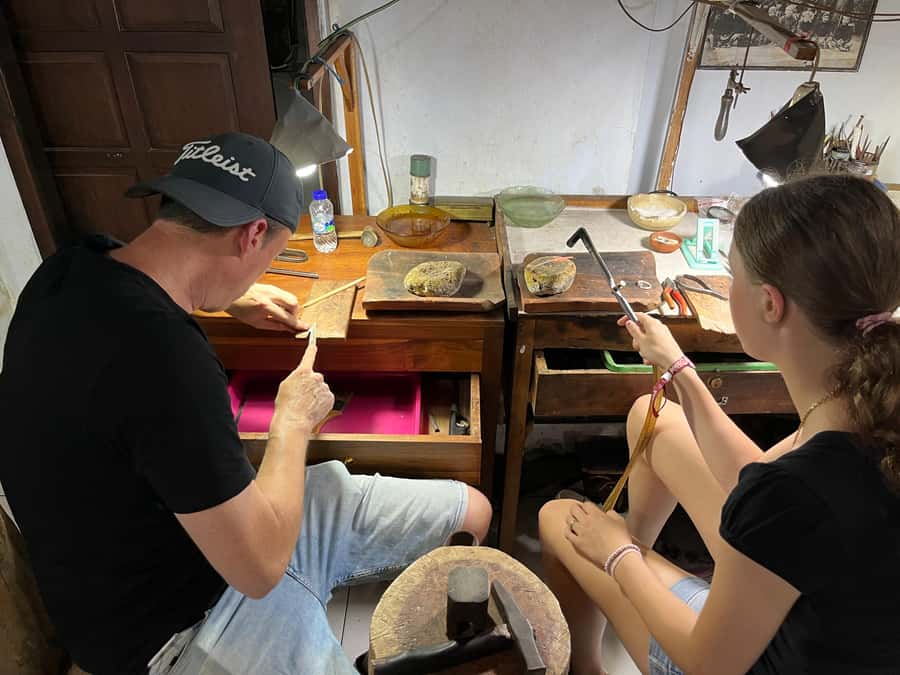
This class is best for adults (and older teens) who like hands-on activities and want a wearable souvenir made in real time.
It is not suitable for:
- children under 10
- pregnant women
- wheelchair users
- people over 70
That list is important. Since you’ll be working with the process of melting, heating, hammering, and polishing, the physical demands and safety considerations are part of the design of the experience.
If you enjoy craft work, you’re a great match. If you’re mainly looking for passive sightseeing, you might feel impatient, because the whole point is making.
Little extras: snack breaks and the feel of a local workshop day
You should expect a local snack and mineral water during the 3-hour session. That’s simple but helpful because you’re working with concentration, not just walking around.
In practice, some sessions can include additional small treats beyond the included snack—like local sweets—and sometimes extra time around nearby craft markets. Don’t count on extras as guaranteed, but it’s a good sign that the experience doesn’t feel like a rigid factory schedule.
Should you book Kotagede’s silver making class?
If you want a souvenir with real meaning, I’d book this. The value is strong because you’re not just learning the idea of silverwork—you’re making a silver 925 jewelry piece from design through polishing, with a small group and hands-on guidance from a skilled silversmith.
I’d skip it only if you can’t comfortably handle the workshop conditions (heat/hammer work) or if your schedule is so tight that losing even part of the 3-hour window would stress you out. Also, if you want a very specific gemstone-heavy design, plan for extra material costs or extra time.
FAQ
How long is the silver making experience?
It lasts 3 hours.
How many people are in the group?
It’s limited to a small group, with up to 5 participants.
Where do I meet for the activity?
Meet close to the huge banyan tree at the parking lot of Makam Raja-raja Mataram.
What languages will I use during the class?
The workshop includes English and Indonesian support.
What will I make during the class?
You’ll design and make a piece of silver jewelry, going from the initial design to the final finished form that you can take home.
What’s included in the price?
Included are the experienced silversmith tutor, silver material, tools access, mineral water, a local snack, and an English-speaking translator.
What isn’t included?
Extra time (around $10 USD per hour) and extra materials such as gemstones are not included.
Is the class suitable for children?
No. It is not suitable for children under 10.
Is it suitable for wheelchair users or seniors?
No. It is not suitable for wheelchair users, and it is also not suitable for people over 70.
What’s the cancellation policy?
Free cancellation is available up to 24 hours in advance for a full refund.