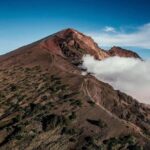
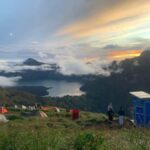
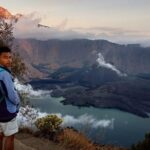
Crater rim days end with a wow. This Senaru-start hike takes you through a cold, bird-sounding jungle, with chances to spot monkeys and even deer, before you hit the 2,641m crater rim.
I like that the guide and porter team handles the heavy lifting, plus you get real camping comfort: tents, sleeping bags, a mattress, and a toilet tent with paper. I also love the practical planning, including 3 litres of mineral water per person per day and food along the way.
The one real consideration: the trek can feel hard, with steep sandy sections and a track that may not be empty, plus trash exists on some parts—so you’ll need a ready mindset and a leave-it-clean habit.
In This Review
- Key highlights before you go
- The Senaru route feels different for a Rinjani climb
- Day 1: From registration to Post 3, then the push to the crater rim
- The crater rim night: camp comfort matters at altitude
- Day 2: The descent back to Senaru, and how to protect your knees
- Price and value: what your $195 covers (and what to confirm)
- Guides and porters: the difference between tough and manageable
- Trail reality check: crowds and trash do exist
- What to pack and how to pace yourself on Rinjani
- Who this 2-day crater-rim trek is best for
- Should you book Mount Rinjani to the crater rim from Senaru?
- FAQ
- Is pickup included in the Mount Rinjani crater-rim tour?
- Where does the hike start?
- How long is the trek?
- What is included in the price?
- How much drinking water do I get?
- Do I get sleeping gear and a tent?
- Is this tour private?
- Is the national park permit included?
- Do I need good weather for this trek?
- What fitness level is required?
Key highlights before you go
- Senaru-to-crater-rim route with a cooler jungle feel and possible wildlife sightings (monkeys, sometimes deer)
- Planned “posts” on Day 1, including breaks around Post 1 and the climb continuing through Post 2 and Post 3
- Crater rim camping included with tent, sleeping bag, mattress, and a toilet tent
- Water taken care of with 3 litres of mineral water per person per day
- National park permit included (IDR 500k per person) so you can focus on the hike
- Private group feel with only your group participating
The Senaru route feels different for a Rinjani climb
Most Rinjani routes fight for attention with big open views early. This one is different. From the start in Senaru, the day leans into a jungle atmosphere that stays cool, with birds calling overhead as you walk.
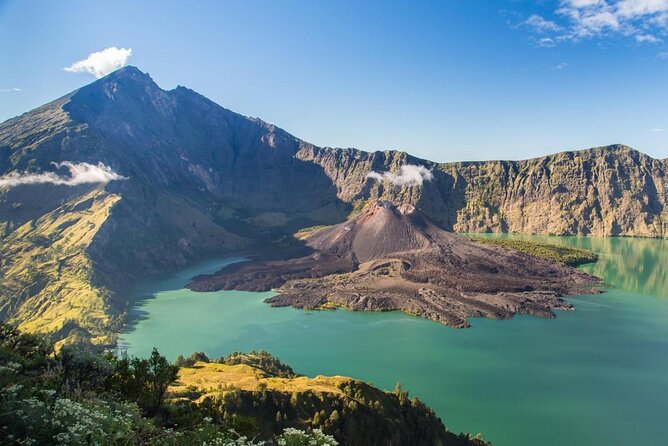
That matters because it changes the “feel” of the climb. You’re not only grinding uphill. You’re moving through living shade, hearing wildlife sounds, and then transitioning toward the crater’s open, dramatic world. The crater rim at 2641m is where the trip’s payoff lands, with views that include the crater area plus sightlines over the region.
This is also the kind of trek that fits people who want a serious hiking goal without needing a technical climbing background. The program is described as suitable for beginner climbers, honeymoon climbers, and families—assuming everyone has the basic fitness to hike uphill for two days.
You can also read our reviews of more tours and experiences in Lombok.


Day 1: From registration to Post 3, then the push to the crater rim
Day 1 starts early. You wake around 6:30am, eat breakfast, then walk about 10 minutes to the Rinjani Trek Center in Senaru to register. That short walk is more than just “logistics.” It’s your first reset: warm up your legs, get your paperwork situation handled, and meet your guide and porters while everyone is still fresh.
From the office, you’ll trek toward Post 1 for about 1 hour. After that, there’s a water break around 10 minutes—exactly the kind of stop that helps beginners keep a steady pace.
Then the climb continues up through Post 2 and Post 3. The program’s rhythm is designed for real acclimation time. You’re not sprinting from the first steep switchbacks to the rim. You’re climbing in stages, with pauses built into the plan.
After lunch, you leave Post 3 and go on to the Senaru crater rim at 2641m. The key thing here is what that means for your body. The last stretch after lunch is typically where beginners feel the burn, especially with altitude and uneven footing. If you’re the type who pushes too hard early, this is where you’ll pay for it.
The crater rim night: camp comfort matters at altitude
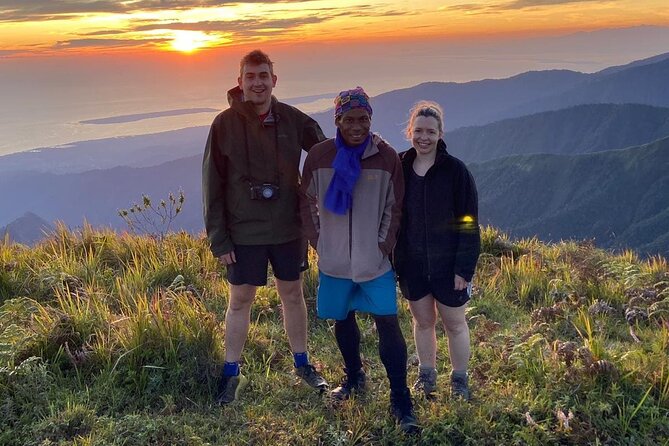
Once you reach the crater rim area, your trip shifts from hiking mode to camp mode. The nice part is that this package doesn’t treat overnight comfort like an afterthought.
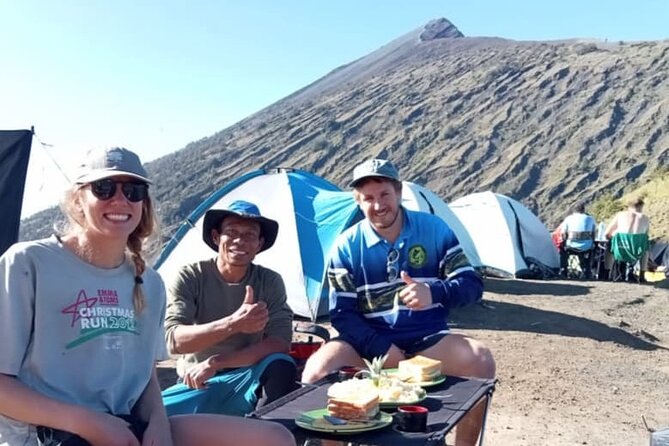
You get tents, a toilet tent (with paper), and sleep gear like sleeping bags and a mattress. That’s a big deal on Rinjani, because a cold night plus rough terrain can drain you fast. Having a real mattress and sleeping bag helps you avoid the classic “we’re exhausted, so we sleep terribly” cycle.
The most important mindset for crater rim camping is altitude and weather. Even if the day felt manageable, nights near volcanic elevations can feel colder than you expect. Dress in layers and keep your warm things accessible. On a trek like this, a “good sleep” is not a luxury. It’s part of your ability to handle Day 2.
Also, remember: the crater rim experience isn’t just views. It’s the quiet hours where you notice sounds, wind, and how the day’s effort settles into your legs. If you’re traveling as a couple, honeymooners often like this part because it feels like a real shared goal, not a rushed photo stop.
Day 2: The descent back to Senaru, and how to protect your knees
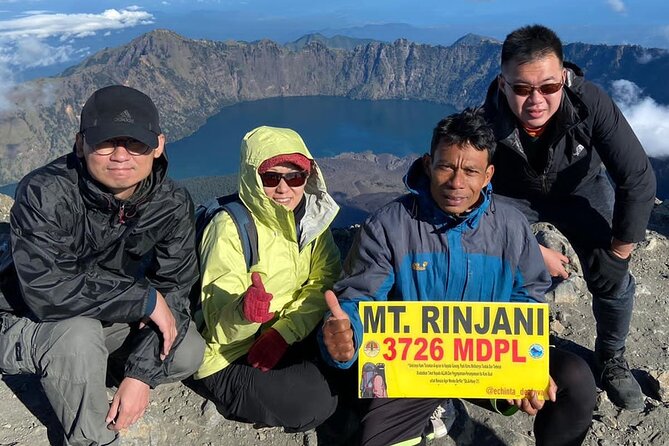
Day 2 is the return to Senaru. The exact timing from the provided info isn’t fully laid out, but the structure is clear: you wake up, pack up camp, and start the descent.
This is where the “hard part” changes shape. Climbing taxes your breathing. Descending taxes your knees, ankles, and balance—especially if the trail includes sandy or steep sections. One of the most practical things you can do is keep your steps controlled. Shorter strides and steady footing beat long, rushed steps every time.
If your Day 1 pace was aggressive, Day 2 is when you feel it. If you paced well and stayed steady through Posts 1 to 3, Day 2 tends to feel like “progress,” even though it’s still work.
Don’t underestimate the mental side either. Leaving the crater rim means you’re going from big views back to trail focus. Keep snacks and water habits going so you don’t get “low energy” halfway down.
Price and value: what your $195 covers (and what to confirm)
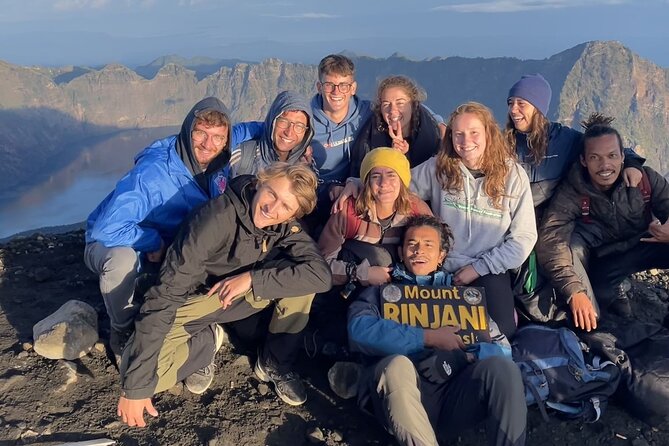
The price is listed at $195 per person for this 2 days / 1 night crater-rim package. That number can look simple until you break down what’s included.
In your favor, the package includes:
- Professional guide and porter
- Transport from Senaru to the office centre
- Food and drinking water on the trek, including 3 litres of mineral water per day
- Camping gear: tent, toilet tent and paper, sleeping bags, mattress
- National park permit (IDR 500k/person)
What’s not included is the part that varies by where you’re staying: pickup and room/hotel transport before the trek. The tour listing says pickup is offered, and also says hotel pickup isn’t included in the standard package—so you’ll want to confirm how they handle it for your specific booking.
Here’s how I think about value on Rinjani: this trek charges you for the things that make or break the experience—carriers, meals, and overnight comfort. People who try to DIY often end up spending more once they add permits, gear rentals, and getting a kitchen/porter setup figured out. If you want a guided, supported hike where you carry less and sleep better, this price is doing real work for you.
Guides and porters: the difference between tough and manageable
This kind of trek succeeds or fails based on the people moving with you. The strongest signal from the guide/porter feedback is how supportive the guides stay.
You’ll hear names like Anton, Anci, Dul, Ris al, and Sanci, and they’re praised for being professional, encouraging, funny, and genuinely helpful through harder sections. Another name that shows up is Sultan, tied to the team’s organization and the overall experience.
Even if you’re an able hiker, encouragement matters on Rinjani. Steep, sandy footing can make you want to stop more often than your brain planned. A good guide helps you keep going without turning the trek into a stress test. And a good porter setup means your food and drinks show up when you need them, not when you’re already out of energy.
If you’re a beginner or hiking for the first time overnight, this is where the program’s “beginner-friendly” promise starts to become real. You’re not walking alone with a steep plan. You’re walking with a team that has done this route and knows how to keep you moving.
Trail reality check: crowds and trash do exist
The crater rim is popular. The track can be busy, and it may not feel like you’re hiking in total solitude. That isn’t a reason to skip the trek—it’s just a factor.
I suggest treating it like this: plan for a shared path, keep your patience, and don’t let other people’s pace ruin yours. If you tend to rush when you feel crowded, you’ll likely burn too fast.
The other reality is unpleasant but important: trash along parts of the path can be an issue. The right response is simple. Keep a small bag for your own waste, and if you see something that’s clearly left by others, do what you can to pack it out when it’s safe. You’re going to a National Park zone. Leave it better than you found it, even in tiny ways.
What to pack and how to pace yourself on Rinjani
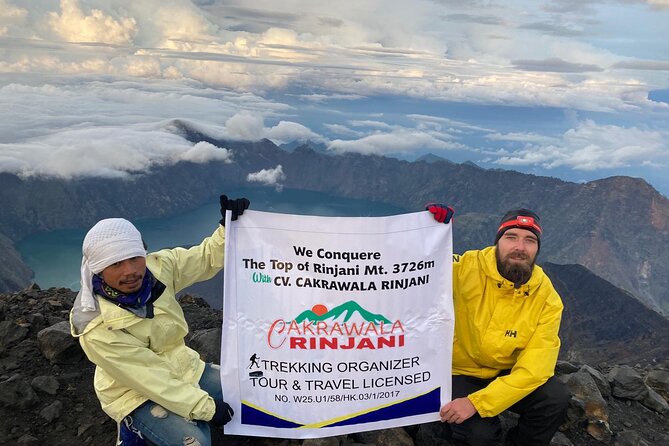
The provided info says the trek needs strong physical fitness, even if it’s described as beginner-suitable. So think of it as “beginner friendly with effort.” You’re going uphill for long stretches, then camping, then hiking down again.
Based on the terrain and typical comments about Rinjani’s steep sand, focus on these basics:
- Wear shoes that handle sandy, uneven footing
- Bring layers for a cooler jungle start and colder rim night
- Pace early so Day 2 doesn’t feel like punishment
- Use the water breaks and don’t try to “save water” for later
A simple pacing rule that helps beginners: walk like you can finish the day comfortably. If you can’t talk in full sentences for long stretches, you’re probably pushing too hard.
If you’re traveling with family or as a couple, plan your expectations. This isn’t a gentle stroll. It’s a real hike with a memorable overnight.
Who this 2-day crater-rim trek is best for
This program is aimed at people who want a meaningful achievement without complicated technical gear.
It’s a strong fit for:
- Honeymooners who want an emotional “we did it” moment plus dramatic crater views
- Beginner climbers who still have the fitness to hike uphill for extended periods
- Families that can manage uneven trail conditions and follow the group pace
If you’re an experienced climber looking for a more advanced route, you might find the experience too “managed” compared to harder multi-day summit options. But if your goal is crater rim drama with a supported team, this delivers.
Should you book Mount Rinjani to the crater rim from Senaru?
If you want a guided, two-day Rinjani experience with meals, camping gear, and permits handled, I think this is an easy yes. The price covers the practical stuff you’d otherwise have to figure out yourself—especially the overnight setup and the fact that you won’t be lugging everything.
Book it if:
- You like the idea of a cool jungle start and a crater rim finish
- You want a guide-led pace with porters doing porter work
- You’re okay with the trek being tough and possibly busy on the trail
Skip or reconsider if:
- You’re unsure about your fitness for steep, sandy footing and a rim night at altitude
- You need hotel pickup included automatically and don’t want to coordinate transport yourself
If you’re deciding between this and a more summit-focused plan, choose the crater rim option when your priority is a strong “Rinjani moment” with less logistical burden.
FAQ
Is pickup included in the Mount Rinjani crater-rim tour?
Transport is included from Senaru to the office centre, but pickup and hotel transport before the trek are not included. The listing notes pickup is offered, so you should confirm how it works for your booking.
Where does the hike start?
The itinerary starts from Senaru village, with registration at the Rinjani Trek Center in Senaru.
How long is the trek?
The tour is 2 days (approx.) with 1 night at the crater rim area.
What is included in the price?
Included are a professional guide and porter, transport from Senaru to the office, food and drinking water (3 litres mineral water per day), camping gear (tent, sleeping bags, mattress), a toilet tent with paper, and the National park permit (IDR 500k per person).
How much drinking water do I get?
You receive 3 litres of mineral water per person per day during the trek.
Do I get sleeping gear and a tent?
Yes. The package includes tents, sleeping bags, and a mattress, plus a toilet tent and paper.
Is this tour private?
Yes. It’s listed as a private tour/activity, meaning only your group participates.
Is the national park permit included?
Yes. The package includes the permit to the National Park at IDR 500k per person.
Do I need good weather for this trek?
Yes. The experience requires good weather. If it’s canceled due to poor weather, you’ll be offered a different date or a full refund.
What fitness level is required?
You should have a strong physical fitness level, since the trek involves extended uphill hiking and overnight conditions at the crater rim.