Ubud’s incense smells like a tiny time machine. This Ubud incense making workshop turns a sacred, everyday practice into something you can actually do, with the story of incense in Balinese Hindu culture woven into the process. And you’re not leaving empty-handed: you get a free DIY kit so you can keep making at home.
My favorite part is the hands-on skill transfer. They guide you through mixing, scent customizing, and hand-rolling the sticks, with enough help that you’re not just watching. The main drawback to think about: the workshop is not wheelchair accessible and it isn’t suitable for people with respiratory issues, plus you’ll want to avoid strong perfumes that could mess with the scents.
In This Review
- Key things that make this incense workshop worth your time
- How the Ubud incense workshop works in 90 minutes
- The incense history lesson you’ll actually remember
- Organic ingredients, toxic-free claims, and what that means for you
- Picking scents and building your own incense sticks
- Optional incense cones and a ceramic burner that looks good too
- Take-home kit value: why the $20 feels fair
- Finding the venue in Ubud (and what to wear)
- Who this incense workshop suits, and who should skip it
- Should you book the Ubud incense making workshop?
- FAQ
- How long is the Ubud incense making workshop?
- What do I get to take home?
- Can I make incense cones?
- Are the ingredients natural and safe?
- Is the workshop taught in English?
- Are smoking, food, or drinks allowed during the class?
- Is the workshop refundable if I cancel?
- Is it wheelchair accessible, and is it suitable for respiratory issues?
- The workshop is $20. What’s the value?
Key things that make this incense workshop worth your time
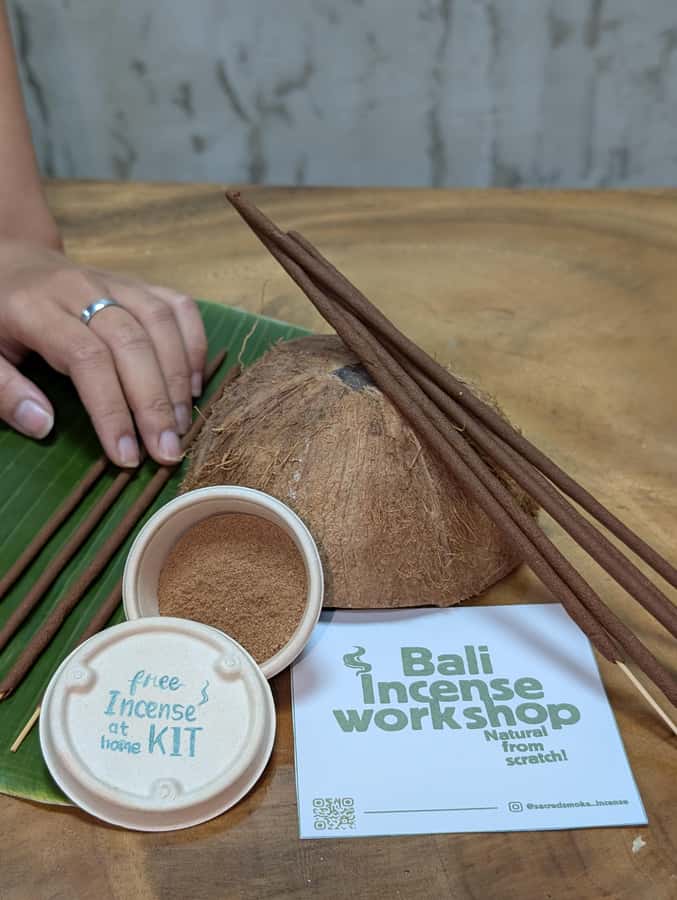
- Free take-home DIY incense kit so the class doesn’t end when you leave
- 100% natural, toxic-free ingredients using certified organic essential oils and natural powders
- Choose your own scent by adding essential oils to customize what you’re making
- Real practice, not just a demo with hands-on rolling and instructor support
- Optional incense cones if you want to make something a little different
- Optional customized ceramic incense burner for an extra cost
How the Ubud incense workshop works in 90 minutes
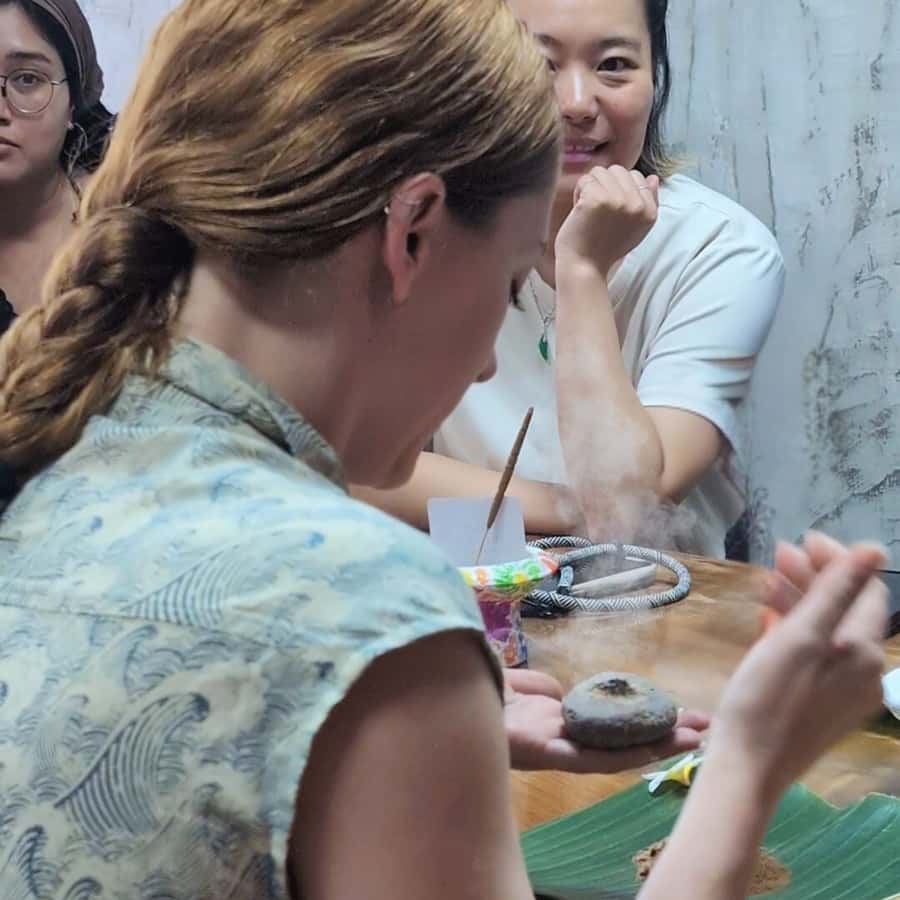
The format is simple and friendly: you show up, learn the ingredients and the purpose of incense, then you make your own batch from scratch. The whole experience is designed to fit into a 90-minute window, so it feels efficient without rushing you through the steps.
You’ll start with the basics: what incense is made of, why the proportions matter, and how the scent changes when you use different essential oils or powders. Then you move into the fun part, where your hands get involved right away. You’ll learn the technique for rolling incense sticks, and you can optionally craft incense cones if you want a second style.
You also have time for a small creative step that people often forget is part of the experience: choosing scents. You’re encouraged to add essential oils to customize what you make, so your finished incense matches what you like (woodsy, floral, herbal, and more, depending on what’s available).
One more practical detail: the studio setup is built for doing the work, not just sitting and listening. One review noted the room was air-conditioned, which matters in Ubud when the humidity is doing its own thing.
You can also read our reviews of more tours and experiences in Ubud.



The incense history lesson you’ll actually remember
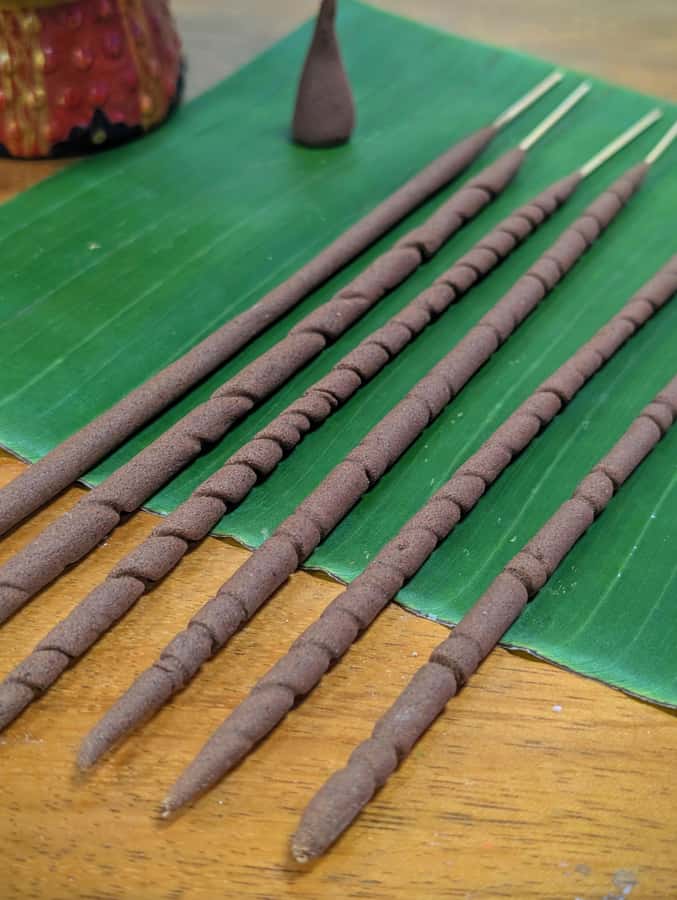
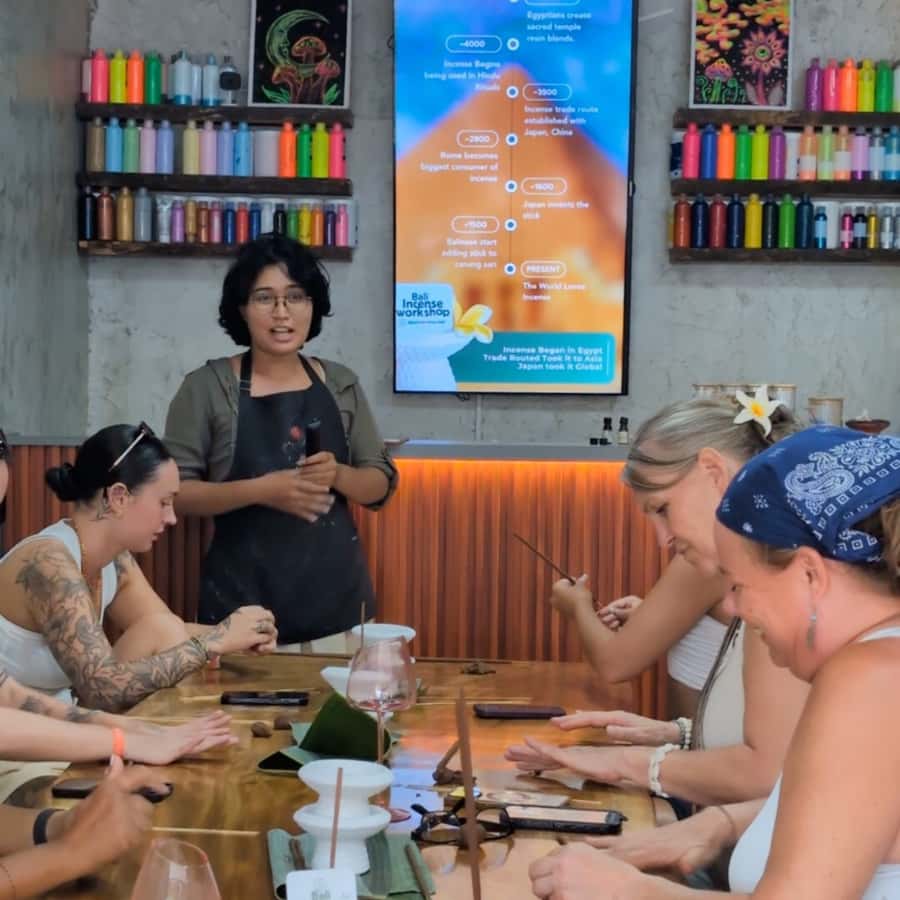
Incense is one of those things you smell every day in Bali, but rarely stop to understand. This workshop explains how incense fits into religious practice and daily life, and it connects the craft to the broader global story of incense-making.
What I like about the teaching here is that it doesn’t treat incense like a decoration. You learn why incense matters in worship and ritual, and how the craft developed and traveled across cultures. Then they bring it back home to Bali, focusing on how incense helped shape Balinese Hindu culture.
This is especially useful if you’re the type who wants your souvenirs to have a reason. A bag of incense is nice, but knowing where the practice comes from makes it feel more like you brought back a tradition, not just a scent.
And the way the history is woven into the making helps your brain hold onto it. You hear the meaning, then you immediately handle the ingredients and roll the sticks, so the lesson sticks because you’re using it.
Organic ingredients, toxic-free claims, and what that means for you
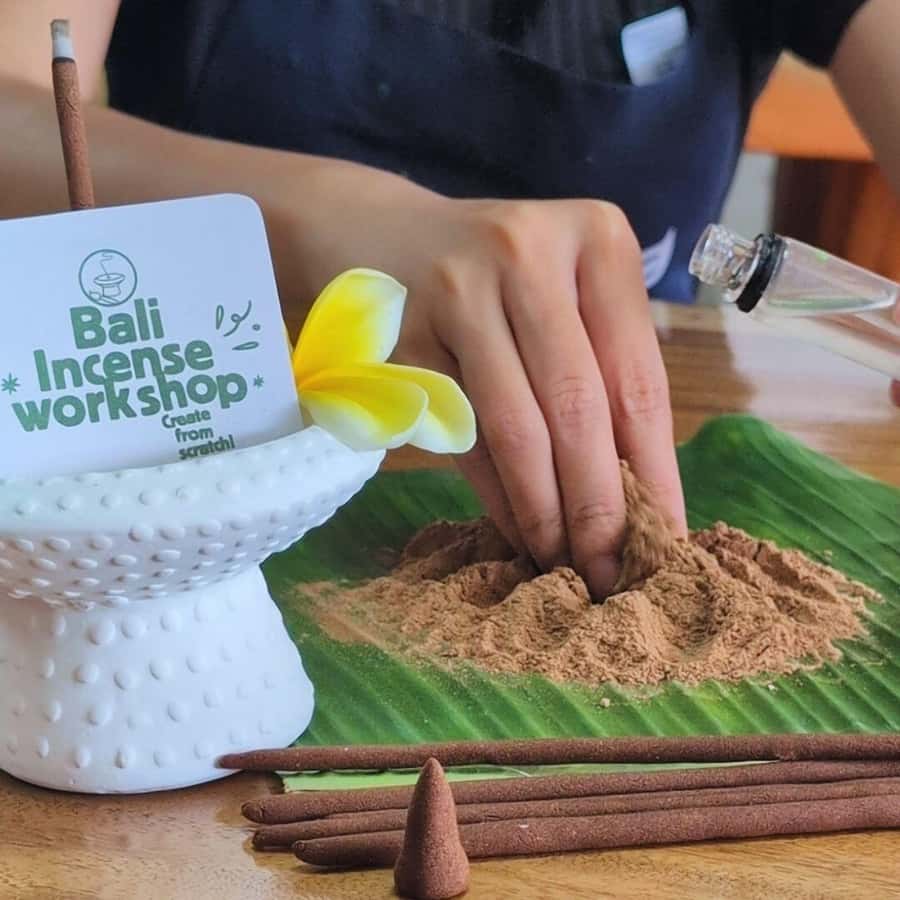
The workshop is very upfront about ingredient quality. They use 100% natural ingredients, and they’re aiming for a premium, non-toxic incense. You’re also told the essential oils are certified organic, and the powders are natural.
In plain terms, that matters because incense is a smoke product. Even if you don’t think about it much at home, you’re still burning it in enclosed or semi-enclosed spaces. When a workshop emphasizes organic and non-toxic materials, it’s giving you a product you can feel better about using.
You’ll also learn what’s actually going into your incense. Instead of treating it like magic dust, the workshop explains the different components and how you combine them. That’s part of why the class feels like real skill transfer: you understand what you’re doing, not just what to mix.
Scent customization is where you’ll feel the quality. You add essential oils to shape the fragrance, and then you work the incense mixture into stick form. When the ingredients are consistent and the process is clear, your final product smells more like your choice and less like whatever the supplier decided.
Picking scents and building your own incense sticks
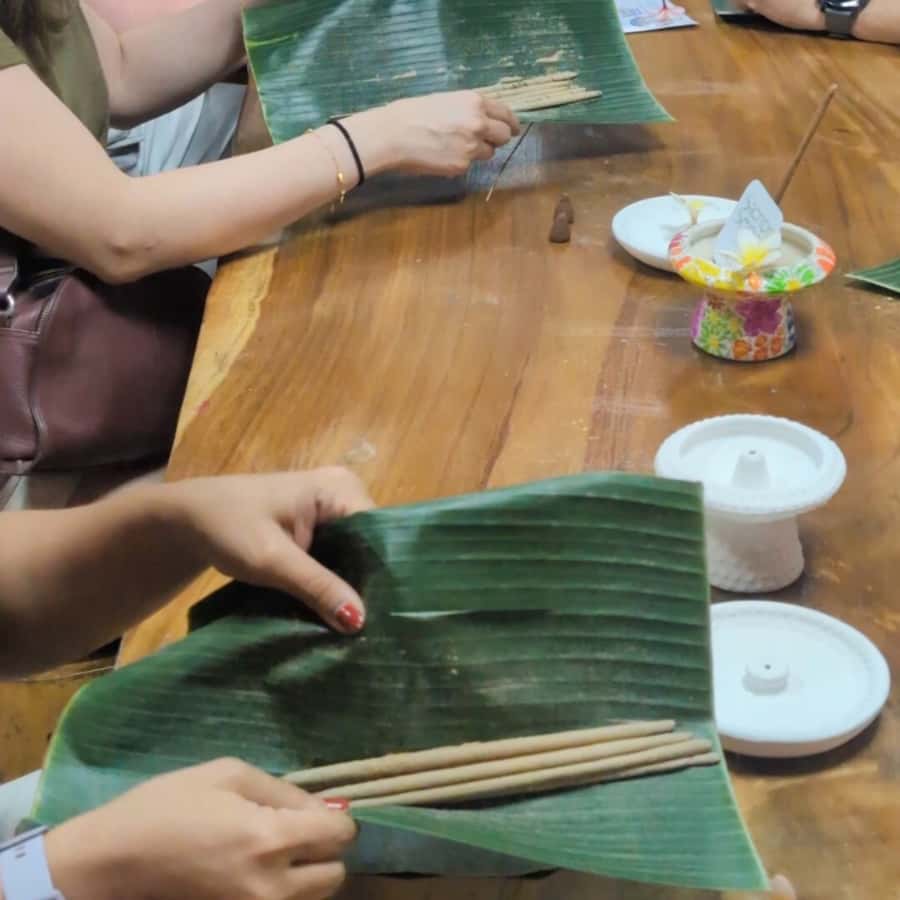
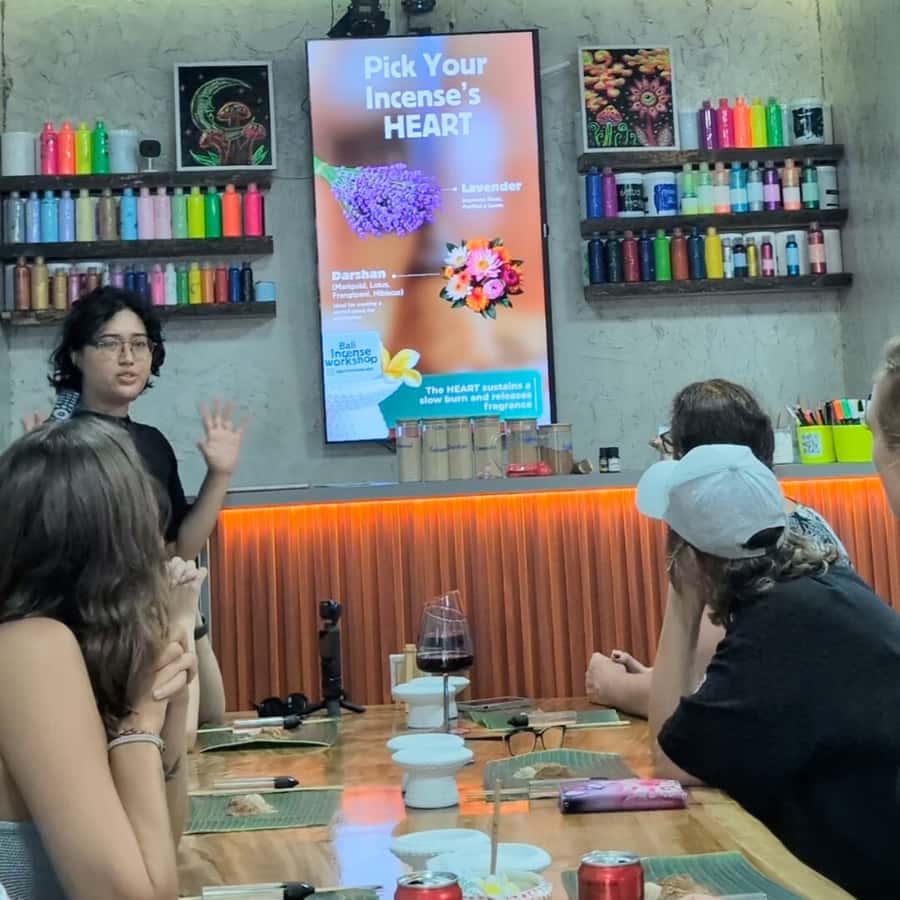
Here’s the moment you’ll probably be smiling through: choosing scents and adding them to your mix. The workshop uses essential oils so you can customize the fragrance instead of getting one fixed option. That’s a big deal if you prefer specific vibes, like calming herbal notes or warmer, spicier aromas.
Once you’ve chosen your scent, you start building. You’ll learn the steps to make incense sticks from scratch, then hand-roll your own. The teacher guidance is key here because rolling is all about consistency. If the mix is too wet, too dry, or not worked properly, the burn can be uneven.
The class is set up to make sure you don’t get stuck. Reviews mention that there are two teachers, which you’ll likely feel in the room when you’re rolling and checking your progress. When you’re learning a technique with your hands, small adjustments matter.
You’ll also create incense sticks that are designed to burn for 1+ hour each. That burn-time detail is one of the best practical indicators of value. It means you’re not just making something that smells good on day one and then fades after a short test burn.
And if you want variety, there’s the option to make incense cones too. Cones can feel different when burned, and they’re a fun way to extend your DIY collection.
Optional incense cones and a ceramic burner that looks good too
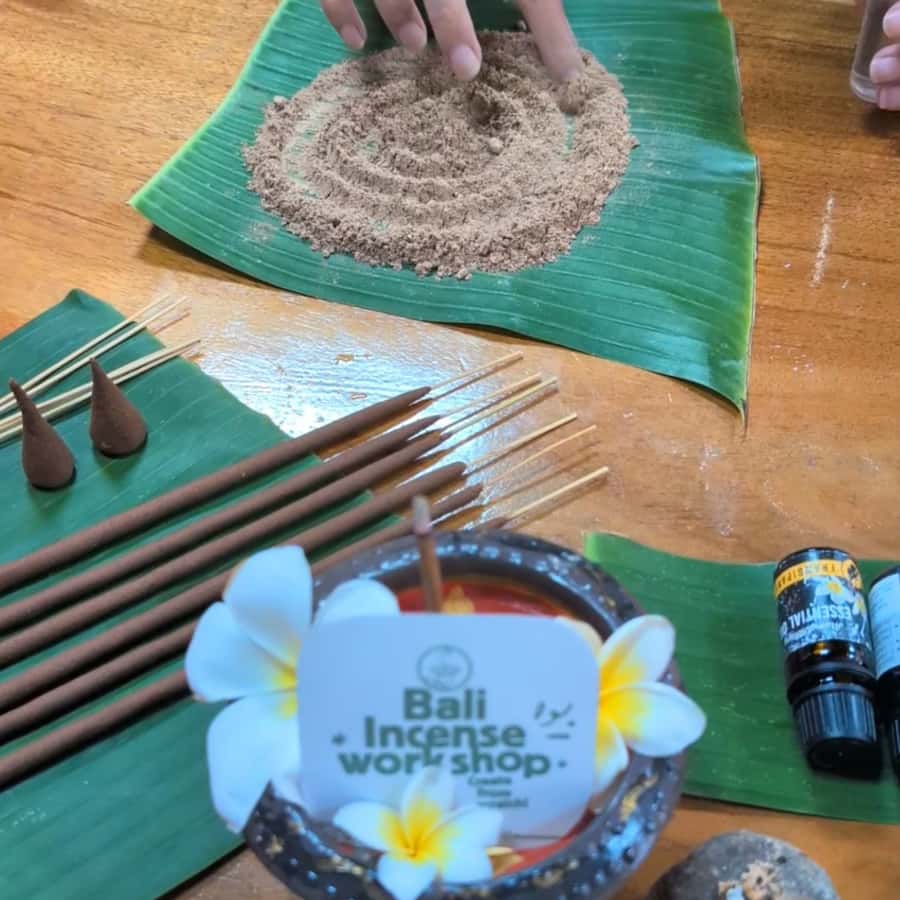
You have a choice in how you finish your project. For many people, the main goal is the incense, but there’s also an optional creative add-on: a ceramic incense burner.
If you add it, you can paint or work on a customized ceramic burner so you have something that matches your incense style and looks nice in your space. It’s not required, and it comes with an extra fee (listed as an optional add-on of 15k).
Why I think this is worth considering: incense is one of those things you display without thinking. A burner gives you a proper home base, so you’re not improvising on the kitchen counter or searching for a random dish. It also turns the workshop into a keepsake you’ll actually use.
If you don’t add the burner, that’s fine. You still take home incense and a DIY kit, so you’ll be able to set everything up with whatever you already have.
Either way, remember the incense rule of thumb: you’ll want a stable, heat-safe setup when burning. The workshop gives you instructions, but it’s still smart to use common sense at home.


Take-home kit value: why the $20 feels fair
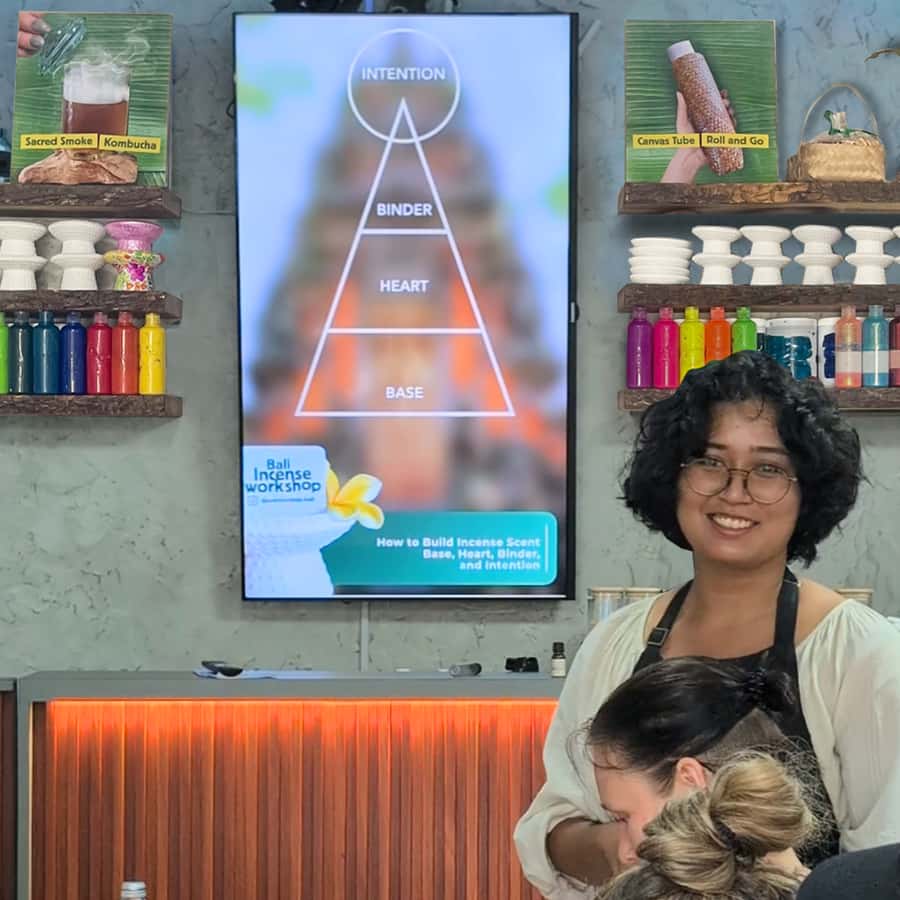
At $20 per person for a 90-minute workshop, this is priced like a local activity with a real output. And the output is the key word.
You get:
- Your hand-made incense sticks (with a burn time of 1+ hour each)
- A take-home DIY incense kit so you can make more later
- A DIY instructions card
- Optional: incense burner add-on (extra 15k)
For value, you’re getting both an experience and a product. If the class only gave you one stick and a vague memory, it would be overpriced. Here, you’re walking out with something you can burn and something you can reproduce.
The free take-home kit is also the part that makes it repeatable. You can practice the rolling method, try new scent combinations, and refine your results without paying again for another workshop.
One extra practical detail: people have taken their DIY incense home internationally after checking what needs to be declared. If you’re flying, plan to follow your home country rules. Incense can be treated like a commodity in customs, so declaration may apply.
Finding the venue in Ubud (and what to wear)
The meeting point is next to Ubud Town Silver Jewelry Making. There’s also a big construction next door, so it can feel a bit like you’re heading into a puzzle. The window sign is the helpful clue: it should say Incense Making Workshop.
As for what to wear, keep it simple. Avoid strong perfumes. This isn’t about style; it’s about not interfering with your own incense scent and the workshop’s ingredient aromas.
You should also plan around the rules:
- No smoking
- No food and drinks during the workshop
That means you’ll want to arrive ready to focus on the scent-making process. If you’re someone who likes to snack while learning, you might find this a bit restrictive. It’s best to treat it like a mindful craft session.
Who this incense workshop suits, and who should skip it
This is a great fit if you want:
- A hands-on Bali activity that isn’t just sitting through a talk
- A practical craft you can repeat at home
- A cultural explanation tied to what you’re doing with your hands
It also works well for mixed groups. The class format is built around teacher support, so you can get help when rolling the sticks or adjusting your mixture. Reviews also highlight the teachers are welcoming and that the session balances history with doing.
However, it’s not for everyone. The workshop is not wheelchair accessible, and it’s not suitable for people with respiratory issues. Also, because it’s scent-heavy and you’ll be burning incense, it’s not the right setting if you’re sensitive to smoke or strong fragrance.
If you’re traveling with someone who has asthma, allergies, or breathing limitations, check with the provider before booking and don’t assume “it’s only 90 minutes” is automatically safe.
Should you book the Ubud incense making workshop?
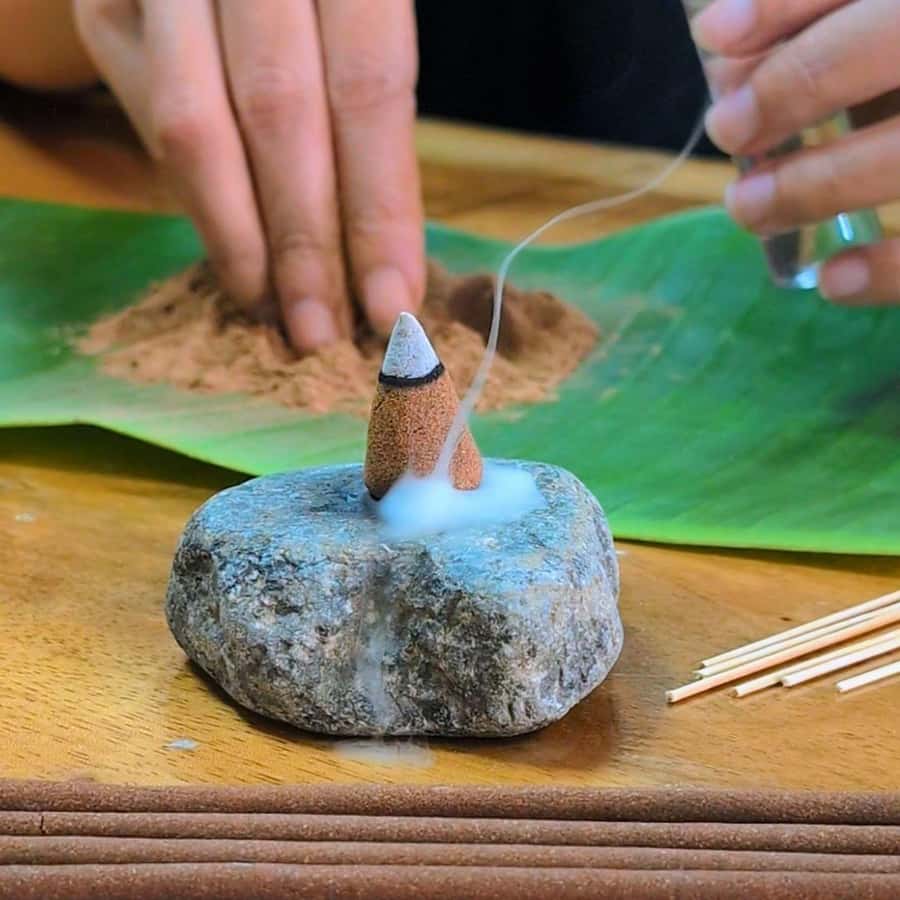
Book it if you want a Bali souvenir with staying power. The best reason to choose this one is the combo: real skill-building plus a free take-home DIY kit plus incense you can actually burn (1+ hour each). For the price, you’re paying for an experience and leaving with the materials to continue.
Skip it if you can’t do workshops in a fragrance-and-smoke environment, need wheelchair access, or have respiratory concerns. Also skip if you hate any “hands-on” activities, because the whole point is rolling and mixing.
If you fall in the sweet spot, you’ll leave with more than a smell. You’ll have a craft you understand, a scent you chose, and a reason to think differently about why incense shows up in daily life here.
FAQ
How long is the Ubud incense making workshop?
It lasts 90 minutes.
What do I get to take home?
You take home a DIY incense kit, your hand-made incense sticks (with a burn time of 1+ hour each), and a DIY incense instructions card. If you add the option, you can also take home a customized ceramic incense burner.
Can I make incense cones?
Yes, incense cones are optional during the workshop.
Are the ingredients natural and safe?
The workshop states it uses 100% natural ingredients and that the incense is toxic-free. It also says the essential oils are certified organic and the powders are natural.
Is the workshop taught in English?
Yes, the instructor teaches in English.
Are smoking, food, or drinks allowed during the class?
Smoking is not allowed, and food and drinks are not allowed.
Is the workshop refundable if I cancel?
Yes. There is free cancellation up to 24 hours in advance for a full refund.
Is it wheelchair accessible, and is it suitable for respiratory issues?
It is not wheelchair accessible. It is also not suitable for people with respiratory issues.
The workshop is $20. What’s the value?
For $20, you’re paying for 90 minutes of guided instruction, hands-on incense making, incense sticks for immediate use, and a take-home DIY kit with instructions so you can make more later.