Rinjani hits hard, then pays back fast. This 3D2N Mount Rinjani trekking route climbs from Sembalun side for big grassland views and keeps going to the crater rim for sunset over Segara Anak.
I love the way the trek mixes big moments: sunrise from the summit, then a second day that brings you down into the crater and up again for more views. I also like the practical setup, with porters carrying camp gear and a guide handling the mountain rhythm, so you can focus on your pace and breath.
One thing to consider is the effort. This 3-day format is genuinely demanding, and the schedule includes a long climb back down on Day 3, plus a tough second day around rocky crater trails and hot-spring time.
In This Review
- Key highlights you should care about
- Mount Rinjani 3D2N: what makes this trek worth your time
- Price and value: what the $141 buys you (and what it doesn’t)
- Route strategy: Sembalun start, Senaru return, and why it matters
- Day 1 on Rinjani: from grasslands to the crater rim sunset
- Day 2: summit sunrise, then crater descent, lake lunch, and hot springs
- Day 3: the long descent through thicker, lusher forest
- The views: what you actually get (and how to plan for them)
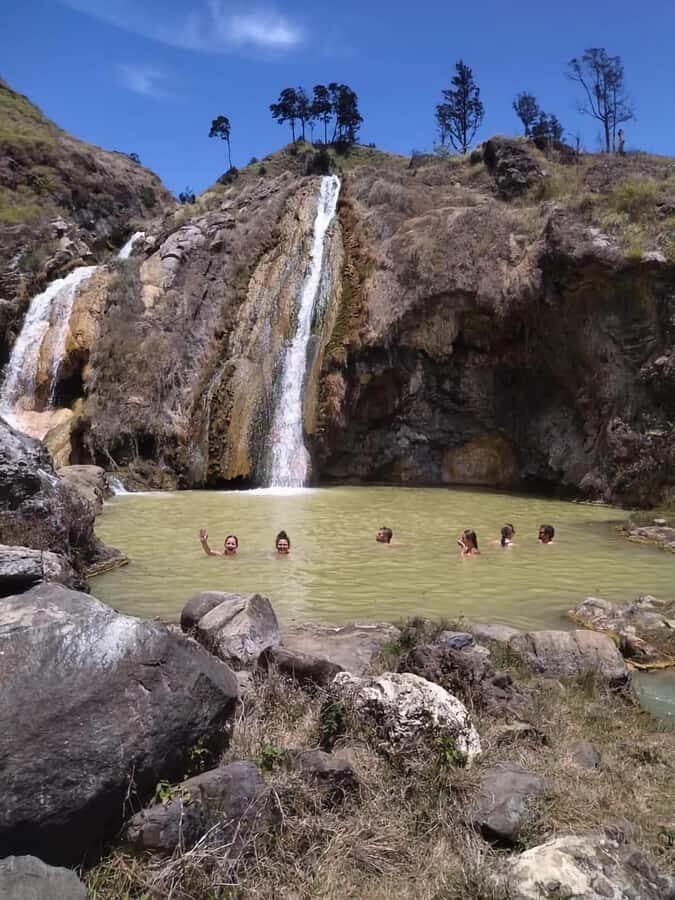
- Hot springs at Segara Anak: the reset button
- Included gear and what you should still bring
- Fitness reality check: who this trek suits, and who should reconsider
- Small group or private: why group size changes your experience
- Final verdict: should you book this Mount Rinjani 3D2N trek?
- FAQ
- How long is the Mount Rinjani 3D2N trek?
- Where do you start and where do you finish?
- Is there an English-speaking guide?
- What’s included in the trek price?
- What extra costs should I budget for?
- When do you arrive back in Senaru on the last day?
Key highlights you should care about
- Sembalun grass savanna route for open, wide views before the mountain turns into steep climbs
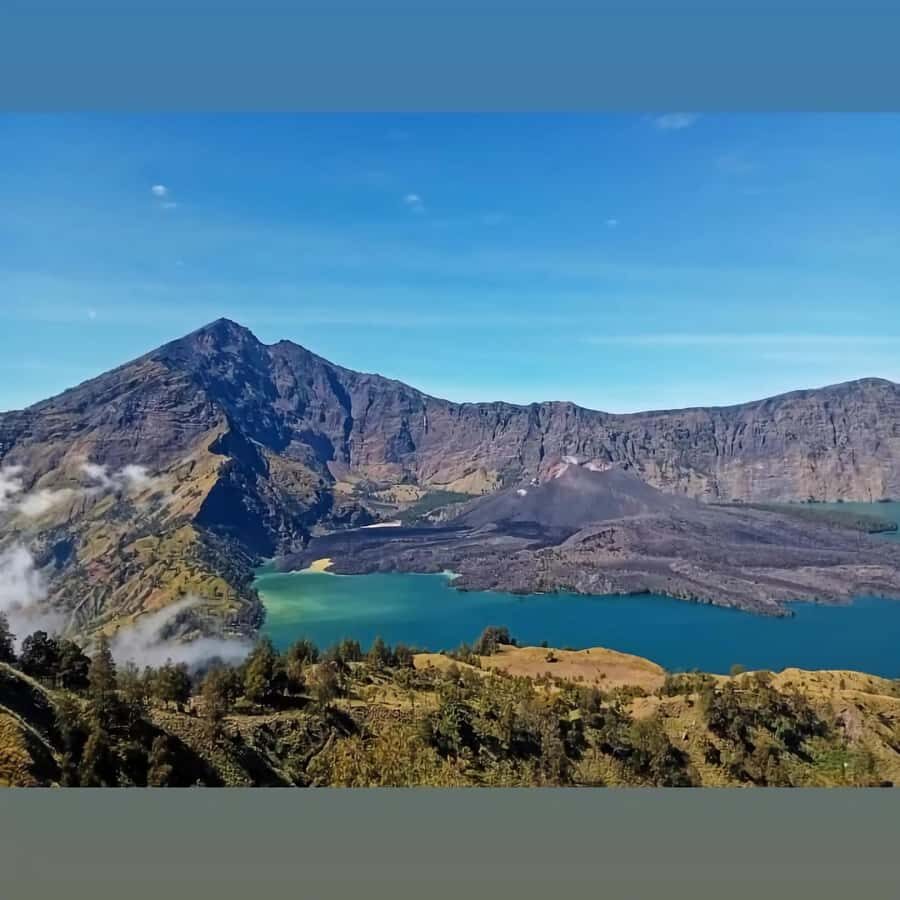
- Sunset at Lake Segara Anak from the crater rim, with Mount Rinjani’s inner world in front of you
- Summit sunrise timed after an early-morning climb to the high point
- Hot springs by the lake during your crater-lunch stop, with a short swim-style break
- Two crater rims to camp: Sembalun Crater Rim first, then Senaru Crater Rim for another round of scenery
- Worth the price if you use what’s included: guide, porters, camping gear, trekking poles, head lamps, and meals
Mount Rinjani 3D2N: what makes this trek worth your time
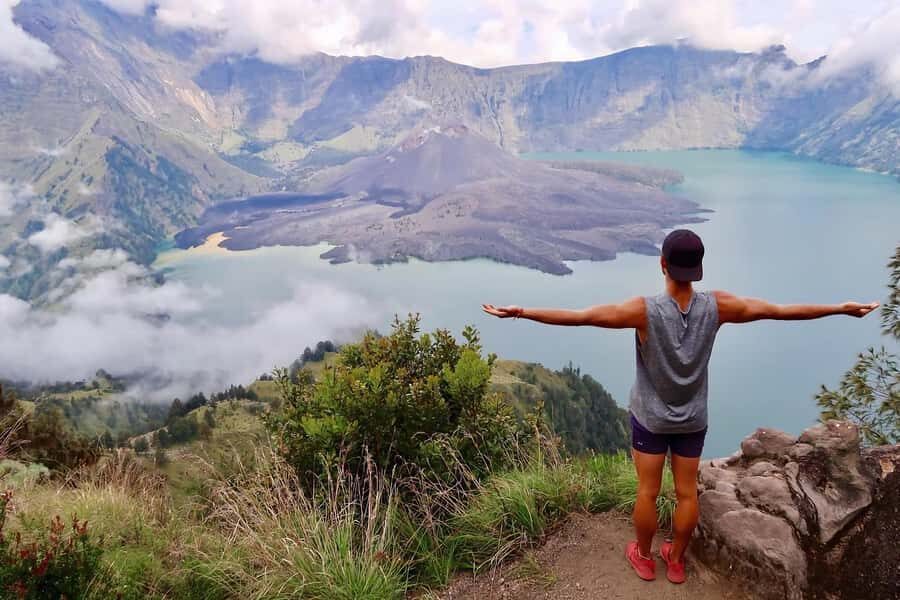
If you want a Mount Rinjani trek that feels like a real mission, this 3 days and 2 nights option is the one most people talk about for a reason. It’s built around a classic loop of viewpoints inside the volcano: Sembalun side climbs up, you work your way through sunrise and crater highlights, and you return down through Senaru.
The best part is not one single photo moment. It’s the stacking effect. You get big contrast across three days: open grassland trekking at the start, cold pre-dawn effort toward the summit, then crater-floor heat when you reach the lake and hot springs. That mix is what makes this route feel like you actually explored the mountain, not just walked up and back.
That said, the mountain decides the pace. This is not a gentle stroll. You should be ready for steep sections, rocky footing, and early starts. If you’re the type who hates feeling rushed by time, this trek can still work, but you’ll want to prepare mentally and physically.
You can also read our reviews of more tours and experiences in Senaru.
Price and value: what the $141 buys you (and what it doesn’t)
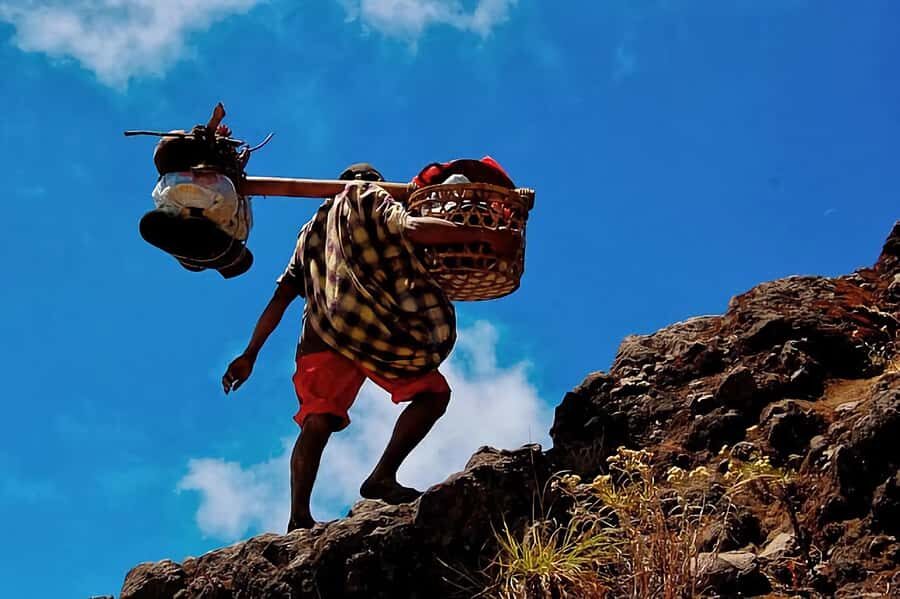
At around $141 per person, the value here comes from what’s included. You’re not just paying for a guide. You’re also getting porters who carry cooking gear and camping equipment, plus the core camp kit (tents, sleeping bags, mattress, and even a toilet tent and paper). You’ll also receive trekking poles and a head lamp, which matters a lot on early-morning starts.
Food is covered too: breakfast, lunch, and dinner, plus drinking water on the trek (listed as 3 liters of mineral water per day per person). When you add that to the camping setup, it’s easier to see why this price can feel fair for a volcano trek like Rinjani.
The main extra cost to plan for is the park entrance fee, listed as IDR 200,000 per day per person. Trekking shoes are also not included, and you’ll want weather protection like a raincoat if conditions turn.
Route strategy: Sembalun start, Senaru return, and why it matters
This trek is designed to explore multiple sides of Mount Rinjani, with the loop using the Sembalun trekking trail and returning via the Senaru route. Your exact start point can depend on ticket availability. The plan notes you may start from Senaru Gate or Sembalun Gate, and if the Sembalun gate is full, the trek can shift so you still end up returning through Senaru.
Why you should care: the two sides feel different. The Sembalun approach is famous for open grass savanna where you can see a lot of sky and get grand views early. The Senaru side is more about forest and crater-rim vantages as you work your way down.
Even if your start gate changes, the structure stays the same: you camp at high crater rims, chase sunrise, spend time by Lake Segara Anak, then finish with the long descent back.
Day 1 on Rinjani: from grasslands to the crater rim sunset
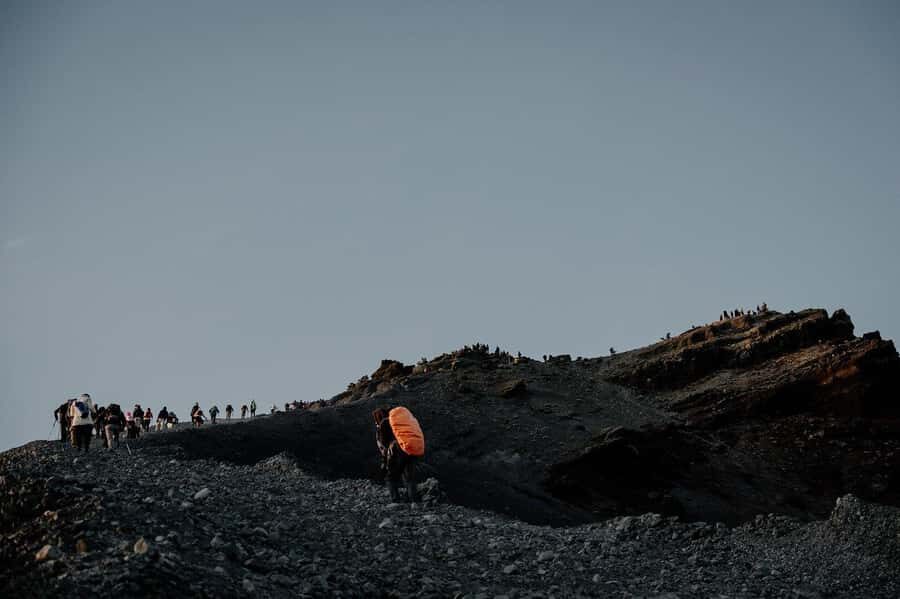
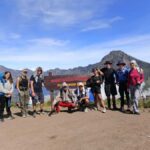
Day 1 starts with pickup and a transfer by 4WD. If you’re staying in Sembalun, you’re picked up at 08:30. If you’re in Senaru, pickup is at 07:00. After the drive, you register at the Rinjani Trek Centre in Sembalun (1,156 m) before you start trekking.
From there, the trail begins through undulating open grasslands. This is a good mental warm-up because you’re not instantly fighting the hardest slope. You’ll stop at Pos 1 and Pos 2 for breaks and snacks, then reach Pos 3 (1,800 m) for a longer lunch stop.
After lunch, the day turns. You make a steep climb to the crater rim and camp at Sembalun Crater Rim (2,639 m). This is where the sunset matters. The crater rim camp location is set for views over Lake Segara Anak, the summit area, and northern Lombok.
Practical thought: Day 1 sets your legs and your rhythm for the whole journey. Don’t go too fast early. Even if you feel strong, the next mornings are the real test.
Day 2: summit sunrise, then crater descent, lake lunch, and hot springs
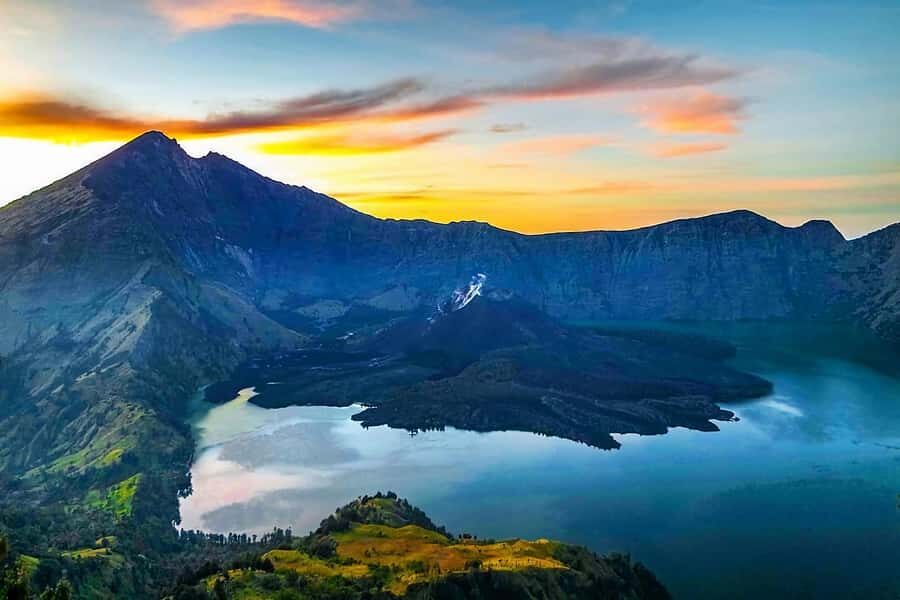
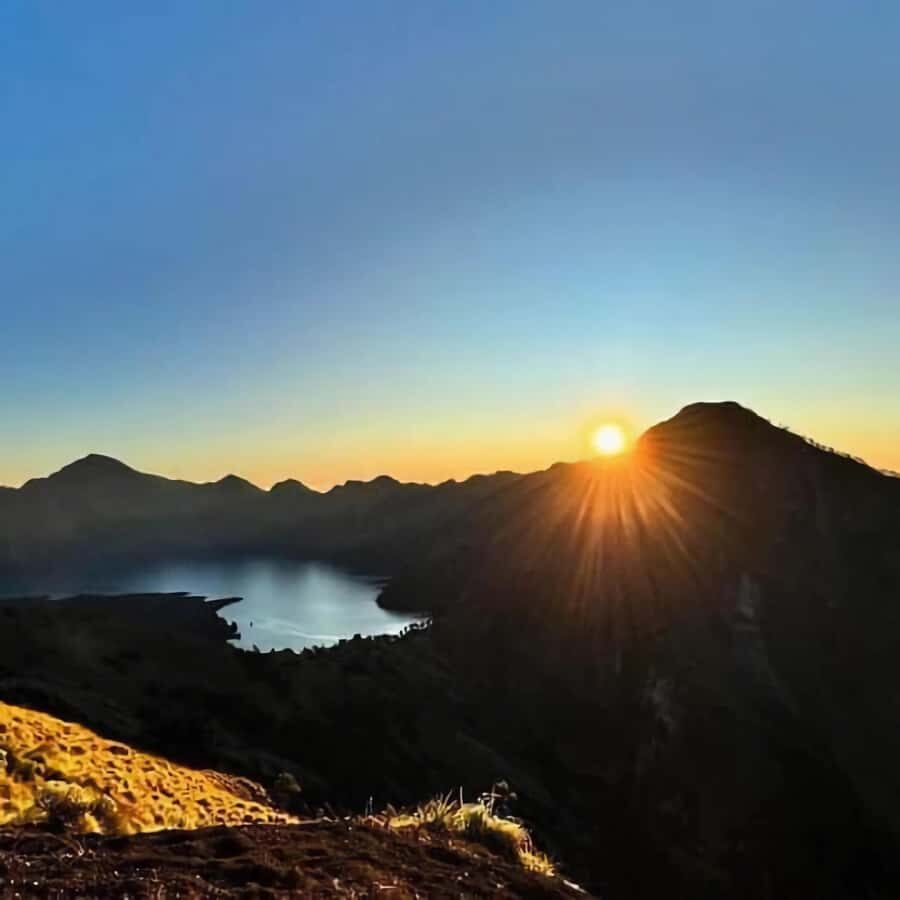
Day 2 begins before sunrise. You wake up at 3:00 am for a light breakfast, then start the climb to the summit (3,726 m). The plan calls it a challenging three-hour trek to reach the top in time for sunrise.
This is the emotional peak day. Summit time on Rinjani is not just a walk; it’s cold and demanding, and you’ll likely feel it in your breathing while the landscape stays focused and stark around you. The reward is sunrise views that feel earned, because you climbed for them in the dark.
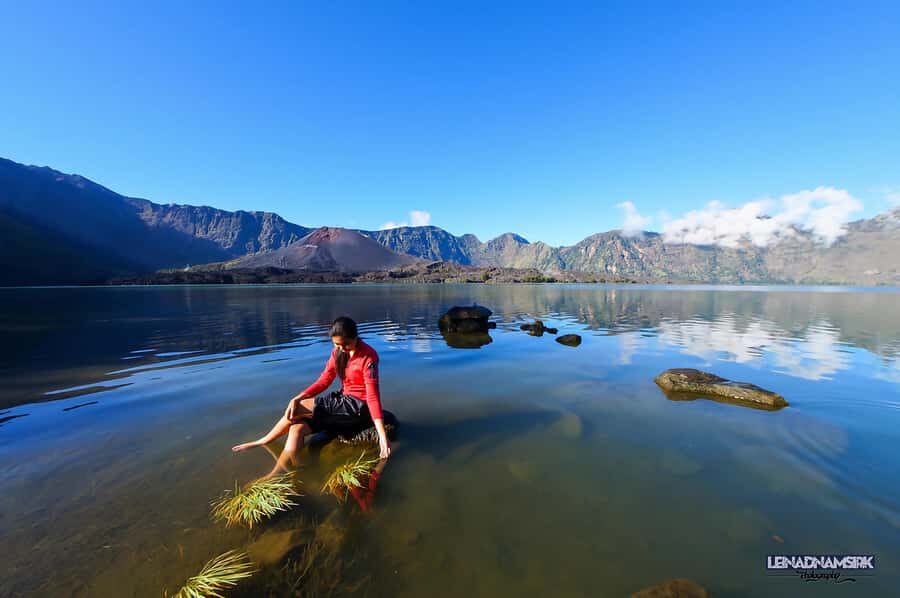
After the summit, you return to the campsite on the crater rim. You’ll get hot breakfast, then continue the descent into the crater. Lunch happens at the lake shore at about 2,000 m, and this is the moment for hot springs. The plan notes you can swim in the hot springs for a few minutes, right after lunch.
Then the day keeps moving. You trek around the lakeshore before climbing up to the next camp site: Senaru Crater Rim (2,641 m). You’ll have dinner and camp there, with views across the lake back toward the summit. From this rim, the plan also mentions you can see Gunung Baru (a smaller cone inside the crater). On clear days you can also see Mount Agung in Bali and the Gili Islands.
Real talk: this day can feel like two treks in one. Summit effort plus crater trekking plus a steep climb to reach your second campsite is a lot. If you ever feel like you’re behind pace, don’t ignore it. Adjust your rhythm early, not at the summit.
Day 3: the long descent through thicker, lusher forest
Day 3 starts after breakfast with the descent. You’ll use rest stops along the way, including Pos 3, Pos 2, and Pos 1, and you’ll stop for a longer lunch break during the way down.
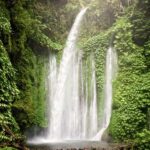
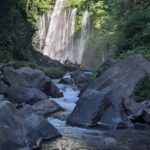
As you descend, the forest becomes thicker and increasingly lush, which is a welcome change from the harsher crater terrain. By the end, you arrive in Senaru (601 m) at about 1:00 pm.
Why this day matters: the descent is where your knees and calves get their say. Even if you loved the summit and crater views, Day 3 is often when the body asks for mercy. Trekking poles help a lot here, and so does having good shoes with real grip.
The views: what you actually get (and how to plan for them)
This route is built around crater-rim viewpoints and timing. You’re not only chasing light for photos. You’re also using the daylight windows for safer movement.
- Sembalun Crater Rim at sunset: This is your first big Segara Anak moment. The crater rim gives you a vantage over the lake within the volcano, with the mountain’s inner geometry visible.
- Summit sunrise: The high point sets the tone. You get the best sunrise over the summit, timed after the early climb.
- Senaru Crater Rim views: You get a second crater-rim perspective, with the lake and summit area in view, plus the volcanic cone inside the crater.
For you, the key is weather readiness. The plan doesn’t promise visibility, so treat cloud cover as possible. If you want the clearest skyline views (Bali Agung and the Gili Islands are mentioned from this rim), be ready for cold air and short windows of visibility.
Hot springs at Segara Anak: the reset button
The hot springs stop is short by design, but it’s exactly placed when you need it. After crater descent and after crater-lake lunch, you get a few minutes to soak. That break can help your legs reset, even if you know you’ll be hiking again right after.
Here’s the practical angle: bring a plan for wet time. You’ll be in trekking clothes, you’ll want to dry off, and you’ll still have to keep moving. The included gear helps you stay functional on the mountain, but you’ll want to pack smart.
Included gear and what you should still bring
The organizer provides a lot of the “you’ll be stuck without this” items, including tents, toilet tent and paper, sleeping bags and mattress, trekking poles, and head lamp/hand torch.
That means your job is mainly clothing and personal safety. The list of what to bring includes:
- Passport
- Sunglasses, hat, sunscreen
- Jacket, gloves, long pants
- Cash
- Hiking pants
- Power bank
- Sandals
- Hiking shoes
- Camera
Note the two footwear layers: sandals and hiking shoes. Sandals are handy for camps. Hiking shoes are key for steep, rocky sections and the final descent through forest.
If you’re thinking about rental vs buying, remember trekking shoes are not included. If yours don’t have grip, you’ll feel it.
Fitness reality check: who this trek suits, and who should reconsider
This 3D2N program is the popular one, but popularity doesn’t mean easy. The schedule is built for people who can climb hard for multiple days with early starts. The summit push plus the second day’s crater work plus the Day 3 descent is a big load.
This is why I’d frame it like this:
- If you’re fit, used to steep climbs, and comfortable with early mornings, you’ll likely enjoy the full arc of the experience.
- If you’re fit but you hate pain-to-pride grind, you may end up frustrated by how much walking is stacked in a short time.
I also suggest you think about your limits before you commit. This isn’t a trek you can “power through casually.” You’ll want a steady pace and you’ll want to protect your energy for the summit morning.
Small group or private: why group size changes your experience
The plan notes private or small groups are available. That matters more than people think. On a mountain trek, the pace and your comfort around timing can change with group size. With smaller groups, you often spend less time dealing with bottlenecks on narrow trails and you can keep a smoother rhythm with your guide and porters.
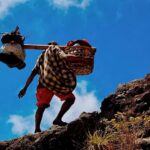
Your guide and porters carry cooking and camping gear, which keeps you from hauling everything yourself. That’s a big plus for energy management on Days 2 and 3.
Final verdict: should you book this Mount Rinjani 3D2N trek?
Book it if you want a full Rinjani experience: grass savanna → crater rim sunsets → summit sunrise → Lake Segara Anak + hot springs → second crater rim → long forest descent. The included camping setup, poles, head lamps, and porter support make it a strong value for a multi-day volcano adventure, especially since meals and water are included.
Skip or reconsider if you’re unsure about endurance. This 3D2N format is demanding, and the effort can feel like more than you expected, especially with the long downhill finish. If you want Rinjani but prefer a gentler pace, you should compare shorter trekking formats before you lock in.
If you do go, be honest about your fitness, pack warm layers and gloves for early starts, and take the first day seriously. Your summit sunrise experience depends on how you manage your energy on Day 1.
FAQ
How long is the Mount Rinjani 3D2N trek?
It’s a 3-day program with 2 nights of camping. Start times can vary, so you’ll need to check availability for your exact starting slot.
Where do you start and where do you finish?
You’ll start from Senaru Gate or Sembalun Gate depending on ticket availability. The program is designed to explore from the Sembalun trekking trail and return via the Senaru trekking route, with a finish back in Senaru around early afternoon.
Is there an English-speaking guide?
Yes. The trek includes an experienced English-speaking guide, plus professional porters.
What’s included in the trek price?
Included items cover trekking support (guide and porters), food (breakfast, lunch, dinner), drinking water on the trek (3 liters mineral water per person per day), camping gear (tents, sleeping bags, mattress, toilet tent and paper), trekking poles, and head lamp/hand torch. You also get drop-off after the trek to Senggigi, Bangsal Port, and Mataram.
What extra costs should I budget for?
You should budget for the national park entrance fee, listed as IDR 200,000 per day per person. Raincoat and trekking shoes are also not included.
When do you arrive back in Senaru on the last day?
On Day 3, the itinerary indicates you’ll arrive in Senaru (601 m) at approximately 1 pm.