A silver ring with your fingerprints is hard to beat. This workshop lets you design and craft a real piece of Balinese-style silver jewelry with hands-on help from a local silversmith, finished to a wearable shine. It’s also a nice break from Bali’s usual routine because you’ll work with tools and techniques instead of just watching.
Two things I really like: you get to create something personal (not a generic souvenir), and the vibe feels focused—often it’s a small/private group with an upbeat teacher named Putu who explains as you go. One thing to think about: the included silver has a strict limit, and if you use less or want more, there are extra charges.
In This Review
- Key things you’ll notice before you go
- What you’re really paying for: design, skill, and a finished keepsake
- Ubud vs Sidemen: which workshop setting fits your travel style?
- From sketch to shine: the hands-on flow of the workshop
- 1) Welcome and the Balinese silver basics
- 2) Design time: sketch your idea
- 3) Shaping and building the piece
- 4) Finishing: getting it ready to wear and remember
- 5) Take-home moment
- English support, private group feel, and the quality of teaching
- Price and silver limits: how to avoid surprises
- What to bring (and what to wear) so the class feels easy
- The small downside that shows up: leftover silver rules
- Who this Bali silver class is best for (and who should skip it)
- Should you book this workshop?
- FAQ
- Where does the silver jewelry workshop run in Bali?
- How long is the Bali silver jewelry workshop?
- What’s included in the $49 price?
- What happens if I want to use more silver than the included amount?
- What if my design uses less than 7 grams?
- Can I share silver with another participant?
- Is the class taught in English?
- What should I bring to the workshop?
- Is this workshop suitable for kids or wheelchair users?
Key things you’ll notice before you go
- You design first, then make it: sketch and plan your ring or piece before the tools come out.
- A local guide named Putu: English support and friendly, step-by-step guidance are a big part of the experience.
- Ubud or Sidemen changes the mood: you’ll work in an art-focused town or quieter countryside settings.
- Silver amount matters: the price works around an included silver weight, with clear add-on fees.
- Private group energy: it often feels like you and your group get the workshop attention.
What you’re really paying for: design, skill, and a finished keepsake
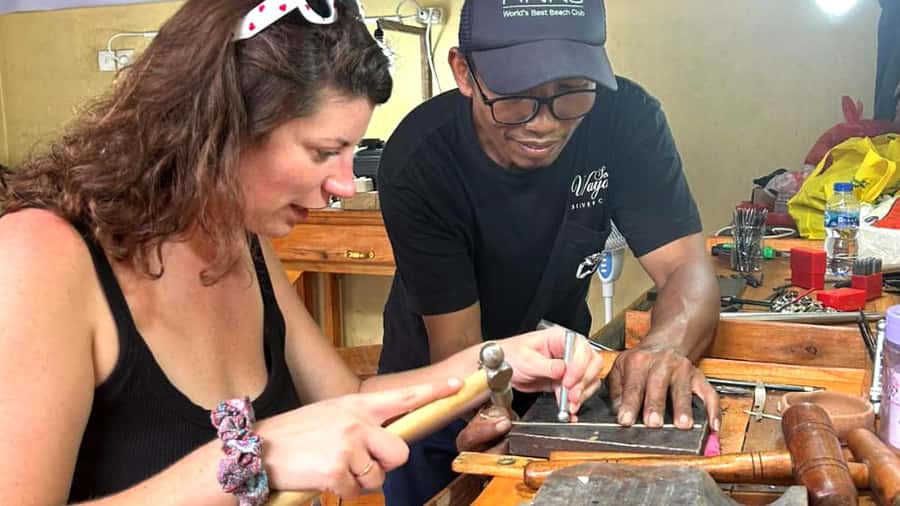
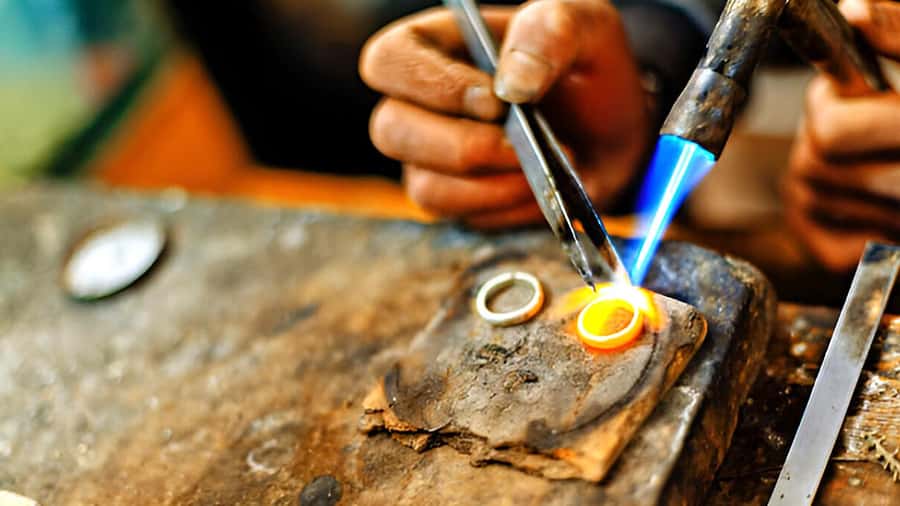
This isn’t a “sit and watch” Bali craft class. You’ll start with ideas and then turn them into a real piece of silver jewelry you can take home. The workshop is built around traditional Balinese methods, shown and guided by a practicing silversmith so you’re not just copying a template.
The value is the full loop: design, shaping, adding details, and finishing. You’re also not stuck with a tiny token. The included silver allocation is typically 3–7 grams, depending on what you choose, which usually lands you with a substantial ring or small wearable piece rather than something overly delicate.
Also: you get a welcome drink when you arrive. It’s a small touch, but it helps set a relaxed tone for a hands-on session where you’ll likely be focused for a while.
You can also read our reviews of more tours and experiences in Ubud.



Ubud vs Sidemen: which workshop setting fits your travel style?
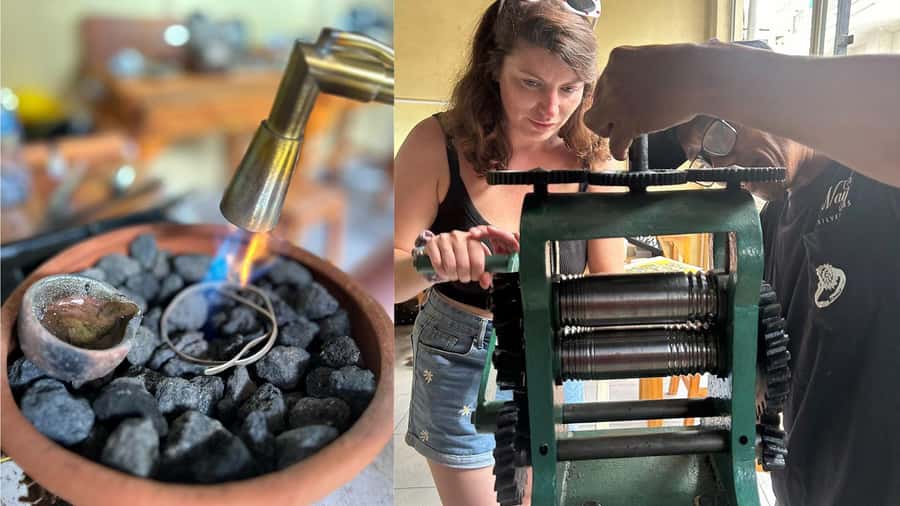
You can do the class in Ubud or Sidemen, and it changes the feel of the day.
- Ubud tends to be the “creative town” choice. Expect an atmosphere linked to arts and craft, and you’ll often feel like you’re working inside Bali’s maker culture. If you like combining your workshop with nearby cultural stops, this is the easier match.
- Sidemen is the quieter pick. You’ll be working with countryside views in mind, which suits you if you want less noise and more calm while you focus on shaping your piece.
Either way, you’re going to sit down at a working station with the same goal: make your own silver jewelry. Your choice is mainly about the energy you want before and after.
For Ubud, your meeting point is Amertasari silver class (check the location on maps). There’s no included transport, so plan to get there on your own.
From sketch to shine: the hands-on flow of the workshop
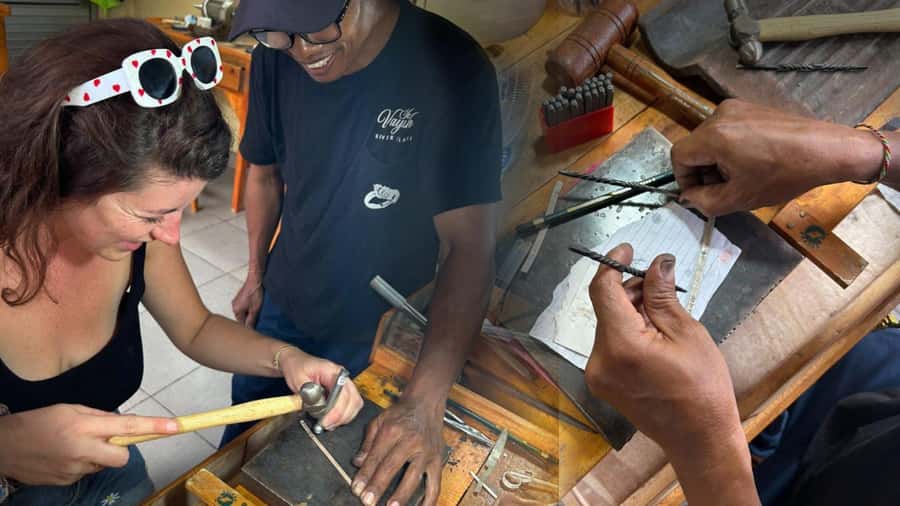
The class is structured so you’re moving through the craft without getting overwhelmed. The exact timing depends on how detailed your design is, but it’s generally in the 1–2 hour range, with around 2 hours as the standard expectation.
Here’s the practical run-down:
1) Welcome and the Balinese silver basics
You’ll start with a welcome and a short intro to why silverwork matters in Bali—how techniques were passed down and how makers think about pattern, form, and finishing. This part isn’t long, but it gives you context so the later steps feel meaningful.
2) Design time: sketch your idea
You’ll sketch your jewelry design and choose from available styles. This is where you control the outcome. If you’re not sure what looks good, your instructor can guide you toward something workable with your silver amount.
This is also where you should think realistically about grams. A design that needs more metal than your included allocation can get expensive fast, so it’s worth aligning your idea with the weight limits early.






3) Shaping and building the piece
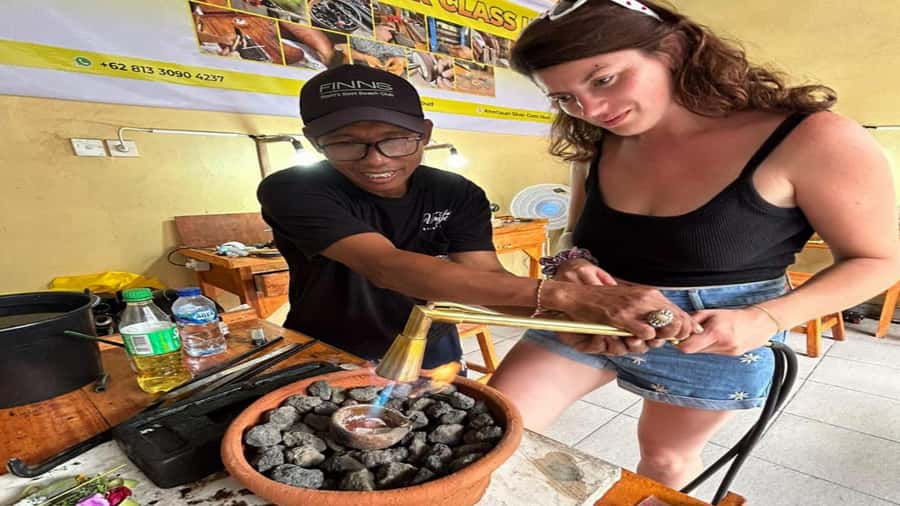
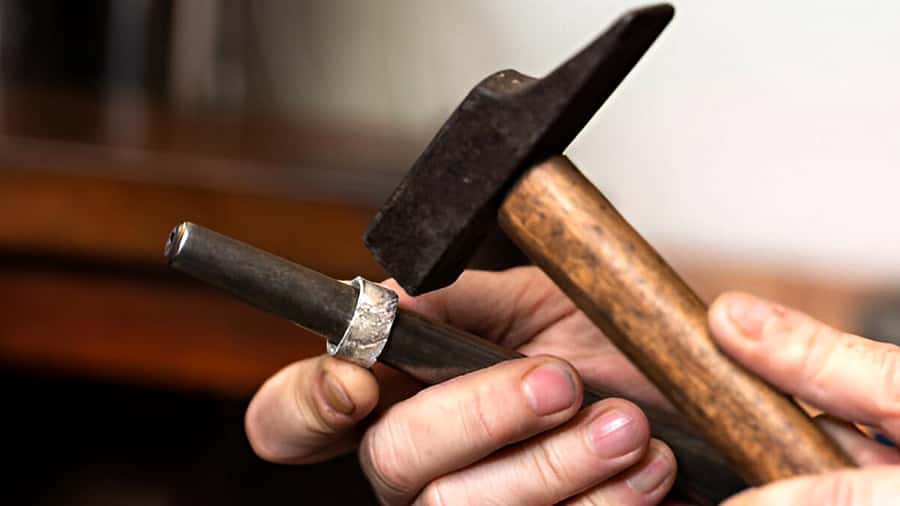
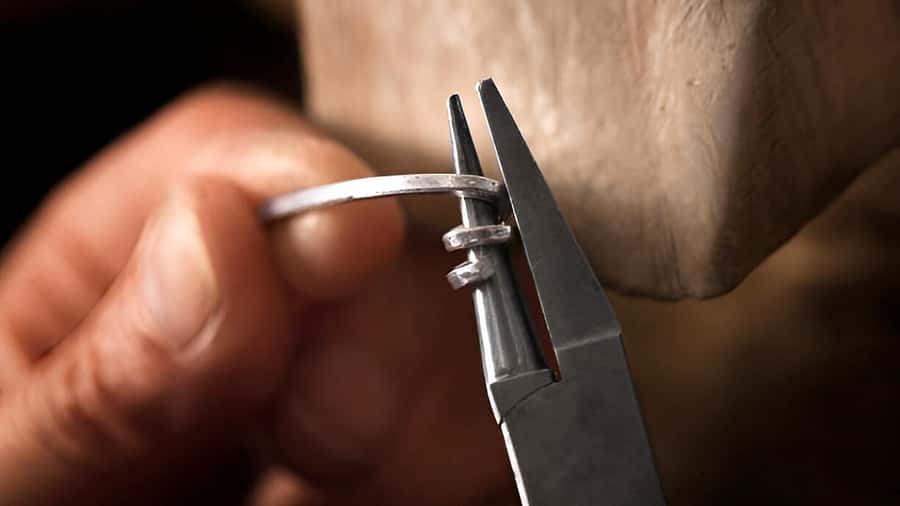
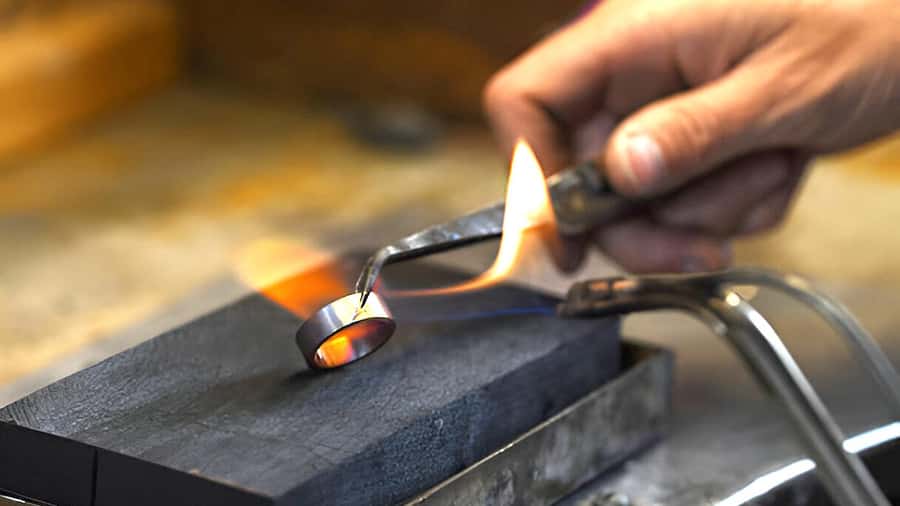
Once the plan is set, you’ll get hands-on: shaping the silver and adding the details that make it yours. Tools are provided, and you’ll work with professional equipment rather than improvised gear. Expect time spent on getting the form right and keeping edges and thickness consistent.
4) Finishing: getting it ready to wear and remember
You’ll finish your piece so it’s something you’d actually want to put on. Your final jewelry is the whole point—the wearable keepsake that proves you made it, not just bought it.
5) Take-home moment
When you leave, you don’t just get a souvenir bag. You take home your handcrafted jewelry piece designed by you, guided by local know-how.
English support, private group feel, and the quality of teaching
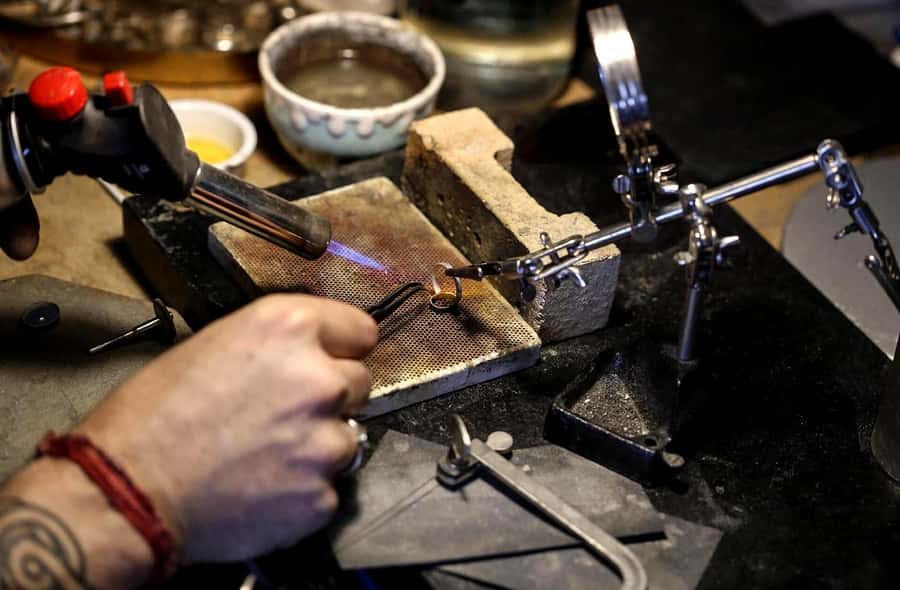
The instructor is listed as English, and the workshop is set up as a private group. That matters. In a private setting, you’re more likely to get clear help when you’re unsure about a step, and you won’t be rushed by a group schedule moving as one.
One name you may hear: Putu. He’s described as happy, smiley, and helpful, and that kind of teaching style makes a big difference in a craft class where you’re learning tool skills for the first time.
If English isn’t your strong suit, audio support or translation apps may be available. It’s not something you should count on without checking, but it’s good to know the class aims to be accessible.
Price and silver limits: how to avoid surprises
At $49 per person, the biggest value driver is what’s included: your included silver weight (typically 3–7 grams), guidance from the silversmith, materials and professional tools, and the jewelry you take home.
But the price calculation can change depending on how your design turns out:
- Included silver: you’re usually covered for 7 grams worth of silver (the exact included amount depends on your selected design).
- Using more silver: additional silver is 50,000 IDR per gram.
- Using less silver: silver jewelry less than 7 grams may be charged a flat fee.
- No sharing: you can’t share silver with another participant—each person’s allocation is separate.
- More than one design: if you want extra designs beyond what’s covered for one person, there’s an additional charge.
So here’s the practical advice: choose a design you’re comfortable making within a 7-gram plan. If you’re tempted by a thicker or more detailed concept, ask about how it affects the silver weight before you commit.
Also keep in mind: the class can feel very worth it when you treat it like a focused creative session. It feels less worth it if you show up with a design that ends up pushing you into lots of extra silver.
What to bring (and what to wear) so the class feels easy
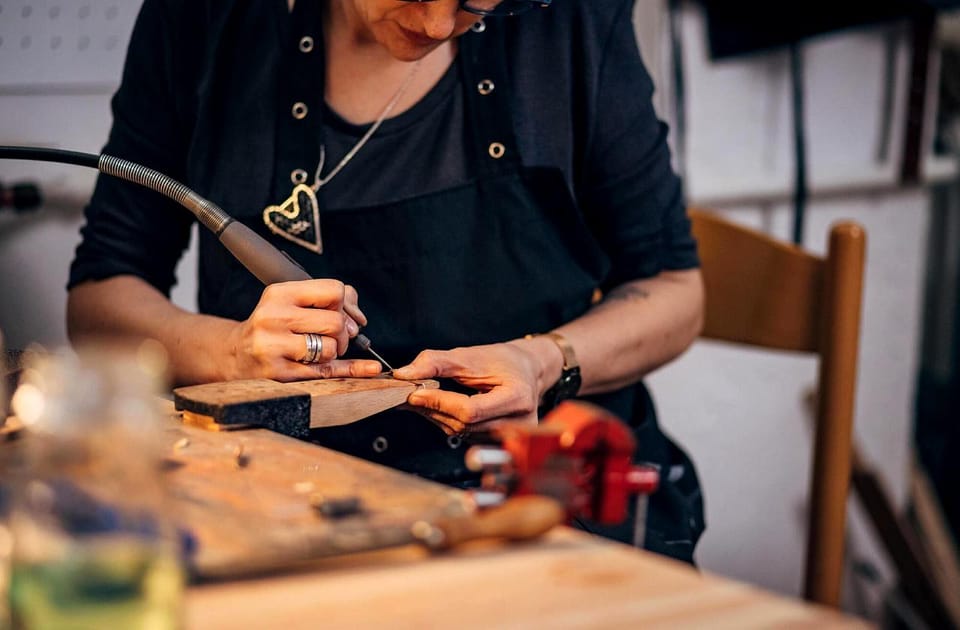
This workshop is hands-on, so you’ll want to dress for comfort and movement.
Bring:
- Camera
- Cash
- Comfortable clothes
Wear something you can work in. Silver work involves time at a station and a lot of attention to small details. You’ll do better in clothes that let you sit, lean, and move without fuss.
Not allowed:
- Alcohol and drugs
If you want photos, a camera helps, especially because you’ll likely want shots of the process and the finished ring. Just don’t expect perfect lighting—workrooms aren’t always built like photo studios.
The small downside that shows up: leftover silver rules
One recurring point to be aware of: if you end up with silver leftover, you may not get to take it home. The workshop keeps the unused materials, which can feel a little frustrating if you were hoping to bring the remainder for later projects.
If you’re the type who hates wasting materials, treat this as part of the deal and design accordingly. The goal is your finished jewelry piece, not taking home spare silver chunks.
Who this Bali silver class is best for (and who should skip it)
This is a strong fit if you:
- Want a real, wearable souvenir instead of another T-shirt or magnet
- Like crafts and small-detail work
- Enjoy learning a local technique, even if you’re a beginner
- Appreciate a calm, guided activity in Bali, whether in Ubud or Sidemen
It’s less suitable if:
- You need wheelchair access (wheelchair users aren’t suitable)
- Your child is under 7 (not suitable)
- You’re hoping for a very passive experience (this is hands-on tool work)
Skill level is open to everyone. You don’t need prior metalworking experience.
Should you book this workshop?
Book it if you want something you’ll actually wear, and you like the idea of designing and making your own silver ring or piece with local guidance. At $49, it’s a fair price when you keep the design within the included silver weight and treat it like a focused creative hour-plus.
Skip it or rethink the design if you’re set on major custom changes that likely push you over the included silver amount. The silver weight rules are clear, and they affect cost quickly.
If you’re balancing your Bali itinerary, this is one of those activities that feels different in the best way: you leave with a personal object and a technique you didn’t have before.
FAQ
Where does the silver jewelry workshop run in Bali?
You can choose either Ubud or Sidemen as your workshop location. For Ubud, the meeting point is listed as Amertasari silver class ubud (see the location on maps).
How long is the Bali silver jewelry workshop?
The workshop is listed as about 2 hours. It also notes a 1–2 hour range depending on your creativity and design.
What’s included in the $49 price?
The price includes jewelry-making time, an allocation of 3–7 grams of silver based on your design, guidance from an experienced Balinese silversmith, materials and professional tools, your finished jewelry piece, and a welcome drink.
What happens if I want to use more silver than the included amount?
Additional silver is 50,000 IDR per gram for any silver used beyond the included 7 grams.
What if my design uses less than 7 grams?
If you make silver jewelry less than 7 grams, there may be a flat fee. The exact fee isn’t specified, so it’s worth planning your design with the 7-gram limit in mind.
Can I share silver with another participant?
No. Sharing silver is not permitted. Each guest receives their own silver allocation.
Is the class taught in English?
Yes, the instructor is listed as English. For non-English speakers, audio guides or translation apps may be available.
What should I bring to the workshop?
Bring a camera, comfortable clothes, and cash.
Is this workshop suitable for kids or wheelchair users?
Children under 7 aren’t suitable, and the workshop isn’t suitable for wheelchair users.