Silver jewelry class in Ubud is surprisingly doable. In this workshop, you make a real piece using traditional shaping and soldering basics, with English help from local silversmiths. I love that you get a take-home silver souvenir for one fixed price, and I love the friendly, talk-it-through guidance that helps first-timers succeed. One thing to consider: you’re limited to up to 5 grams of silver, so if you want heavier, more detailed work you’ll likely pay extra on-site.
You’ll spend about 90 minutes to 2 hours (depends on your chosen design), and it’s set up for all skill levels. Plan to arrive ready to move, ask questions, and make small decisions that turn into a ring or pendant you’ll actually wear or gift.
In This Review
- Key Things That Make This Ubud Silver Class Worth It
- What Happens When You Walk Into the Ubud Workshop
- The Hands-On Part: Turning an Idea Into Silver
- What you should expect to make
- What the Price Really Buys (And the Silver-Gram Reality)
- Time, Pace, and How Not to Feel Rushed
- Getting There: The Meeting Point and Independence Factor
- Language Support: English Instruction and Audio Options
- Who This Class Is Best For (And Who Might Want a Different Activity)
- Tips to Get the Most Out of Your Silver Session
- The Take-Home Moment: Your Finished Piece in Your Hands
- Should You Book the Forge Your Silver Story Ubud Class?
- FAQ
- How long is the Forge Your Silver Story class in Ubud?
- What is included in the $36 price?
- Is there an extra cost for using more than 5 grams of silver?
- Can I make more than one design during the workshop?
- Do I need prior jewelry-making experience?
- What language is the instructor, and is translation available?
- Where do I meet for the class?
- What should I bring with me?
Key Things That Make This Ubud Silver Class Worth It
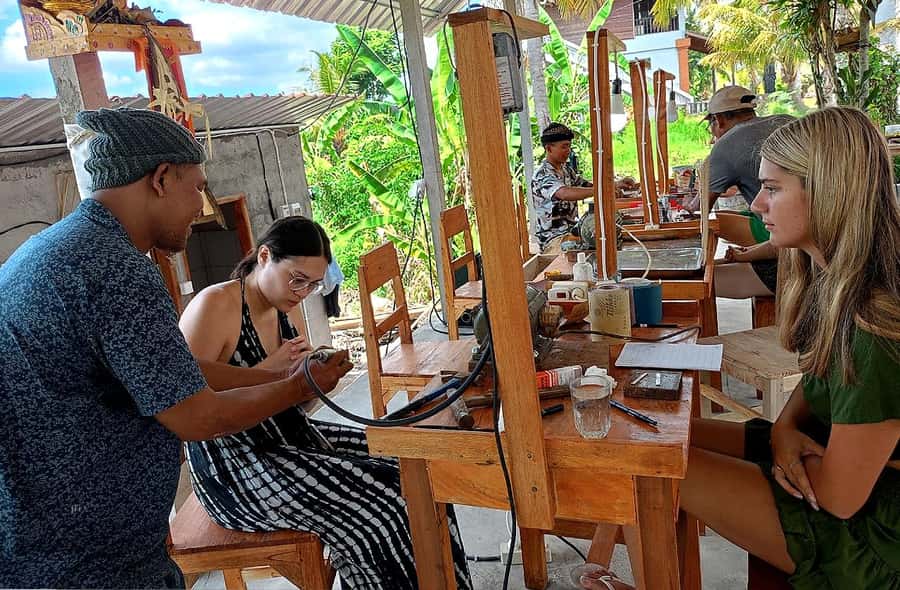
- You work with local silversmith guidance, not just a demo
- Up to 5 grams of high-quality silver per person, used for your one design
- You learn core steps: shaping, soldering, and polishing
- One finished silver piece is included to take home
- The studio experience is private group, so you’re not squeezed
- A welcome drink helps you settle in fast and start on time
What Happens When You Walk Into the Ubud Workshop
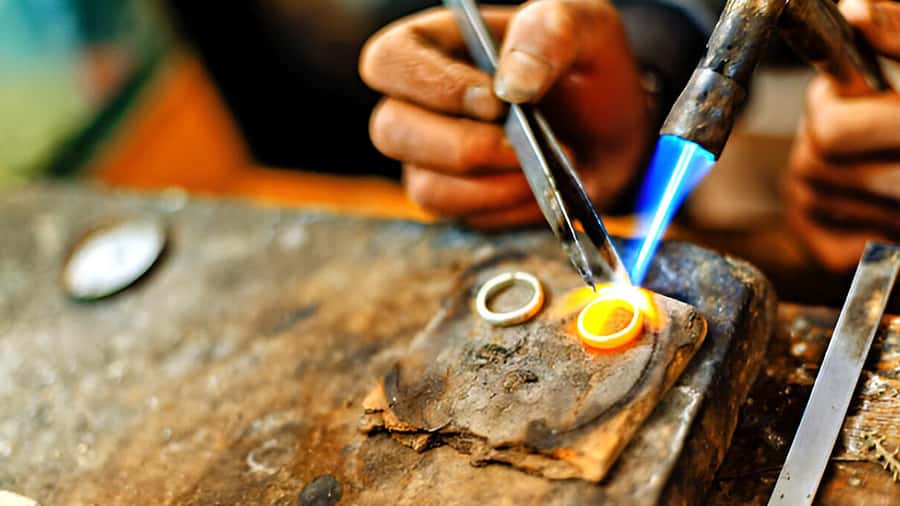
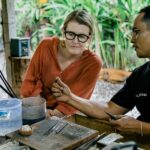
This is a hands-on workshop in central Ubud where you start with a warm welcome and a quick introduction to Balinese silver crafting. You’ll get oriented to the tools and safety basics, then you’ll learn how your piece comes together using traditional techniques like shaping, soldering, and polishing.
The main value here is that the class doesn’t treat you like a spectator. Instead, you’re guided step-by-step by an experienced Balinese silversmith, so you can actually shape an idea into metal you’ll walk out with. That makes it feel more like a small craft session than a rushed tourist activity.
A nice bonus is the welcome drink when you arrive. It sounds small, but it’s the kind of detail that signals you’re entering a real studio rhythm, not standing in a queue.
You can also read our reviews of more tours and experiences in Sidemen Village.


The Hands-On Part: Turning an Idea Into Silver
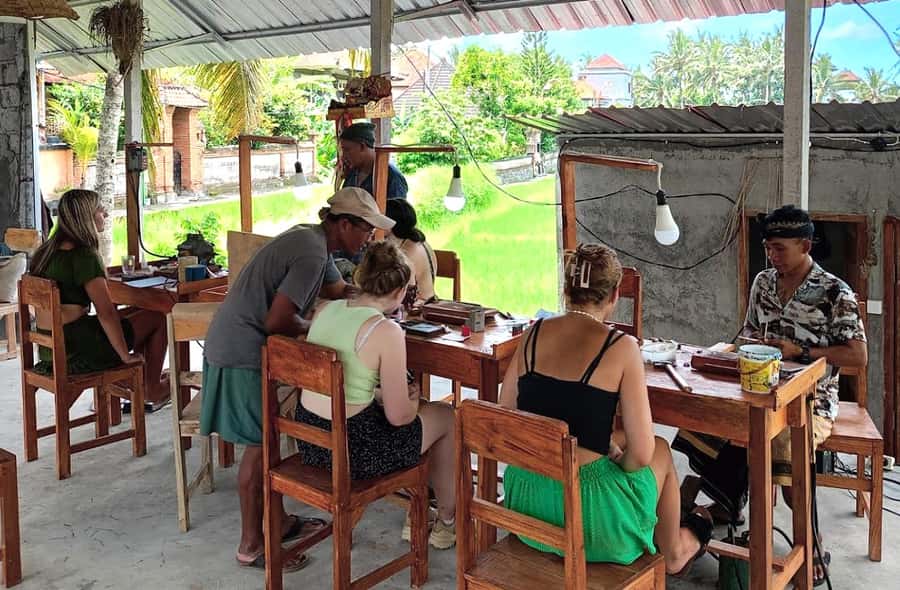
Your experience centers on creating one personalized jewelry design. You’ll choose a style you want to make, then you’ll build it with the help of your instructor and the studio tools.
Here’s what that typically means in practice:
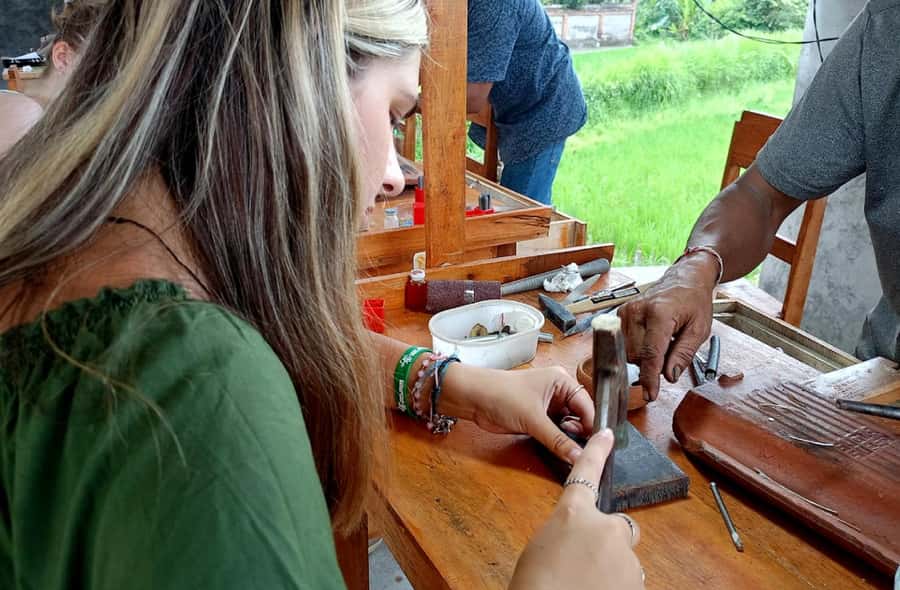
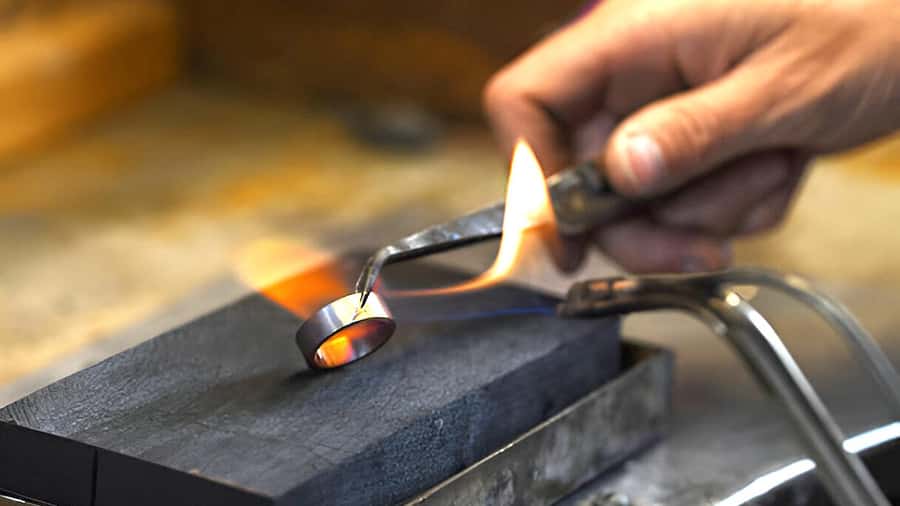
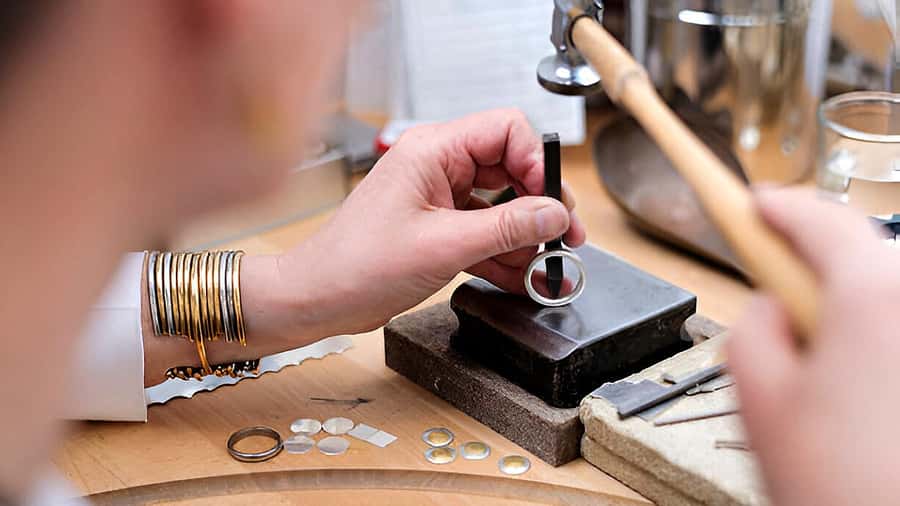
- Shaping your silver: You start by forming the metal into the basic shape of your jewelry design. If you’ve never worked with metal before, this is where having real guidance matters most.
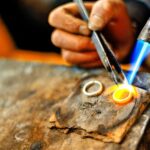
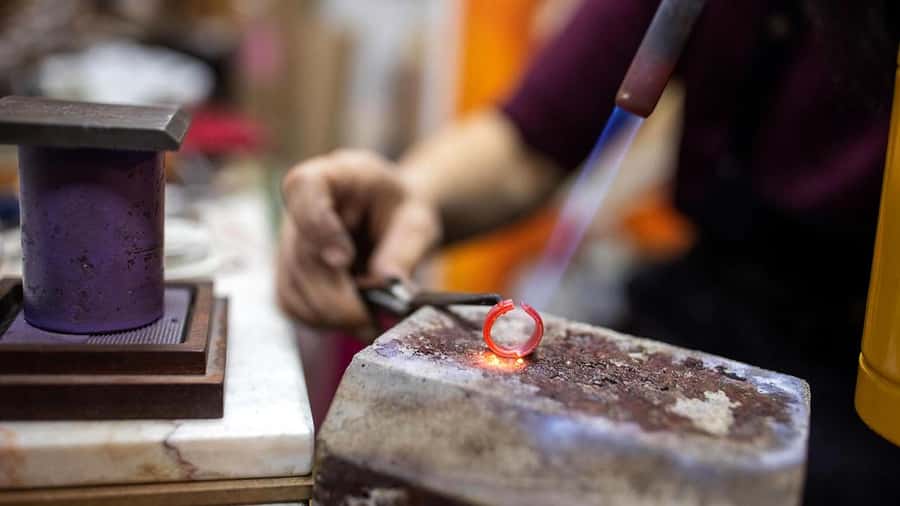
- Soldering: Next comes joining parts together. This is often the step people think they can’t do, but you’ll get help throughout.
- Polishing and finishing: Finally, you refine the surface so it looks clean and wearable. Finishing can be the difference between something that looks handmade and something that looks like it was made for you specifically.
The class also includes context about the history and significance of silver craftsmanship in Balinese culture. The way it’s framed is practical, too. It’s not just a lecture. You get meaning behind the craft while your hands are actually working.
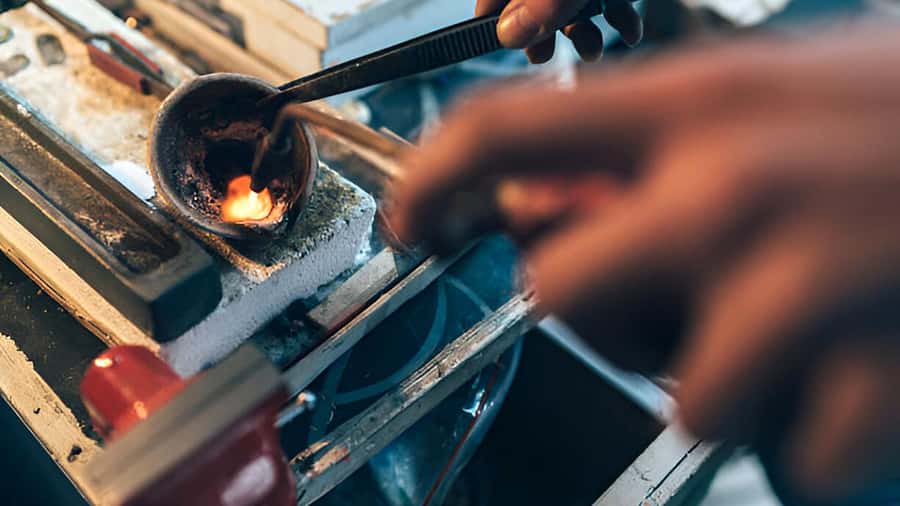
By the end, you’ll have a finished, personalized piece you can take home as your Bali memory.
What you should expect to make
Based on how the class is described and what people say they manage in the time given, it’s a project sized for the workshop window. You’re not signing up for months of metalwork. You’re signing up for a guided build you can finish in about 90 minutes to 2 hours depending on your design.
What the Price Really Buys (And the Silver-Gram Reality)
The class costs $36 per person, and that price includes a lot of the hard parts:
- Up to 5 grams of silver per participant
- Tools and materials required for your project
- Personalized guidance from a Balinese silversmith
- One finished silver jewelry piece to take home
- A welcome drink
Now for the part that helps you get value: the silver is capped.
If your design requires more silver than the included amount, you’ll pay IDR 75,000 per extra gram, on-site. Also, if you want additional designs or more than one piece, there will be extra charges.
So how do you avoid surprise costs? Go in thinking like a maker, not like a buyer. Pick one design you really want, keep it within the included size/weight range as best you can, and treat extra grams as optional upgrades rather than part of the plan.
That approach usually keeps the experience feeling like a good deal, because you’re paying for skill time, tools, and a finished wearable souvenir, not just the metal.
Time, Pace, and How Not to Feel Rushed
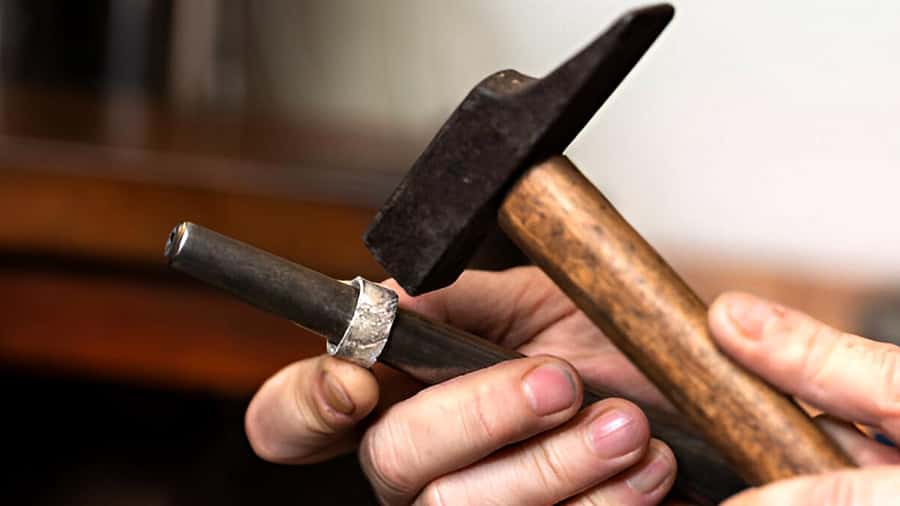
Plan on 90 minutes to 2 hours. The duration depends on the chosen design. This matters because jewelry making has a natural rhythm. If your design is more detailed, it will take longer; if it’s simpler, you’ll have more breathing room.
You’ll also want to arrive early. The workshop asks you to be there 15 minutes before it starts. Don’t treat that as a suggestion. In a practical sense, arriving on time helps you:
- get your orientation without stress
- start shaping and soldering when the tools are ready
- finish polishing with time to get it looking good
The class is also described as a private group, which typically means your instructor can adjust pace for your questions instead of splitting attention across a big crowd.



Getting There: The Meeting Point and Independence Factor
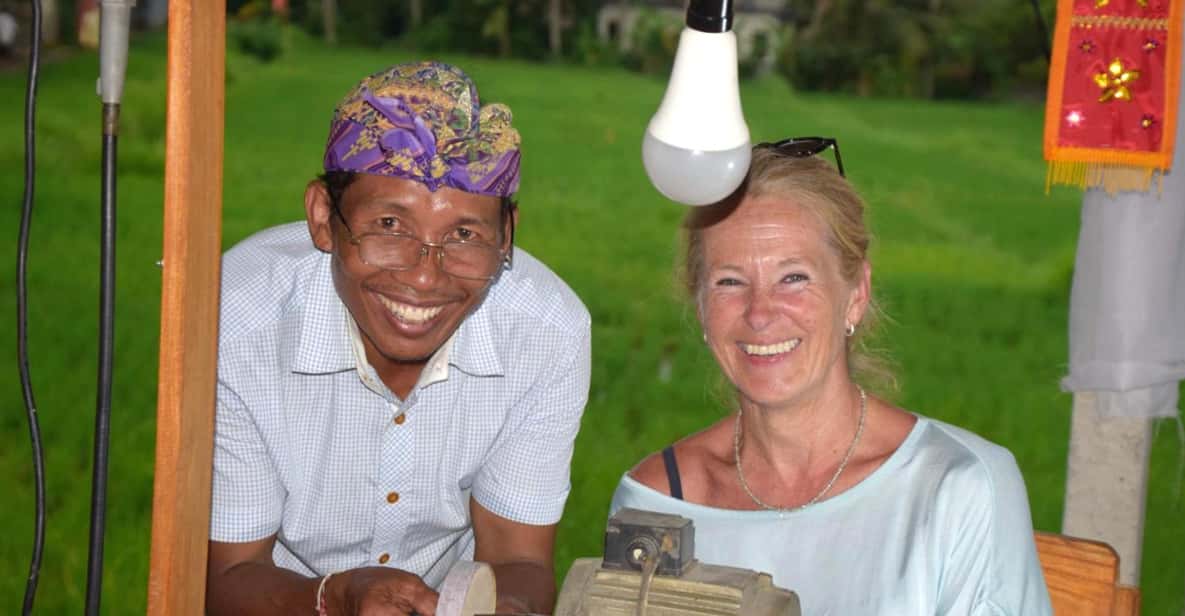
This activity does not include transportation. That means you need to get yourself to the meeting point.
The meeting point is: Sok Wayah silver class Ubud. Use your maps app to select the location (the instruction is specifically to open your maps, search that name, and choose walking or scooter based on your route).
If you’re staying in Ubud’s center, you may find walking works. If you’re farther out (or you’re hauling bags), scooter can be faster, but use normal safety rules.
One practical tip: bring cash. The class clearly requests cash, and the on-site payments you might face (like extra silver grams) are paid on-site.
Language Support: English Instruction and Audio Options
The instructor is English, and that’s a big deal for hands-on learning. You’ll be able to understand the steps and ask questions without guessing.
If you need extra support, there’s an optional audio guide with choices including Arabic, Chinese, Dutch, French, German, Hindi, and Spanish. The workshop also notes that translation apps may be used for non-English speakers.
What does this mean for you as you plan? If you’re comfortable communicating basic preferences (your design idea, your questions about process, what you want to improve), you’ll be fine. If your language is limited, the audio guide and translation app option can help you stay confident during the practical steps.
Who This Class Is Best For (And Who Might Want a Different Activity)
This workshop is suitable for all skill levels, with no prior experience required. That’s exactly what makes it worth considering if you’ve never made jewelry before.
I think it’s especially good for you if:
- you want a personal souvenir instead of something mass-produced
- you like learning by doing, not just watching
- you enjoy crafts and want a short project with a clear finish
It may be less ideal if you want to create multiple pieces in one sitting. The included experience is one design and one finished piece, and additional designs cost extra.
Also, if you’re the type who hates making choices mid-way (style, details, how your piece turns out), know that jewelry making has an element of decision-making. It’s still guided, but you’ll be steering the project.
Tips to Get the Most Out of Your Silver Session
You’ll enjoy this more if you show up prepared like you’re about to work with your hands.
Here are practical things to do before you go:
- Wear comfortable clothes you don’t mind getting a little dirty
- Bring a camera for photos of your finished piece
- Bring cash in case you decide you want extra silver
- Keep your design simple enough to finish comfortably within the time range
Also, treat the first part of the workshop as your setup time. Ask questions early about shaping, soldering, and polishing. If you understand the steps before you start, you’ll make fewer corrections later.
The Take-Home Moment: Your Finished Piece in Your Hands
The big emotional payoff is leaving with a finished, personalized silver jewelry piece. The experience includes one handcrafted silver piece per participant, so you’re not paying and hoping for the best. You’re paying for a build-and-finish outcome.
This is the kind of souvenir that feels different from buying jewelry in a shop. You made decisions, you worked through the steps, and the final piece reflects your taste. It’s also a memory that holds up, because it’s functional art you can wear.
And yes, it’s designed to be possible in the time given. People mention that with help, they can create wearable items quickly, including rings, even when they start as complete beginners.
Should You Book the Forge Your Silver Story Ubud Class?
If you want a short, structured craft experience that ends with a real silver keepsake, this is a strong pick. The $36 price lines up well with what you get: silver included up to 5 grams, tools, guided instruction, and a finished piece you take home.
Book it if:
- you want a personal, hands-on Bali memory
- you’re okay with choosing one design
- you’re willing to bring some extra cash if you go beyond the silver weight included
Skip it if:
- you want multiple separate jewelry pieces in one session
- you’re planning something heavy and ultra-detailed that likely exceeds the included silver amount
Overall, it’s one of those activities where the value comes from the skill transfer and the satisfying finish. You’ll leave with something you can show, wear, and actually remember.
FAQ
How long is the Forge Your Silver Story class in Ubud?
It runs for about 90 minutes to 2 hours, depending on the design you choose.
What is included in the $36 price?
You get up to 2 hours of instruction, up to 5 grams of silver, use of tools and materials, personalized guidance, a welcome drink, and one finished silver jewelry piece to take home.
Is there an extra cost for using more than 5 grams of silver?
Yes. If you use more than the included 5 grams, it costs IDR 75,000 per extra gram, payable on-site.
Can I make more than one design during the workshop?
You can create one design as part of the included experience. Additional designs cost extra.
Do I need prior jewelry-making experience?
No. The class is suitable for all skill levels, and you do not need prior experience.
What language is the instructor, and is translation available?
The instructor speaks English. There’s also an optional audio guide in multiple languages (Arabic, Chinese, Dutch, French, German, Hindi, Spanish), and translation apps may be used.
Where do I meet for the class?
Use your maps app to find Sok Wayah silver class Ubud. The activity does not include transportation, so you’ll need to arrive on your own (walking or scooter as appropriate).
What should I bring with me?
Bring a camera, comfortable clothes, and cash (especially if you might need extra silver).