Rinjani can be brutal, then beautiful. This 2 days / 1 night climb from Sembalun gives you big-sky grassland walking, a crater-rim camp with sunset views, and a very early summit push timed for sunrise.
Two things I especially like here are the care from the guide/porter teams (I’ve seen names like Din and Awan pop up, plus porters like Man and Kas who keep the pace human) and the way the day is paced with proper stops—snacks at the lower posts, a longer lunch break, then the steep parts when you’re ready.
One thing to think about: the trek is steep and slippery, and the equipment situation can be uneven depending on the group (I’d budget for less-than-perfect gear like shared headlamps or missing poles).
In This Review
- Key highlights you’ll feel in your legs and eyes
- The big picture: a fast summit shot with a proper camp night
- Getting to the trail: Sembalun checks, then the grasslands ramp up
- Day 1 on the move: Pos 1 to Pos 3, then the steep crater-rim push
- Your recovery tools: hot spring time and campsite reality
- Day 2: 3 a.m. wake-up, summit grind, and the sunrise payoff
- The return descent: less dramatic, still important for your body
- Price and value: where the $190 really goes
- Guide quality: what stands out (and what can go wrong)
- What to pack: the essentials that match this route
- Who this 2D/1N trek fits best (and who should skip it)
- Booking tips: how to make sure you get the good version
- Should you book this Mount Rinjani 2D/1N summit trek?
- FAQ
- How long is the Mount Rinjani 2D/1N trek?
- Where does the trek start and what elevations are involved?
- Is transport included during and after the trek?
- What’s included for food and water?
- What camping gear is provided?
- What should I bring that isn’t included?
- Is alcohol allowed?
Key highlights you’ll feel in your legs and eyes
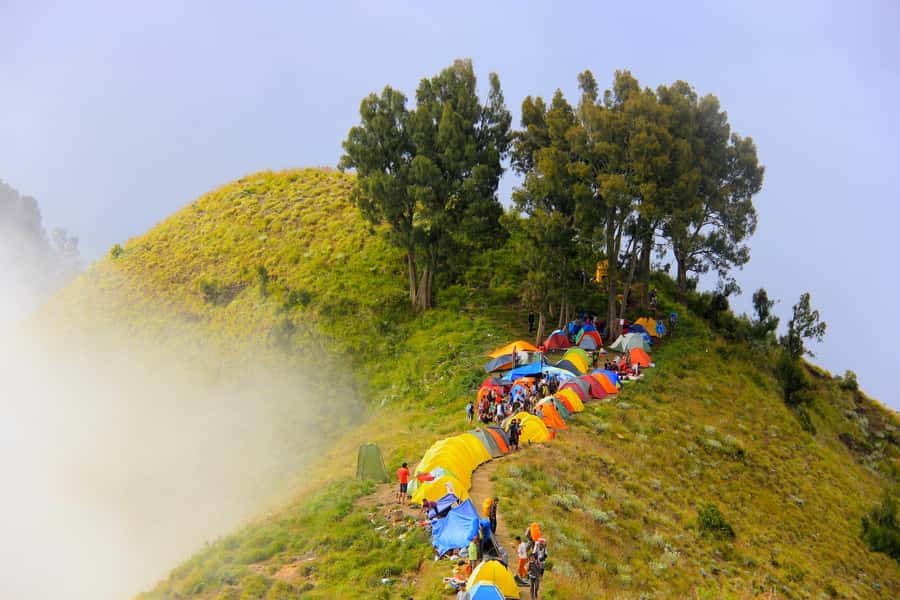
- Sembalun start and crater-rim camp at 2,639 m with serious sunset views of Lake Segara Anak
- Summit climb to 3,726 m with a sunrise that’s the main reason people do this fast format
- Pristine tropical forest walking as you move through the more jungle-feeling parts of the route
- Natural hot spring soak for a real recovery moment (not a tourist spa vibe)
- Guide + porter support focused on safety and comfort, with English-speaking options
The big picture: a fast summit shot with a proper camp night
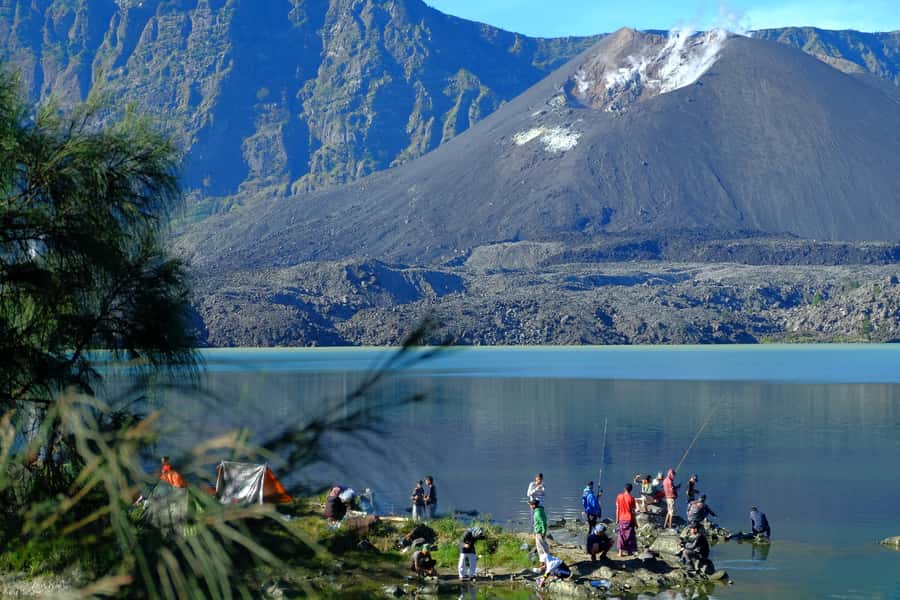
This is a short trek, and that’s exactly why it appeals. You start at Sembalun (about 1,156 m), gain height quickly, sleep high on the Sembalun Crater Rim (2,639 m), then go for the summit the next morning at 3,726 m. You do it on a route that starts and ends in the same village—so you’re not wasting time on switching trails or complicated logistics.
The trade-off is intensity. Even though this is only 2 days, the route includes an early-morning summit climb of about three hours and enough ups-and-downs that you’ll feel it the next day. If you’re used to hiking steadily, you’ll probably love the challenge. If you’re more “short walks only,” this will feel like a forced graduation exam.
Still, what makes this worth it is the payoff: you’re up high enough to see the crater, the lake, and far out toward Lombok’s northern views. Sunrise from the summit is the headline moment, but the crater-rim evening and night are what help you actually enjoy the next morning instead of just suffering.
You can also read our reviews of more tours and experiences in Lombok.
Getting to the trail: Sembalun checks, then the grasslands ramp up
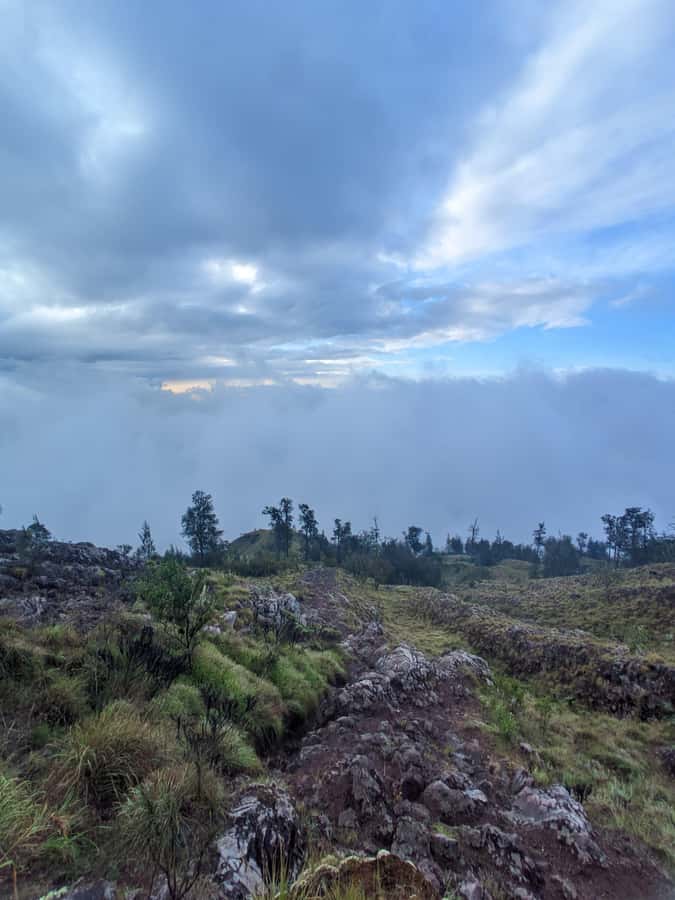
Your day typically begins with an early breakfast, then you transfer by 4WD from Senaru to Sembalun. That matters because Rinjani’s terrain is not forgiving—getting to the right trailhead without losing hours is part of why this package works.
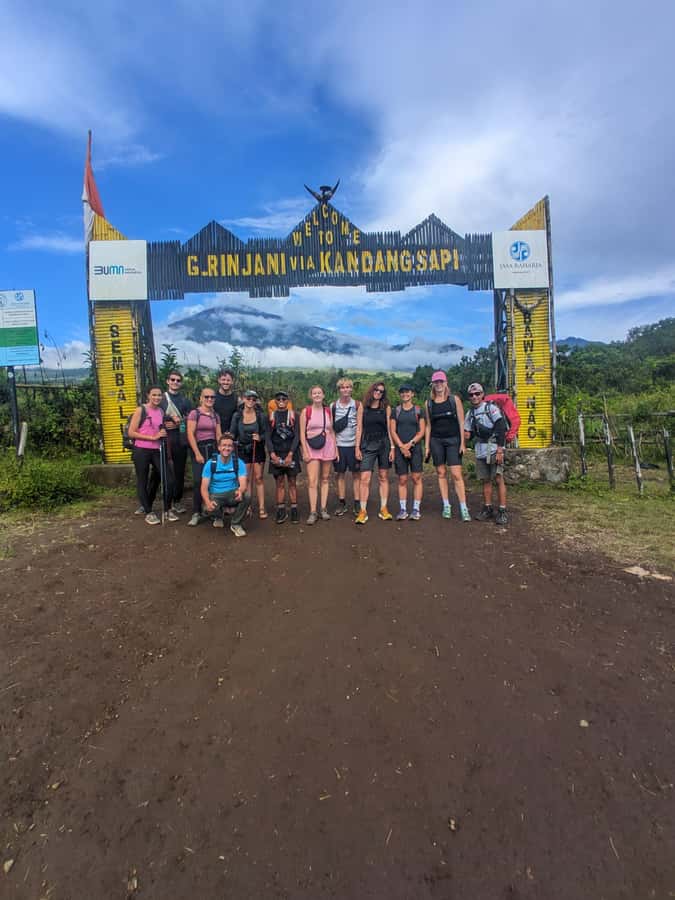
Once in Sembalun, you register at the Rinjani Information Centre before you start hiking. This is practical and also sets a tone: you’re in the official system, and you’re not just wandering off with a casual plan.
Then comes the early walking through undulating open grasslands as the trail winds upward. It’s not always steep at first, which gives you time to find your breathing rhythm and settle into the group pace. Expect breaks at key posts and small snack pauses—use them. Even short stops help when you’re heading toward real elevation gain.
Day 1 on the move: Pos 1 to Pos 3, then the steep crater-rim push
After you begin on the grassland trail, you’ll stop at Pos 1 and Pos 2 for rest breaks and snacks. These aren’t just “stretch moments.” They’re timed so you don’t blow energy too early. I like this kind of structure because it prevents the classic new-hiker mistake: going too fast during the easiest section.
At Pos 3 (around 1,800 m), you get a longer break for lunch. A proper lunch here is more important than it sounds. The day’s biggest work is coming after, with a steeper climb up the crater rim. If you skip fueling, the steep portion feels twice as long.
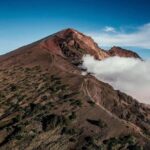
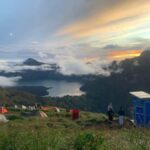
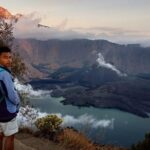
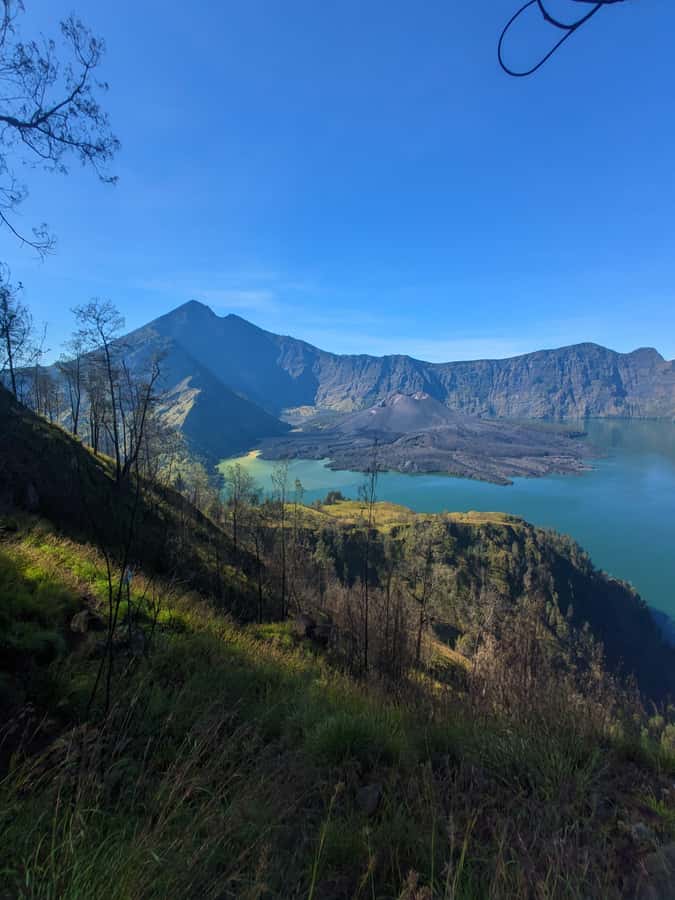
From there, you hike up to the Sembalun Crater Rim campsite (2,639 m). This is one of the most valuable parts of the itinerary because it gives you time to look around while you’re already tired. You’ll get sunset views plus big sights like Lake Segara Anak, the summit of Mount Rinjani, and northern Lombok from above.
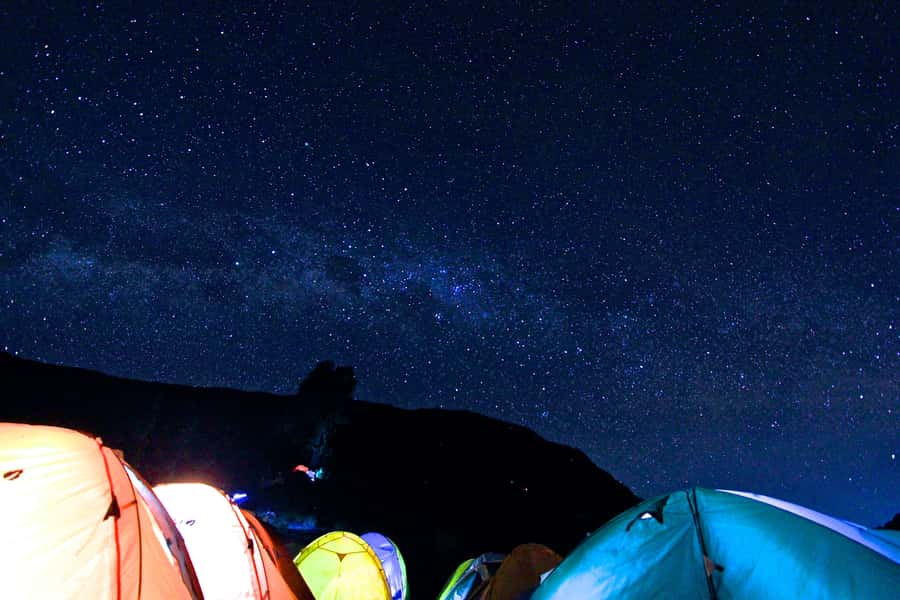
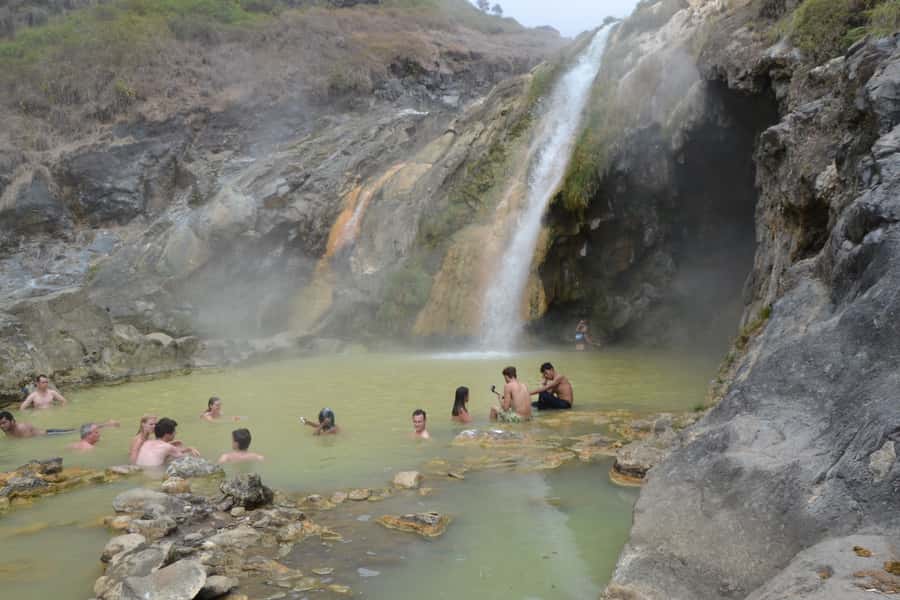
You also get that “camp night” feeling—tents, mats, sleeping bags, and the kind of downtime that helps you reset before the next day. And yes, this route also includes time for a hot spring soak, which many people treat like the unofficial recovery bonus of the trip.
Your recovery tools: hot spring time and campsite reality
The hot spring is billed as part of the experience, and it’s exactly what you want on night one. After a steep day of hiking, the chance to soak your legs (and calm the soreness) changes how your body behaves at 3 a.m.
Campsite setup is included: tents, sleeping bags, and mats, plus toilet paper. You’re not dealing with “rough it completely” chaos, but you should still assume the mountain has its own rules—cooler air at night, muddy or wet ground at times, and fewer creature comforts than you get at sea level.
Food is also included, and the overall pattern tends to be: you’ll have meals at stops and at camp, with plenty to keep you moving. In the good experiences I’ve seen described, guides and porters like to keep things consistent—hot food when possible, plus fruit like pineapple and bananas at appropriate moments.
Day 2: 3 a.m. wake-up, summit grind, and the sunrise payoff
You’ll wake up around 3:00 a.m. for a light breakfast. It’s early, but there’s a reason: the summit push is timed so you arrive for sunrise.
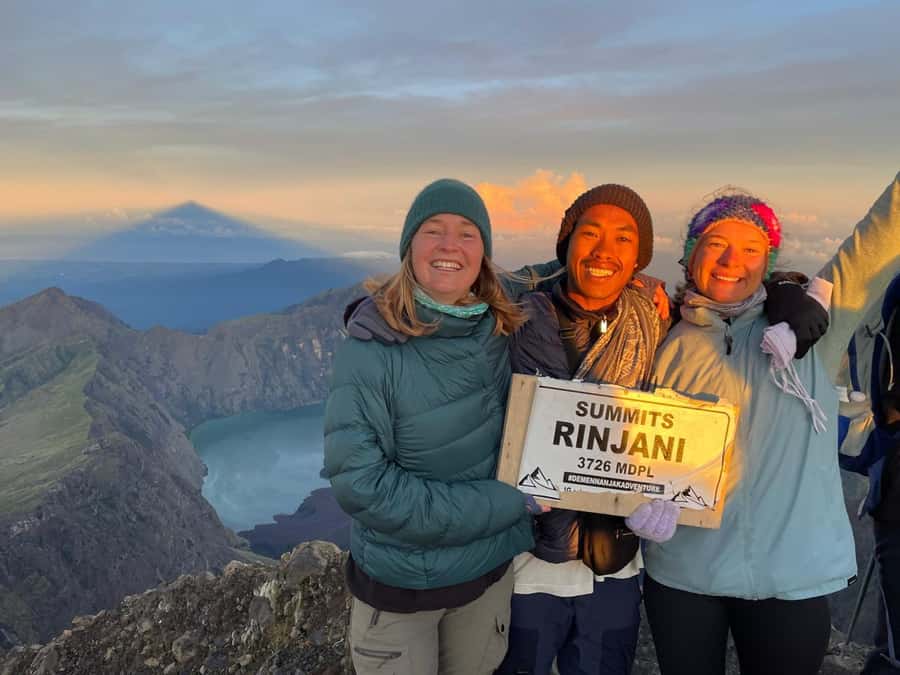
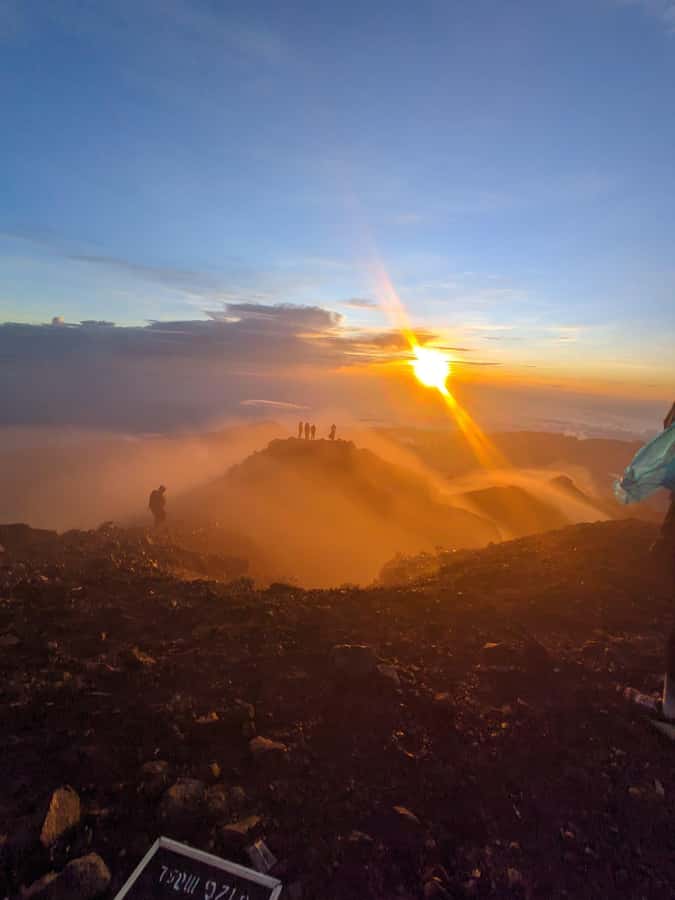
The summit trek from camp is challenging. It’s described as about a three-hour climb to 3,726 m, and in practice that means you’re climbing while it’s still dark, with the terrain demanding careful footing. This is where those “steep and slippery” route notes matter. You don’t just need stamina—you need good balance and a calm head.
When the sunrise hits, that’s the moment you did the whole thing for. The prize includes dramatic views over the 4 Gili Islands. Whether you’re watching light creep over the horizon or looking out into that big quiet spread, it’s the kind of view that makes the early wake-up feel worth it.
Then you start coming back down—first to the crater rim for hot breakfast and rest, then down toward Sembalun.
The return descent: less dramatic, still important for your body
The return trek includes stops at Pos 2 or Pos 3 for lunch and rest breaks. This part matters because descending can be harder on the knees than people expect. Going down is not “easier walking.” It’s controlled sliding steps and constant attention.
Arriving in Sembalun in the early afternoon gives you a full rest window afterward—especially because transportation after the trek is included to areas like Sengigi, Bangsal, Mataram, or Kuta Free (depending on your pickup/drop arrangement).
This is a nice value point. A lot of short treks cost you time and money after the hike because you’re on your own getting back. Here, the post-trek transport is built in, which helps your day actually feel finished.
Price and value: where the $190 really goes
At $190 per person, this price is less about a “cheap adventure” and more about what you’re buying: a guided experience with logistics handled, plus the stuff that would cost extra if you did it independently.
Here’s what you’re getting that tends to justify the price:
- A guide and porter tour guide to manage route pacing and safety
- Food and drink, including 3 liters of mineral water per day/person during the climb
- Tent and camping setup, including sleeping bags and mats
- Park entrance ticket for Rinjani National Park
- Trekking insurance
- Support items like tea and coffee, plus cooking utensils and backpack storage at the office storage point
- Transportation after the trek to Sengigi/Bangsal/Mataram/Kuta Free options
The big cost you should watch is not in the package list: gear you’ll need but isn’t included—especially trekking shoes and warm clothes. If you show up unprepared, you might end up paying extra locally or forcing yourself to hike in uncomfortable stuff. That’s where the real cost creeps in.
So I see this as good value if you’re the type who wants the mountain plan handled and you don’t want to assemble a bunch of services yourself.
Guide quality: what stands out (and what can go wrong)
The best versions of this trek come from how your team handles small problems. In strong experiences, guides were described as attentive and safety-minded, with names like Din and Awan showing up alongside porters like Man and Kas. You’ll want that kind of crew because the mountain is not the place to guess.
What you can expect when it’s going well:
- clear explanations before you start
- consistent meal planning and hot food where possible
- guides who keep an eye on pace, not just distance
Where you should be careful:
- equipment might not be complete or evenly distributed
- you could end up sharing a headtorch or lacking items like walking poles if the group gear is stretched
I don’t want to scare you off—just help you prevent a minor problem from becoming a nasty one. If you can, bring your own headlamp (or at least ensure you have one), and consider walking poles. Even one good pole can save your legs on steep ground.
What to pack: the essentials that match this route
The basics you bring are listed, and they match the reality of Rinjani:
- camera
- comfortable clothes
- gloves
- goggles (useful if the air is dusty or wind gets annoying)
- climbing gear (worded generally, but it signals that traction/secure movement matters)
- an app downloaded to your phone (if it’s part of your plan)
Also, because the trek involves early-morning climbing and overnight camp, I strongly recommend you mentally add:
- warm layers (warm clothes are not included)
- proper hiking footwear (shoes are not included)
- a small daypack for water/snacks even if most supplies are handled
One more practical note: don’t rely on fancy tech. A GoPro is not included, so plan your photos with whatever you bring. The sunrise is the real star anyway.
Who this 2D/1N trek fits best (and who should skip it)
This is for you if:
- you’re in good health and comfortable walking long distances
- you can handle a steep, slippery route
- you’re excited by a fast, high-altitude push and not scared of waking up extremely early
It’s not suitable if:
- you have issues with mountain sickness or height phobias
- you’re outside the stated age range (minimum 10 years old; not for people over 70, and not for babies under 1 year)
If you’re on the edge of fitness, don’t gamble. Consider a gentler route or longer hike format so your body acclimates better. With summit climbs, the goal is smart effort—not hero effort.
Booking tips: how to make sure you get the good version
Since this experience depends heavily on the exact guide/team and their gear setup, I’d do these before you commit:
- Confirm that your group will have the key night-light equipment you need (headlamp)
- Ask if walking poles are available or if you should bring yours
- Make sure you’re set on warm clothes and shoes
- Plan your packing so your daypack stays light and you can move comfortably in the dark on steep ground
This is a place where preparation pays off fast. You don’t need luxury gear—you need functional gear.
Should you book this Mount Rinjani 2D/1N summit trek?
Book it if you want a tight schedule with a real mountain payoff: crater-rim camp, hot spring recovery, and sunrise over the Gili Islands. If you’re fit, comfortable on steep terrain, and you can handle early wake-ups, it’s the kind of trip that gives you a memory you’ll carry for years.
Skip or rethink it if you’re sensitive to altitude or steep walking, or if you’re missing core gear like shoes and warm layers. And if you’ve got any fear of heights, take that seriously—this is not the trek to test yourself.
If you do book, treat it like a hike with a summit goal: move steadily, fuel up at the breaks, and protect your feet and balance. Do that, and you’ll earn the sunrise you came for.
FAQ
How long is the Mount Rinjani 2D/1N trek?
It lasts 2 days with 1 night on the crater rim, including a sunrise summit on day two.
Where does the trek start and what elevations are involved?
You start in Sembalun at about 1,156 m, camp at 2,639 m, and climb to a summit of about 3,726 m.
Is transport included during and after the trek?
The plan includes 4WD transportation from Senaru to Sembalun at the start, and transport after the trek to areas like Sengigi, Bangsal, Mataram, or Kuta Free.
What’s included for food and water?
You get food and drinking water during the climb, including about 3 liters of mineral water per day/person, plus meals and drinks like tea and coffee. Fruits such as pineapple and bananas are also included.
What camping gear is provided?
The package includes tents, sleeping bags, and mats, plus toilet paper.
What should I bring that isn’t included?
You should bring trekking shoes and warm clothes (both are listed as not included), along with items like gloves and comfortable clothing. The small daypack/everyday backpack may be rented.
Is alcohol allowed?
No. Alcohol and drugs are not allowed on the trek, and alcoholic drinks in the vehicle are not allowed either.