Hot wax, slow color, real craft. In Ubud at WS Art Studio, you’ll learn the traditional batik process step by step and leave with a handmade fabric artwork you can take home. It’s a small class with an English-speaking instructor, and the whole session feels more like a calm making workshop than a rushed souvenir stop.
Two things I really like: first, the teaching style. Instructors like Wah Agung and Ayu are repeatedly described as patient, gentle, and funny, with time to help without hovering. Second, the setting and pace: people mention the studio as calm and family-run, with a rural feel, plus animals around during the wait while things dry.
One consideration: transportation. There’s no pick-up option listed, and at least one review flags that the area isn’t Uber-friendly, so you’ll want to plan how you’ll get there (and factor that cost in).
In This Review
- Key Things I’d Watch For
- Batik Basics: What You’re Learning in 3 Hours
- WS Art Studio in Lodtunduh: The Calm Place Behind the Craft
- Step One: Stenciled Layout and Hot Wax Resist
- Step Two: Dyeing with Organic Colors (and Learning to Wait)
- Your Design Choices: Templates, Personal Touches, and Small Corrections
- What’s Included: Snacks, Coffee, Water, and a Take-Home Piece
- Price and Value in Ubud: Why $23 Works Here
- Who Should Book This Batik Class (and Who Might Not Enjoy It)
- Practical Tips for a Smoother Class Day
- Should You Book This Ubud Batik Workshop?
- FAQ
- How long is the batik class in Ubud?
- Where is the meeting point?
- How much does it cost?
- What’s included in the price?
- What language is the class taught in?
- Is alcohol included?
- How big is the group?
- Is free cancellation available?
- Do I need to pay right away?
- Is pick-up provided from hotels?
Key Things I’d Watch For
- Small group (up to 8 people) means you’re not stuck waiting your turn to get help.
- Hot wax resist + dyeing is the core skill you’ll actually practice, not just watch.
- Organic dyes and traditional motifs give context for why patterns look the way they do.
- You can copy templates or design freely, so it works for beginners and confident artists.
- Snacks and coffee are included, making the middle waiting time feel manageable.
- Expect the process to run at your speed; some classes take a bit longer than the scheduled window.
Batik Basics: What You’re Learning in 3 Hours
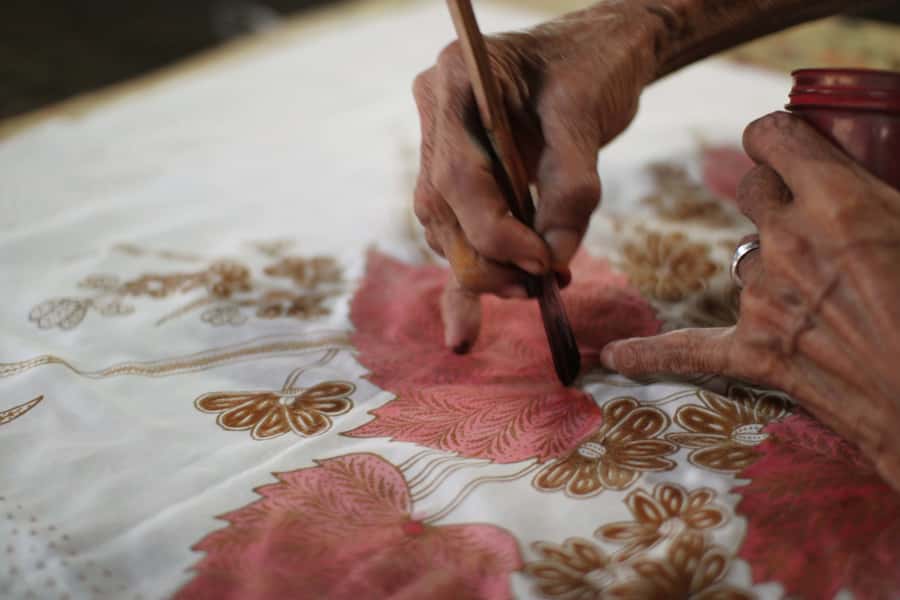
Batik is a dyeing method that uses a wax-resist technique. The big idea is simple: you apply hot wax onto fabric wherever you want to block color. Then you dye the cloth, remove or work with the wax, and the pattern shows up because some parts resisted the dye.
In this Ubud class, you start with a fabric canvas and a guided design layout. You’ll apply hot wax to a stenciled design, then add color to the patterned fabric using organic dyes. The whole class is built around you getting hands-on with the parts that matter most: wax lines, careful pattern placement, and how dye interacts with the resist.
What makes this experience feel worth it is that you aren’t only learning “batik as a concept.” You’re doing the steps that create the final look. Even if your first lines aren’t perfect, the process teaches you how wax thickness and placement affect the outcome.
You can also read our reviews of more tours and experiences in Bali.



WS Art Studio in Lodtunduh: The Calm Place Behind the Craft
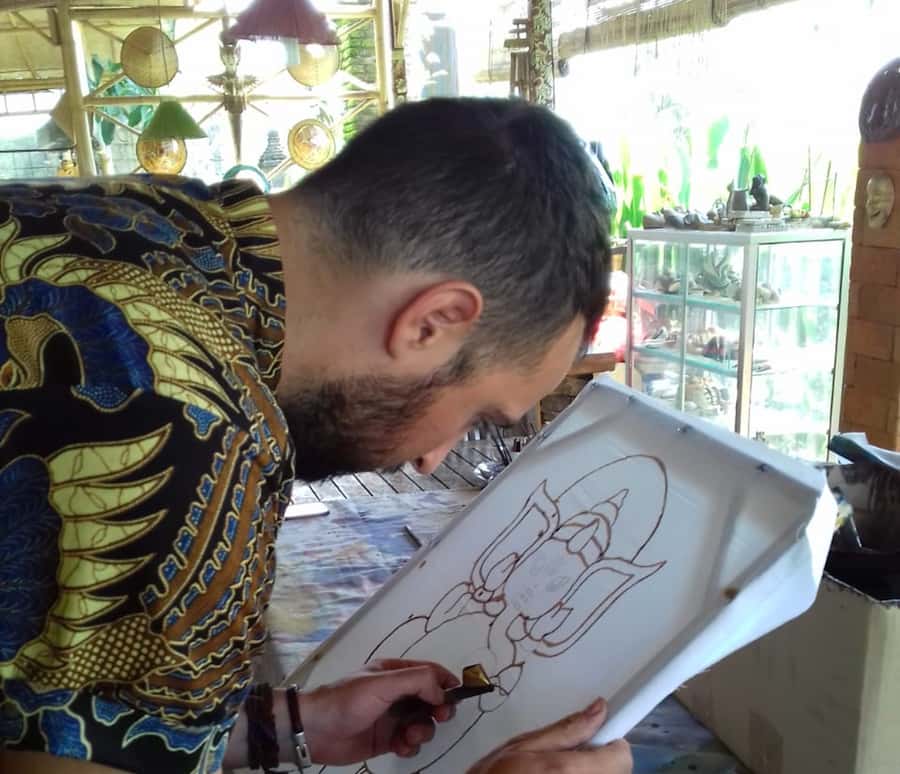
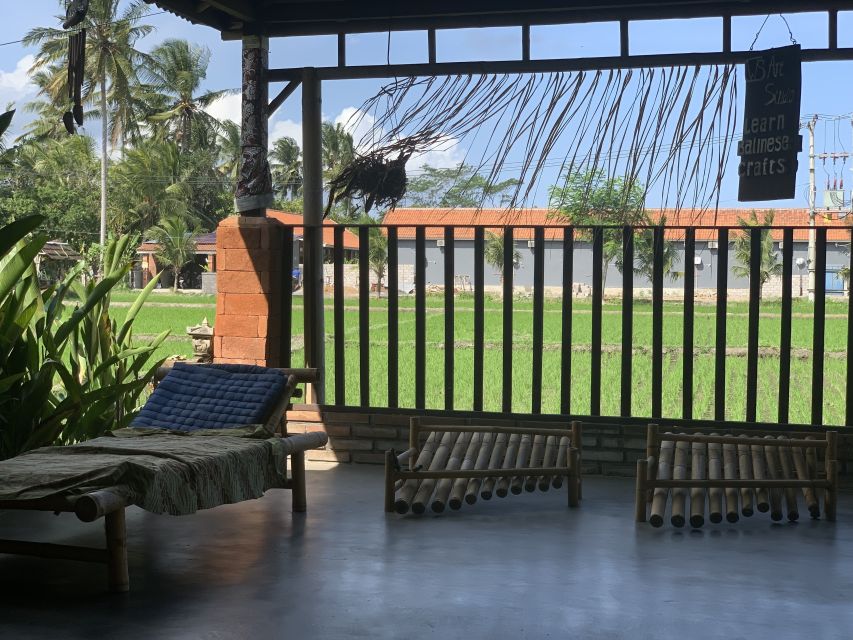
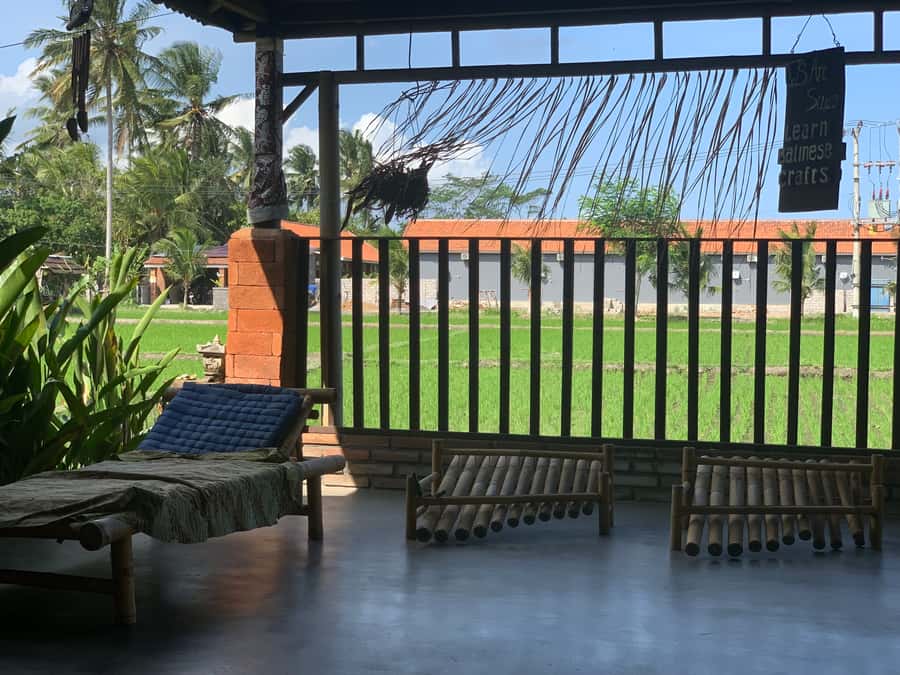
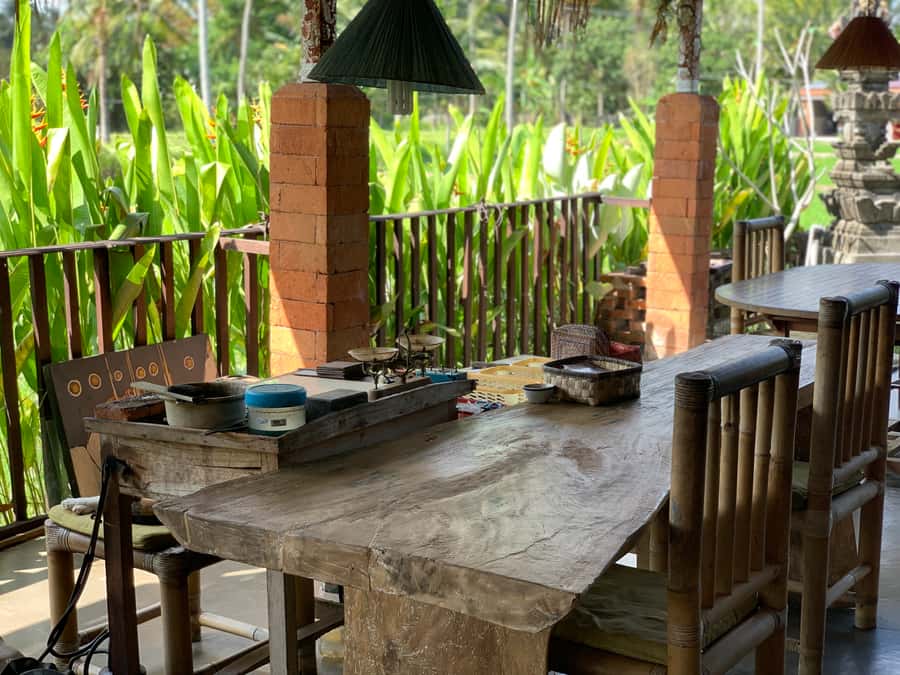
The class meets at WS Art Studio, Jl. Raya Silungan, Lodtunduh, Ubud. It’s not in the thick center of Ubud traffic, and that’s part of why the experience often feels relaxed. People mention the studio as quiet and peaceful, like you’ve stepped into a small working art space rather than a loud workshop line.
This studio also has a distinctly family-run feel. Multiple reviews call out warm hosts, an encouraging atmosphere, and a sense that you’re learning in a real place where batik is part of daily life. There are also animals around during the session and wait time—some reviewers mention two dogs named Pull and Bear, and a cat named Echa—so the setting can feel almost like an off-grid art pause.
If you’re the type who likes to hear a little background while working, you’ll likely appreciate the way instructors explain the philosophies behind common batik patterns, not just how to trace a template.
Step One: Stenciled Layout and Hot Wax Resist
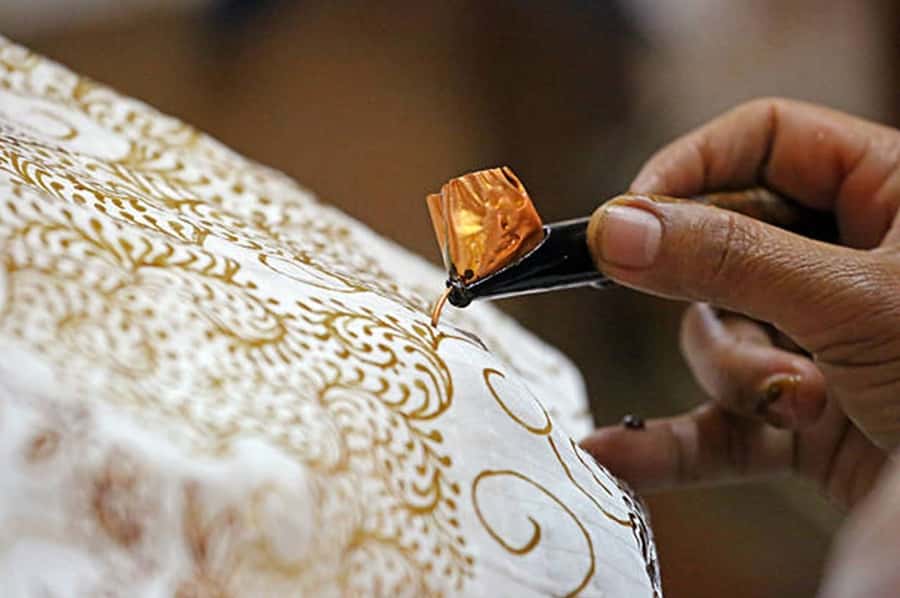
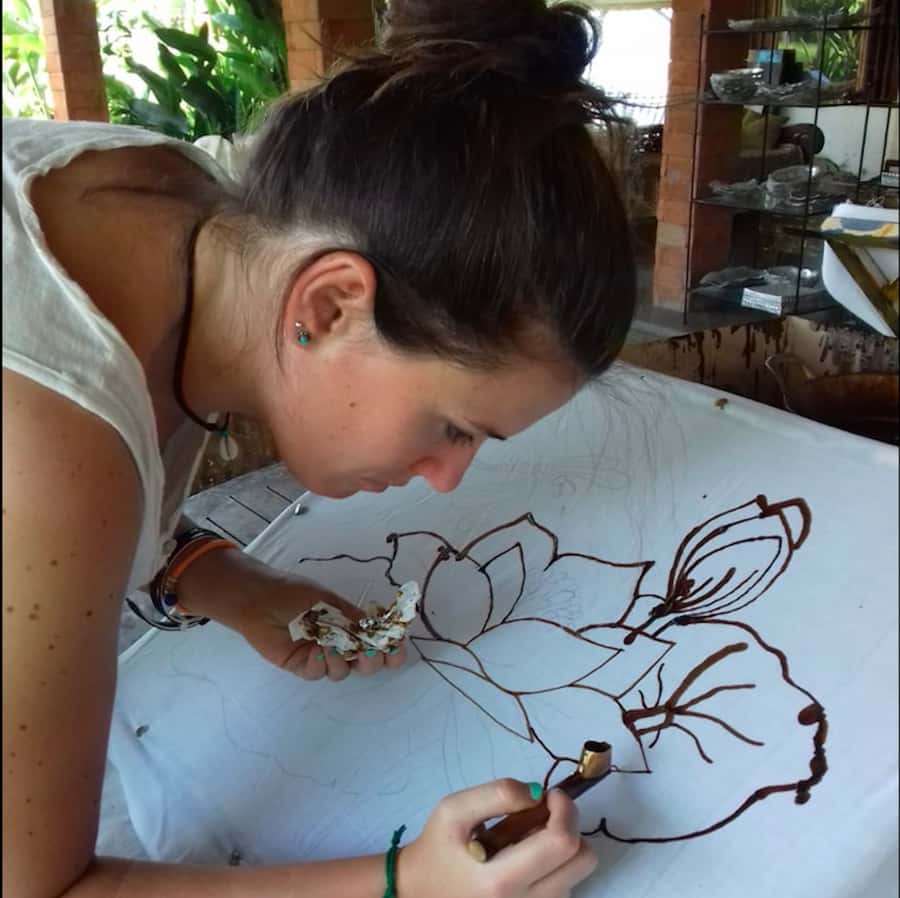
Your first task is getting the design onto the fabric in a way that can survive the dyeing. The class uses templates (traceable designs), and you’ll apply hot wax to the stenciled pattern on your cloth.
Practically, this is where the class feels most “real.” Wax isn’t like paint. You’re piping or applying it in a controlled way, trying to create clean barriers. A few reviews mention minor issues, like wax bleeding when the resist layer wasn’t as thick as hoped, or working around a less-than-perfect table surface. Those moments are part of the learning curve, and the good news is that instructors are there to help you course-correct.
One helpful tip you can take from the way classes are described: go in with a rough idea. Even if you’ll use templates or switch things around, having a simple plan helps you avoid last-minute overthinking—especially for your first wax application.
Step Two: Dyeing with Organic Colors (and Learning to Wait)
Once the wax is on, it’s time to add color. You’ll dye the patterned fabric using organic dyes, guided by your instructor. This is the part where the technique clicks into the final visual effect: where wax blocked dye, you’ll get your pattern shapes and contrast.
Expect the session to be slower than you might think, in a good way. Batik isn’t fast craft. It takes time for each step to work. Reviews highlight that you usually aren’t rushed, and that the teacher often gives clear instruction at each stage, then steps back so you can work.
You’ll also spend some time in between steps while the fabric dries. That downtime is where the studio’s calm setting helps. People mention chilling with coffee, snack breaks, and even interacting with the animals while things set.
Your Design Choices: Templates, Personal Touches, and Small Corrections
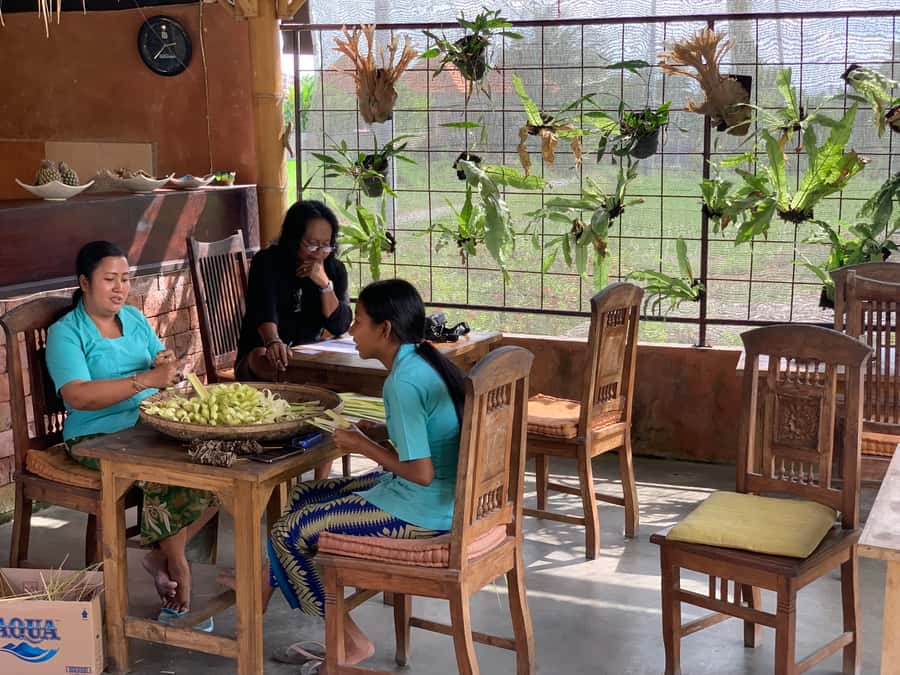
Here’s one of the best parts of this class: you’re given structure, but you’re not locked into one exact outcome.
Many people use the provided templates and trace them, which is ideal if you want an achievable design without drawing everything from scratch. At the same time, reviews mention that instructors are willing to help you draw something else if you want, so you can make it feel more like your own idea rather than a worksheet.
That matters because it changes the emotional tone of the class. If you think you’re not artistic, templates can get you to a satisfying result. If you are artistic, you still get guidance and can adjust your motif as you go. Either way, you learn the technique without the pressure of producing something “perfect.”
Also, the class seems to teach a kind of productive imperfection. Multiple reviews describe people ending up pleased with their batik even when their designs weren’t professional. That’s a big deal if you’re worried about ruining the fabric or getting stressed by craft accuracy.






What’s Included: Snacks, Coffee, Water, and a Take-Home Piece
The class includes all tools and materials, plus snacks. You’ll get Balinese fried pineapple and fried banana with palm sugar. Coffee, tea, and water are also included.
That small food piece is more important than it sounds. Batik has multiple hands-on steps and some waiting time, so having a mid-session snack keeps the pace comfortable. One review even notes how the food tasted good, which is always a win when you’re spending a few focused hours with your hands.
You’ll also receive a class certificate. It’s not life-changing, but it’s a nice touch for something that feels like a proper workshop rather than a quick tasting-style activity.
Price and Value in Ubud: Why $23 Works Here
At $23 per person for a 3-hour class, this batik workshop sits in the “reasonable creative activity” category for Ubud. The value comes from three things that are directly included:
- Instruction throughout the process, not just a one-time demonstration.
- Materials and tools, which can be pricey if you try to DIY batik supplies elsewhere.
- A finished product you take home, meaning the time becomes something tangible.
The small-group limit (up to 8 participants) also helps justify the price. When you have fewer people, you’re more likely to get practical help with wax placement and dye steps. Reviews repeatedly mention that teachers are patient and not rushing, and that you can work at your own pace within the class structure.
One more value angle: the experience is designed around technique and context. You’re not only making something pretty; you’re learning how the method produces pattern effects. That’s the difference between a one-off craft and a skill you’ll actually remember.
Who Should Book This Batik Class (and Who Might Not Enjoy It)
This class is a strong fit if you:
- want a hands-on cultural craft that you can do without prior art experience
- like workshops where your instructor explains steps and then lets you work
- enjoy calm, mindful activities more than fast sightseeing
- want a meaningful take-home souvenir beyond a generic print
It also works for families. One review calls it a wonderful activity for both adults and children, with supportive teaching and clear explanations.
You might want to reconsider if you:
- want a tightly scheduled experience that finishes instantly at the 3-hour mark (some sessions run a bit longer)
- dislike anything involving waiting for drying and step-by-step processes
- don’t want to manage transport to a place that isn’t Uber-friendly and has no pick-up option listed
Practical Tips for a Smoother Class Day
These are the tips I’d treat as high priority before you go:
- Bring a simple design idea. Even if you’ll use templates, having a starting point reduces stress and helps you make decisions faster when you’re focused on wax.
- Go with patience. Batik is slow by nature. The class pacing is part of the value, and rushing yourself can lead to mistakes like wax bleeding.
- Plan your transportation in advance. There’s no pick-up option listed, and the studio is not described as an easy Uber stop. Budget time and money for getting there and back.
- Lean on the instructor. Multiple reviews mention teachers stepping in with help when needed, while also giving you space to work.
- Expect the outcome to be personal, not perfect. The method produces great results even when your first attempt isn’t “pro-level,” and the class environment seems built around that reality.
Should You Book This Ubud Batik Workshop?
If you want a creative activity that feels genuinely traditional and gives you real technique practice, I think this is an easy yes. The small-group format, step-by-step guidance, and take-home result for around $23 make it strong value. Add the calm studio vibe, included snacks and coffee, and patient instructors like Wah Agung and Ayu, and it’s a class that tends to leave people feeling satisfied rather than rushed.
Book it especially if you like making things with your hands and you don’t mind slow craft time. Skip it only if you’re chasing a quick, high-energy outing or you’re not ready to handle transport to Lodtunduh without pick-up.
FAQ
How long is the batik class in Ubud?
The class runs for 3 hours.
Where is the meeting point?
The meeting point is WS ART STUDIO, Jl. Raya Silungan, Lodtunduh, Ubud.
How much does it cost?
The price is $23 per person.
What’s included in the price?
It includes all tools and materials, snacks (Balinese fried pineapple and fried banana with palm sugar), coffee, tea, and water, and a class certificate.
What language is the class taught in?
The instructor teaches in English.
Is alcohol included?
Alcoholic beverages are not included, but they are available to purchase.
How big is the group?
The class is a small group limited to 8 participants.
Is free cancellation available?
Yes. You can cancel up to 24 hours in advance for a full refund.
Do I need to pay right away?
There is a reserve now & pay later option, so you can book your spot and pay nothing today.
Is pick-up provided from hotels?
No pick-up option is mentioned, and the area may not be easy for Uber access, so plan your own transport.